
Enrollment Pipeline Stage Changed Automation Trigger
Managing enrollment opportunities efficiently is essential for converting prospective families into enrolled students. The Pipeline Stage Changed automation trigger activates when an enrollment opportunity moves from one stage to another, ensuring timely follow-ups, notifications, and updates throughout your enrollment process.
This guide shows you what this trigger does, why it matters for your childcare business, and how to set it up.
What is the Pipeline Stage Changed Trigger?
The Pipeline Stage Changed trigger activates when an enrollment opportunity moves from one stage to another in your enrollment pipeline. It helps you automate actions based on stage transitions, ensuring no prospective family falls through the cracks.
Use this trigger to define what happens when an enrollment opportunity progresses, moves backward, or reaches a specific stage in your pipeline.
Key Benefits
Automates Follow-Ups
Each stage change automatically prompts notifications and actions, keeping your enrollment team engaged with prospective families at the right time.
Reduces Manual Work
Eliminates the need to manually track enrollment pipeline movements, freeing up time for tours, parent conversations, and other high-value activities.
Enhances Pipeline Visibility
Provides real-time insights into enrollment opportunity progress, helping you forecast enrollments and make better decisions.
Customizable Filtering
Set up automations based on specific conditions like pipeline, stage, assigned staff member, or enrollment value.
Improves Response Time
Automates outreach and internal communication, ensuring quick action at crucial enrollment stages.
How to Configure the Pipeline Stage Changed Trigger
Step 1: Access Your Automations
- Navigate to Automation > Automations in your Enrollio dashboard.
- Click Create New Automation or edit an existing one.
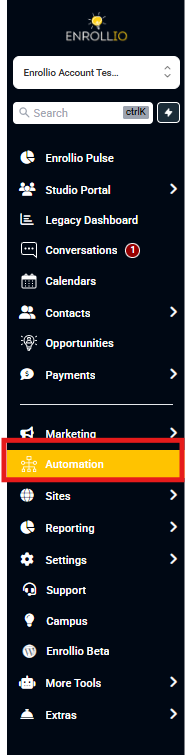
Step 2: Choose Your Trigger
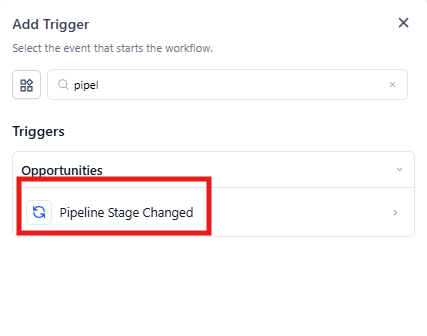
- Click + Add New Trigger.
- Search for Pipeline Stage Changed in the trigger list.
- Select Pipeline Stage Changed as your trigger.
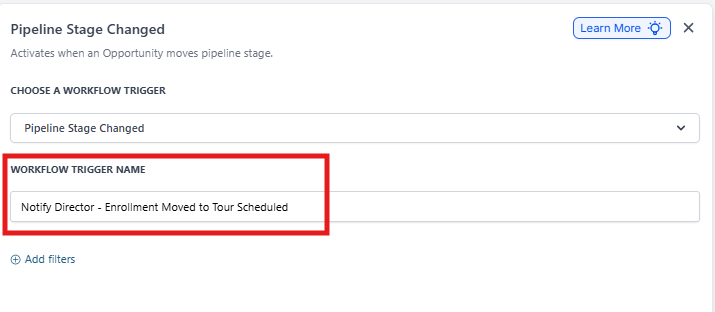
Step 3: Name Your Trigger
Give your automation trigger a clear, descriptive name that reflects its purpose. This helps you quickly identify what it does when managing multiple automations.
Example: "Notify Director - Enrollment Moved to Tour Scheduled"
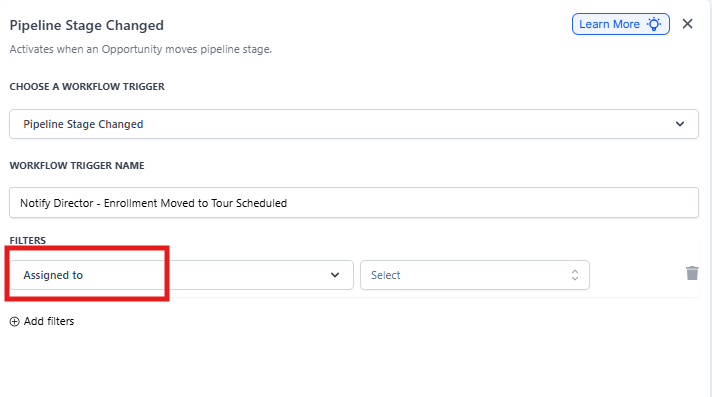
Step 4: Set Up Filters
Filters control when and how your automation triggers by setting specific conditions. Instead of triggering for every enrollment opportunity change, filters let you target only the ones that matter to your center.
Whether you want to automate actions for opportunities in a specific pipeline, those assigned to a certain staff member, or only when a family is marked as lost for a particular reason, filters give you the precision you need.
Assigned To Filter
The Assigned To filter ensures automations trigger based on which staff member is assigned to an enrollment opportunity. This is useful for directing follow-ups, assigning tasks, or notifying specific team members when an opportunity moves through the pipeline.
Example: Notify Sarah when any enrollment opportunity assigned to her moves to the "Tour Completed" stage.
Has Tag Filter
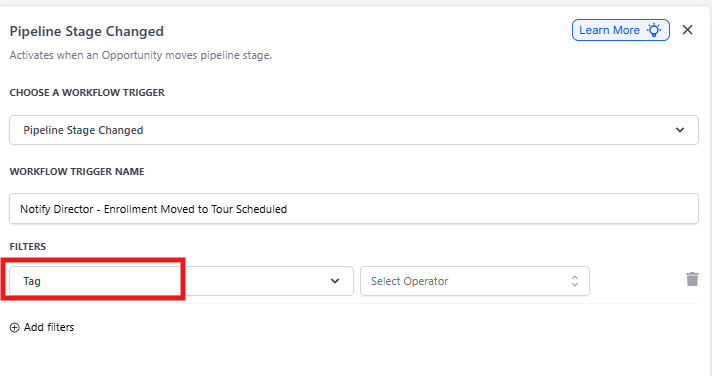
The Has Tag filter triggers automations only when an enrollment opportunity contains a specific tag. This is particularly useful for segmenting opportunities, prioritizing families, and automating targeted actions.
Tags help you categorize enrollment opportunities based on attributes like family type, priority level, referral source, or program interest.
Example: If an enrollment opportunity is tagged as "Sibling Enrollment," send a special sibling discount email when it moves to the next stage.
In Pipeline Filter
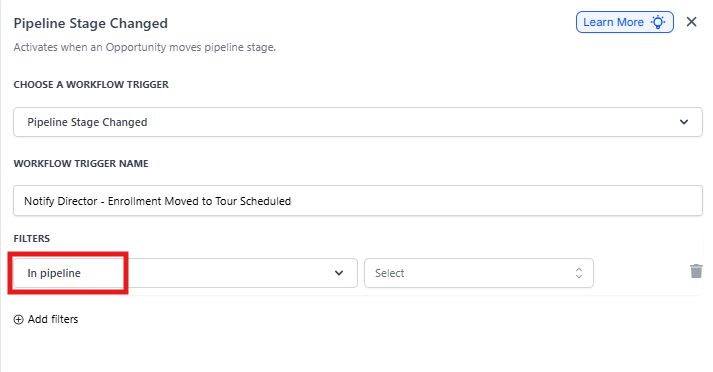
The In Pipeline filter limits your automation to a specific enrollment pipeline. This ensures automation only activates for opportunities within the selected pipeline.
This filter is useful if you manage multiple pipelines for different programs (infant care, preschool, after-school) or locations.
Example: Only activate this automation when an opportunity moves within your "Infant Care Enrollment" pipeline.
Lead Value Filter
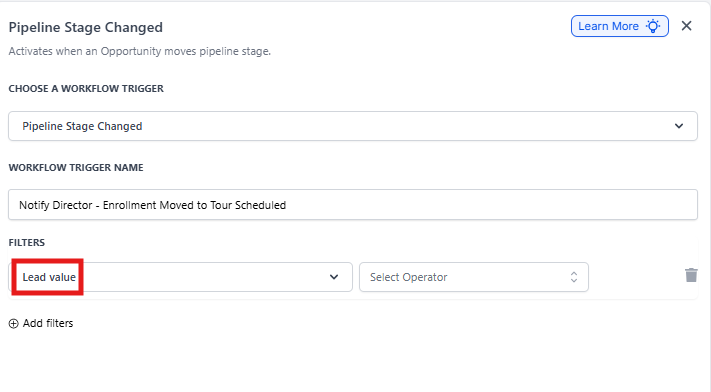
The Lead Value filter triggers automations based on the monetary value assigned to an enrollment opportunity. This helps you automate actions based on enrollment value, ensuring high-value enrollments receive appropriate attention.
Example: If an enrollment opportunity's value exceeds $15,000 (annual tuition), notify the center director immediately.
Lost Reason Filter
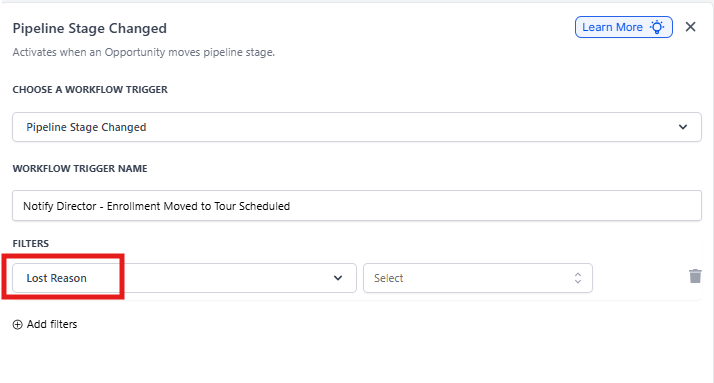
The Lost Reason filter triggers automations when an enrollment opportunity is marked as Lost with a specific reason assigned. This helps you track why families aren't enrolling, automate follow-up actions, and implement strategies to recover potential enrollments.
When an opportunity moves to the Lost stage, you can assign a reason (like "Tuition Too High," "Chose Another Center," "No Response"), and automations activate only for selected reasons.
Example: If the lost reason is "Waitlist Too Long," automatically send a follow-up email in 3 months asking if they're still interested.
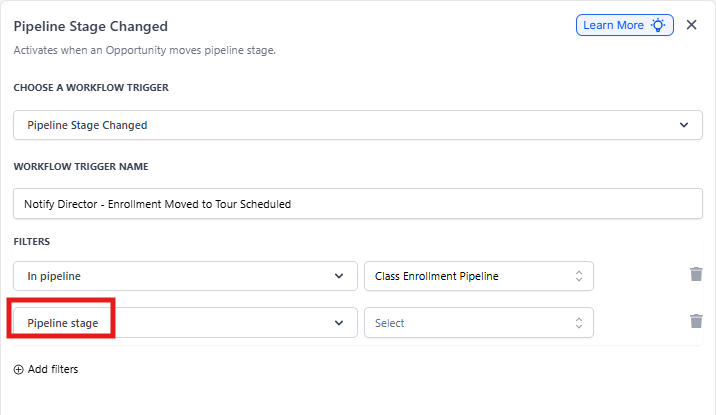
Pipeline Stage Filter
The Pipeline Stage filter triggers automations when an enrollment opportunity moves to a specific stage. This lets you automate actions based on stage transitions, ensuring timely follow-ups, task assignments, or notifications as opportunities progress.
You define which stage transition activates the automation, making it easier to manage prospective families and track enrollment pipeline movements.
Example: When an opportunity moves from "Application Submitted" to "Enrolled," send a welcome packet to the family.
Status Filter
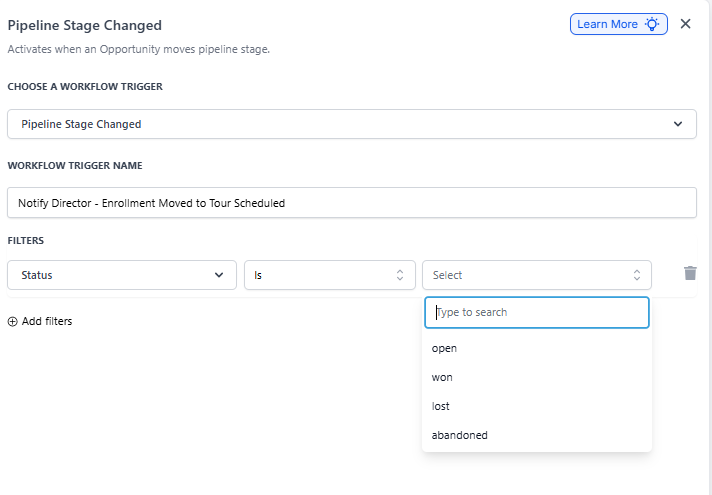
The Status filter triggers automations based on the current status of an enrollment opportunity. This ensures automation executes when an opportunity reaches a specific point in your enrollment process.
You can select from these status options:
- Open: The enrollment opportunity is still active and in progress.
- Won: The family has enrolled successfully.
- Lost: The family was not converted into an enrollment.
- Abandoned: The enrollment opportunity is no longer being pursued.
Example: If an opportunity is marked as "Won," trigger your new family onboarding sequence.
Step 5: Define Your Actions
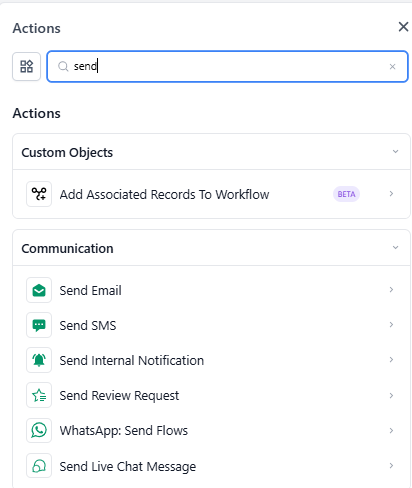
Once your trigger is set, define what should happen when an enrollment opportunity changes stages. Here are common actions for childcare centers:
- Send a Notification: Alert the assigned enrollment coordinator about the stage change.
- Update Opportunity Details: Automatically modify fields like status, priority, or tags.
- Create a Follow-Up Task: Assign a task to your enrollment team to reach out to the family.
- Trigger Another Automation: Activate additional automations based on enrollment progression.
- Send an Email or Text to the Family: Automate parent communication based on pipeline movement.
Step 6: Save and Publish
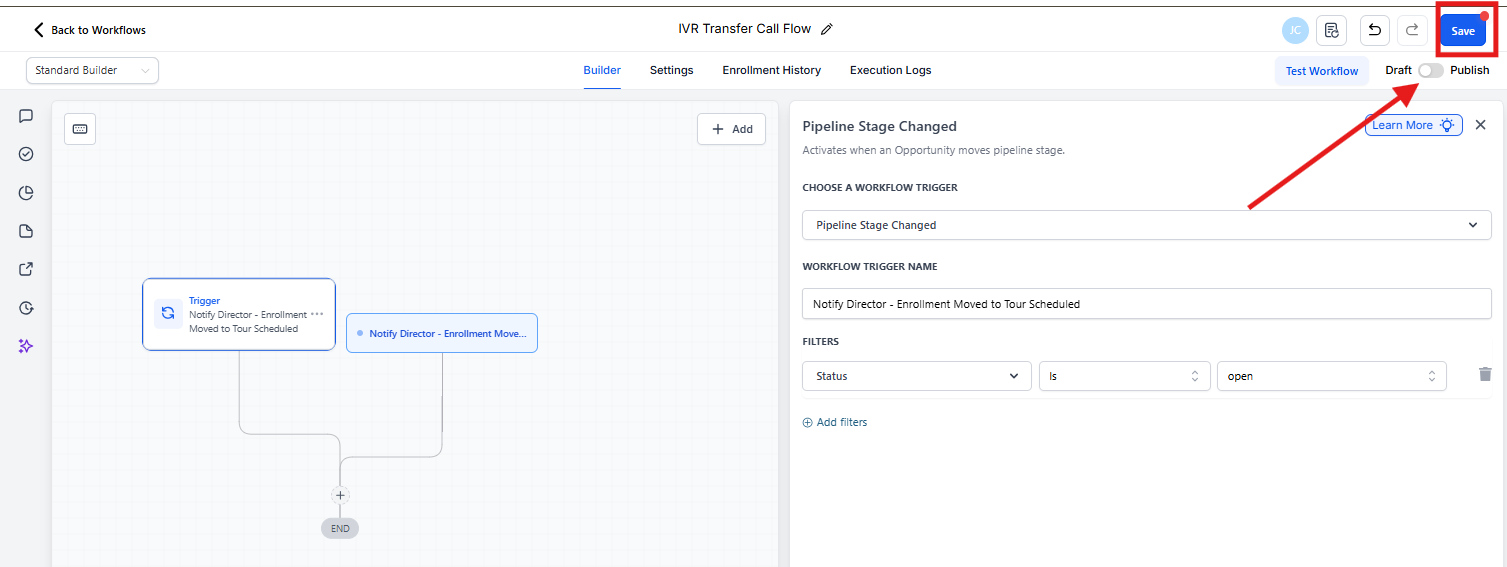
- Click Save Trigger to apply your changes.
- Ensure all necessary automation steps are in place.
- Toggle the automation to Active to start using it.
💡 Pro Tip
Start with simple automations for your most common stage changes (like "Tour Scheduled" to "Tour Completed"), then gradually add more sophisticated automations as you get comfortable with the system.
Frequently Asked Questions
Can I set up multiple triggers for the same pipeline stage?
Yes. You can create multiple automations that trigger on the same stage change but use different filters to target specific scenarios. For example, one automation for high-value enrollments and another for sibling enrollments.
What happens if an opportunity moves backward in the pipeline?
The automation will trigger anytime the stage changes, including backward movement. Use filters to specify whether you want the automation to run only for forward progress or for any stage change.
Can I trigger different actions based on which stage the opportunity moved from?
Yes. Use the Pipeline Stage filter to specify both the previous stage and the new stage, allowing you to create automations for specific stage transitions.
Will this work across all my enrollment pipelines?
By default, yes. However, you can use the In Pipeline filter to limit the automation to specific pipelines, which is helpful if you manage different enrollment processes for different programs or locations.