
Automation Builder Walkthrough
Welcome to the Automation Builder! This guide will help you understand and navigate the Automation Builder in Enrollio. Whether you're new to automations or refreshing your knowledge, you'll learn the key features, best practices, and tips for success.
Table of Contents
- What Is This Automation Builder Walkthrough?
- Infinite Canvas Layout
- Adding New Triggers
- Adding New Actions
- Stats View
- Testing Your Automation
- Saving Your Automation
- Version History
- Draft/Publish Toggle
- Best Practices for Automations
- Frequently Asked Questions
What Is This Automation Builder Walkthrough?
This article gives you a complete overview of the Automation Builder, including its layout, functionality, and best practices. For more specific topics like advanced triggers or detailed action configurations, check out these related articles:
- Getting Started with Automations
- A List of Automation Triggers
- A List of Automation Actions
Infinite Canvas Layout
The Automation Builder uses an Infinite Canvas that gives you plenty of room to build. You can zoom in and out to see the details or the big picture.
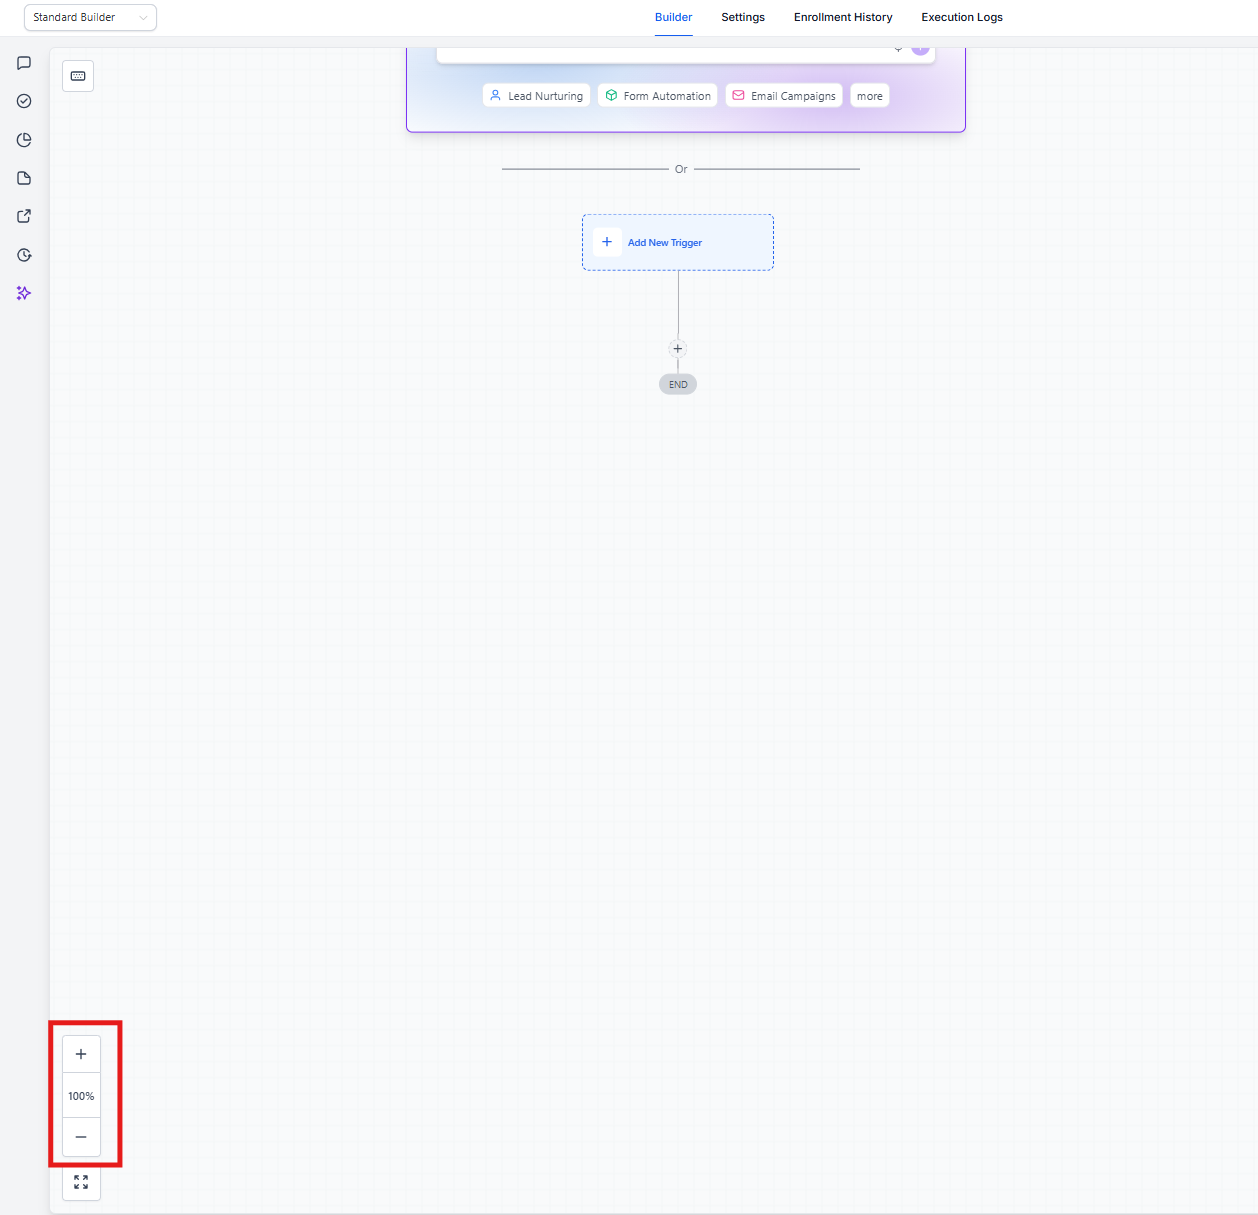
Here's how to navigate:
- Use the Fit to Screen and Zoom In/Zoom Out buttons in the bottom-left corner to adjust your view
- Check the Minimap in the bottom-right corner to see where you are in the automation
Adding New Triggers
Triggers are the events that kick off your automations. Think of them as the "when" — when a parent schedules a tour, when a family submits an enrollment form, when someone joins your waitlist.
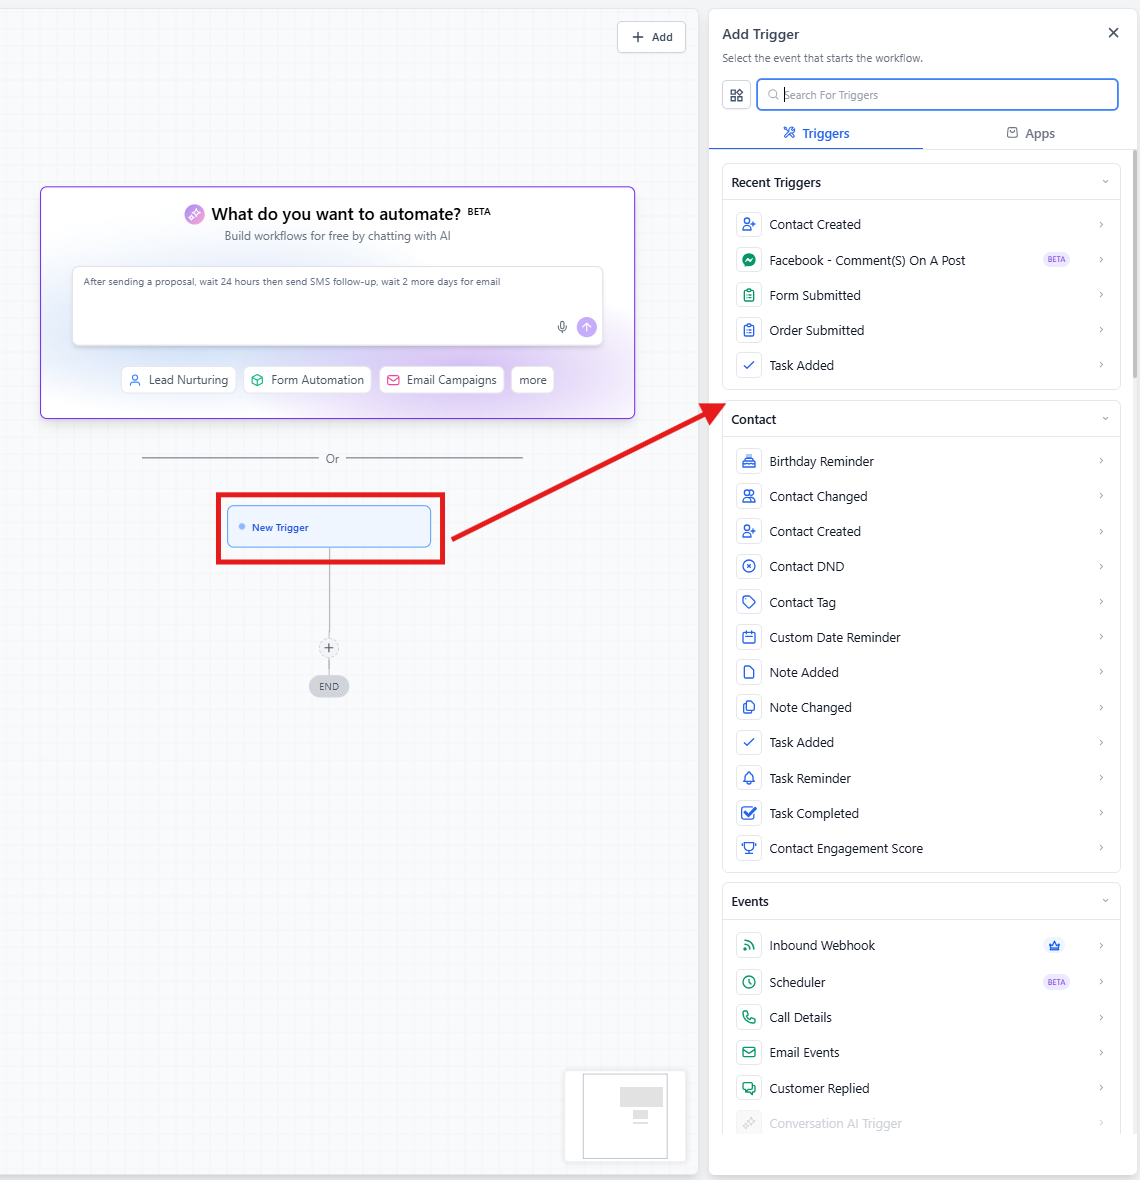
To add a trigger:
- Click the Add New Trigger button
- Select a trigger from the list (like Form Submitted, Tour Booked, or Tag Added)
- Configure the trigger with your specific settings
Important: Every trigger in your automation will activate when its conditions are met. Make sure your trigger setup matches what you actually want to happen.
For a complete list of available triggers, visit A List of Automation Triggers.
Adding New Actions
Actions are what happens after a trigger fires. This is where you send welcome emails, assign staff members, add families to waitlists, or update enrollment statuses.
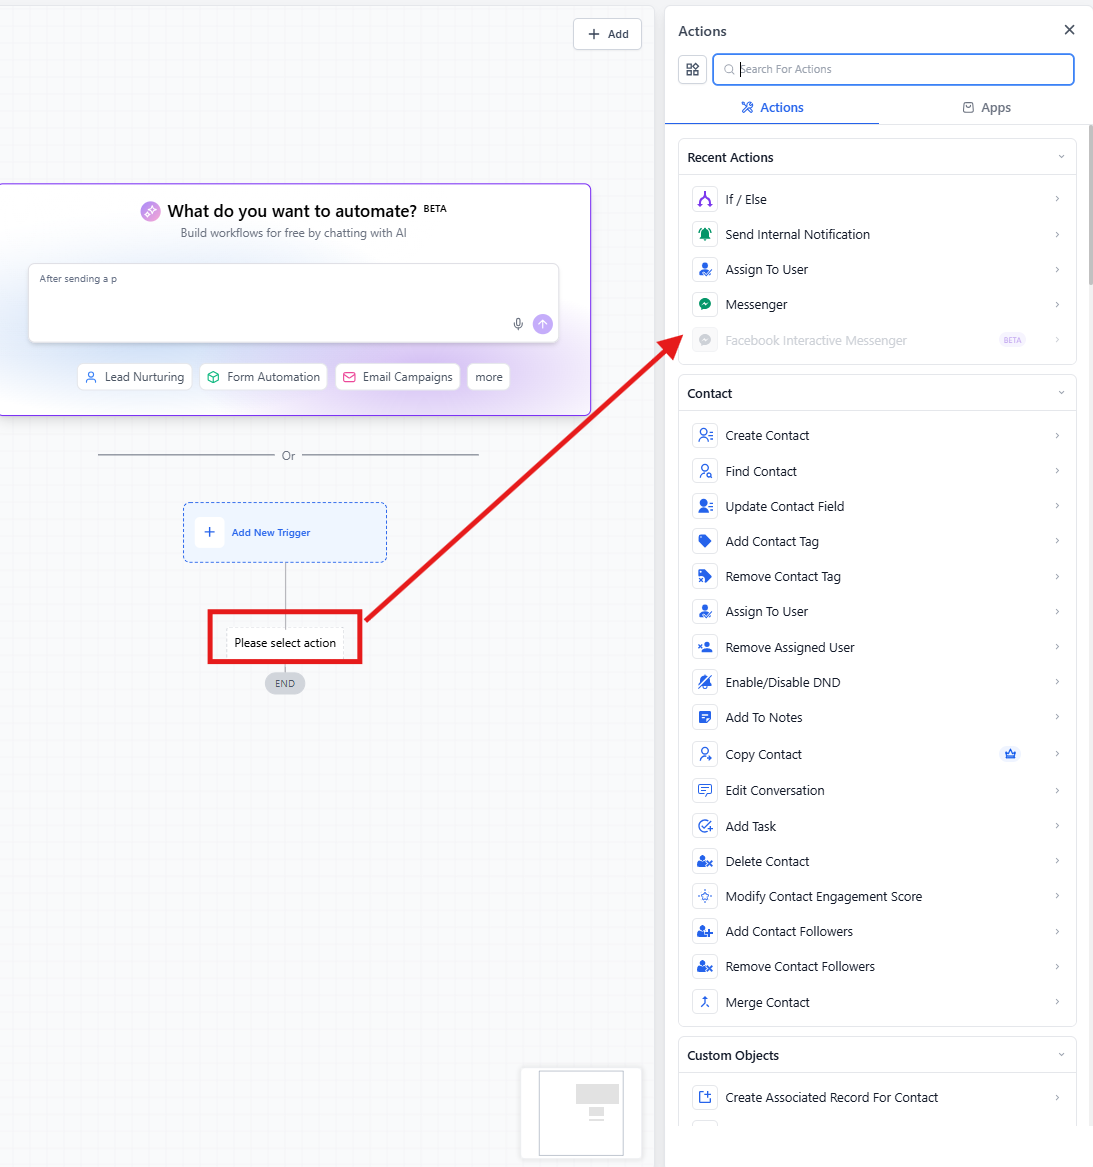
To add an action:
- Click the + button on the automation line
- Select an action from the list (like Send Email, Send Text Message, or Assign to User)
- Configure the action based on what you need
Advanced Action Types
Beyond basic actions, you have some powerful options:
- Wait Actions: Control timing by pausing families in the automation before the next step
- Conditional Actions: Send families down different paths based on specific criteria (like whether they've scheduled a tour or which program they're interested in)
- Goal Actions: Let families skip ahead when they complete a key action, bypassing steps they no longer need
You can also use the Enrollio AI Assistant to help you understand your automation and suggest the right actions. Learn more in the Automation AI Assistant article.
For detailed information on all available actions, check out A List of Automation Actions.
Stats View
Stats View shows you how your communications are performing, right down to individual actions. See which emails are getting opened, which text messages are getting responses, and where families are getting stuck.
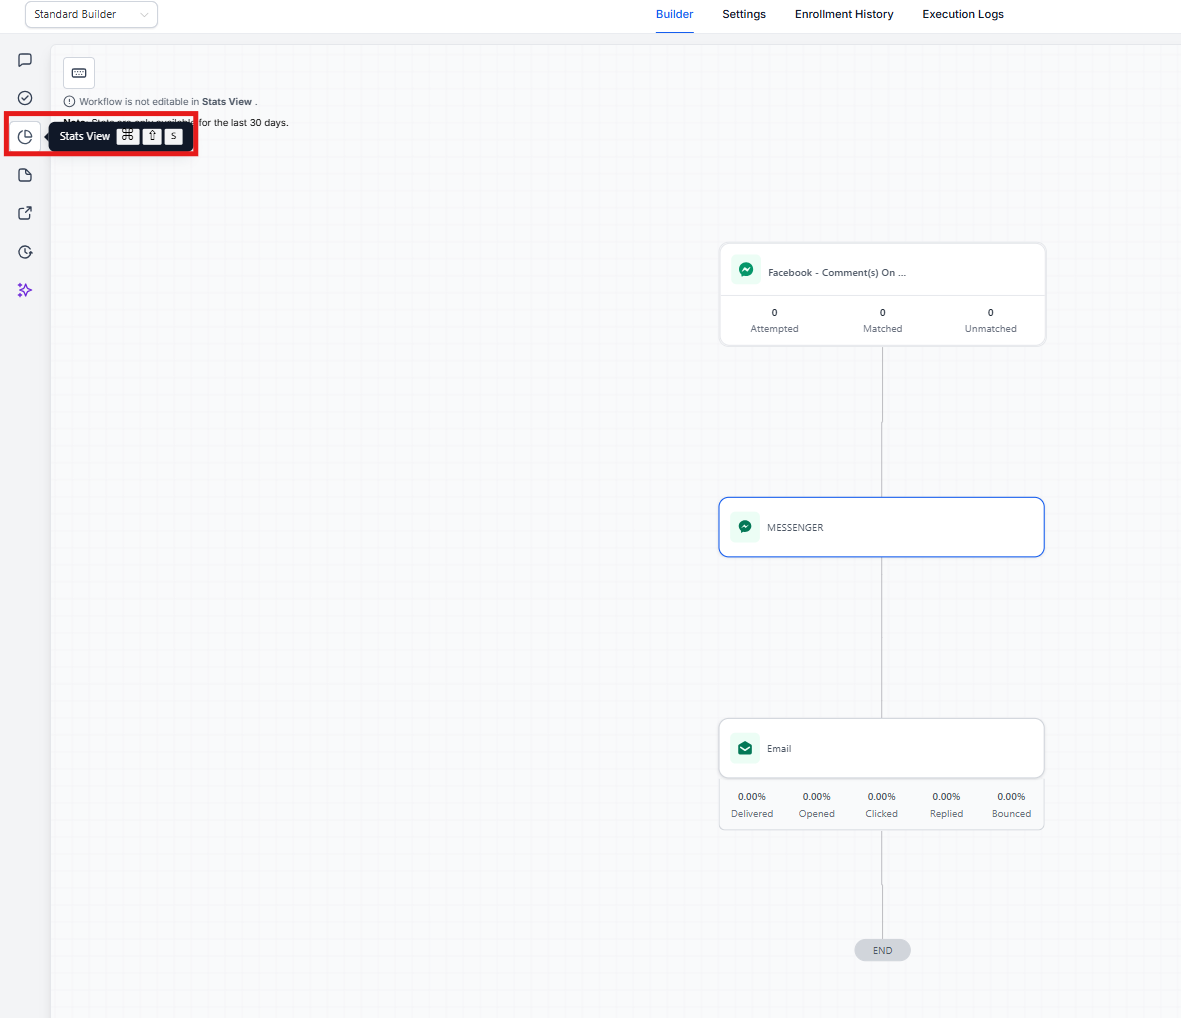
To use Stats View:
- Turn on Stats View in the top-left corner
- View communication statistics directly on each action in the builder
- Click any stats data to see detailed reports
Note: If you delete a communication action that was previously used, the stats are still saved in the automation history.
You can also view stats at the automation level from the Automation List by clicking the expand arrow under Stats.
For tips on analyzing your automation performance, explore How to Analyze Automation Campaigns.
Testing Your Automation
Always test your automations before publishing them to real families. Nobody wants to accidentally send 50 welcome emails to the same parent.
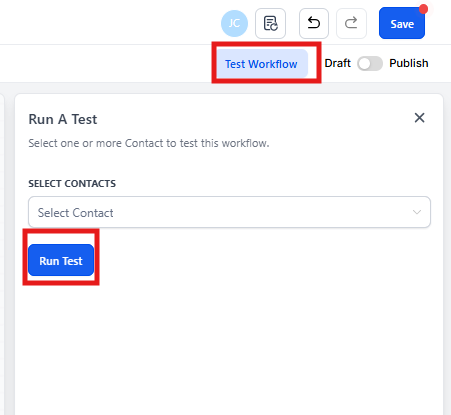
To test your automation:
- Click the Test Automation button in the top-right corner
- Select a parent or family contact for testing
- Click Run Test to run through the automation
Important: Testing with a contact isn't 100% perfect, especially if you reuse the same contact multiple times. The best way to test is to publish the automation and use it in a real (but controlled) scenario with a test family.
Saving Your Automation
Enrollio doesn't auto-save your automations, so click that Save button regularly.
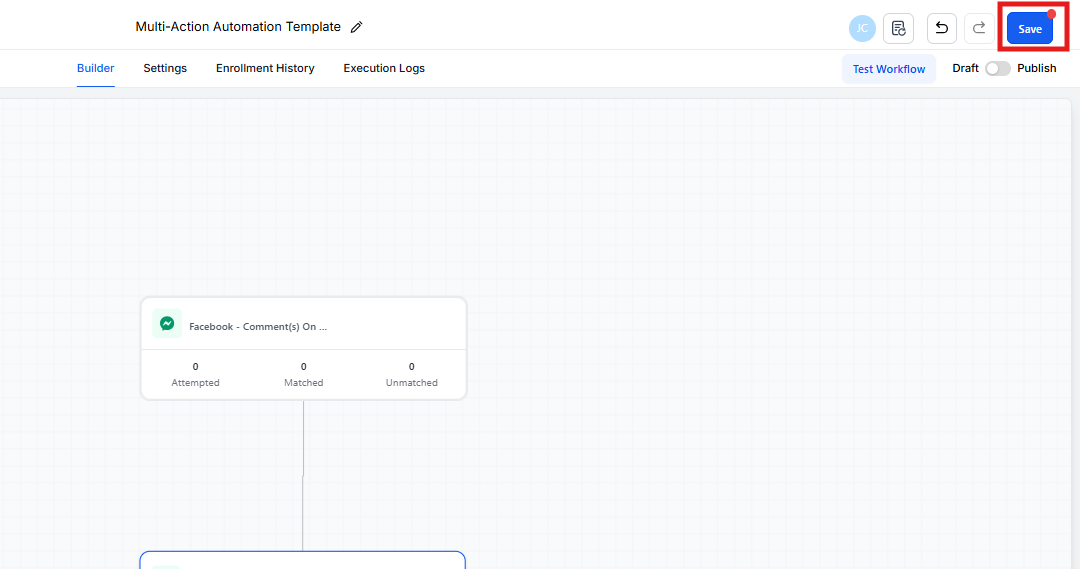
To save your changes:
- Click the Save button in the top-right corner whenever you see the red dot (unsaved changes)
- If you get errors while saving, check that all required fields in your triggers and actions are filled out
Important: Saved and Published are two different things. Your automation can be saved with unsaved changes, and it can be in Draft or Published mode — these are independent of each other.
Version History
Version History lets you see every change made to your automation. This is incredibly helpful when you need to roll back a change or see what was working before.
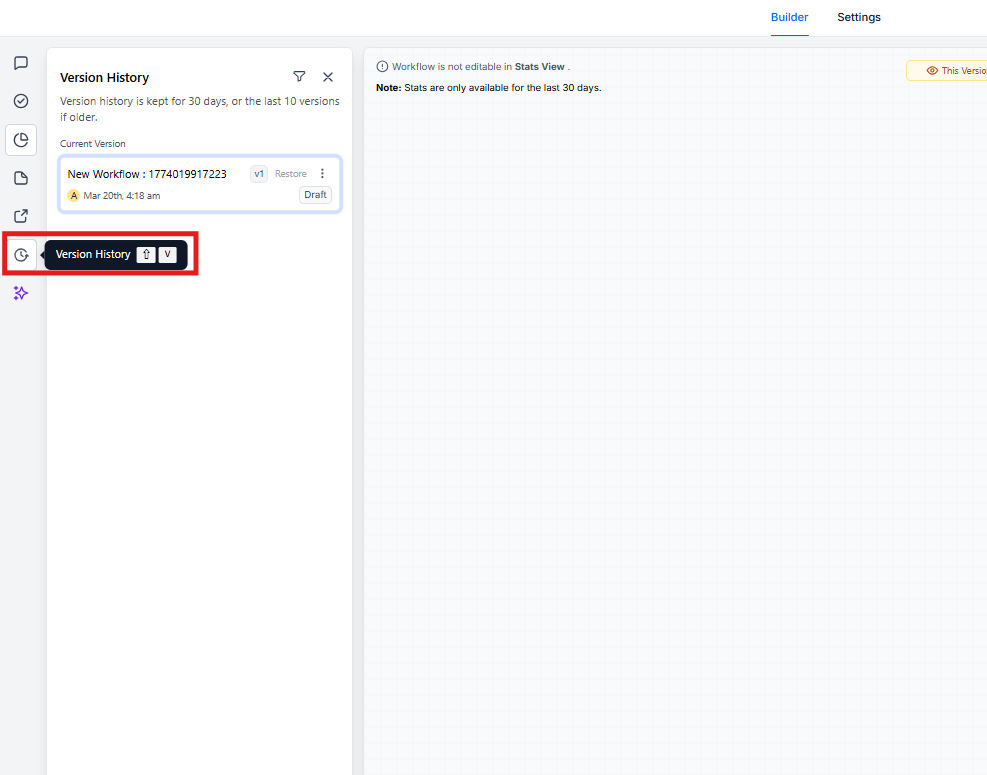
To view history:
- Click the History icon in the top-right corner
- Browse through previous versions
- Click Back to Builder to return to editing
Draft/Publish Toggle
The Draft/Publish toggle controls whether your automation is live or not.
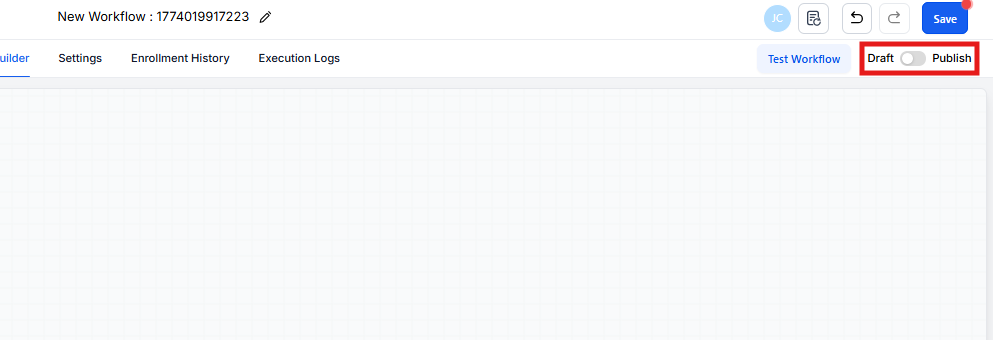
Here's what each mode means:
- Draft mode: The automation won't trigger or take any actions for real families — it's safe to edit
- Publish mode: The automation is live and will trigger for real families when conditions are met
Important: Families who are in waiting steps (like Wait or Manual Call actions) will stay at their current step if you switch an automation to draft and then back to published.
Best Practices for Automations
Avoid Loops
The Automation Builder prevents visual loops (you can't draw arrows that return to a previous step), but you can still create invisible loops through your action logic. Double-check your conditions and actions to avoid families getting stuck in endless cycles.
Keep Automations Small
Try to fit your automations on one screen whenever possible. If you're building something complex, split it into multiple smaller automations. This makes troubleshooting and management much simpler.
Use Clear Names
Give your triggers and actions descriptive names. "Send enrollment packet - Toddler Program" is much clearer than "Send Email." This is especially important if you have staff members who need to understand and update automations.
Frequently Asked Questions
What happens to families in my automation if I set it to draft?
Families in waiting steps (like Wait, Manual Call, or Manual SMS) will stay at the same step. When you publish the automation again, they'll continue from where they left off.
How do goal events work?
Goal events let families skip ahead based on their actions. For example, if a family books a tour, they can jump past all your "please book a tour" follow-up messages. Learn more in Action - Goal Event.
Can I add a family to multiple automations?
Yes! Use the "Add to Automation" action to include a family in multiple automations. This is helpful when you want to start a new sequence without stopping the current one. Learn more in Add To Automation.
How can I integrate external apps?
Use the "Webhook" action to send data to external platforms. Check out Actions - Webhook for details.