
Overview
The Custom Code action lets you extend your automation's functionality by writing and executing custom JavaScript code. You can pull in data from previous steps, perform calculations or transformations, and pass the results to later steps in your automation.
This is perfect when you need to do something specific that isn't covered by Enrollio's built-in actions — like custom calculations, data formatting, or conditional logic.
Action Name
Custom Code
What It Does
The Custom Code action runs JavaScript code within your automation. You can process data from earlier steps and return output that flows into subsequent steps.
Think of it as a mini calculator or data processor that sits inside your automation.
How to Configure
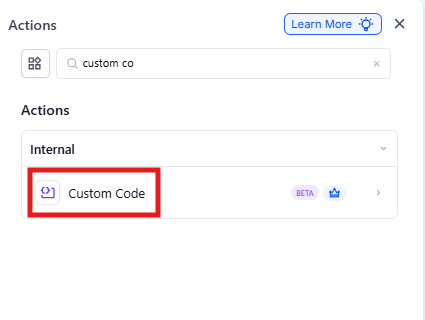
1. Action Name
Give your custom code step a descriptive name so you can easily identify it in your automation. For example: "Calculate Enrollment Discount" or "Format Parent Phone Number."
2. Language
This is set to JavaScript by default. Currently, JavaScript is the only supported language.
3. Property to Include in Code
Add key-value pairs for any data you want to use in your code:
- Key: The name you'll use to reference this data in your code
- Value: Either a hardcoded value or data mapped from previous automation steps
Access these values in your code using inputData.<key>. For example, if your key is tuitionRate, reference it as inputData.tuitionRate.
4. Code
Write your JavaScript code here to process the values you mapped above. Your code should return output as a JavaScript object or array of objects.
For example: output = { discountedPrice: finalPrice }
Configuration Fields
| Field Name | Description | Required |
|---|---|---|
| Action Name | The name displayed in your automation | Yes |
| Language | Programming language (JavaScript) | Yes |
| Property To Include In Code | Data fields from previous steps. Access them using inputData.keyName
|
Yes |
| Code | JavaScript code that processes data and returns a JavaScript object | Yes |
Example: Adding Two Numbers
Let's say you want to calculate the total enrollment fee by adding a registration fee and first month's tuition.
Properties to Include:
- Key:
registrationFee→ Value: 150 - Key:
monthlyTuition→ Value: 1200
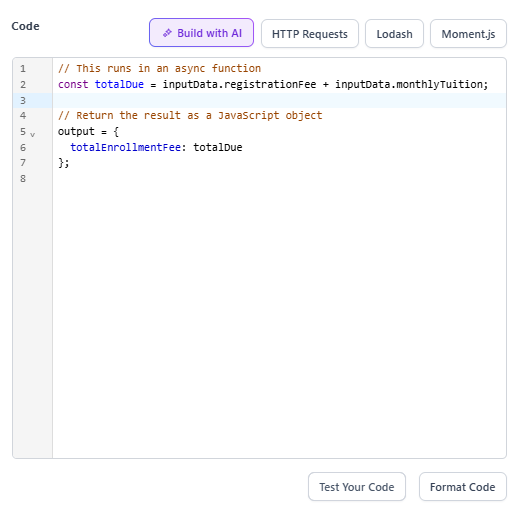
Code:
// This runs in an async function
const totalDue = inputData.registrationFee + inputData.monthlyTuition;

// Return the result as a JavaScript object
output = {
  totalEnrollmentFee: totalDue
};
This adds the two mapped values and outputs the sum as totalEnrollmentFee, which you can use in later automation steps.
Using the Output
After your custom code runs, you can reference its output in later automation steps. The output data will be available under this action's step name.
For example, if you named this action "Calculate Total Fee" and your output is { totalEnrollmentFee: 1350 }, you can reference it in a text message like: "Your total enrollment fee is {{Calculate Total Fee.totalEnrollmentFee}}."