
If you're switching to Enrollio from ClickFunnels, you can import your existing landing pages without rebuilding them from scratch. This saves time, especially if you have multiple enrollment pages to transfer.
Before You Start
- This importer works with both ClickFunnels 1.0 and ClickFunnels 2.0
- Use the publishable (live) link from ClickFunnels — not the shareable link
- Import one page at a time for the best results
- Note: ClickFunnels Membership Areas cannot be imported and are not available in Enrollio
How to Import a ClickFunnels Page
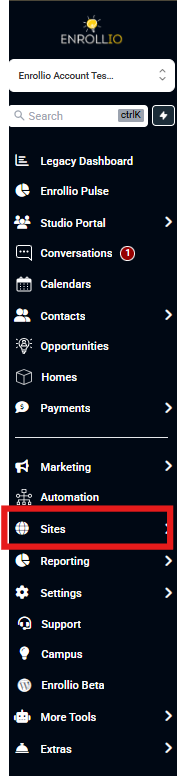
Step 1: Navigate to Sites
Click Sites in your left navigation menu.
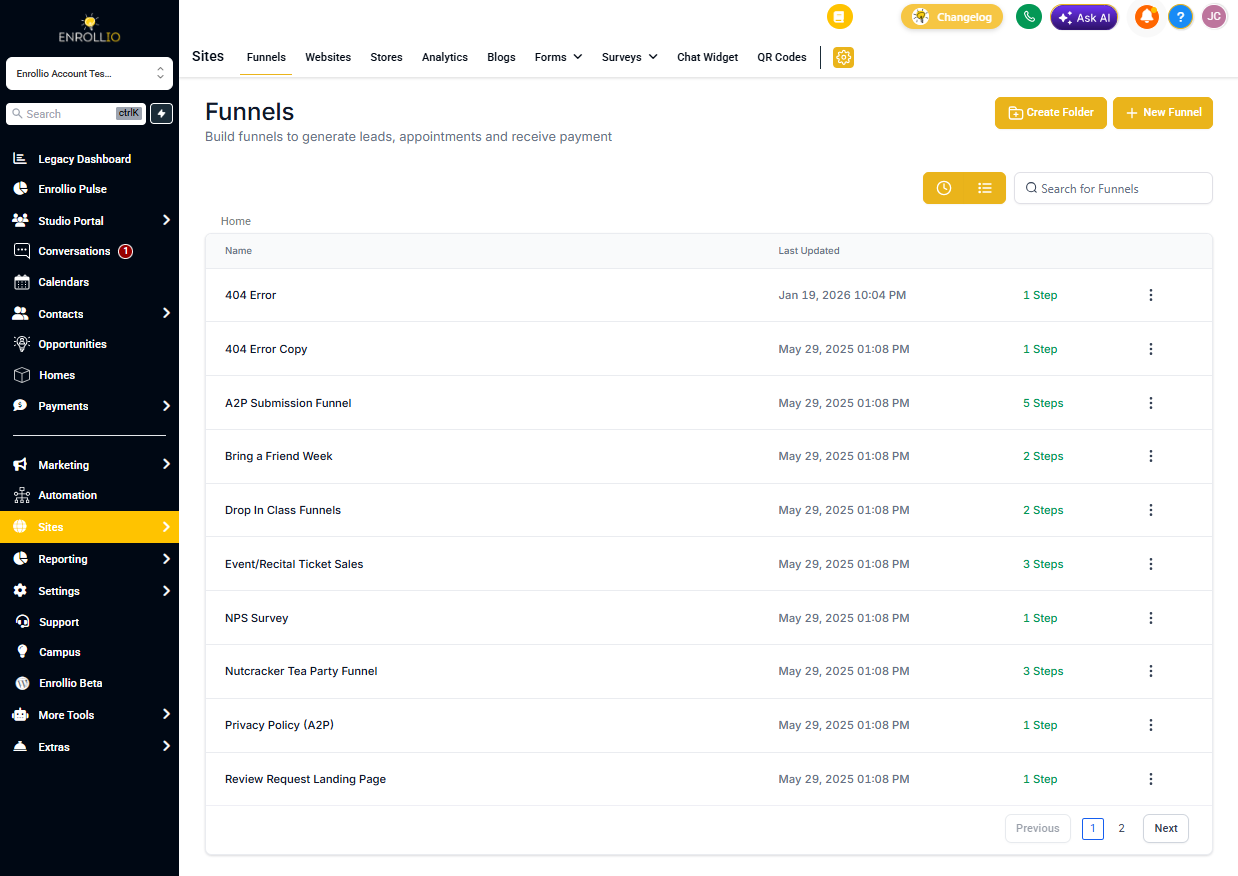
Step 2: Go to Funnels
Click on Funnels to view your existing enrollment pages.
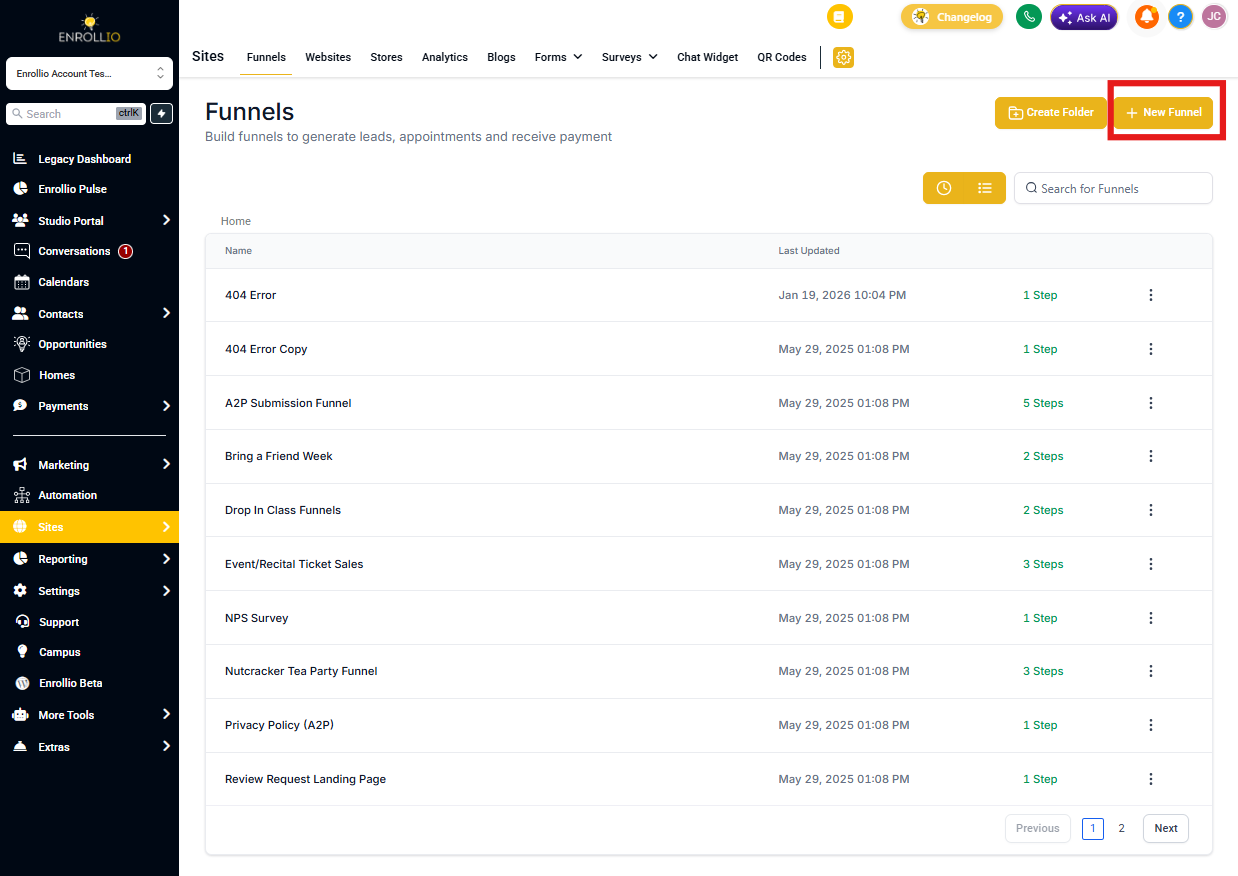
Step 3: Create a New Funnel
Click New Funnel to start creating your enrollment page sequence.
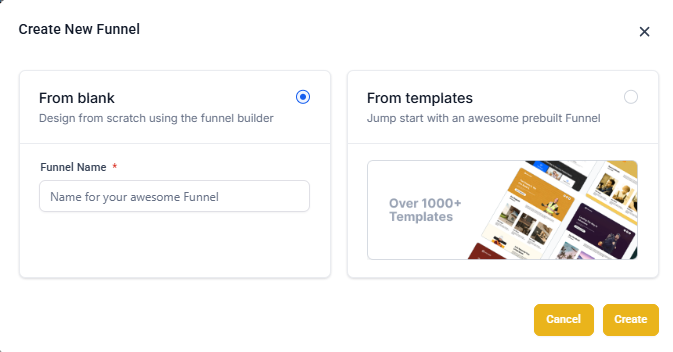
Enter a name for your funnel (for example, "Summer Camp Enrollment 2025") and click Create Funnel.
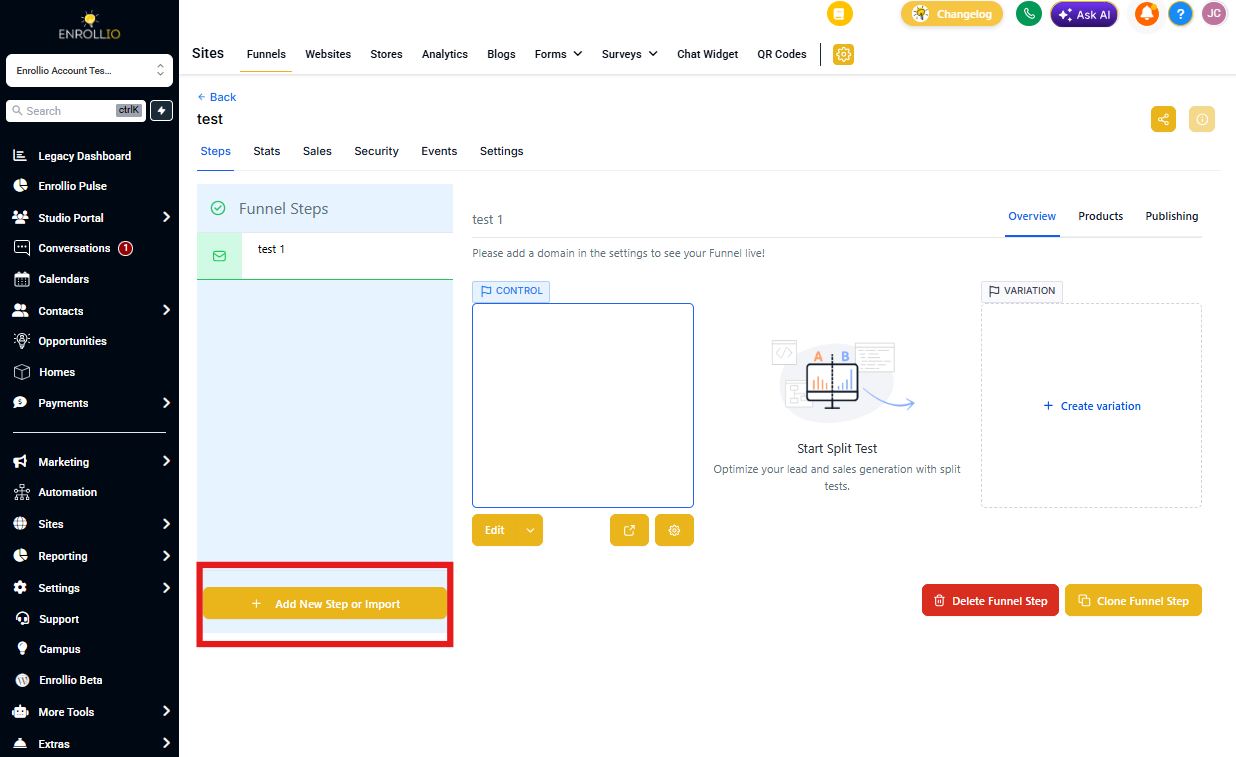
Step 4: Add a New Step
Click Add New Step to create the first page in your funnel.
Step 5: Import from ClickFunnels
Fill out the following fields:
- Name: Give your page a descriptive name (e.g., "Registration Form")
- Path: Enter the URL path for this page (e.g., "/register")
- ClickFunnels Link: Paste your live ClickFunnels page URL
Check the confirmation box, then click Create Funnel Step.
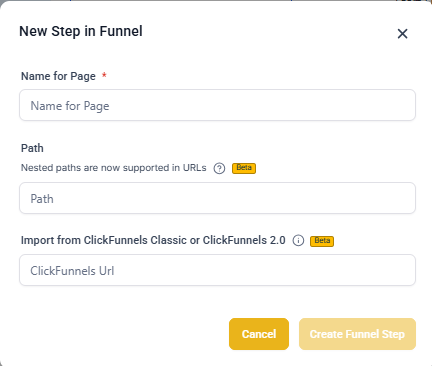
Enrollio will import your ClickFunnels page design and content. Repeat this process for each additional page in your enrollment sequence.
What Doesn't Import
ClickFunnels Membership Areas cannot be imported using the share URL. Since Enrollio doesn't offer membership functionality, you'll need to recreate any gated content using alternative methods or remove that section from your enrollment flow.