
Follow these steps to use the Conversion List for Google Ads with your Triggers and Workflows:
Step 1: Adding the Conversion action in your Google Ads account
Within your Google Ads account, navigate to Tools & Settings from the menu.
Click “Conversions” under the Measurement menu.
Click “+New Conversion Action” to add.
To start tracking conversion, choose the import option from the list that appears.
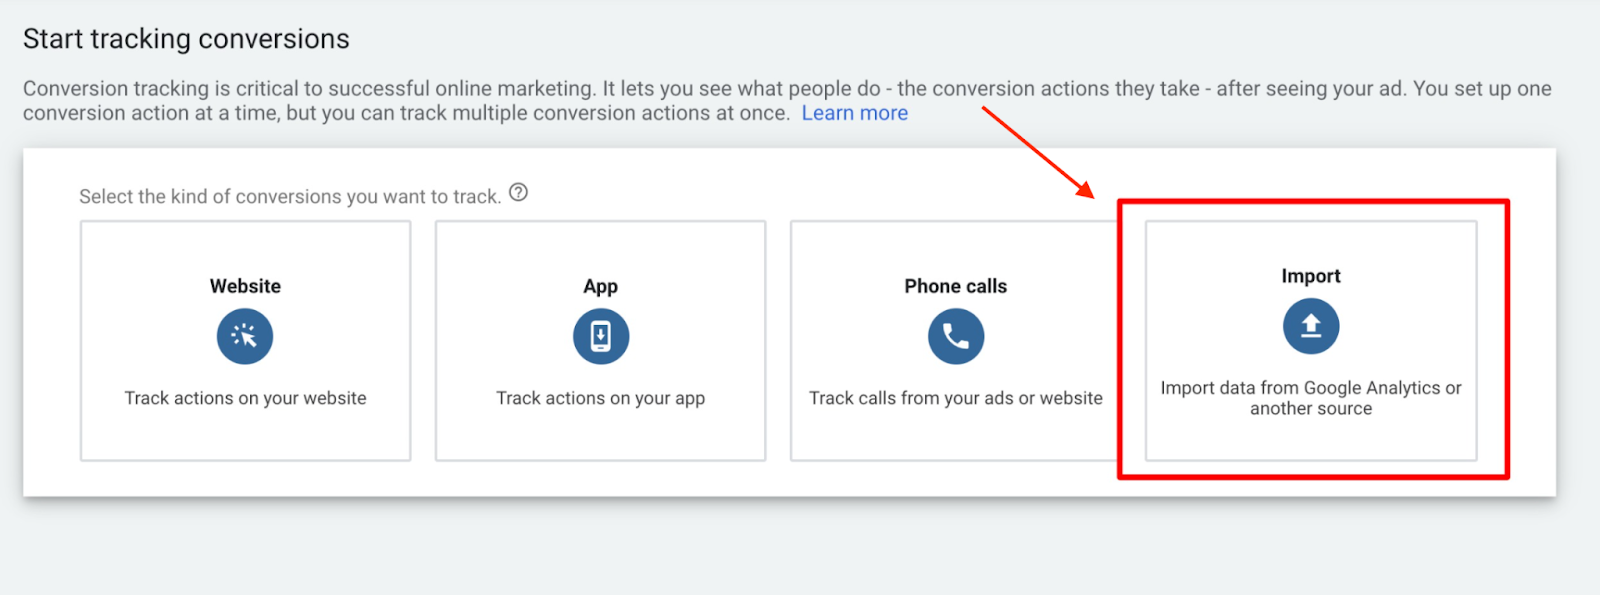
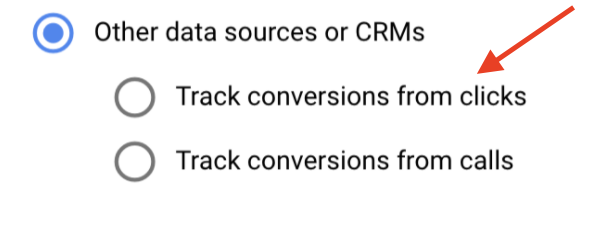
NOTE: Choose what you want to import and select the right button (Google Analytics UA, Google Analytics 4 properties, third-party app analytics, salesforce, or other). If you wish to track clicks on a page or calls initiated by the user, be sure to choose those option from the selectable choices:
Step 2: Set Up the Goals
In the “Goal and action optimization” dropdown, choose “Imported Lead”.
For the Conversion name, match the name to exactly what will be in your Workflow (Step 3 below).
Select a Value. You can use the same, different, or don’t use any value.

Determine the count, either “every” or “one”.

-
Determine the Click Through conversion window.
Set this to 90 days and set the Attribution Model as “First click”
Step 3: Setting up the Workflow Action
Within the Workflow, add a step/action for “Add to Google Adwords”
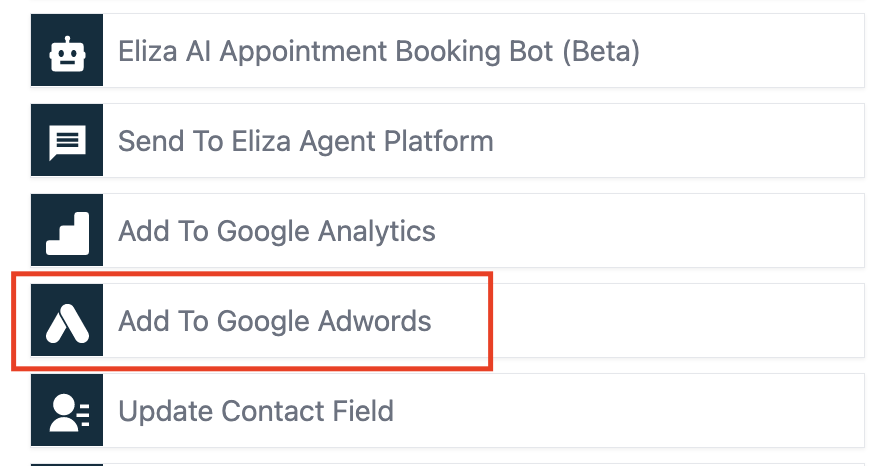
Select “Other” for Conversion.
Insert the Conversion name (exactly as named in Step 2 above).
Click Save and Publish to confirm your changes.
NOTE: In order for the conversion to pass through to Google Ads, the contact record/opportunity must have been created from a URL with a gclid parameter.
Also, it may take approximately 24 hours for the conversion list to populate.