
This article explains how to create and manage class groups and tags. You'll learn how to organize classes and sync tags with CRM contacts.
1. Introduction to Class Groups and Tags
In this video, we walk through how to create class groups and tags.
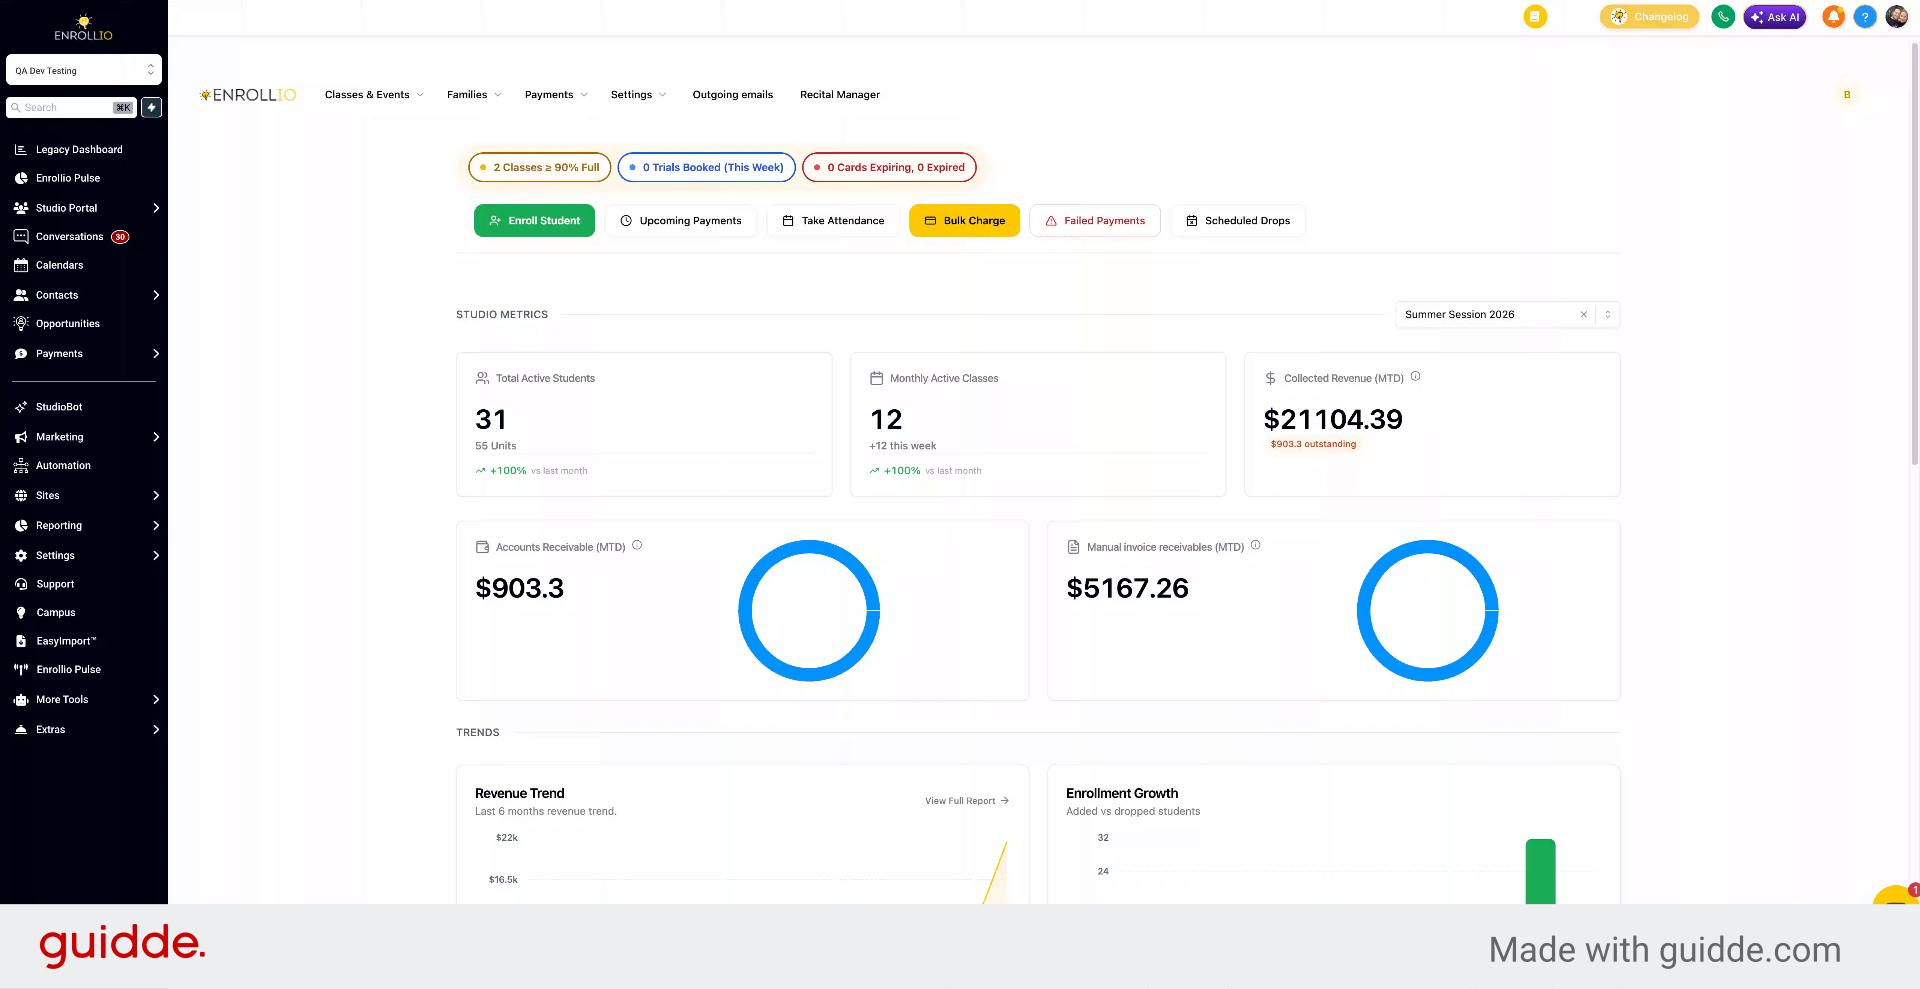
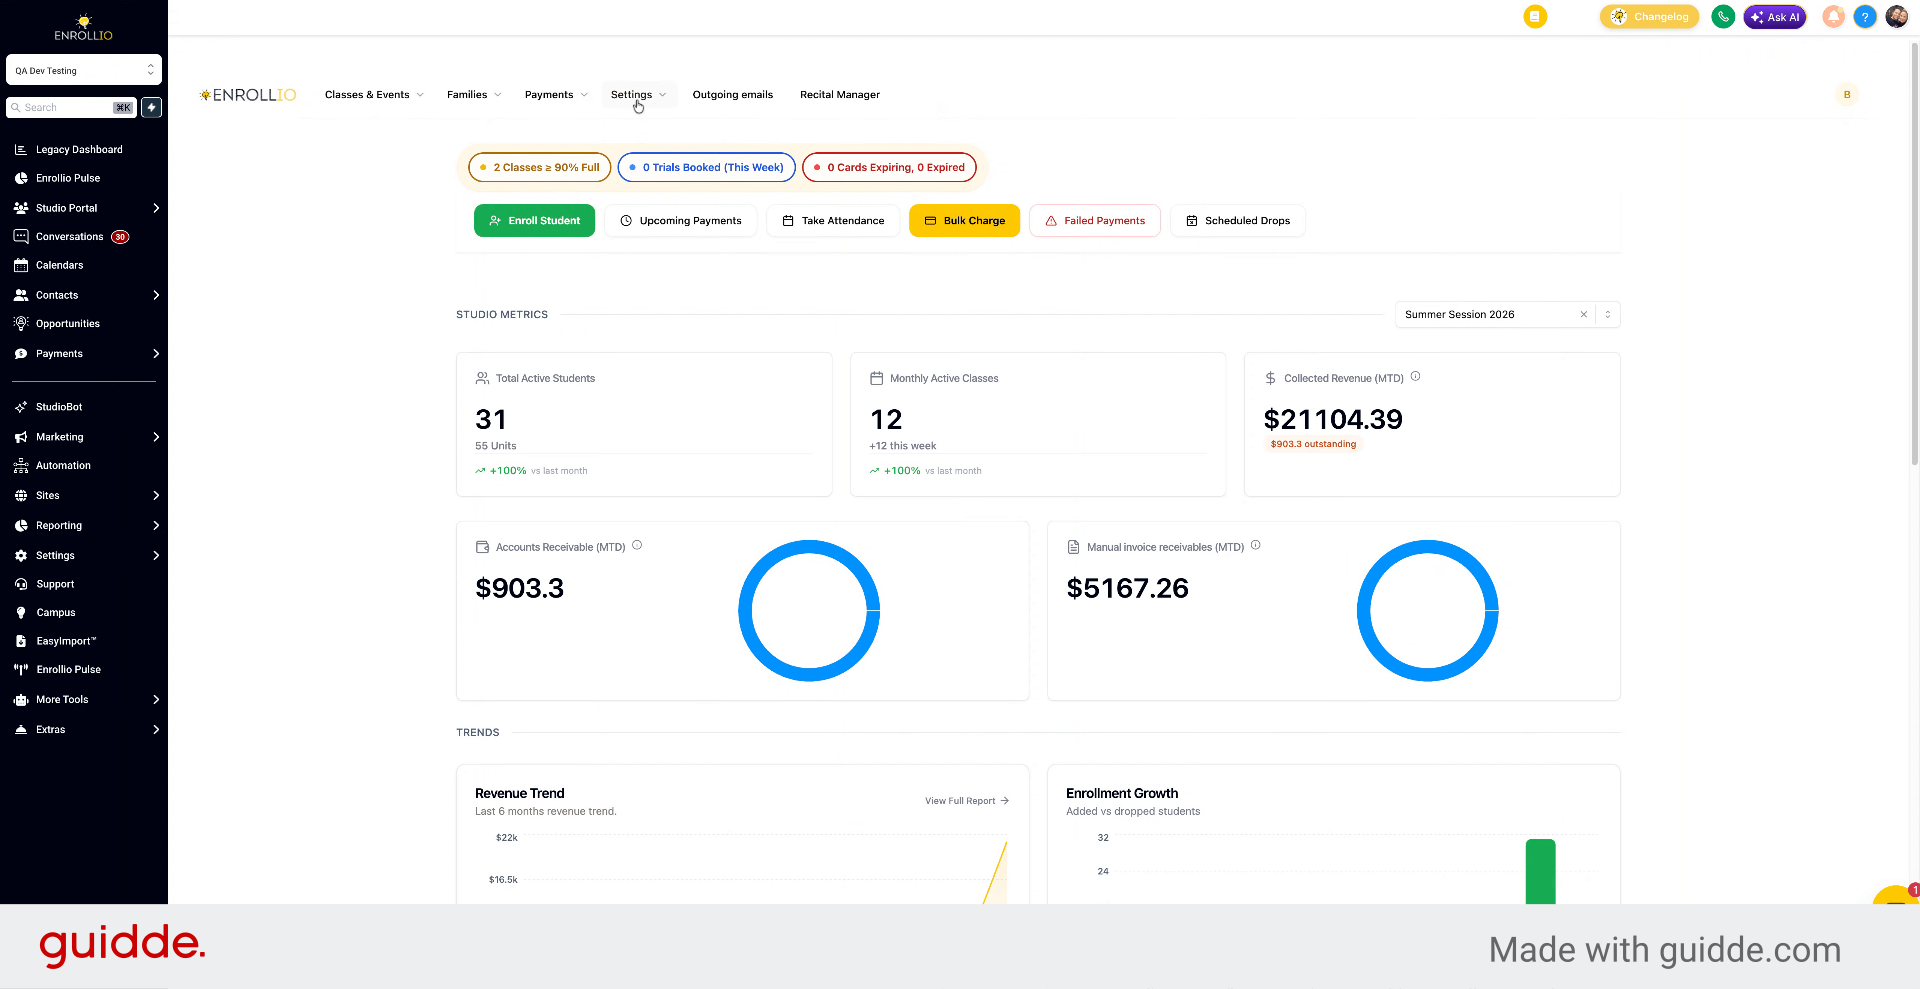
2. Navigate to Class Management
Go to Settings and Class Management.
3. Overview of Groups and Tags
You'll see options for Groups, Instructors, Locations, Rooms, and Tags.
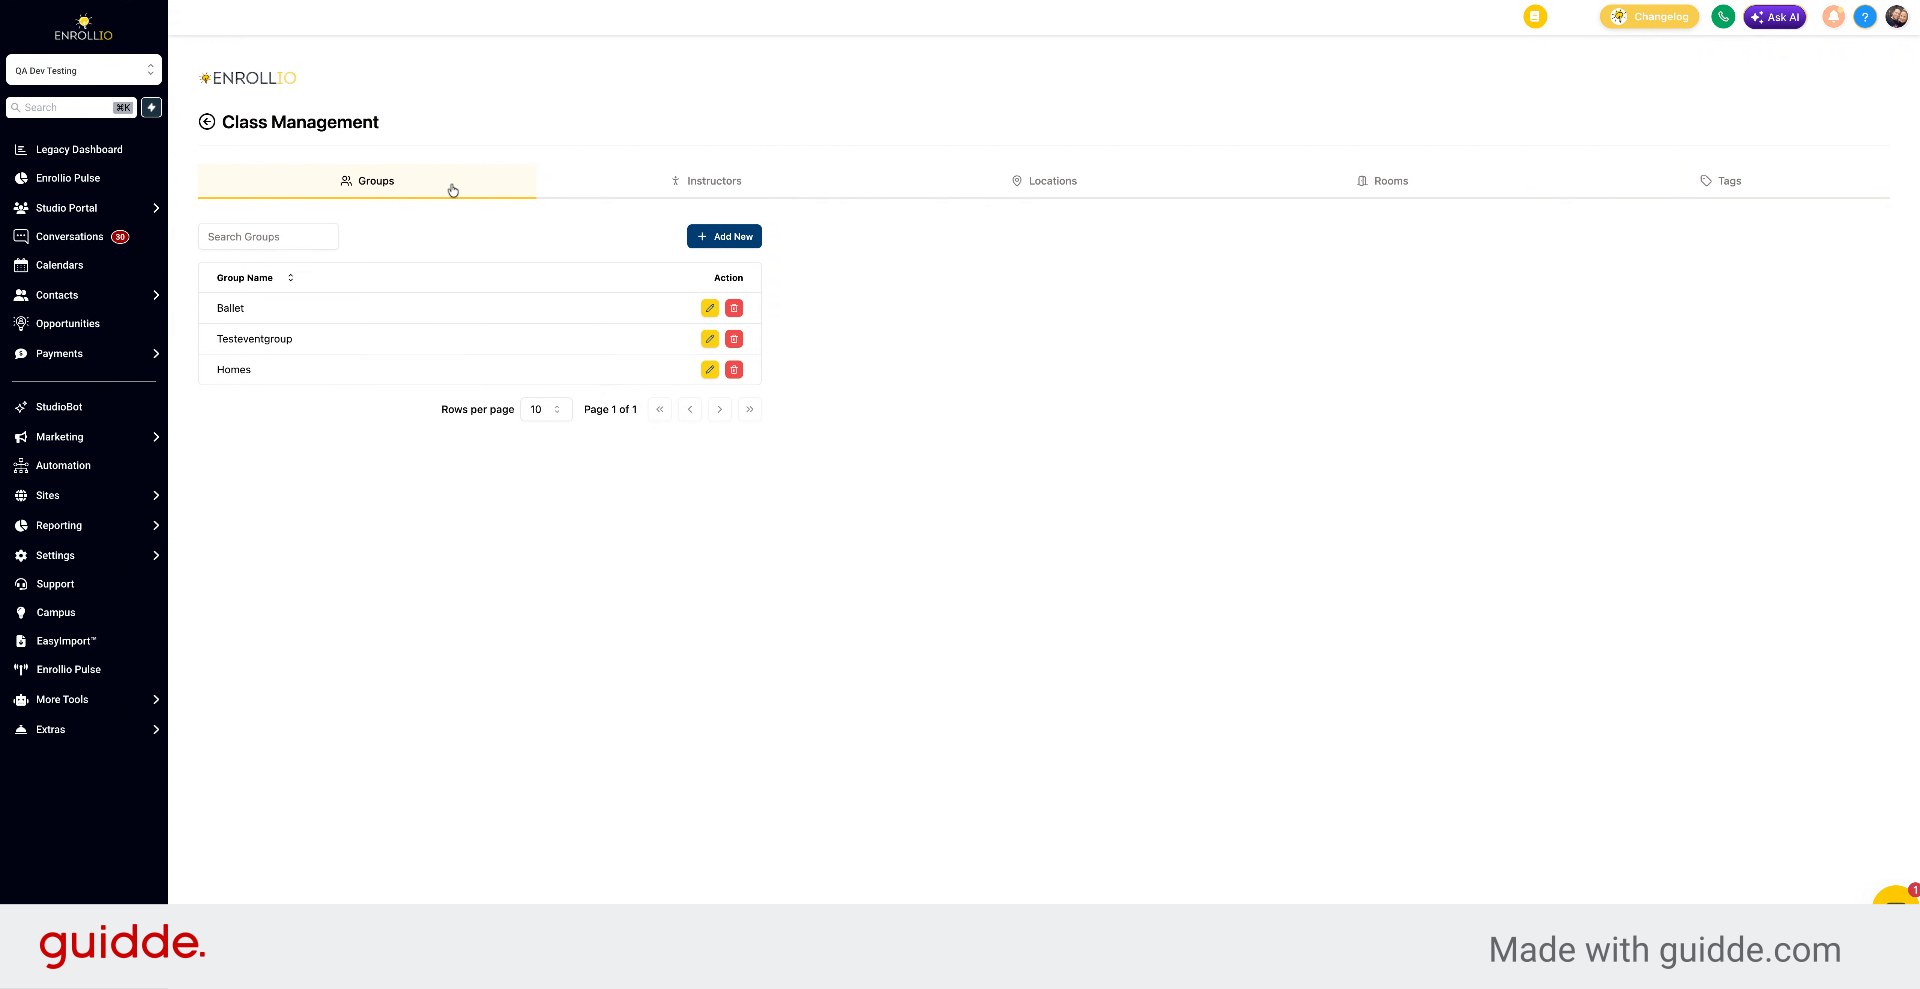
4. Access Groups Section
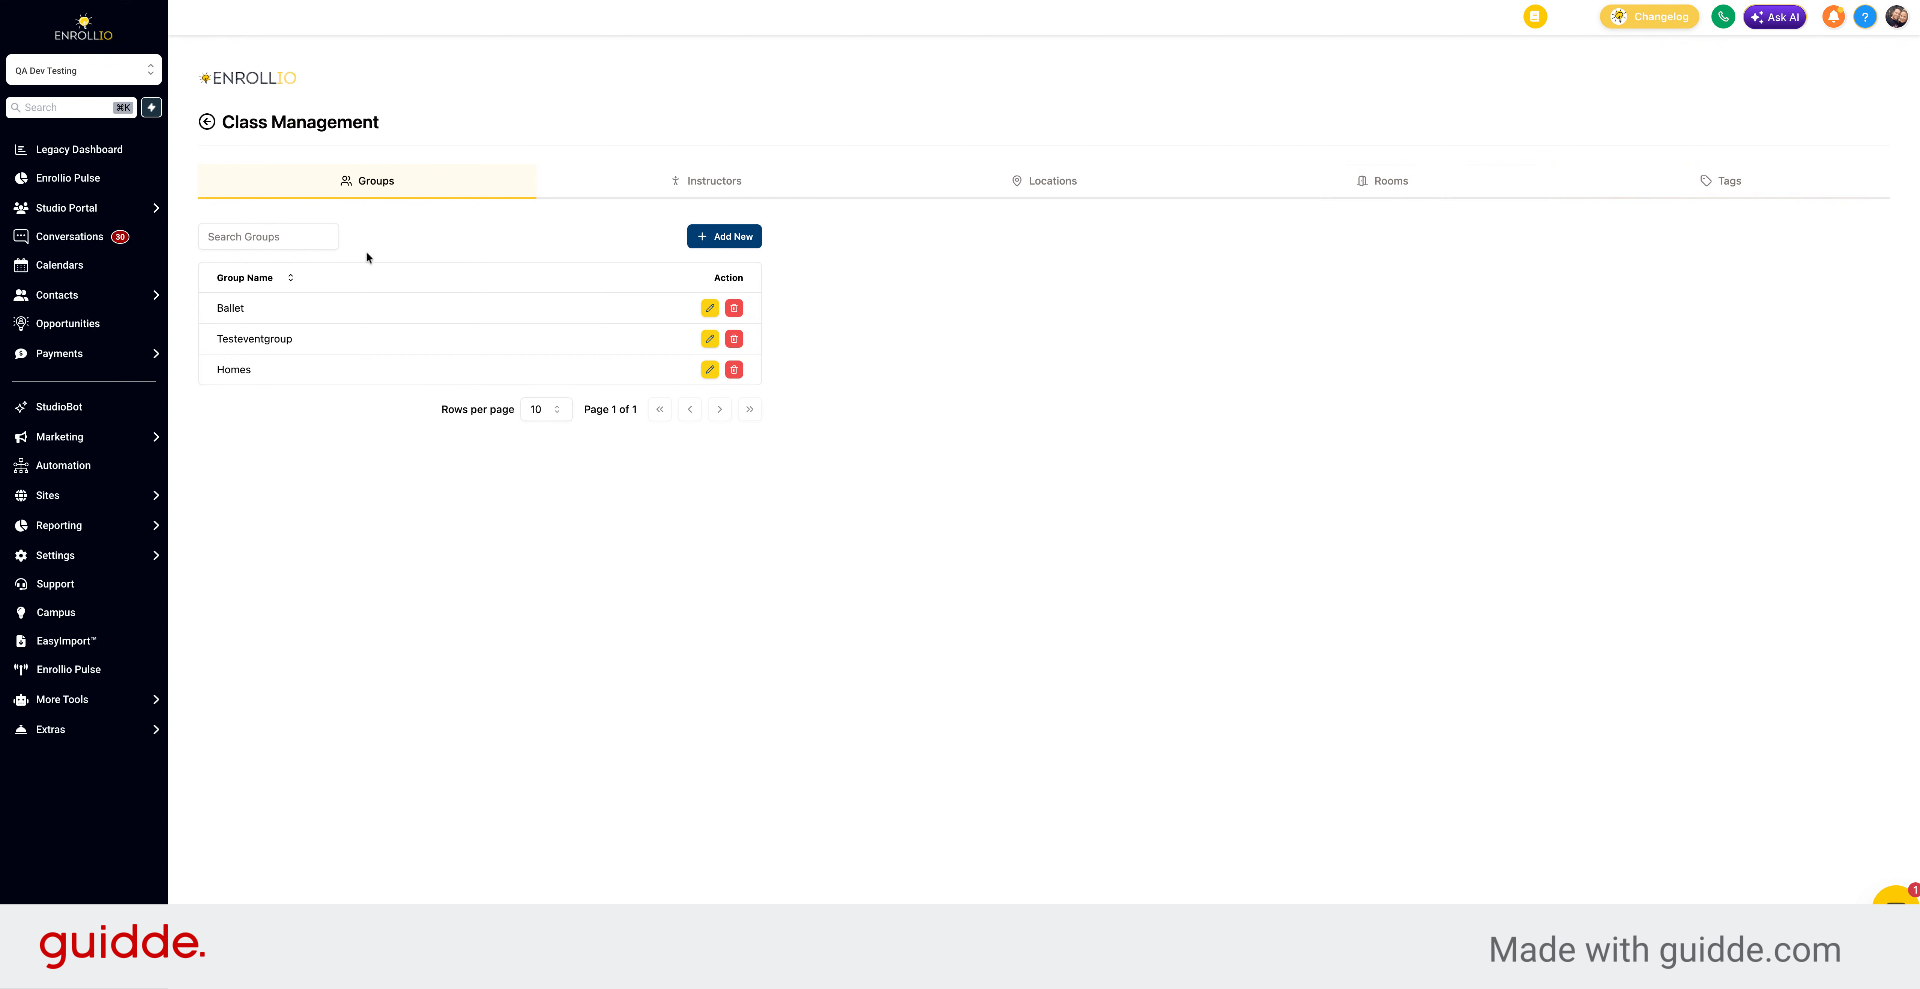
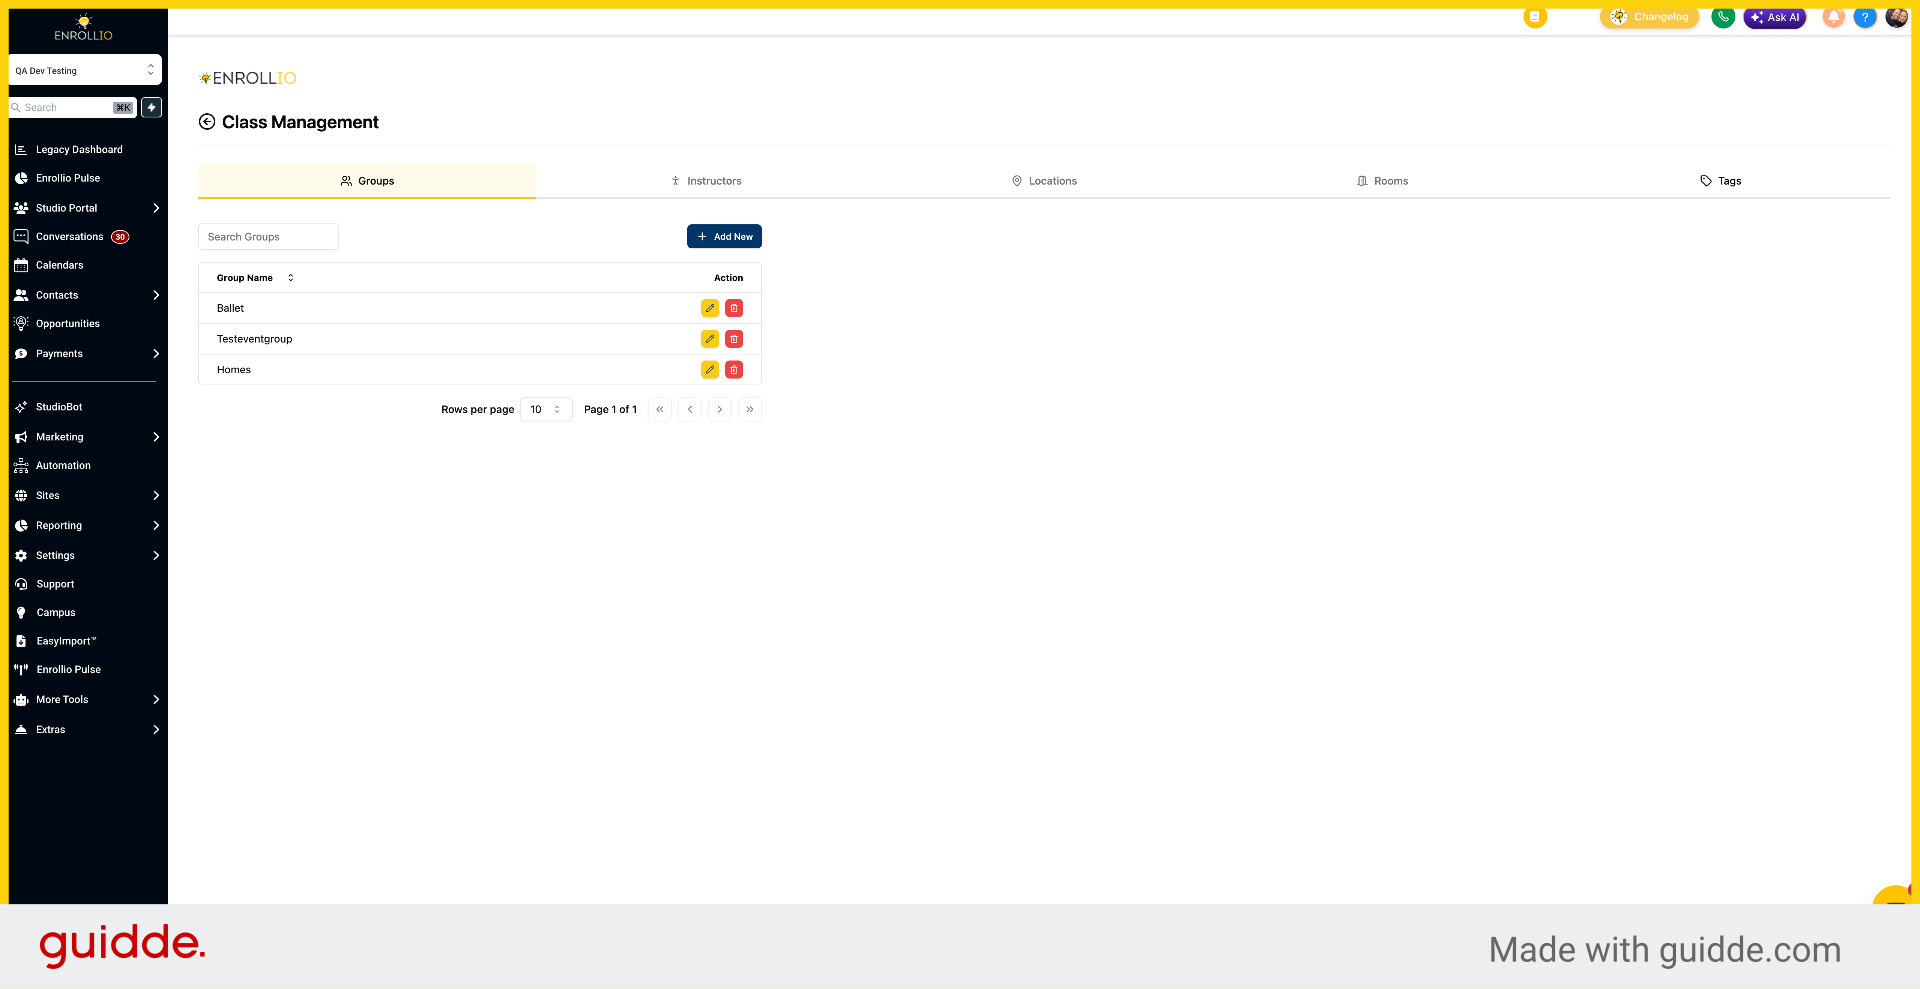
Click Groups to view and manage class groups.
5. Create a New Group
Click Add to create a new group.
6. Edit or Delete Groups
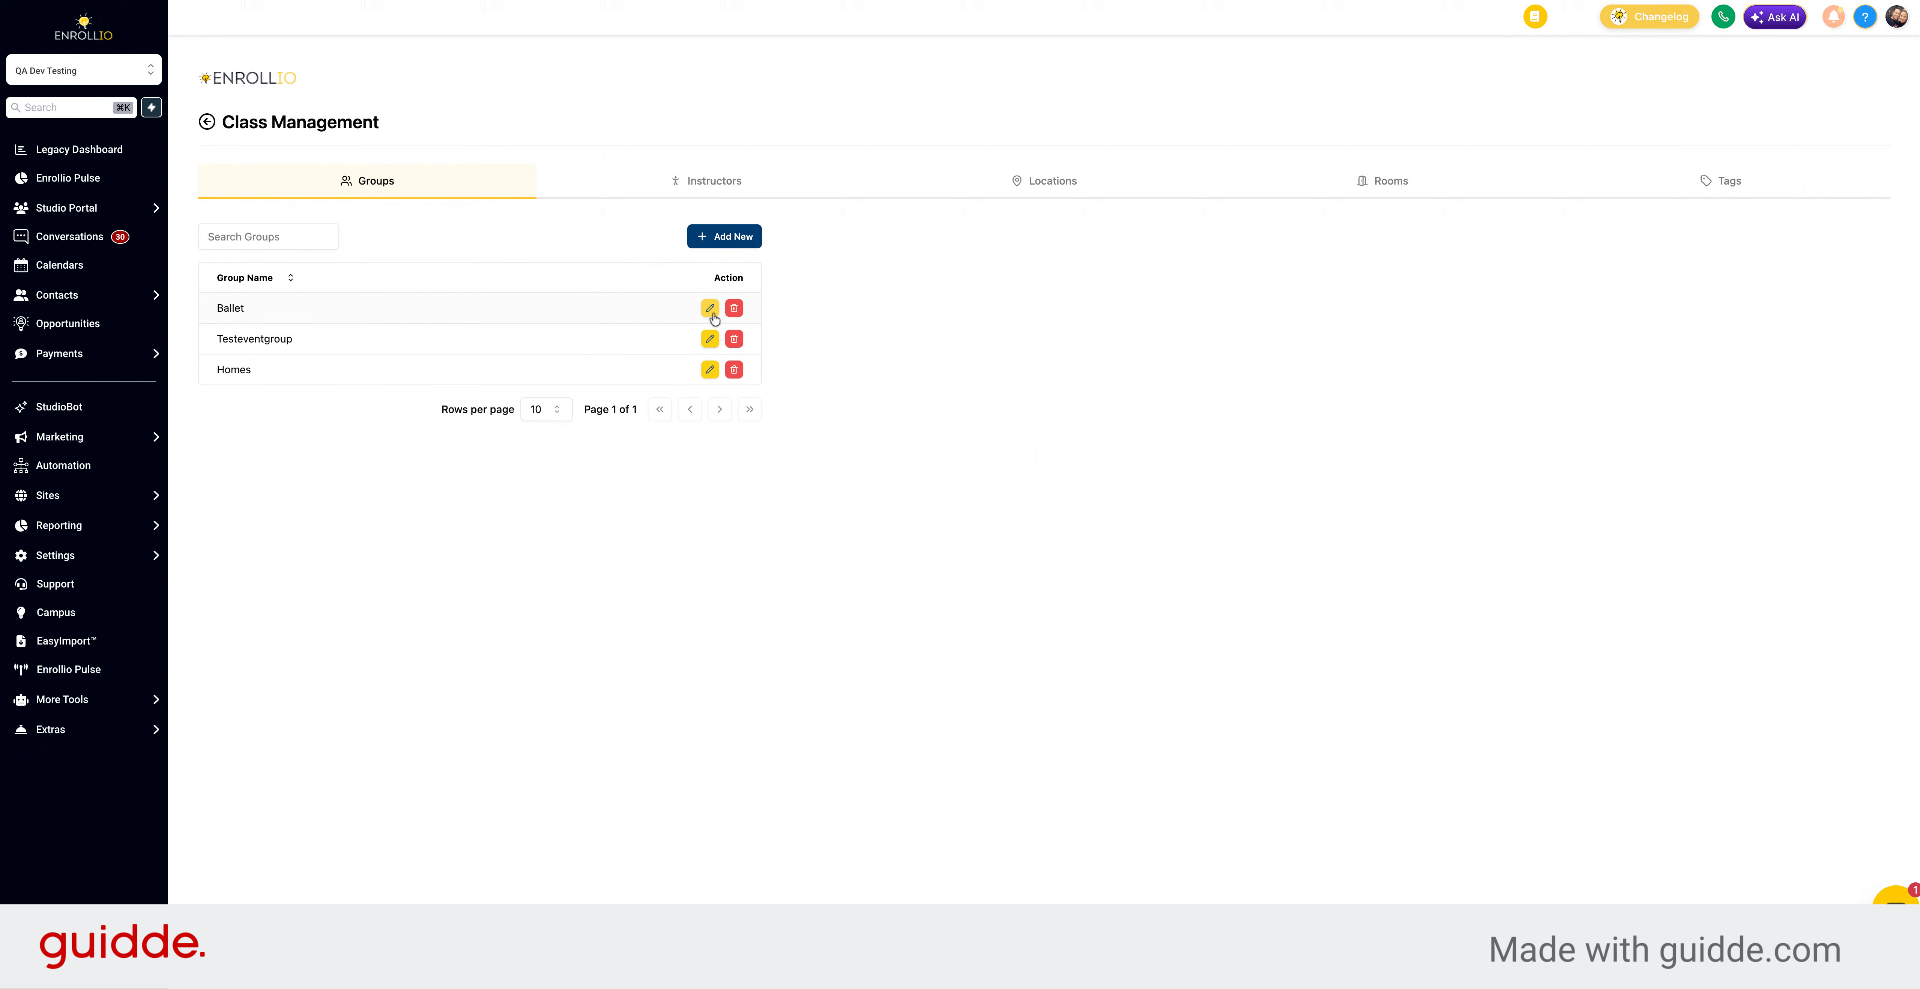
You can also edit or delete groups.
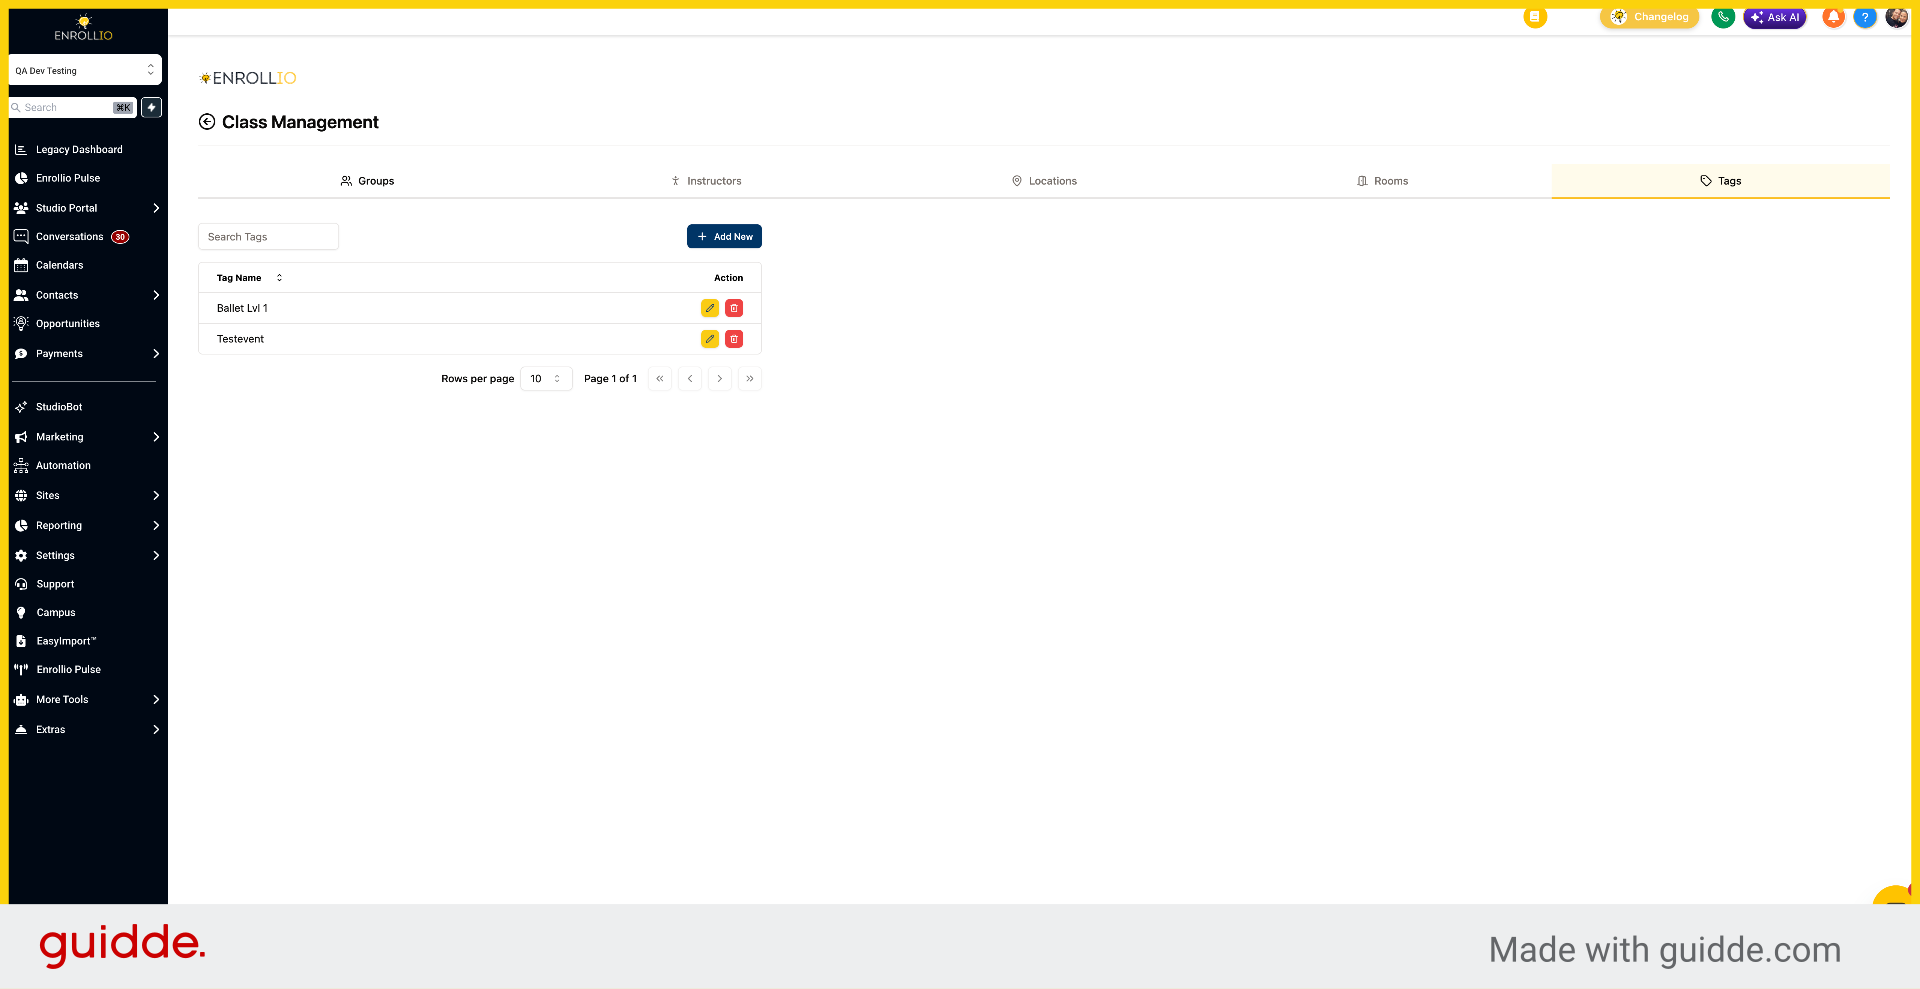
7. Access Tags Section
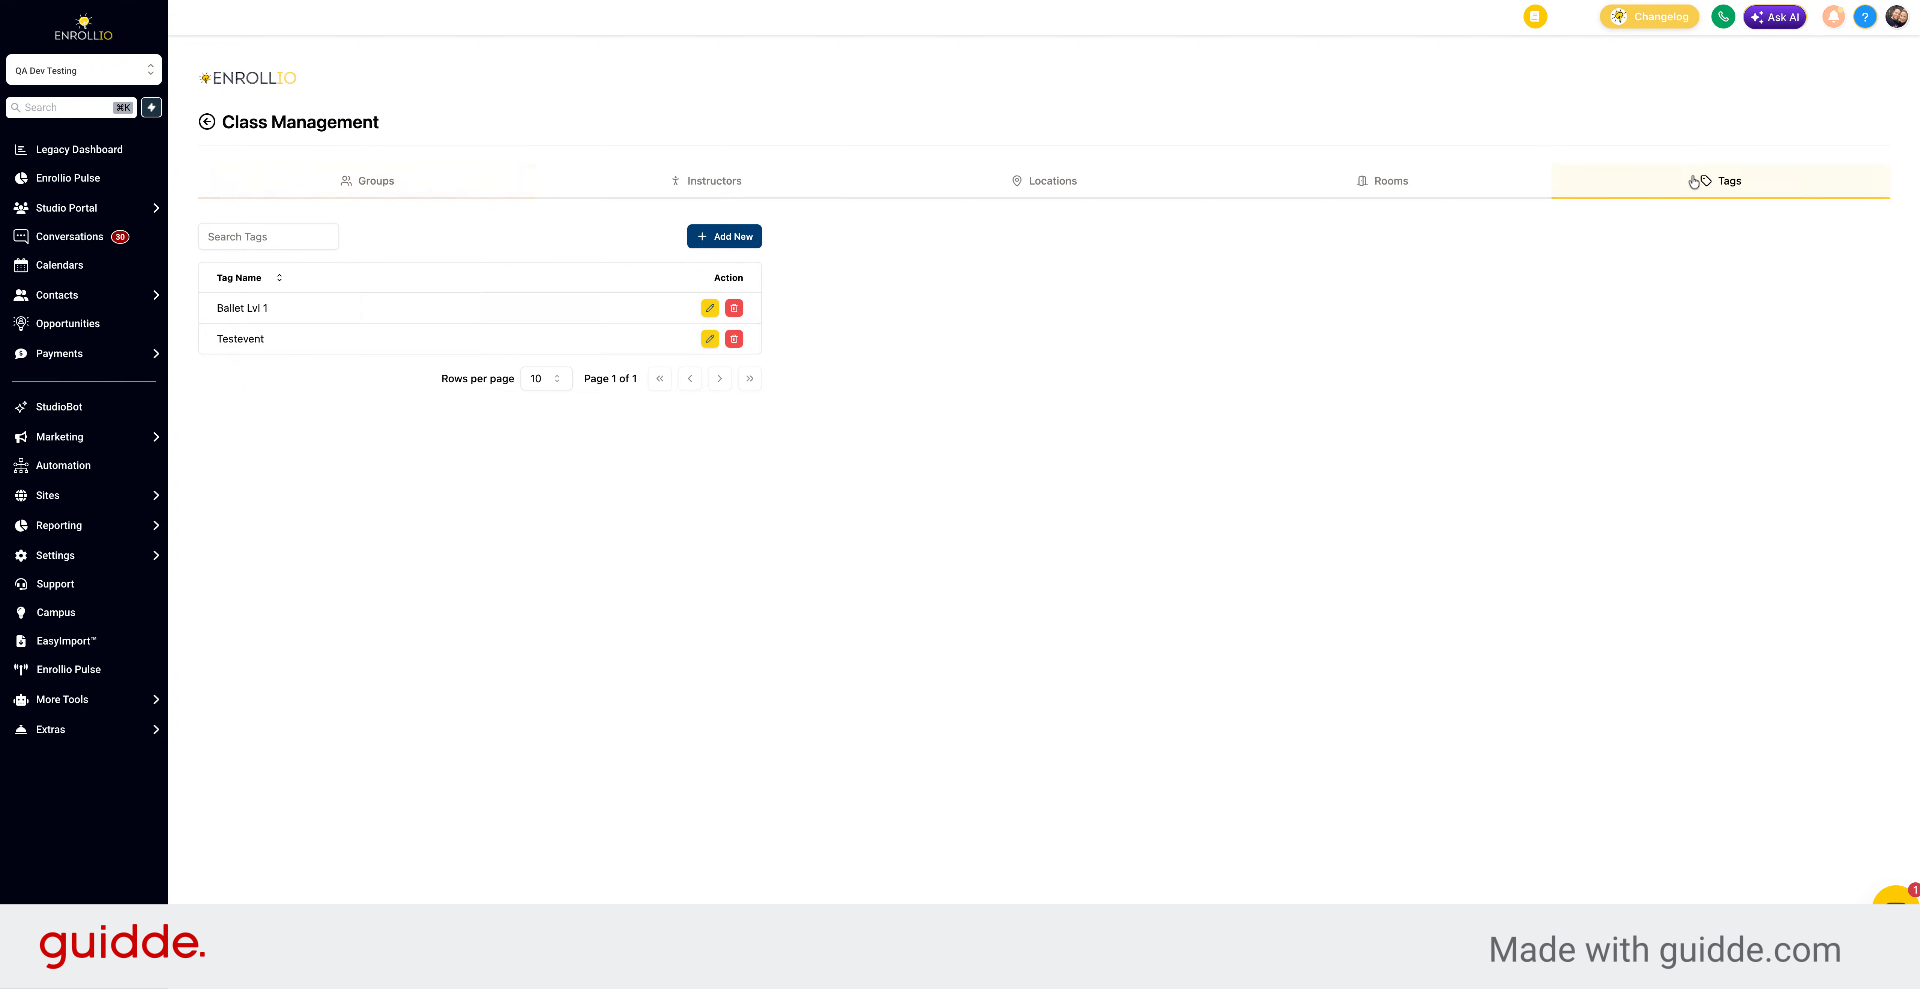
Click Tags to manage class tags.
8. Manage Tags Options
For tags, you can edit, delete, or add new ones.
9. Manually Add a New Class
When creating a class, click Add Class to manually create one.
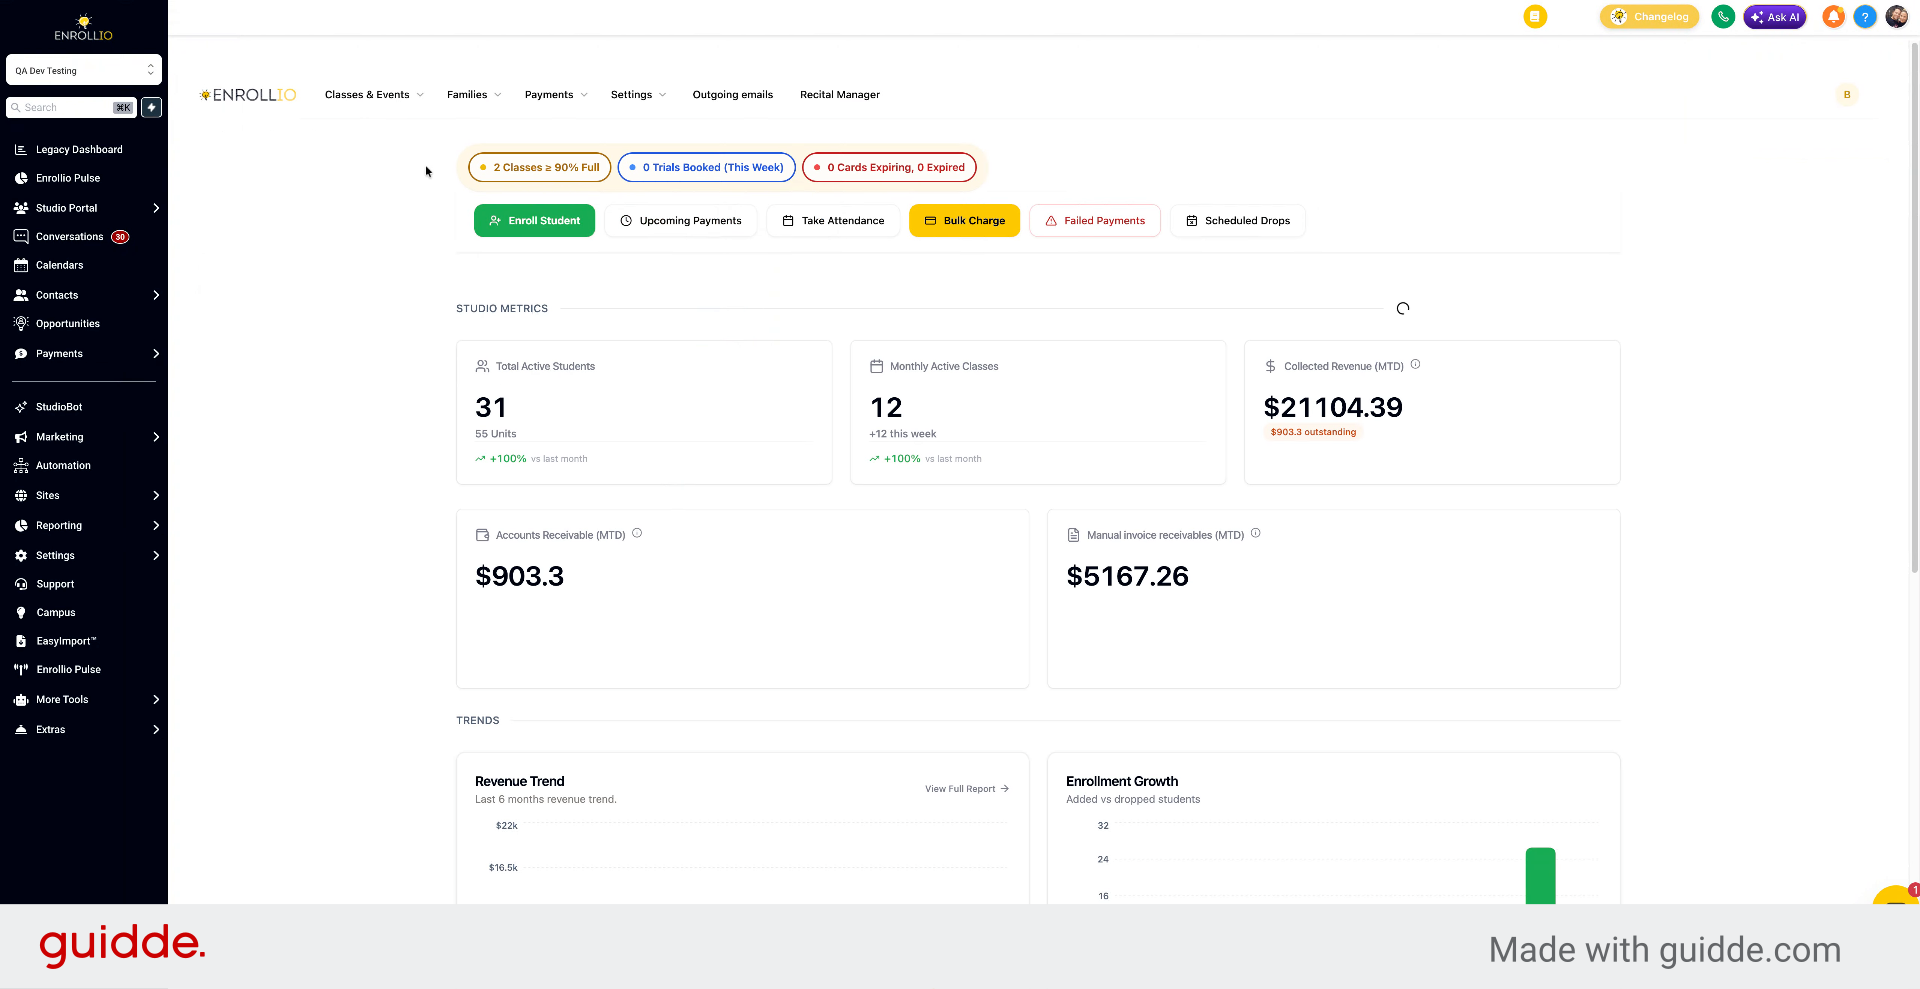
10. Create Groups or Tags in Class
In the class form, you can create a new group or tag.
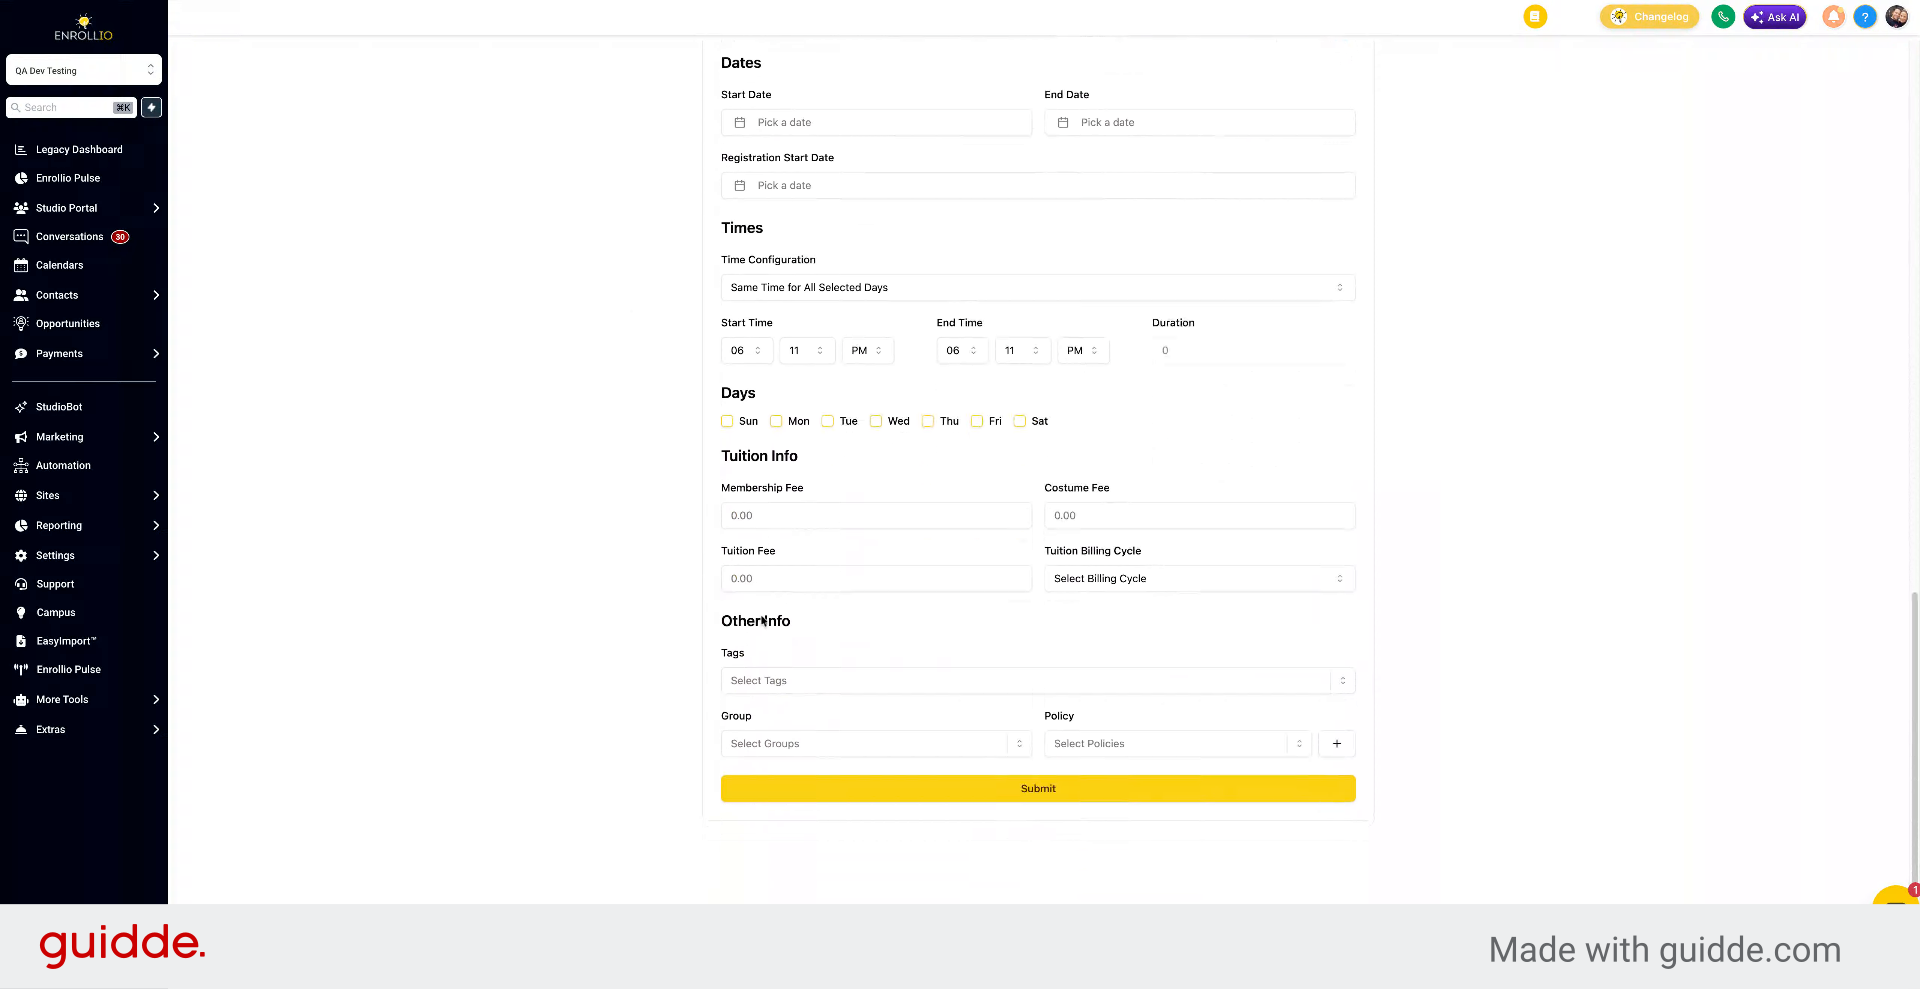
11. Sync Tags with CRM Contacts
When someone signs up for a class, the tags assigned to that class are added to the contact's record in the CRM.
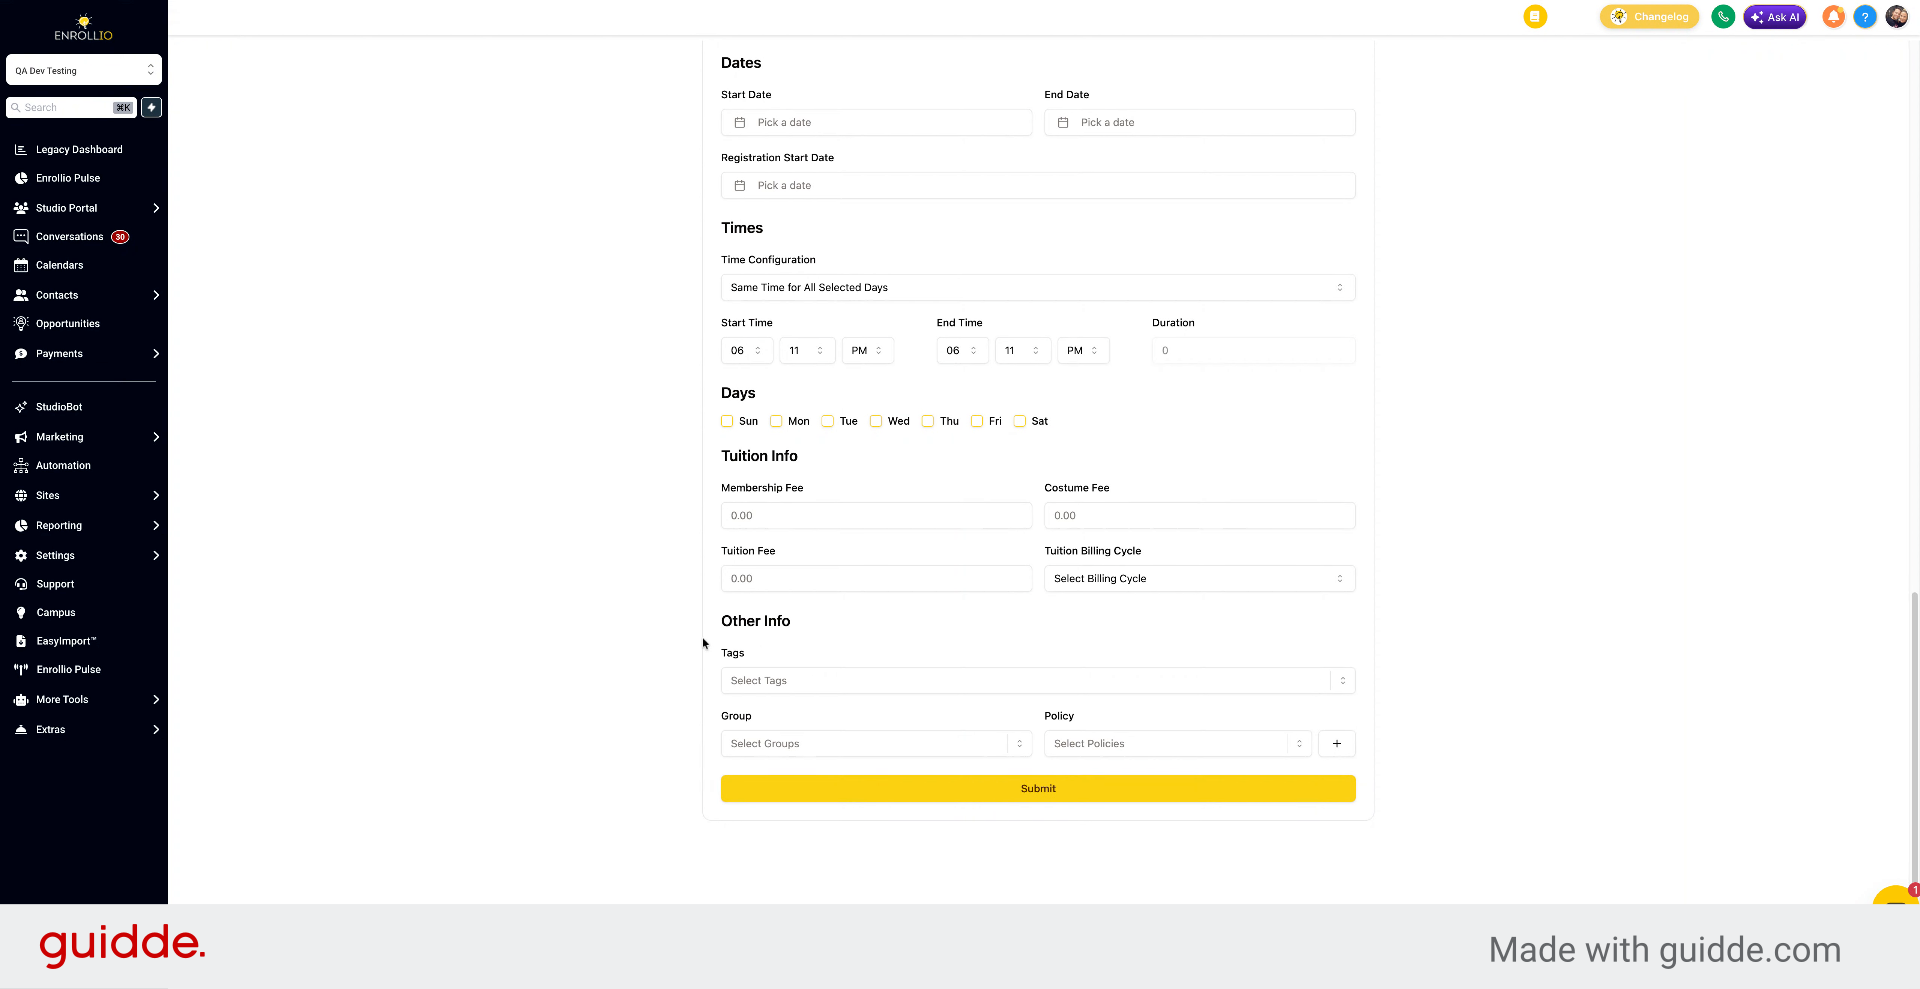
You now know how to create and manage class groups and tags, and how they sync with CRM contacts during sign-ups.