
This article explains how to set up multiple locations within the Enrollio portal. You'll learn how to access settings, manage locations, and assign classes effectively.
1. Introduction To Location Setup
In this video we're going to walk through how to set up multiple locations.
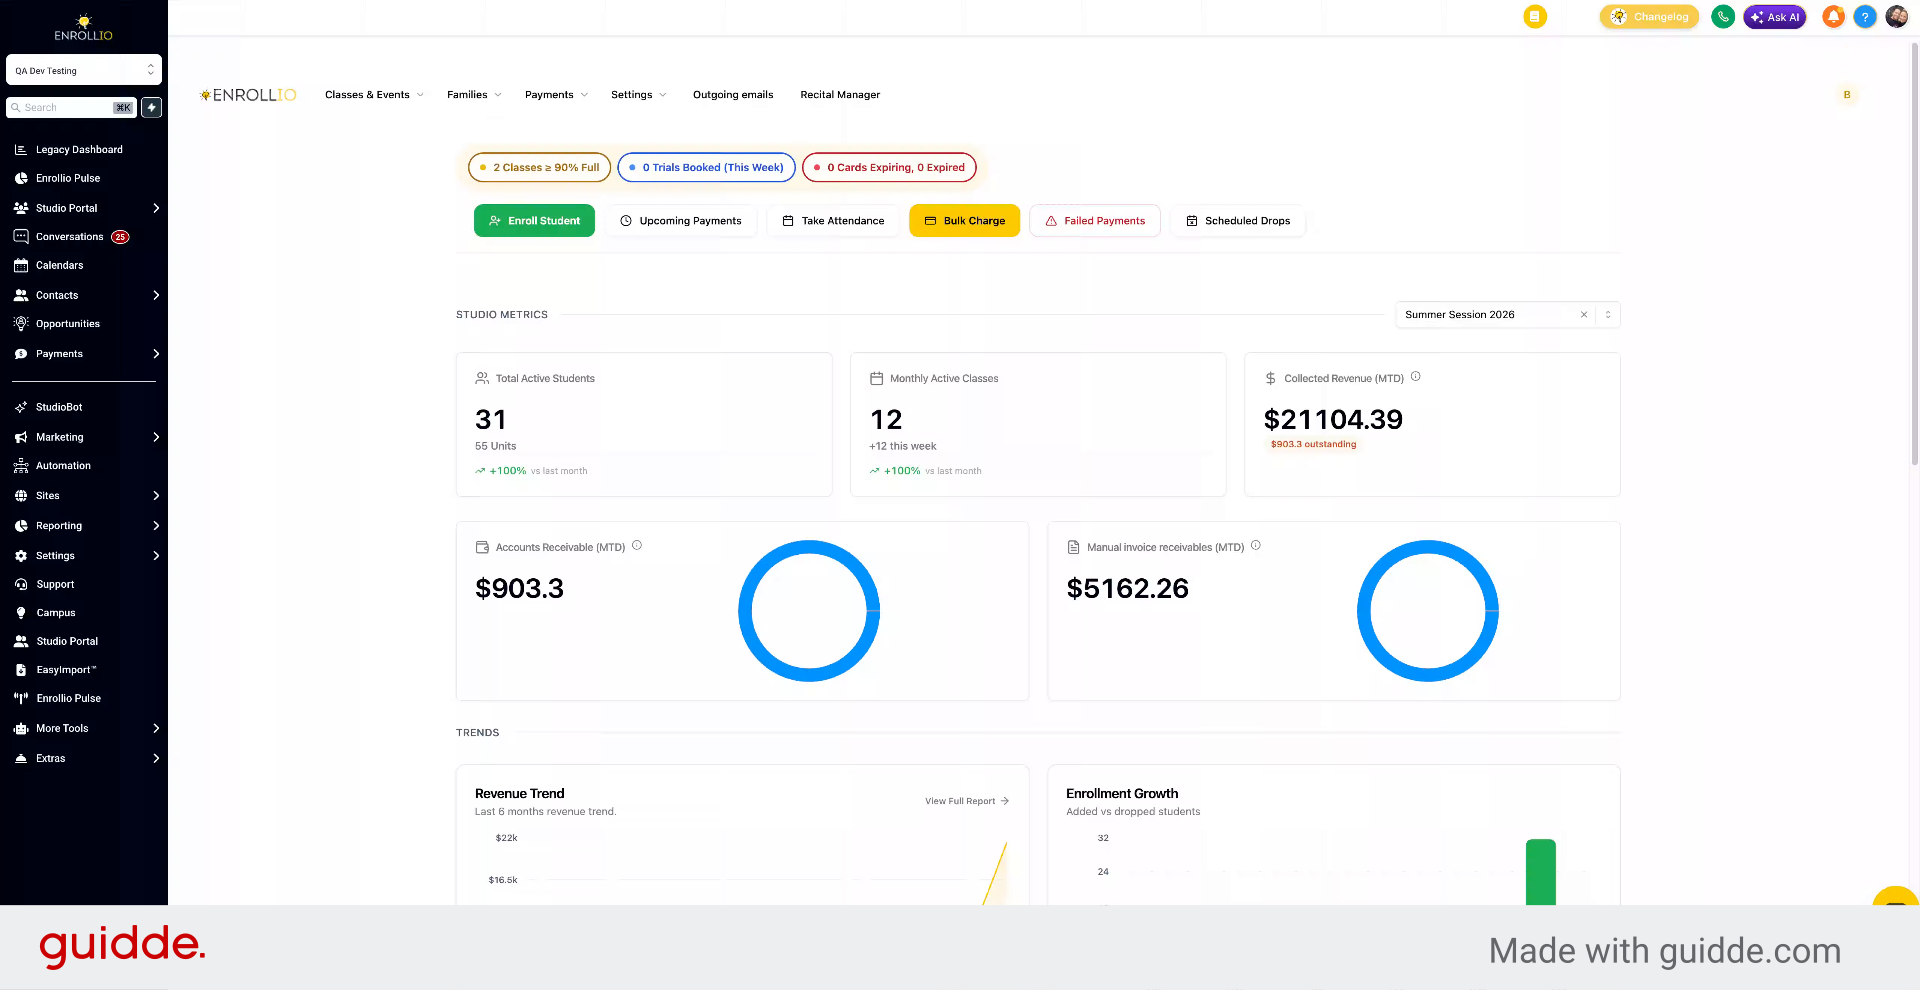
2. Open Settings Menu
First, go to settings.
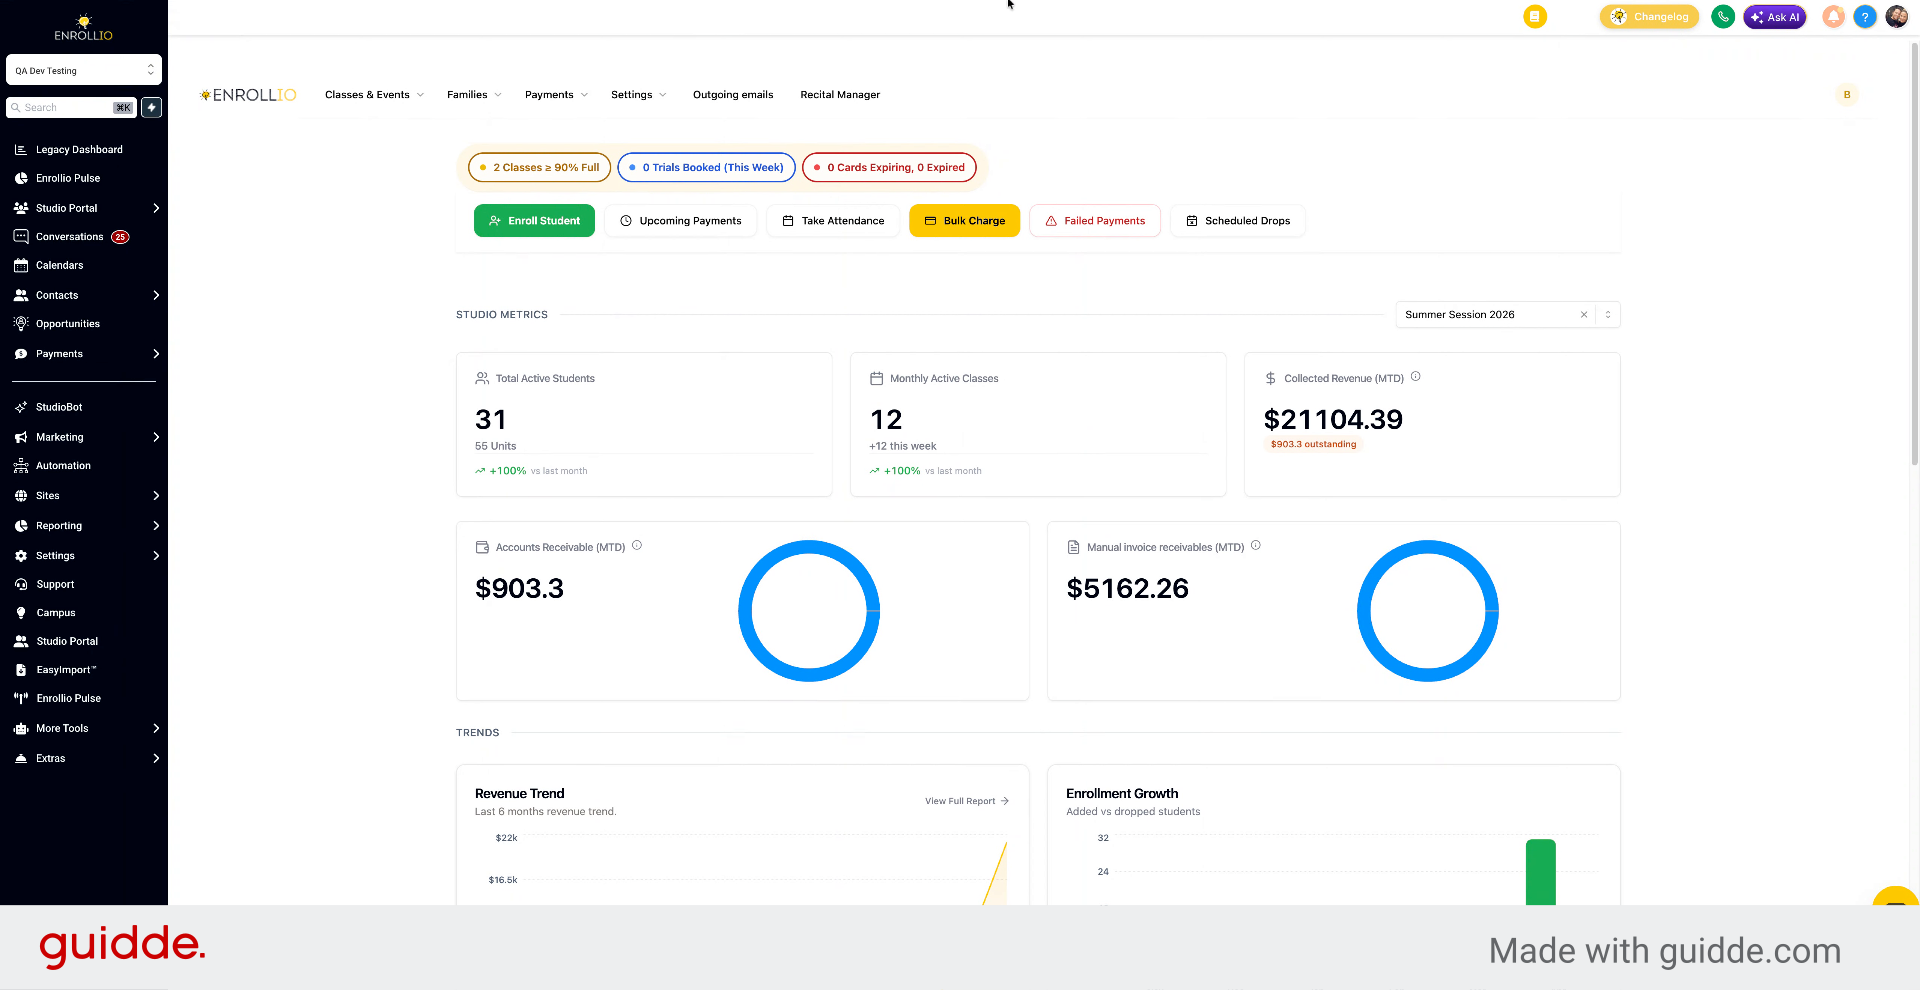
3. Navigate To Class Management
Then go down to class management.
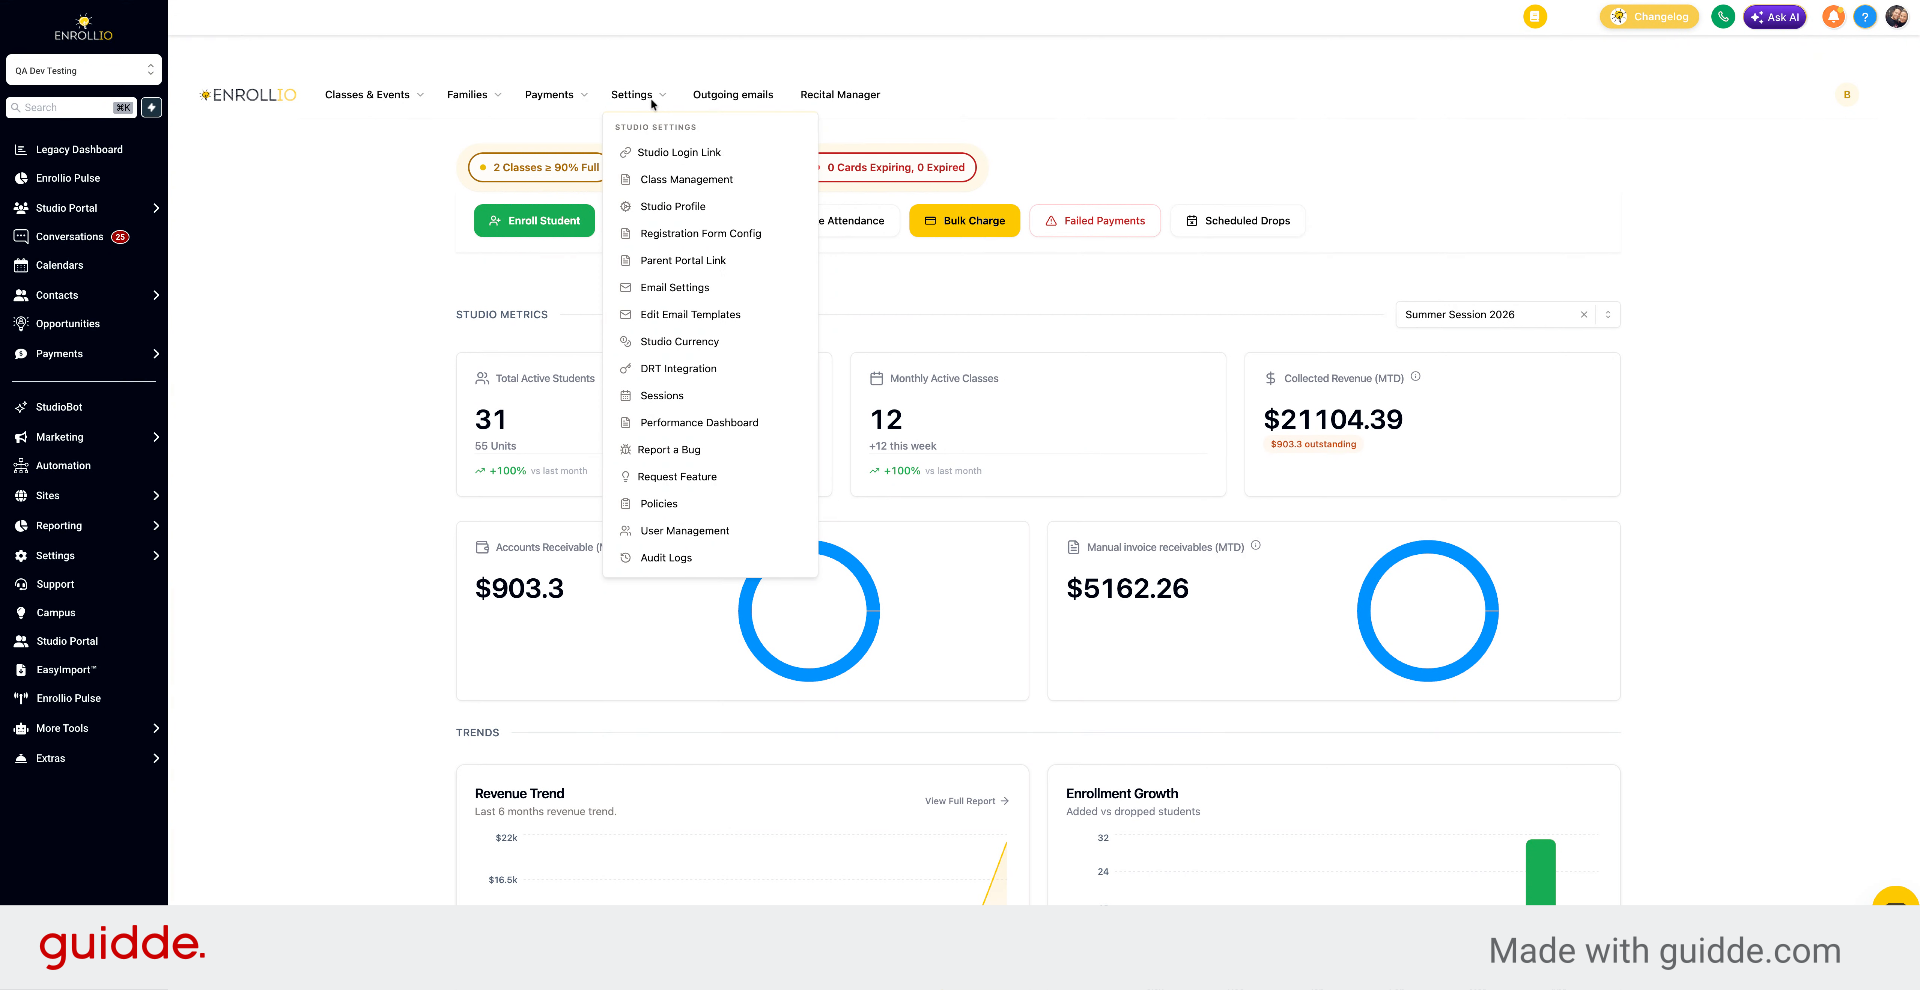
4. Access Class Management Section
Click Class Management.
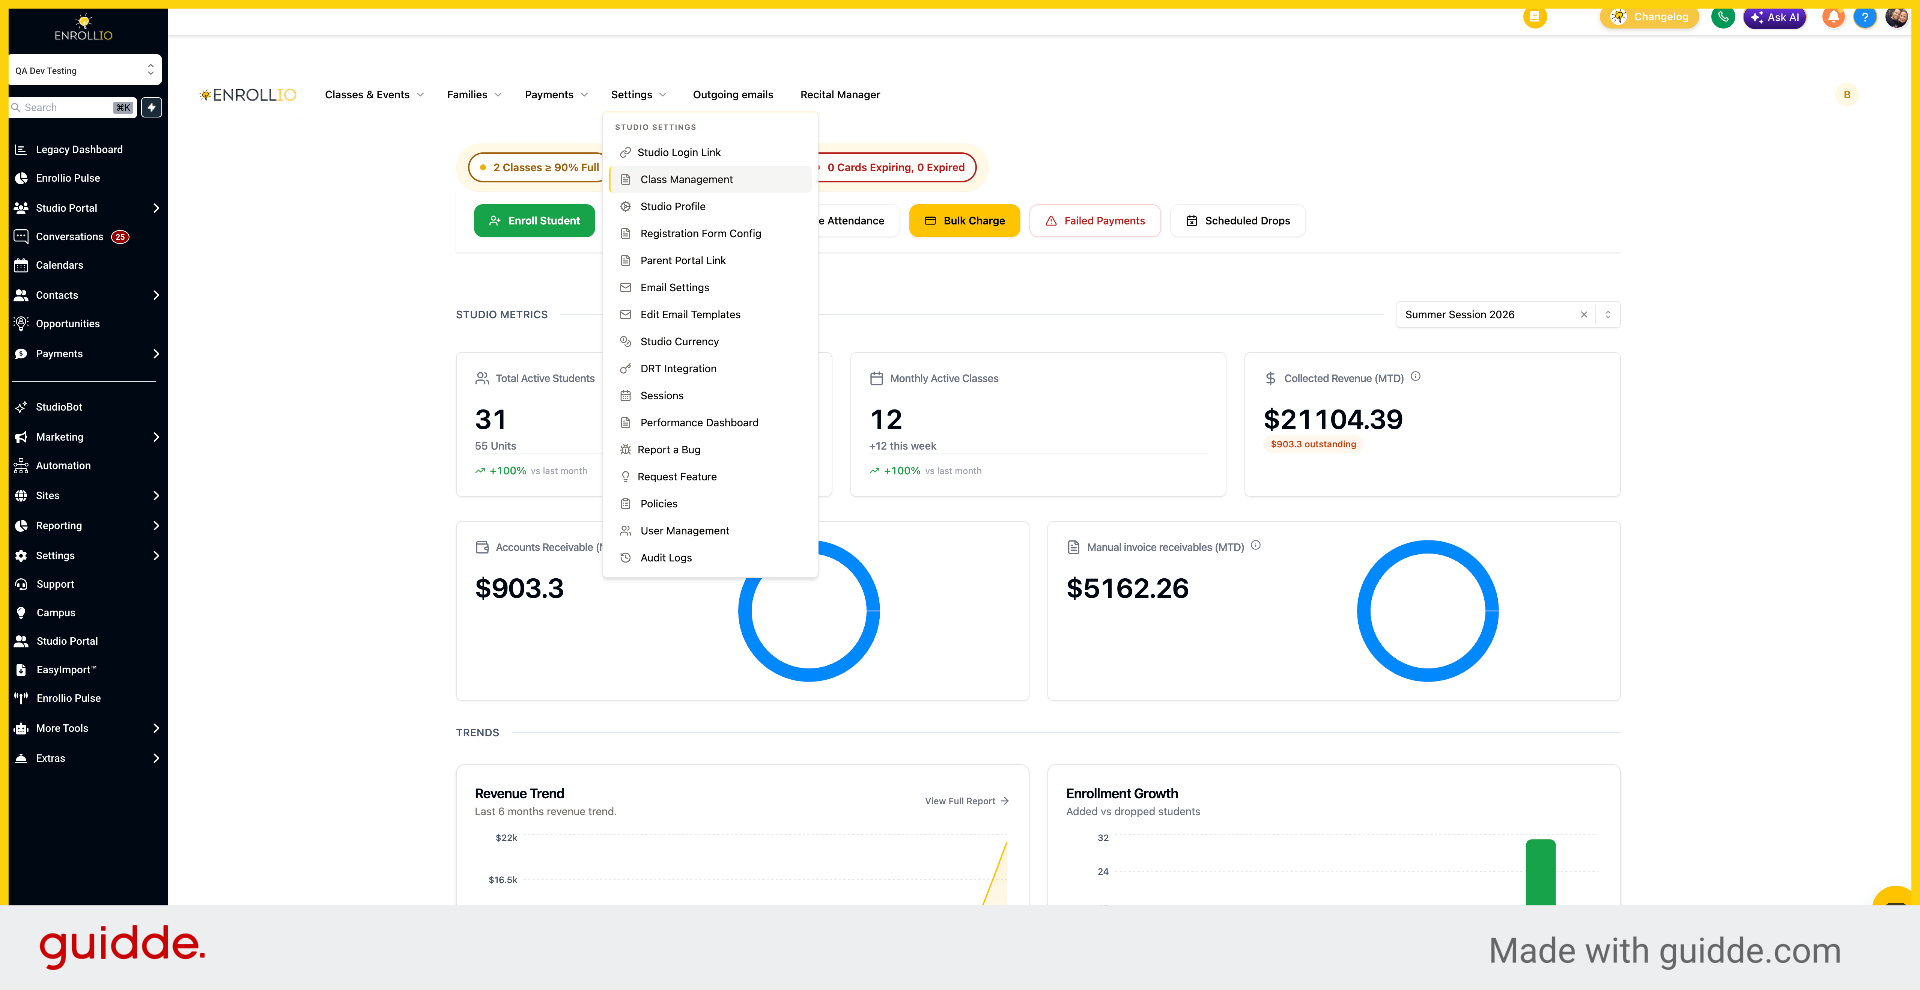
5. View And Manage Locations
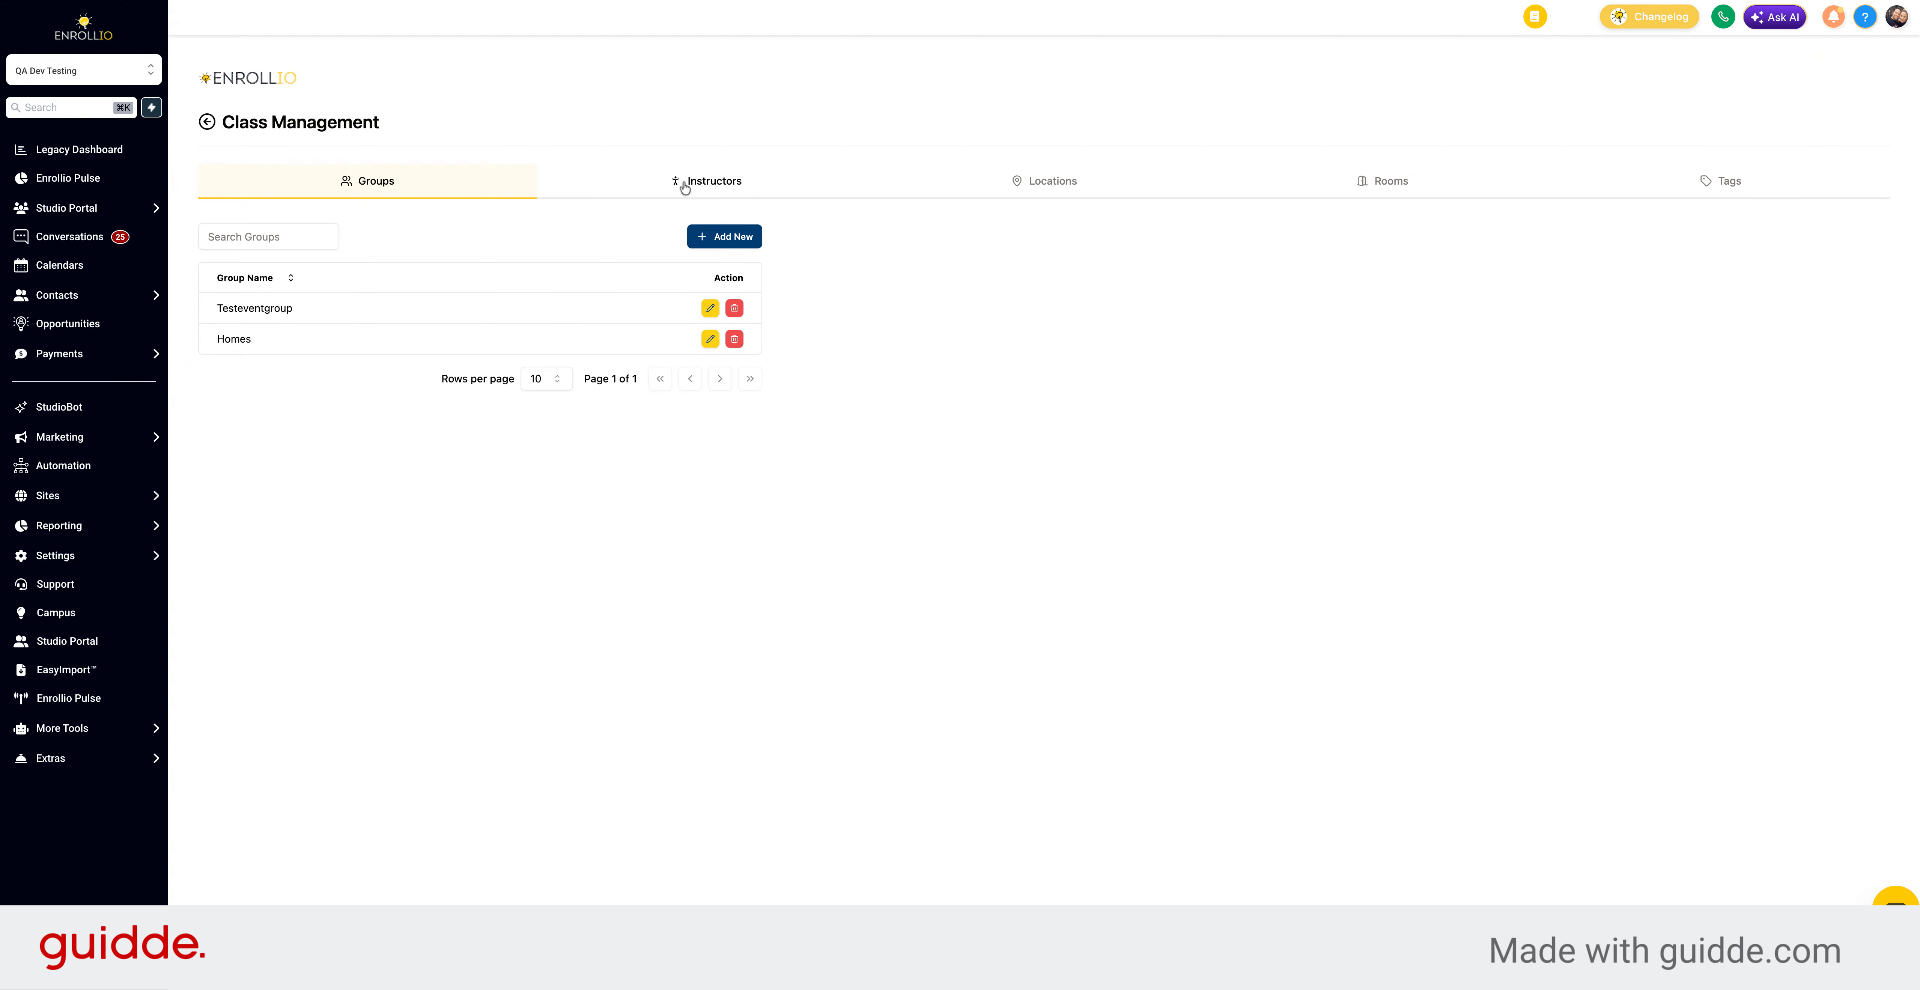
Click over to the locations tab. This is where you can see all your locations, modify, delete, or add new ones.
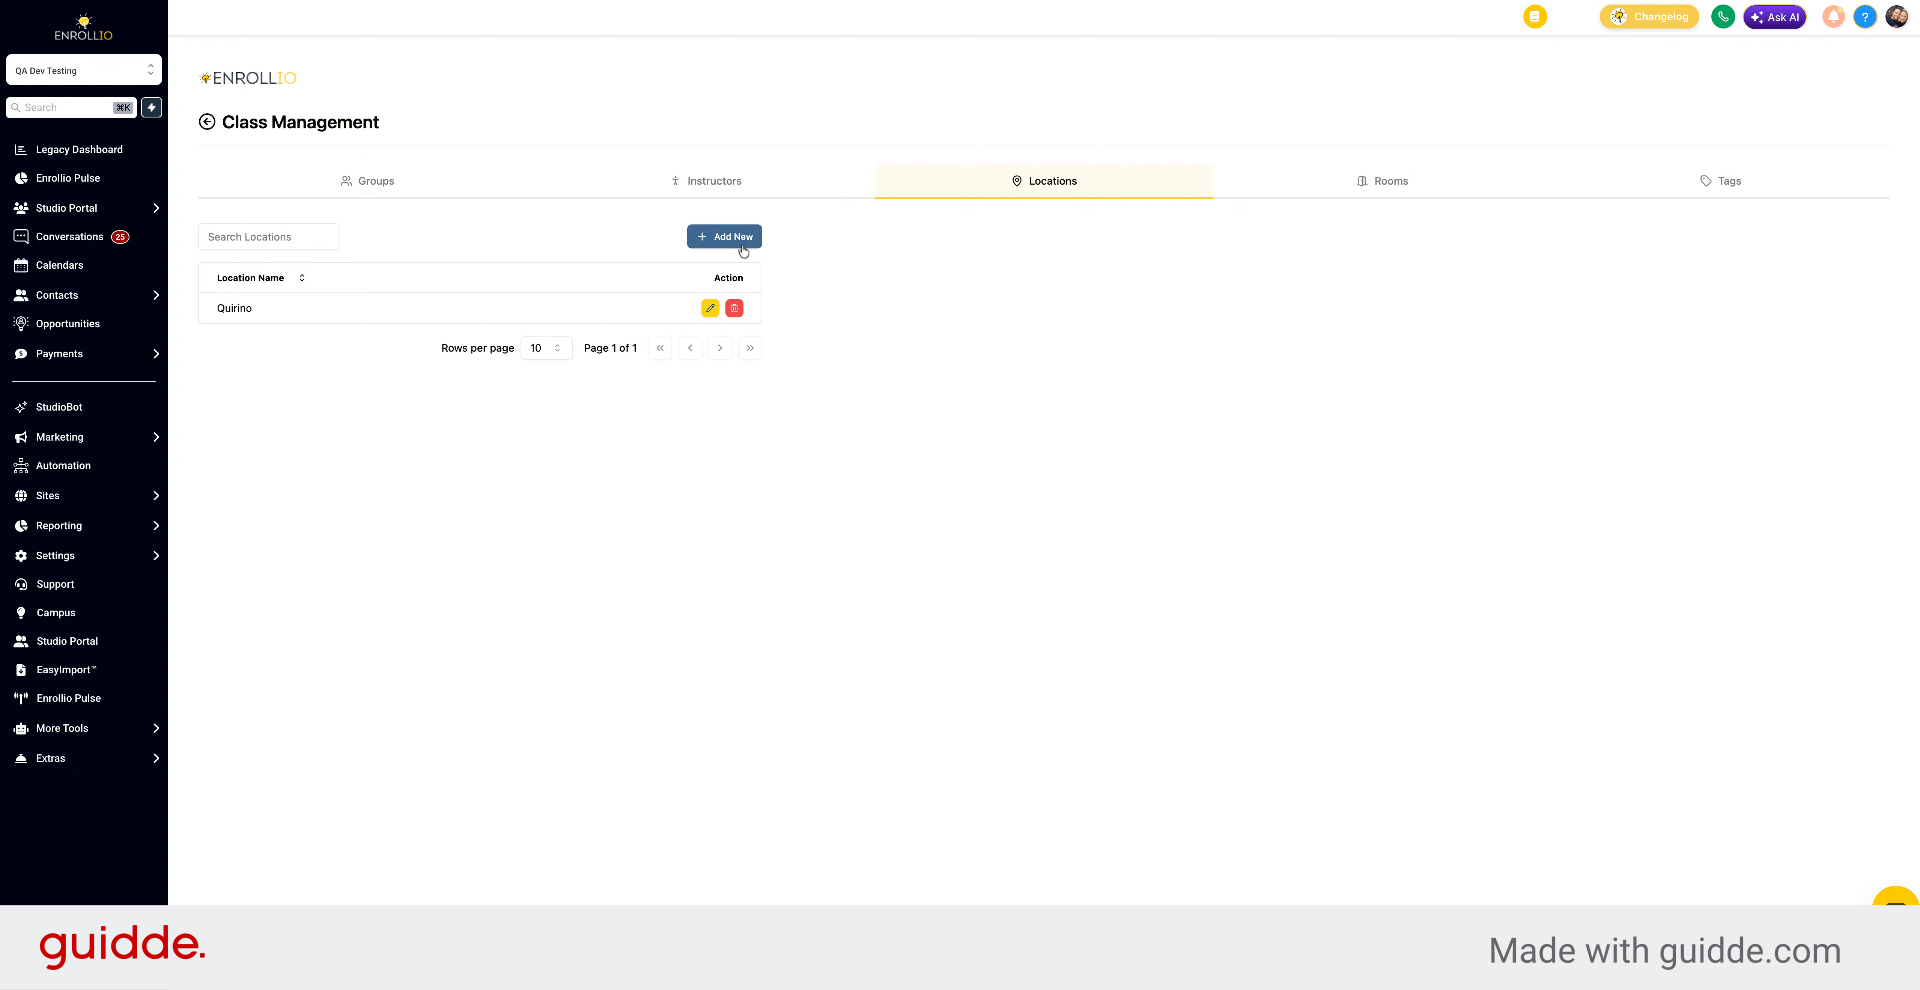
6. Add New Location
Click "Add New" to create a location.
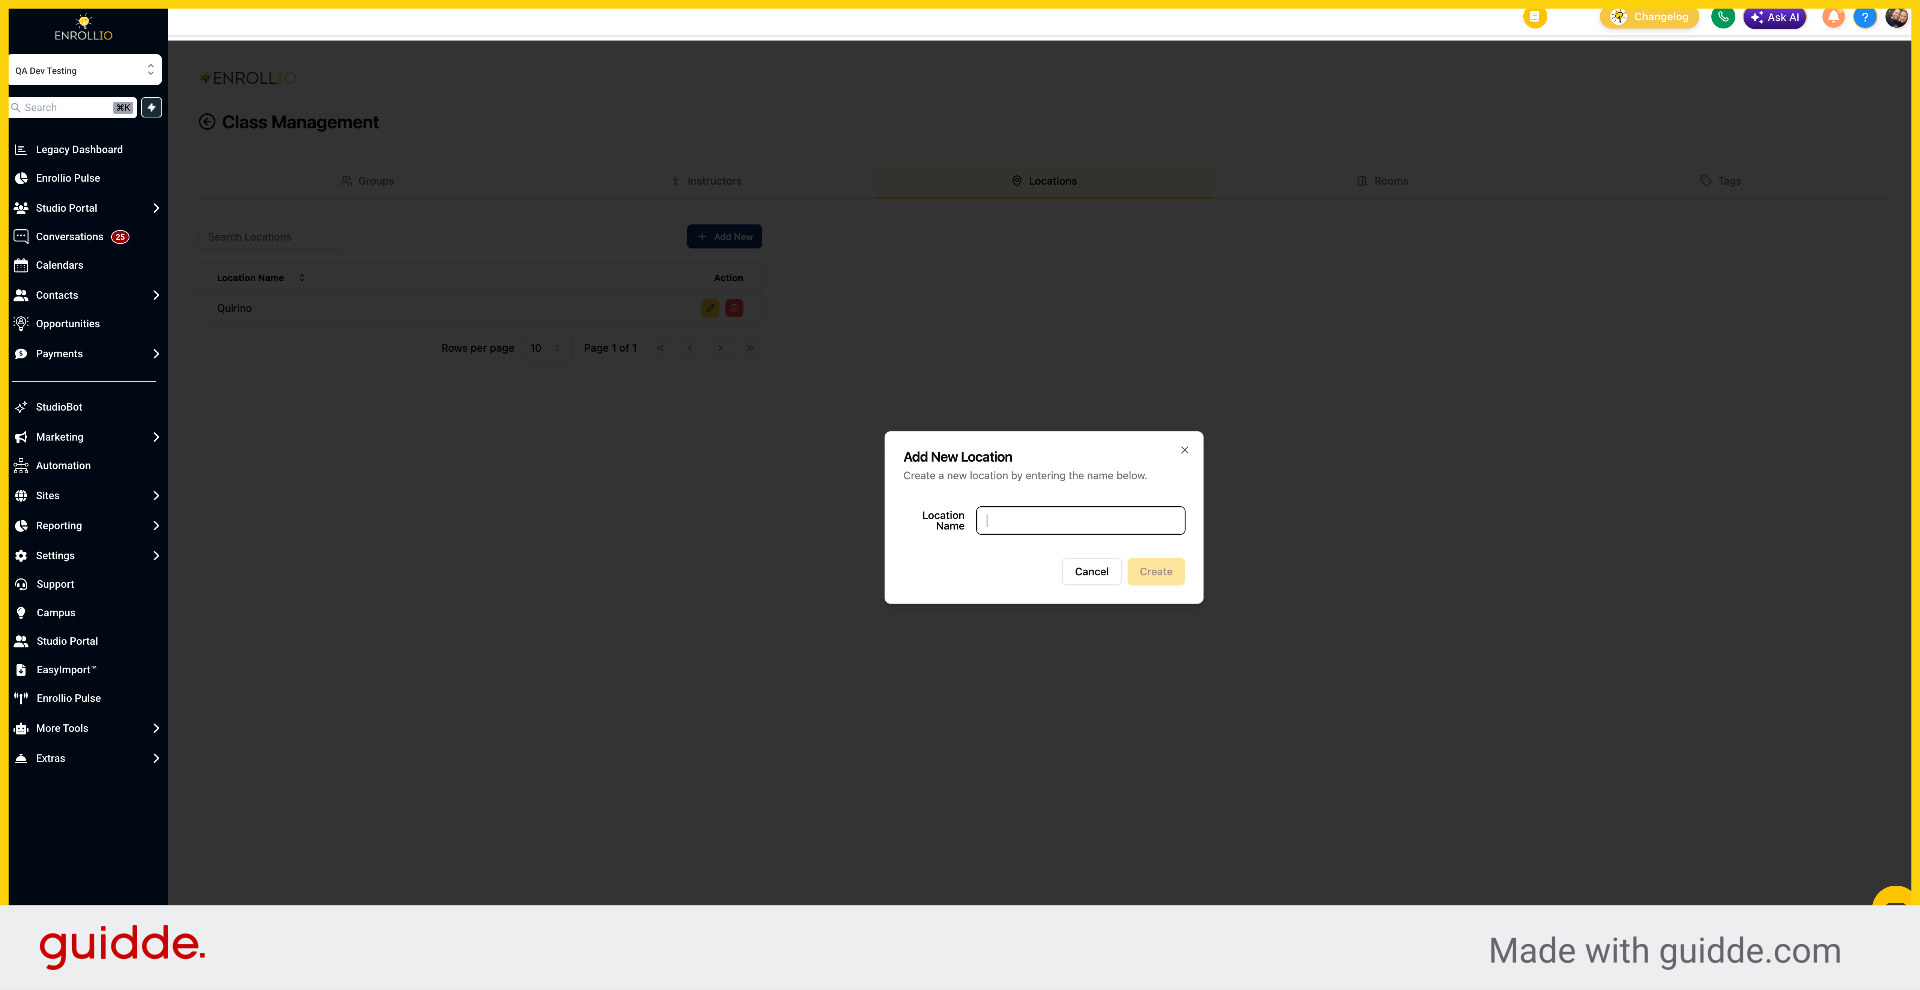
7. Select Location Name Field
Click Location Name.
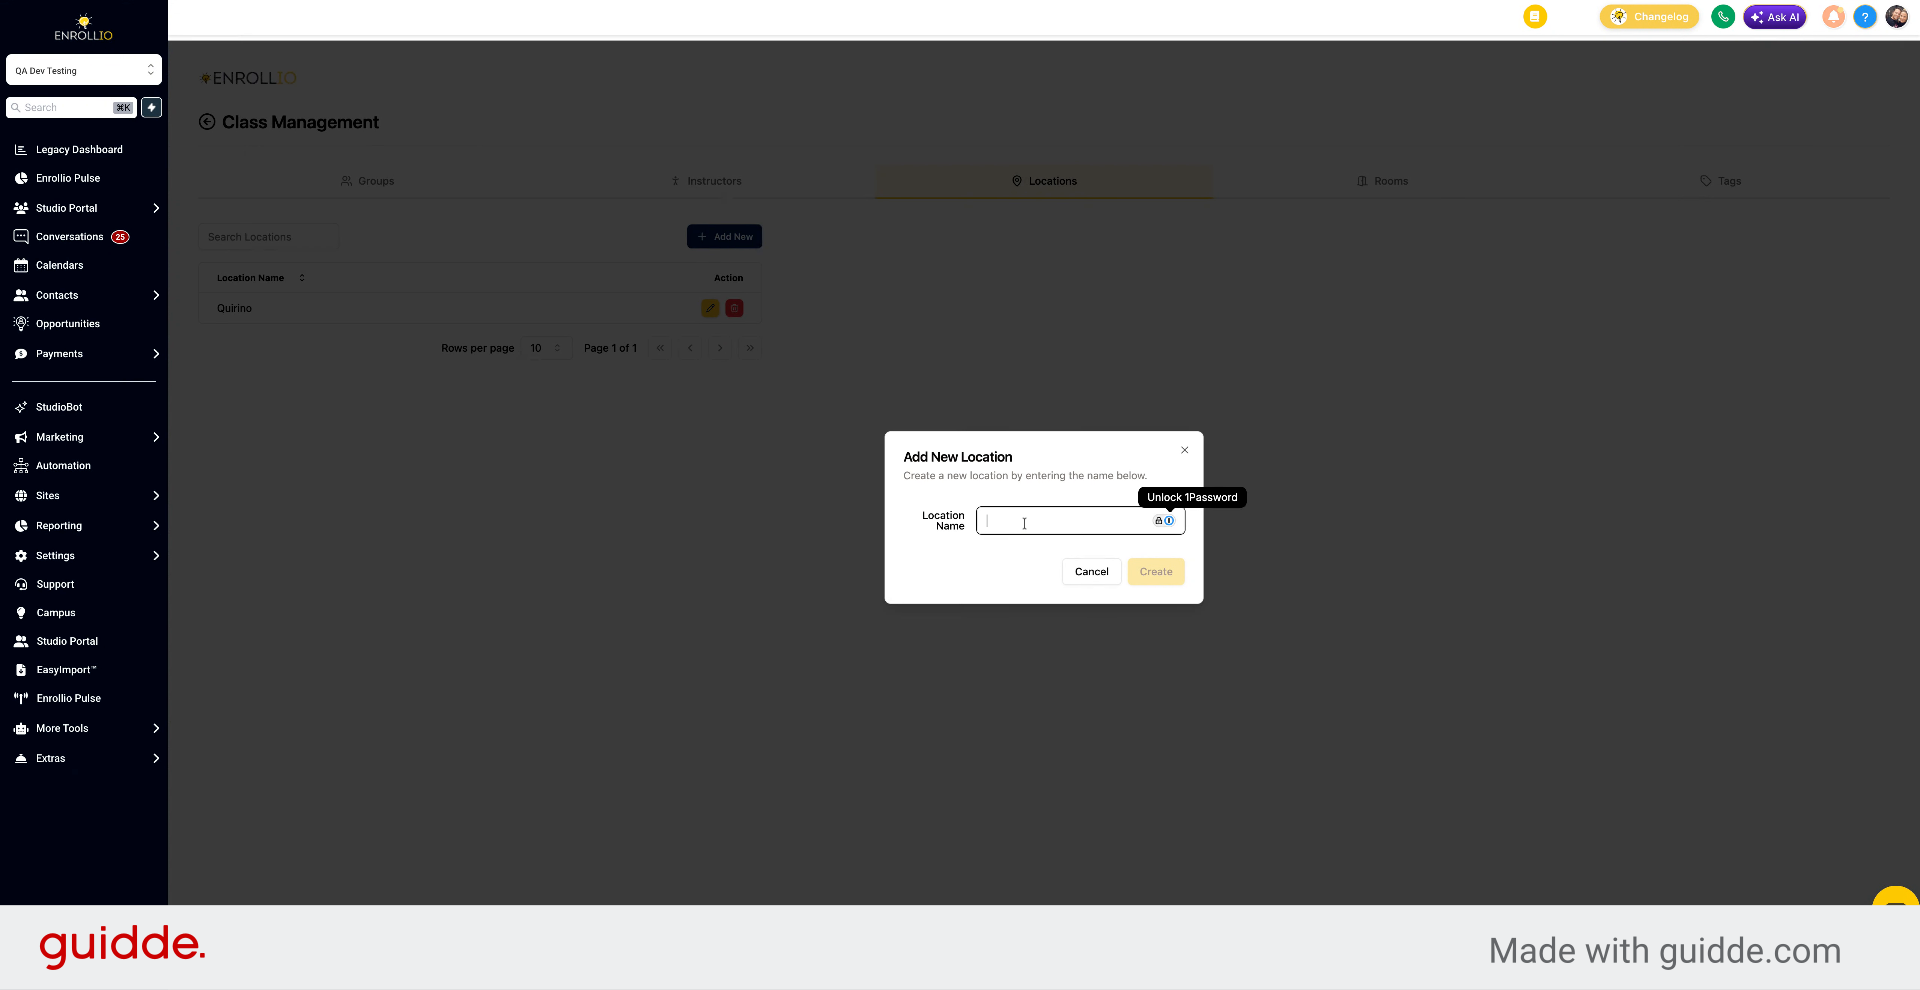
8. Enter New Location Name
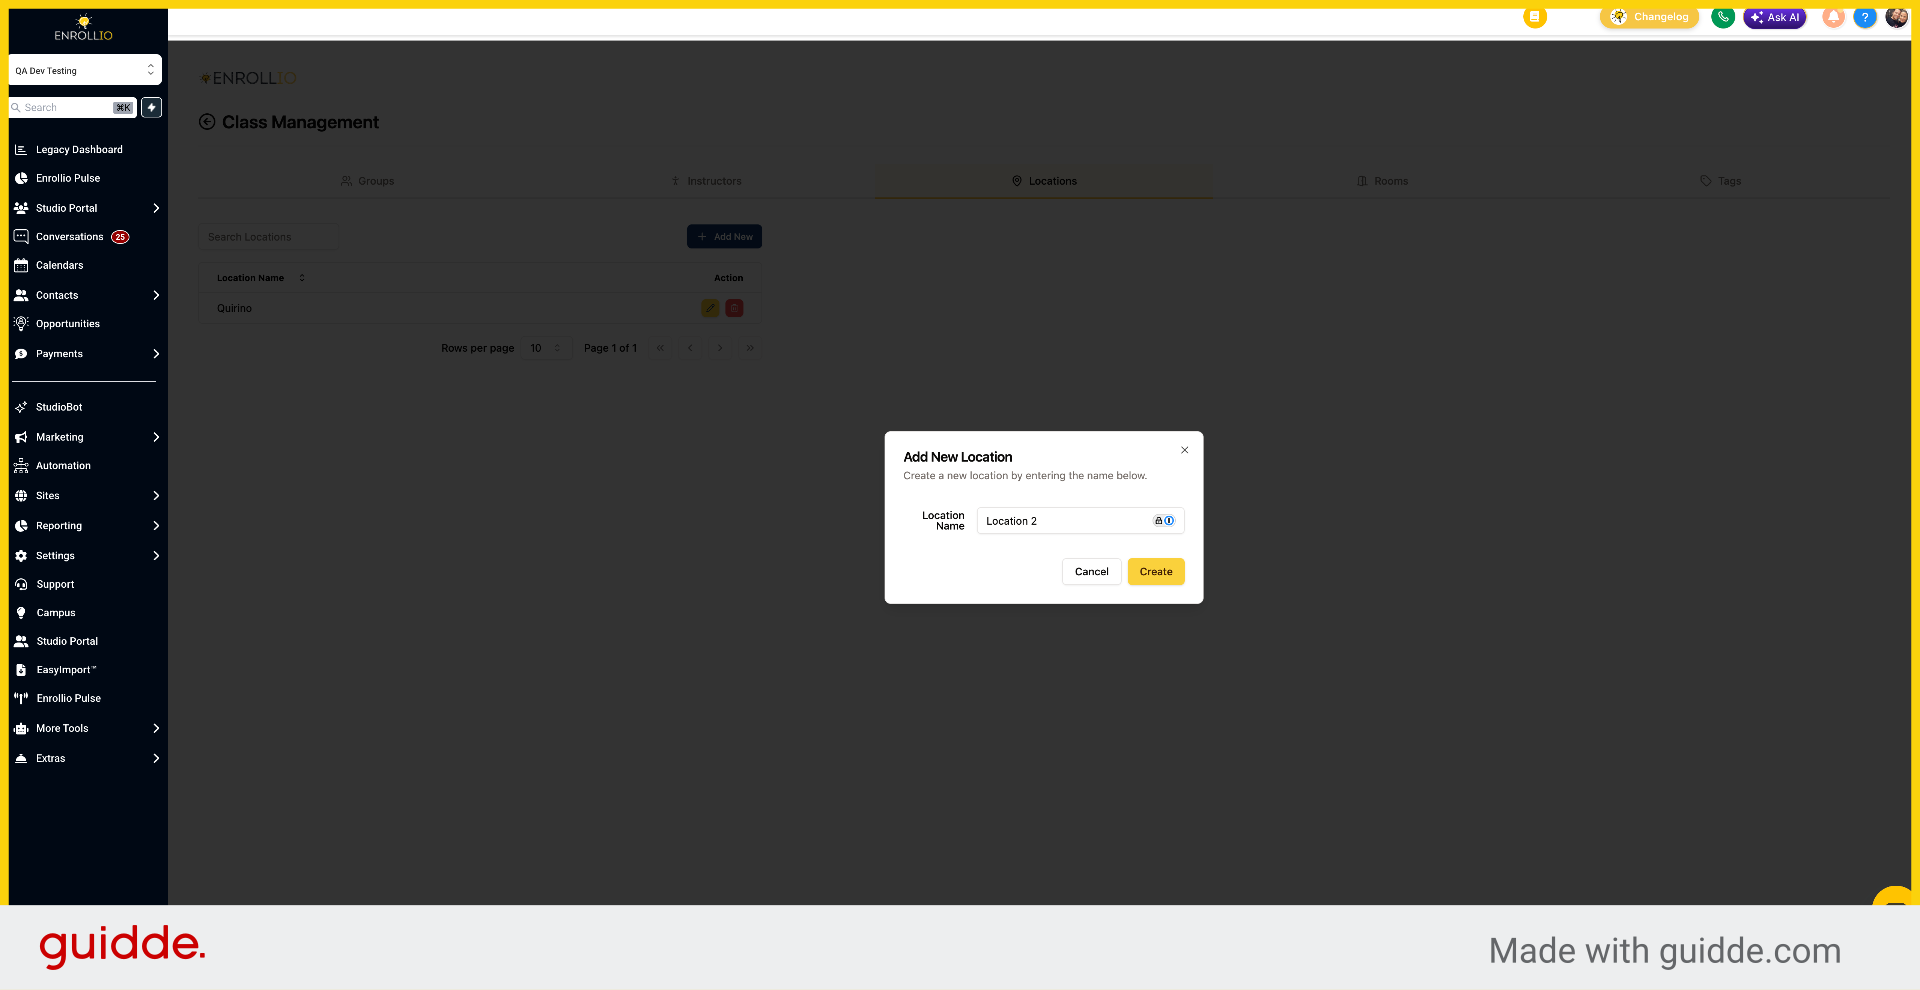
Type in your new location name (for example, "Location 2") and hit create.
9. Create Location
Click Create.
10. Assign Classes To Location
Once the location is created, you can assign classes to it.
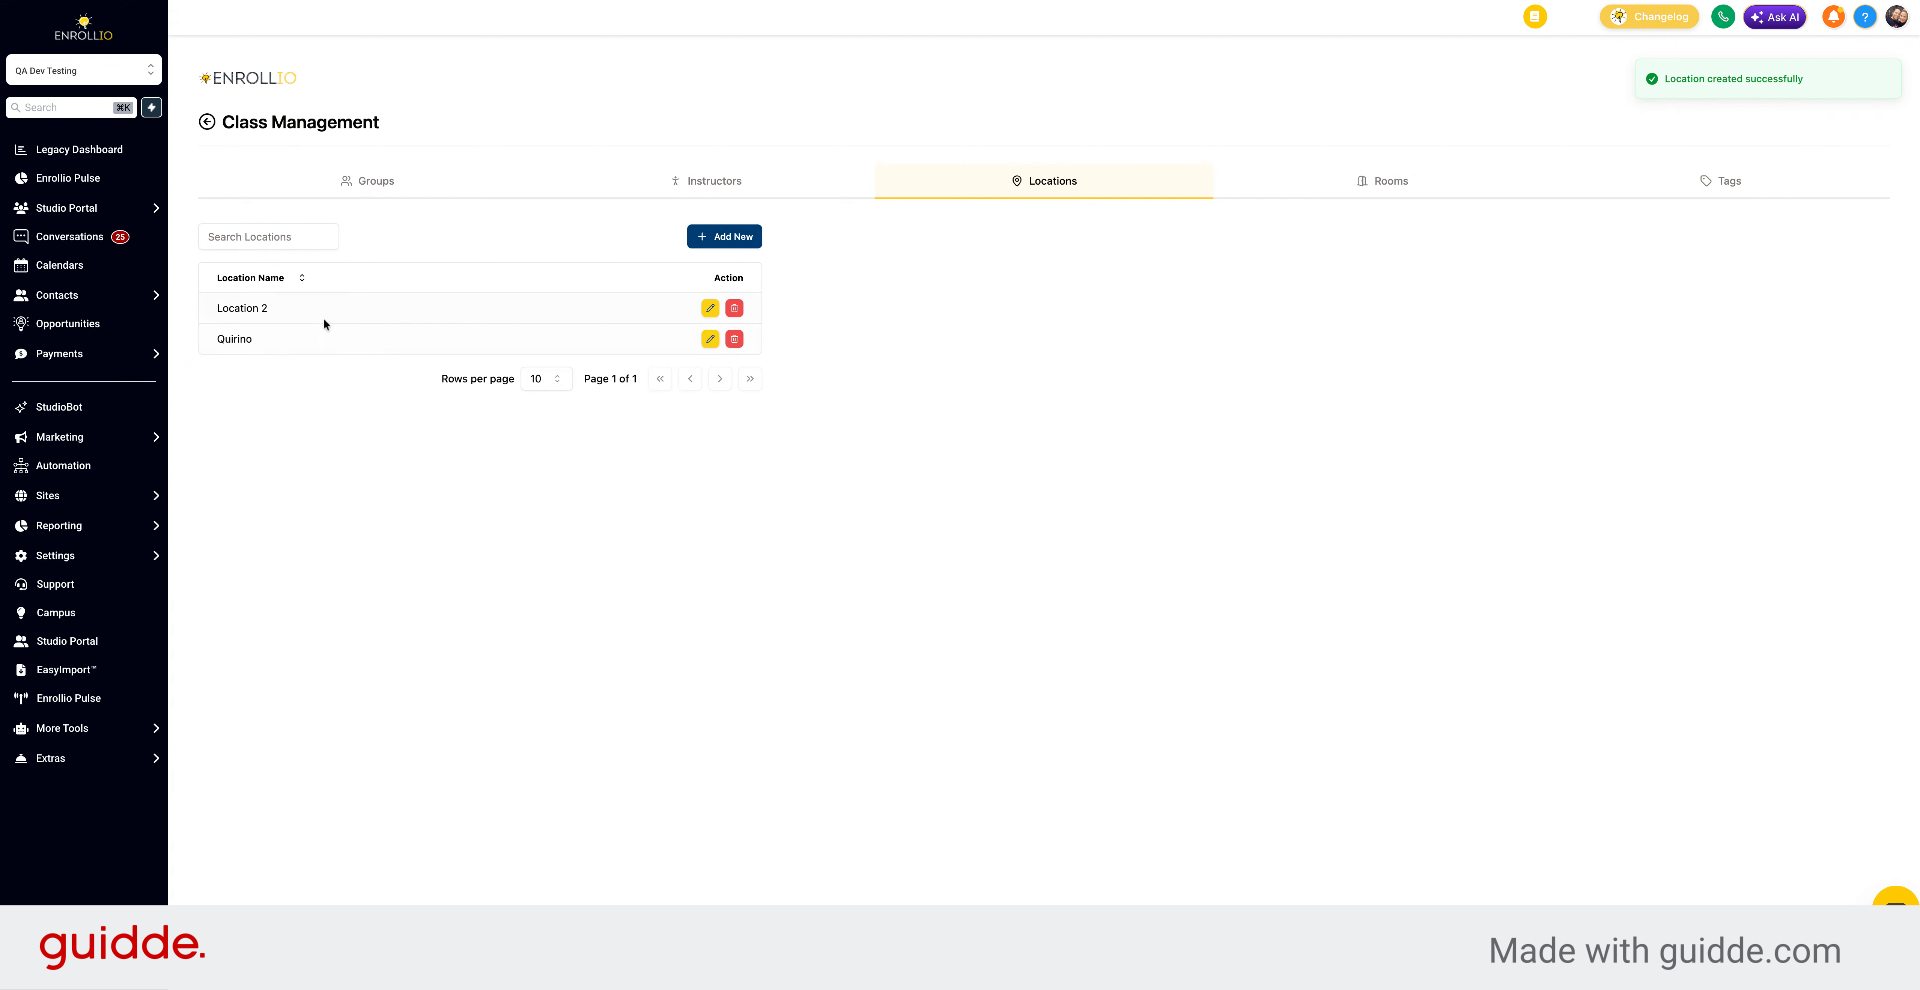
You've now learned how to set up multiple locations, access settings, manage locations, add new ones, and assign classes to them.