
This article explains how to set up your studio profile in Enrollio. You'll learn how to customize your studio branding in the parent portal.
1. Begin Studio Profile Setup
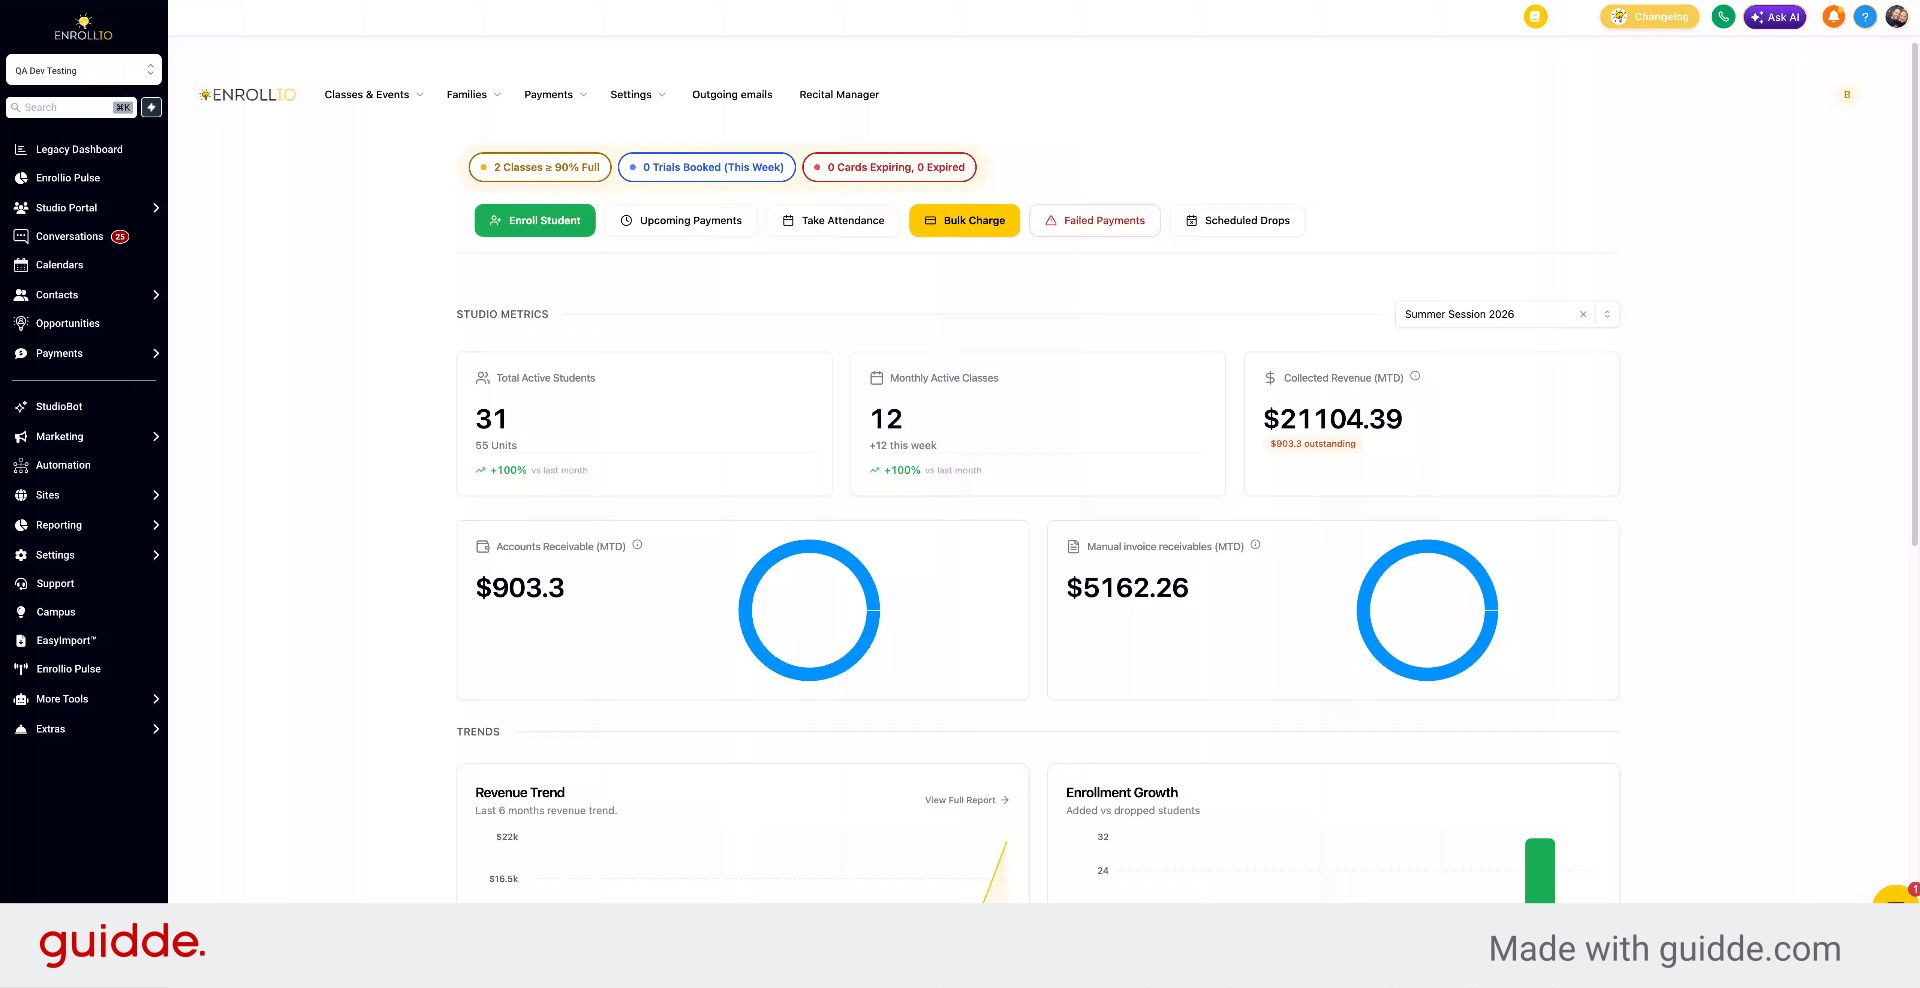
Go to settings to get started.
2. Access Studio Profile Section
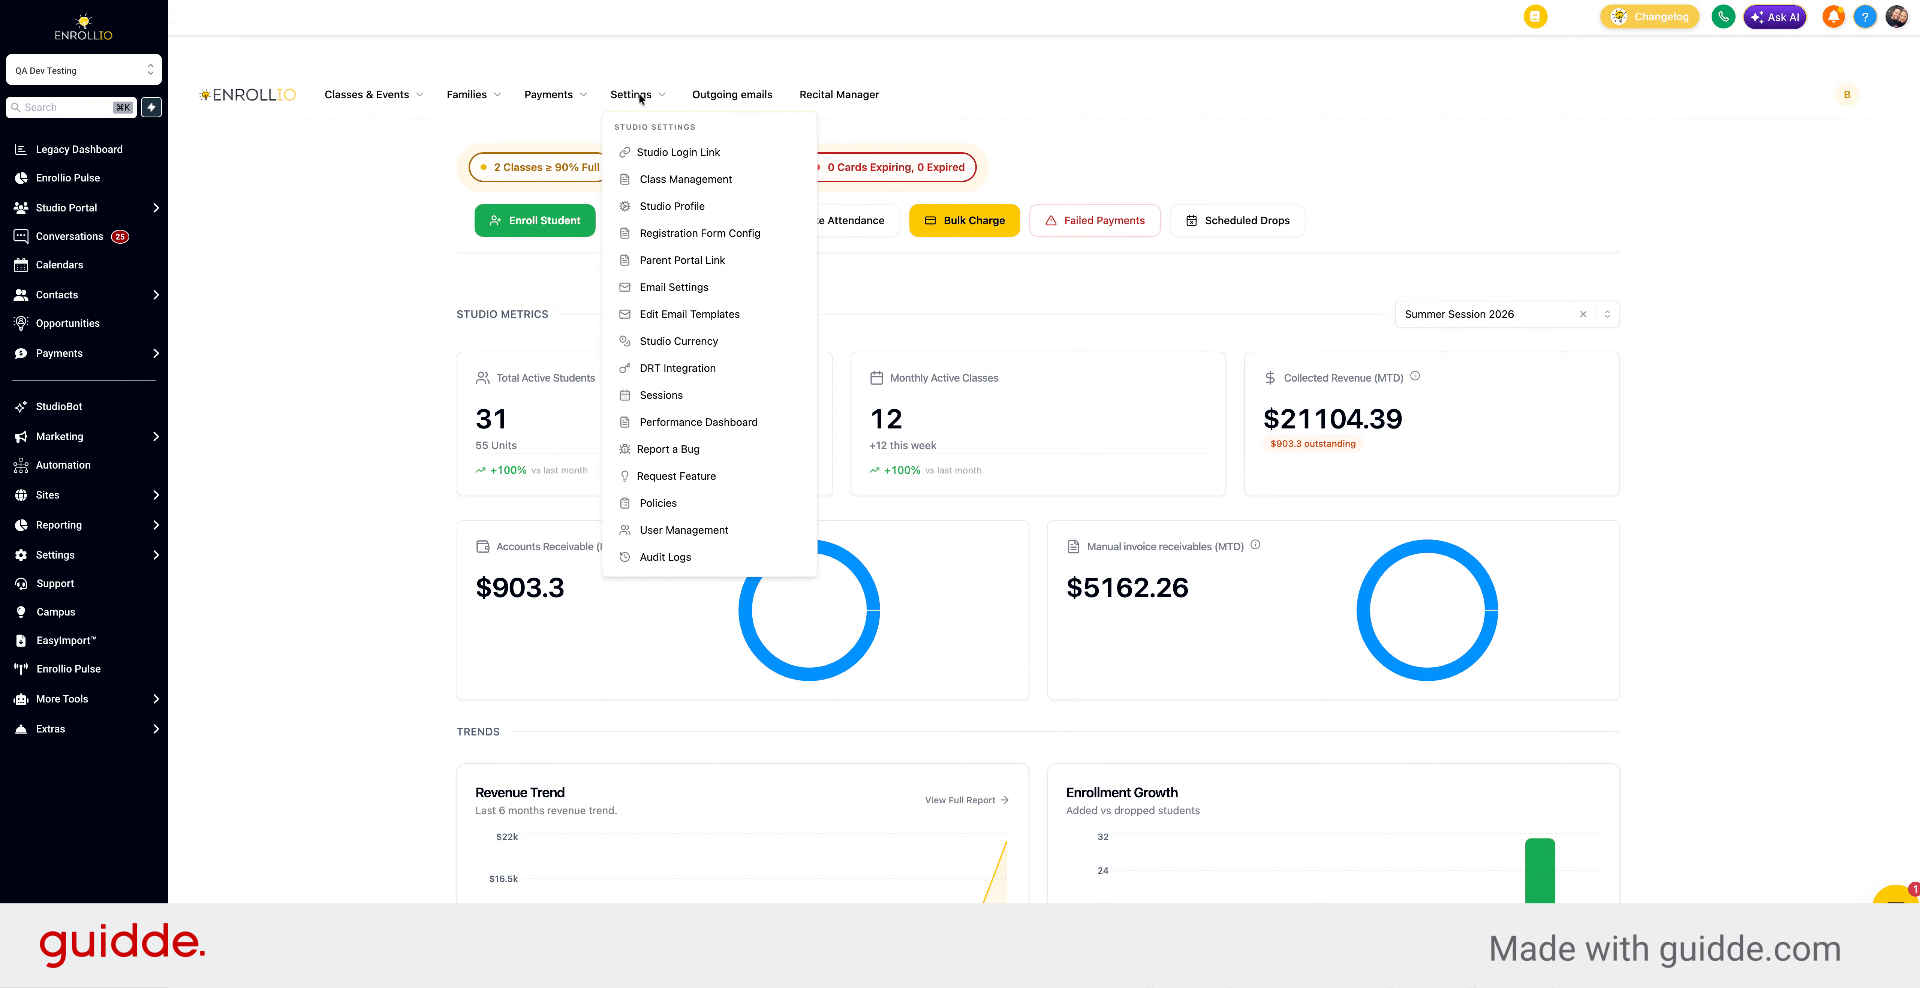
Select studio profile.
3. Open Studio Profile Page
Click the Studio Profile option to open the profile settings page where you can customize your studio details.
4. Add Studio Logo And Image
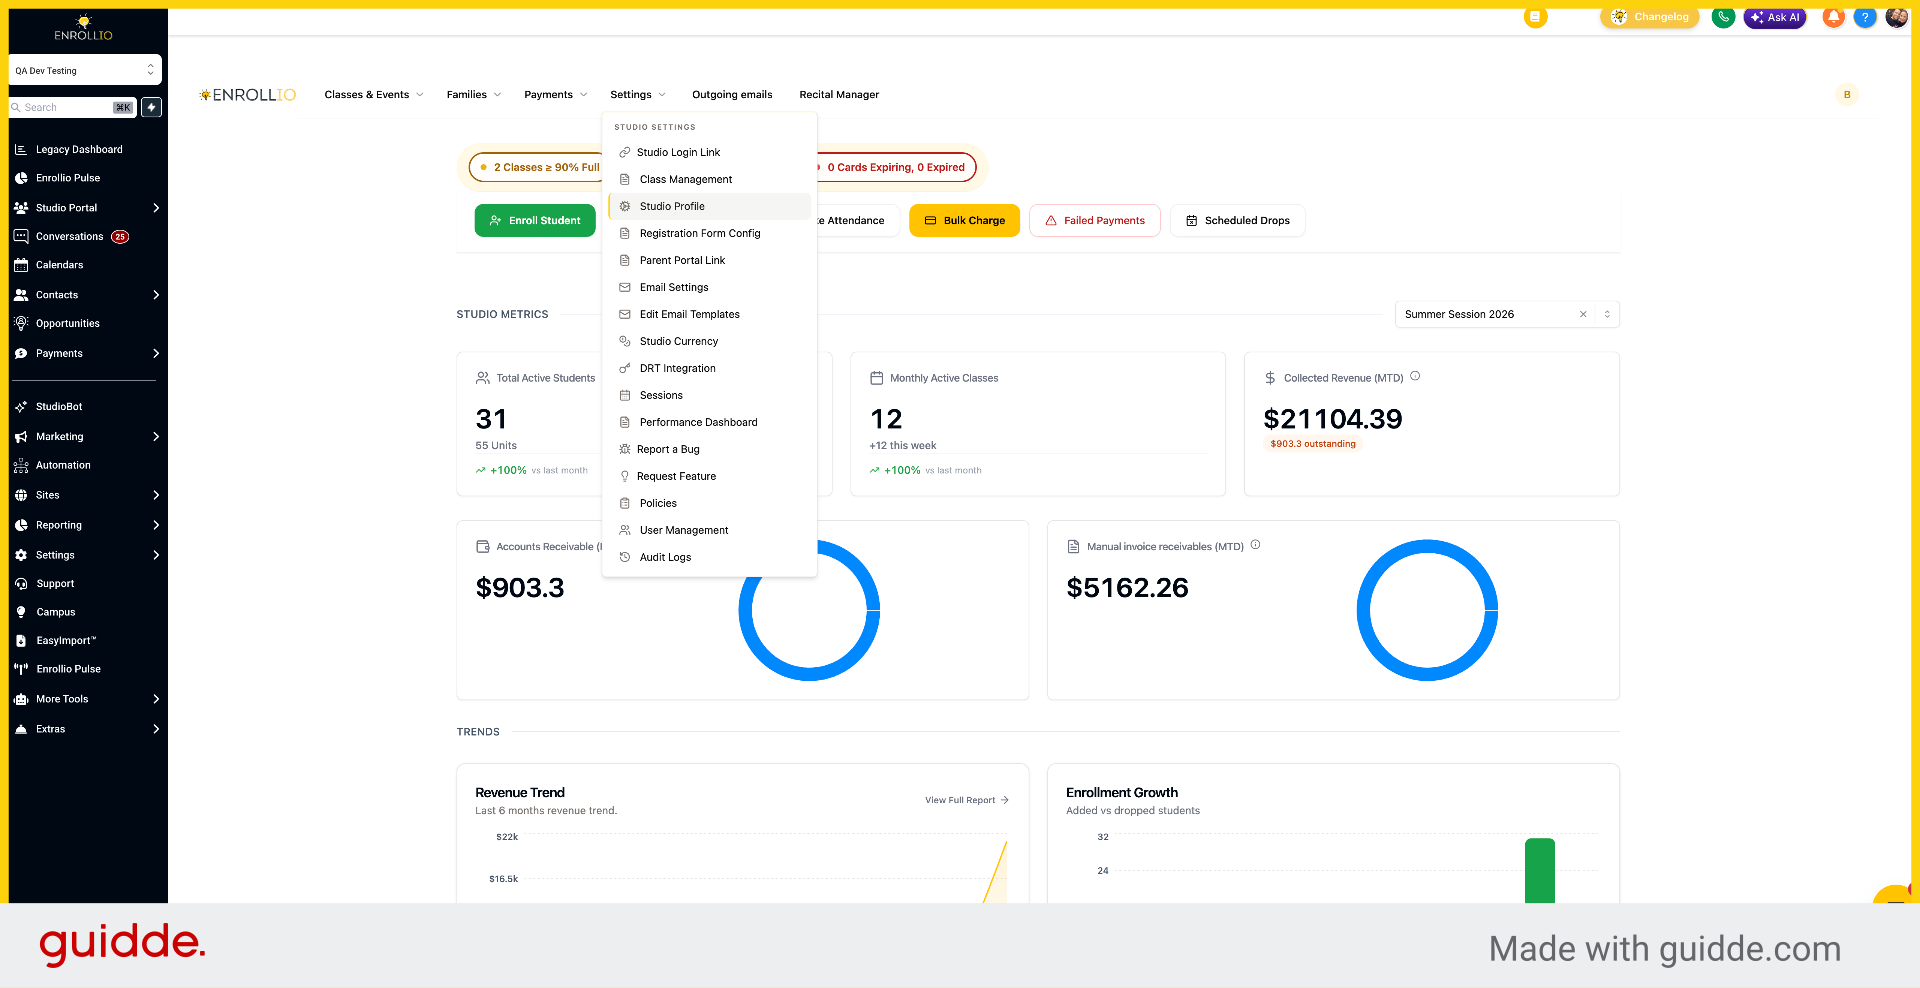
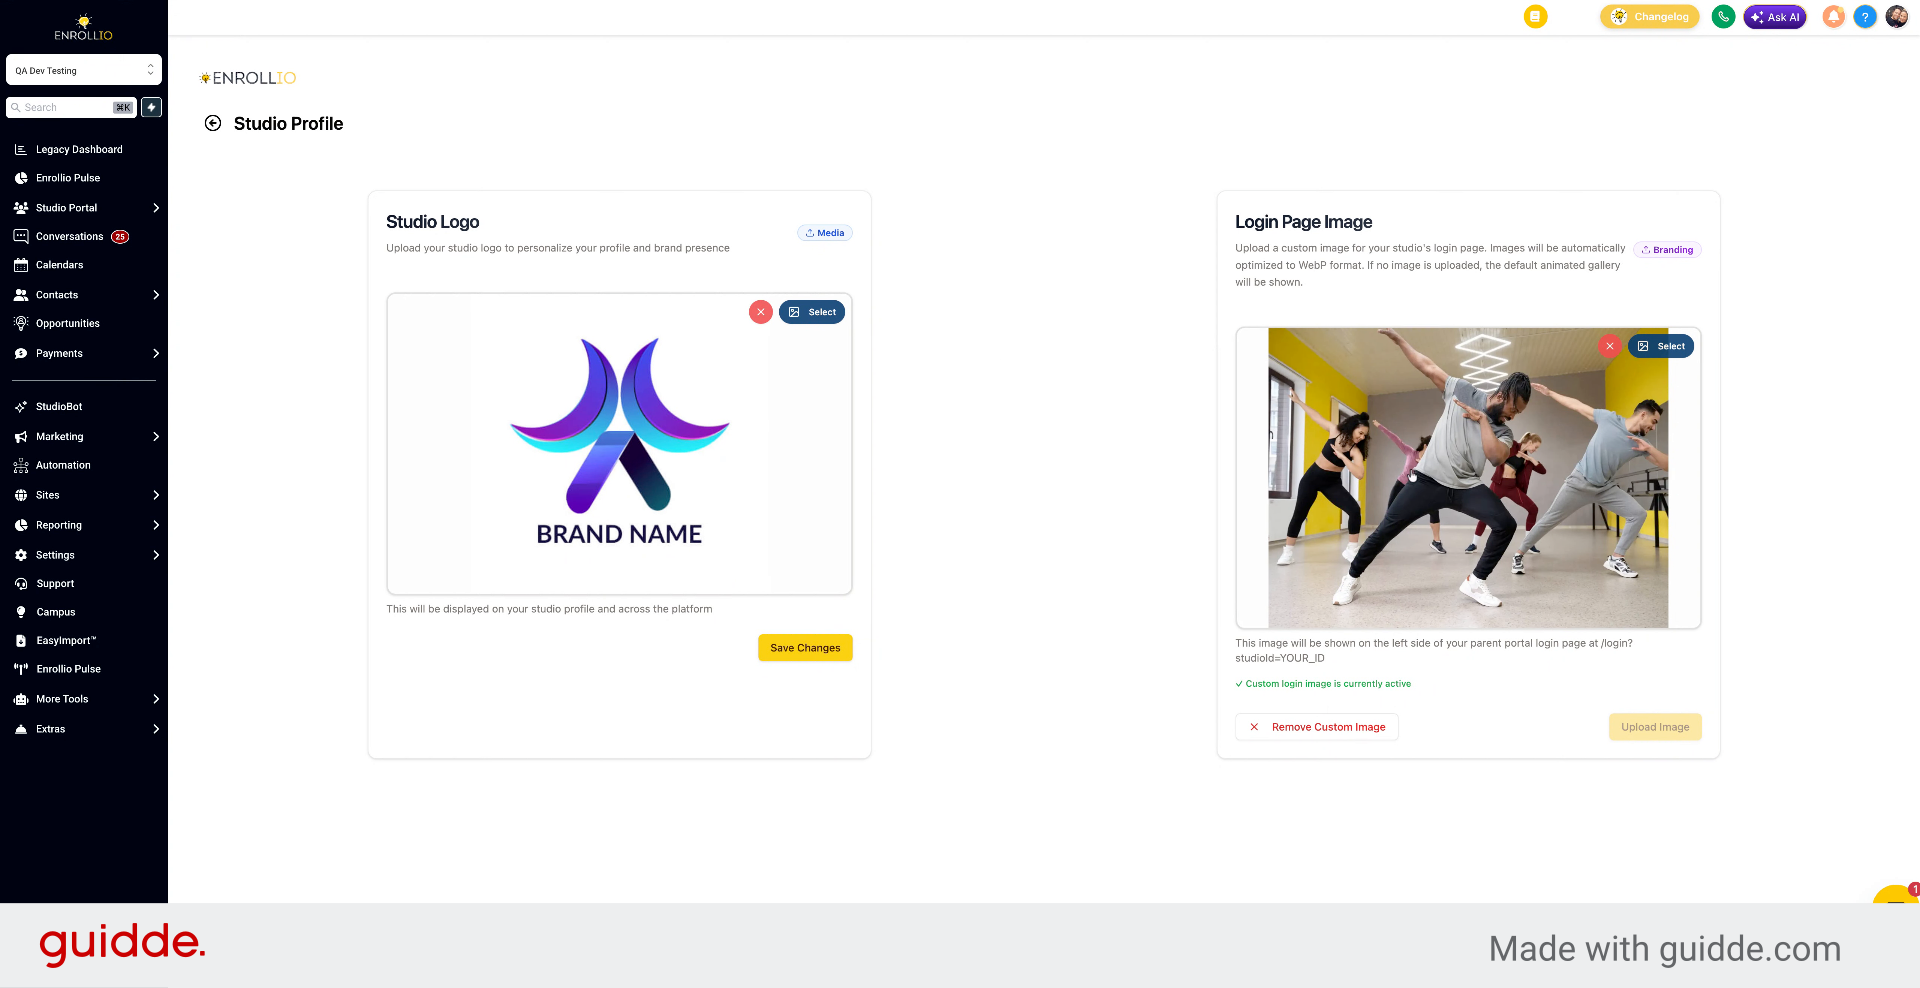
Here you can add your studio logo and a login page image. When parents log into the portal, they'll see an image that represents your brand.
5. Understand Default Branding
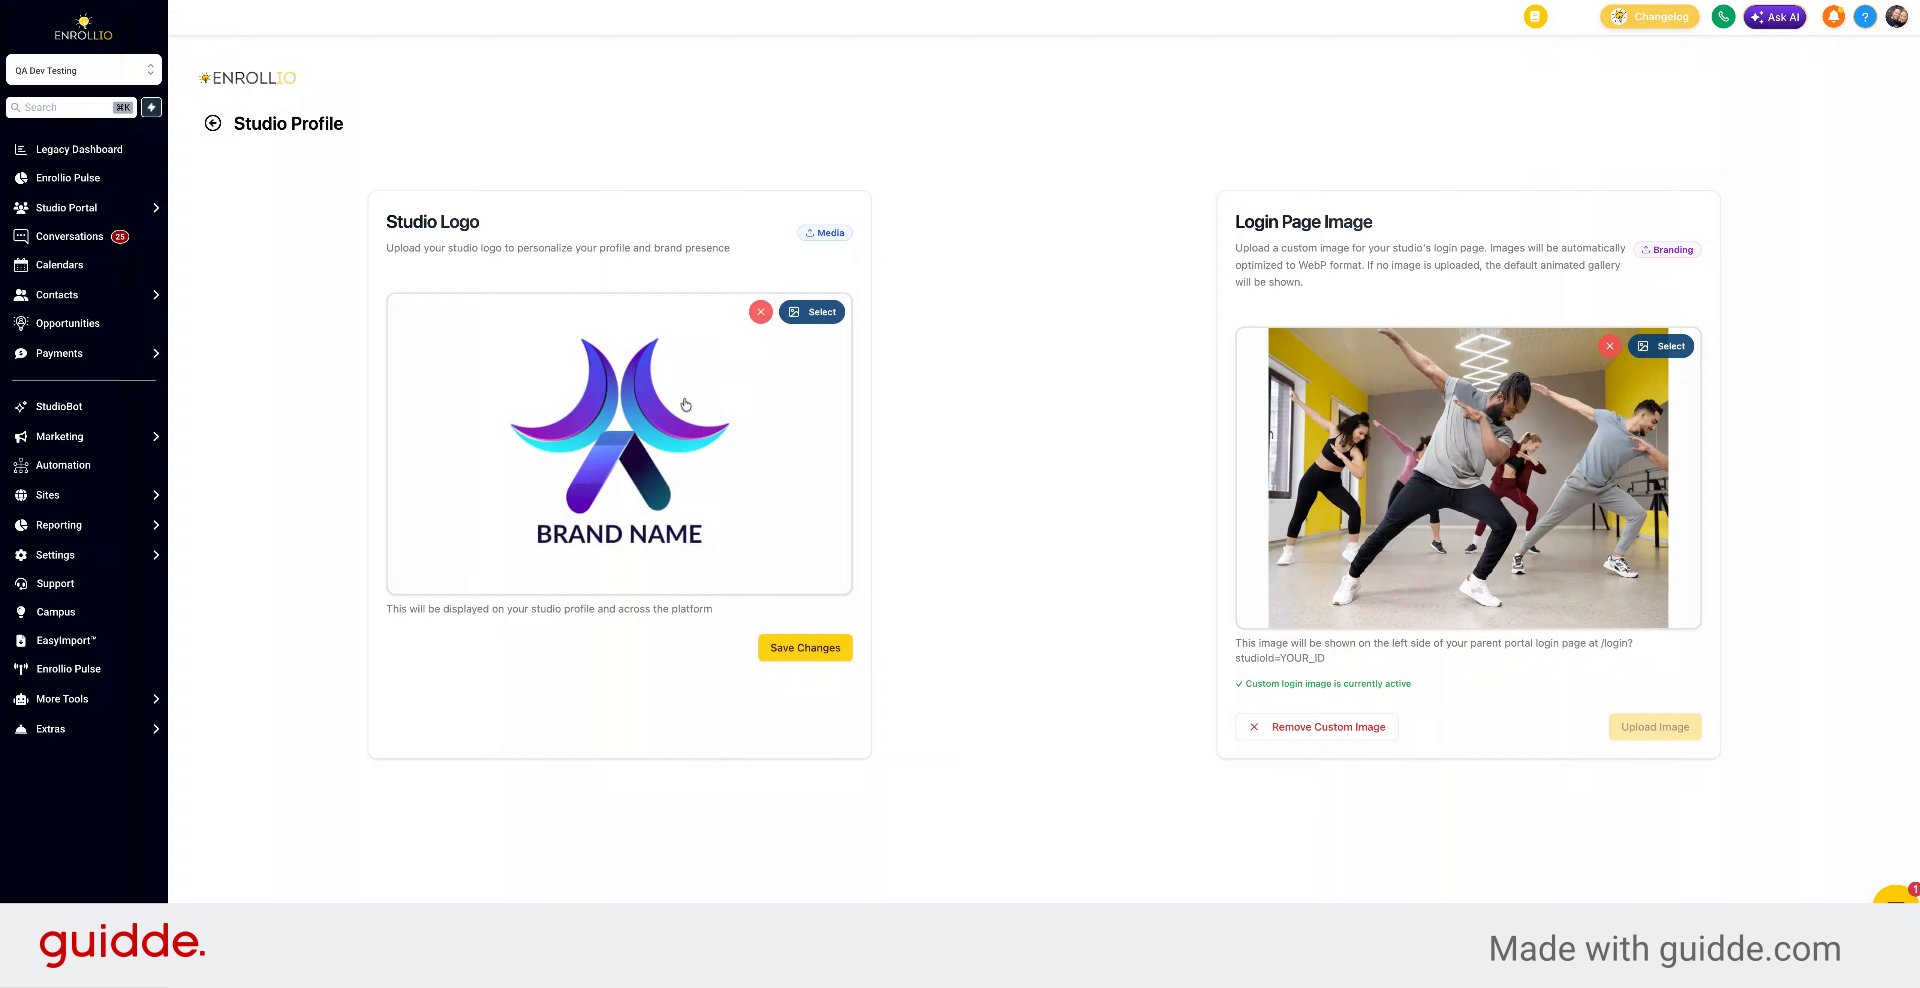
If you don't add a custom logo, the portal will default to the Enrollio logo and branding.
6. Upload Logo And Save Changes
To add a custom image, upload your studio logo using a high-resolution file and click Save Changes.
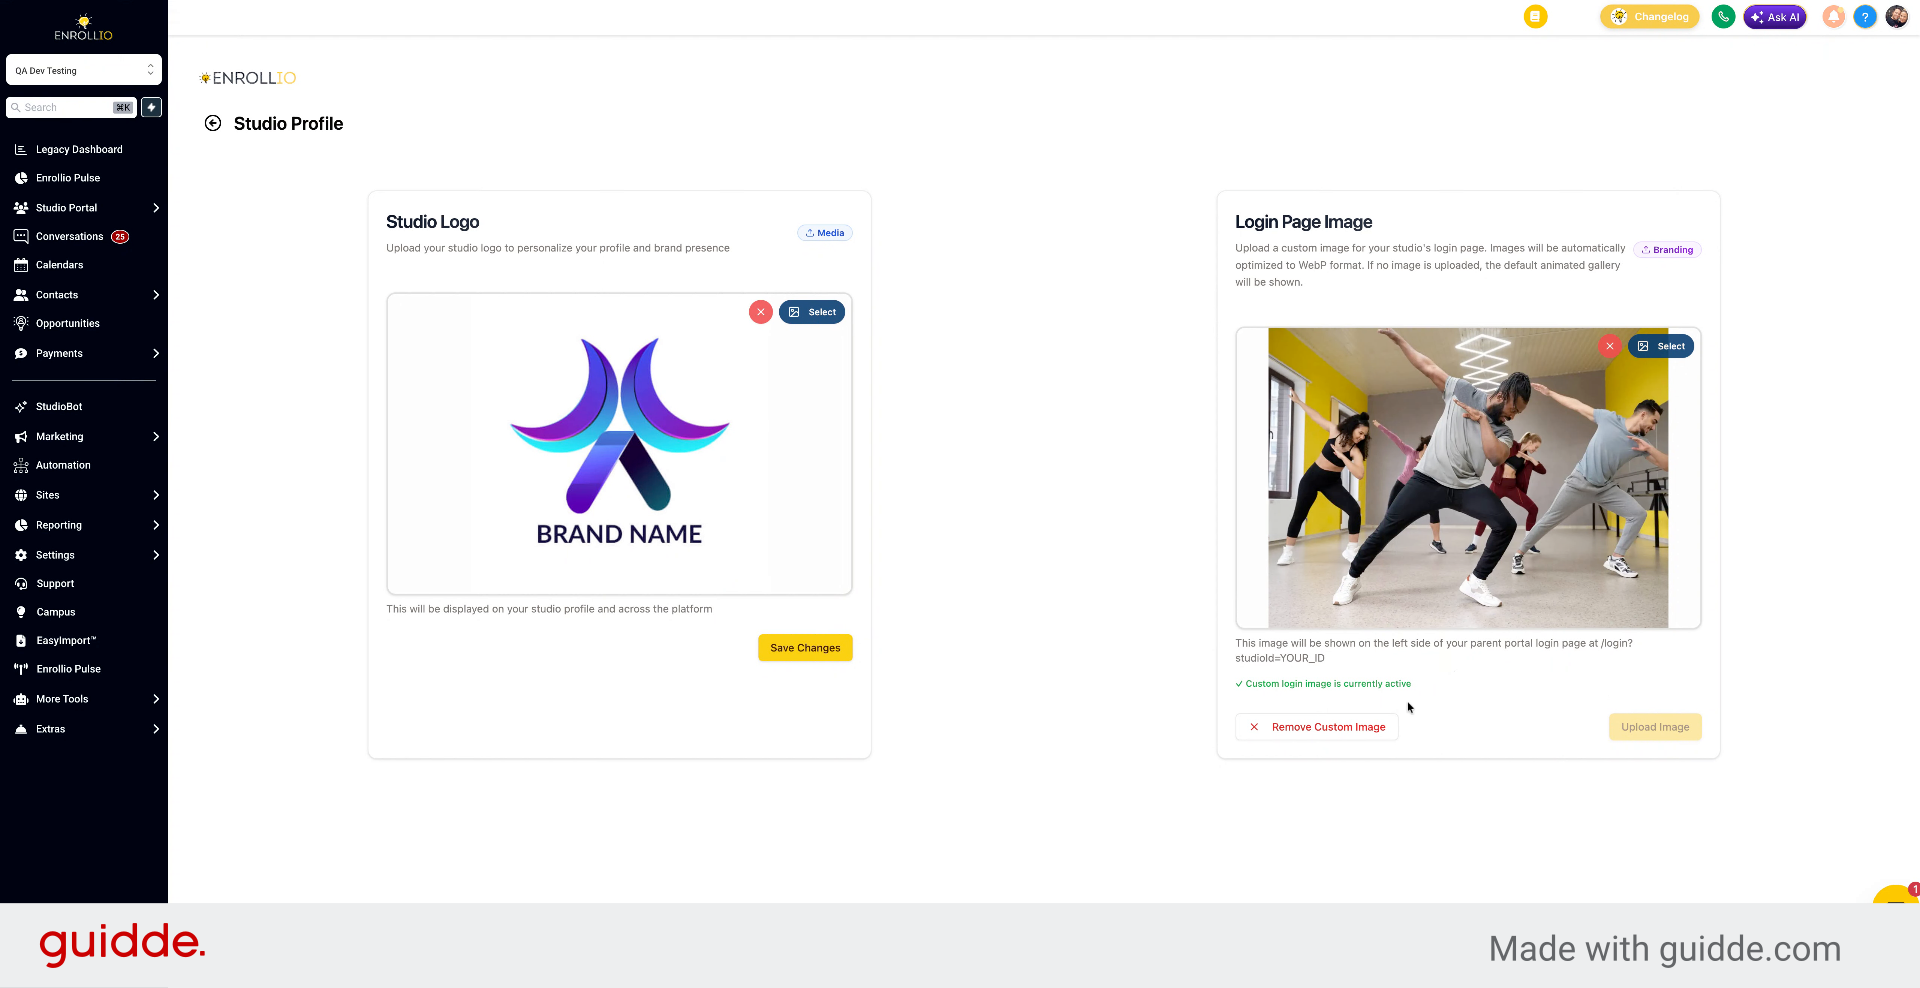
You've now set up your studio profile by accessing the profile settings, adding custom branding images, and saving your changes.