
This article explains how to connect your Stripe account to the Studio Portal for payment processing. You'll also learn how to configure your studio currency settings to complete the setup.
1. Introduction To Stripe Connection
In this video, we'll walk you through how to connect Stripe.
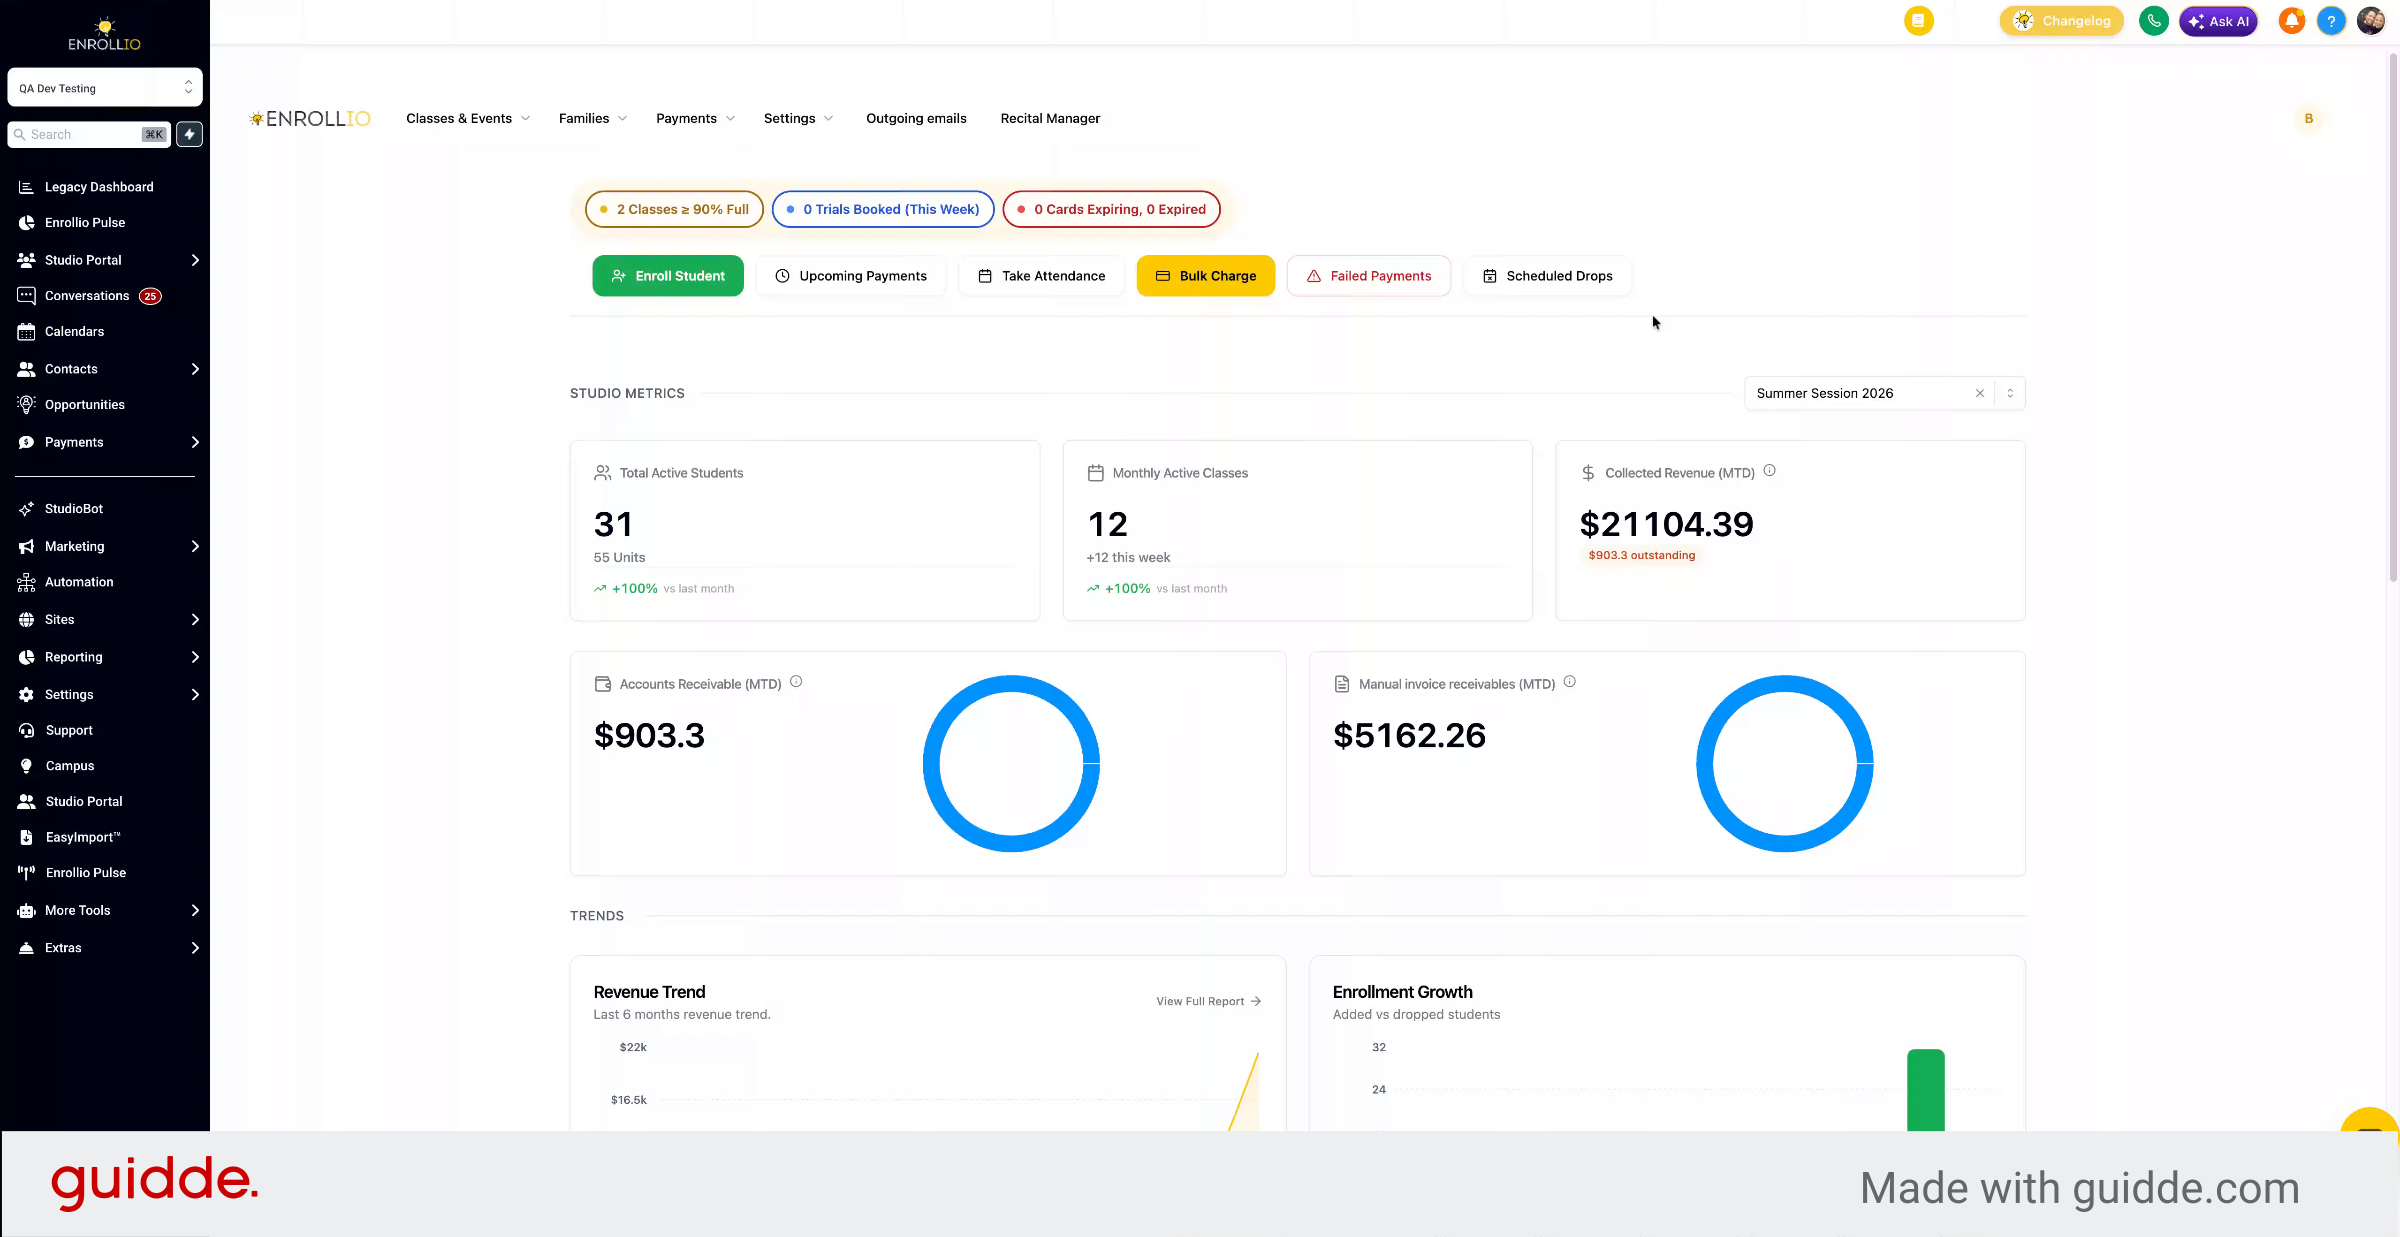
2. Access Payments Integrations
Inside the Studio Portal, go to Payments on the left-hand side and click Integrations.
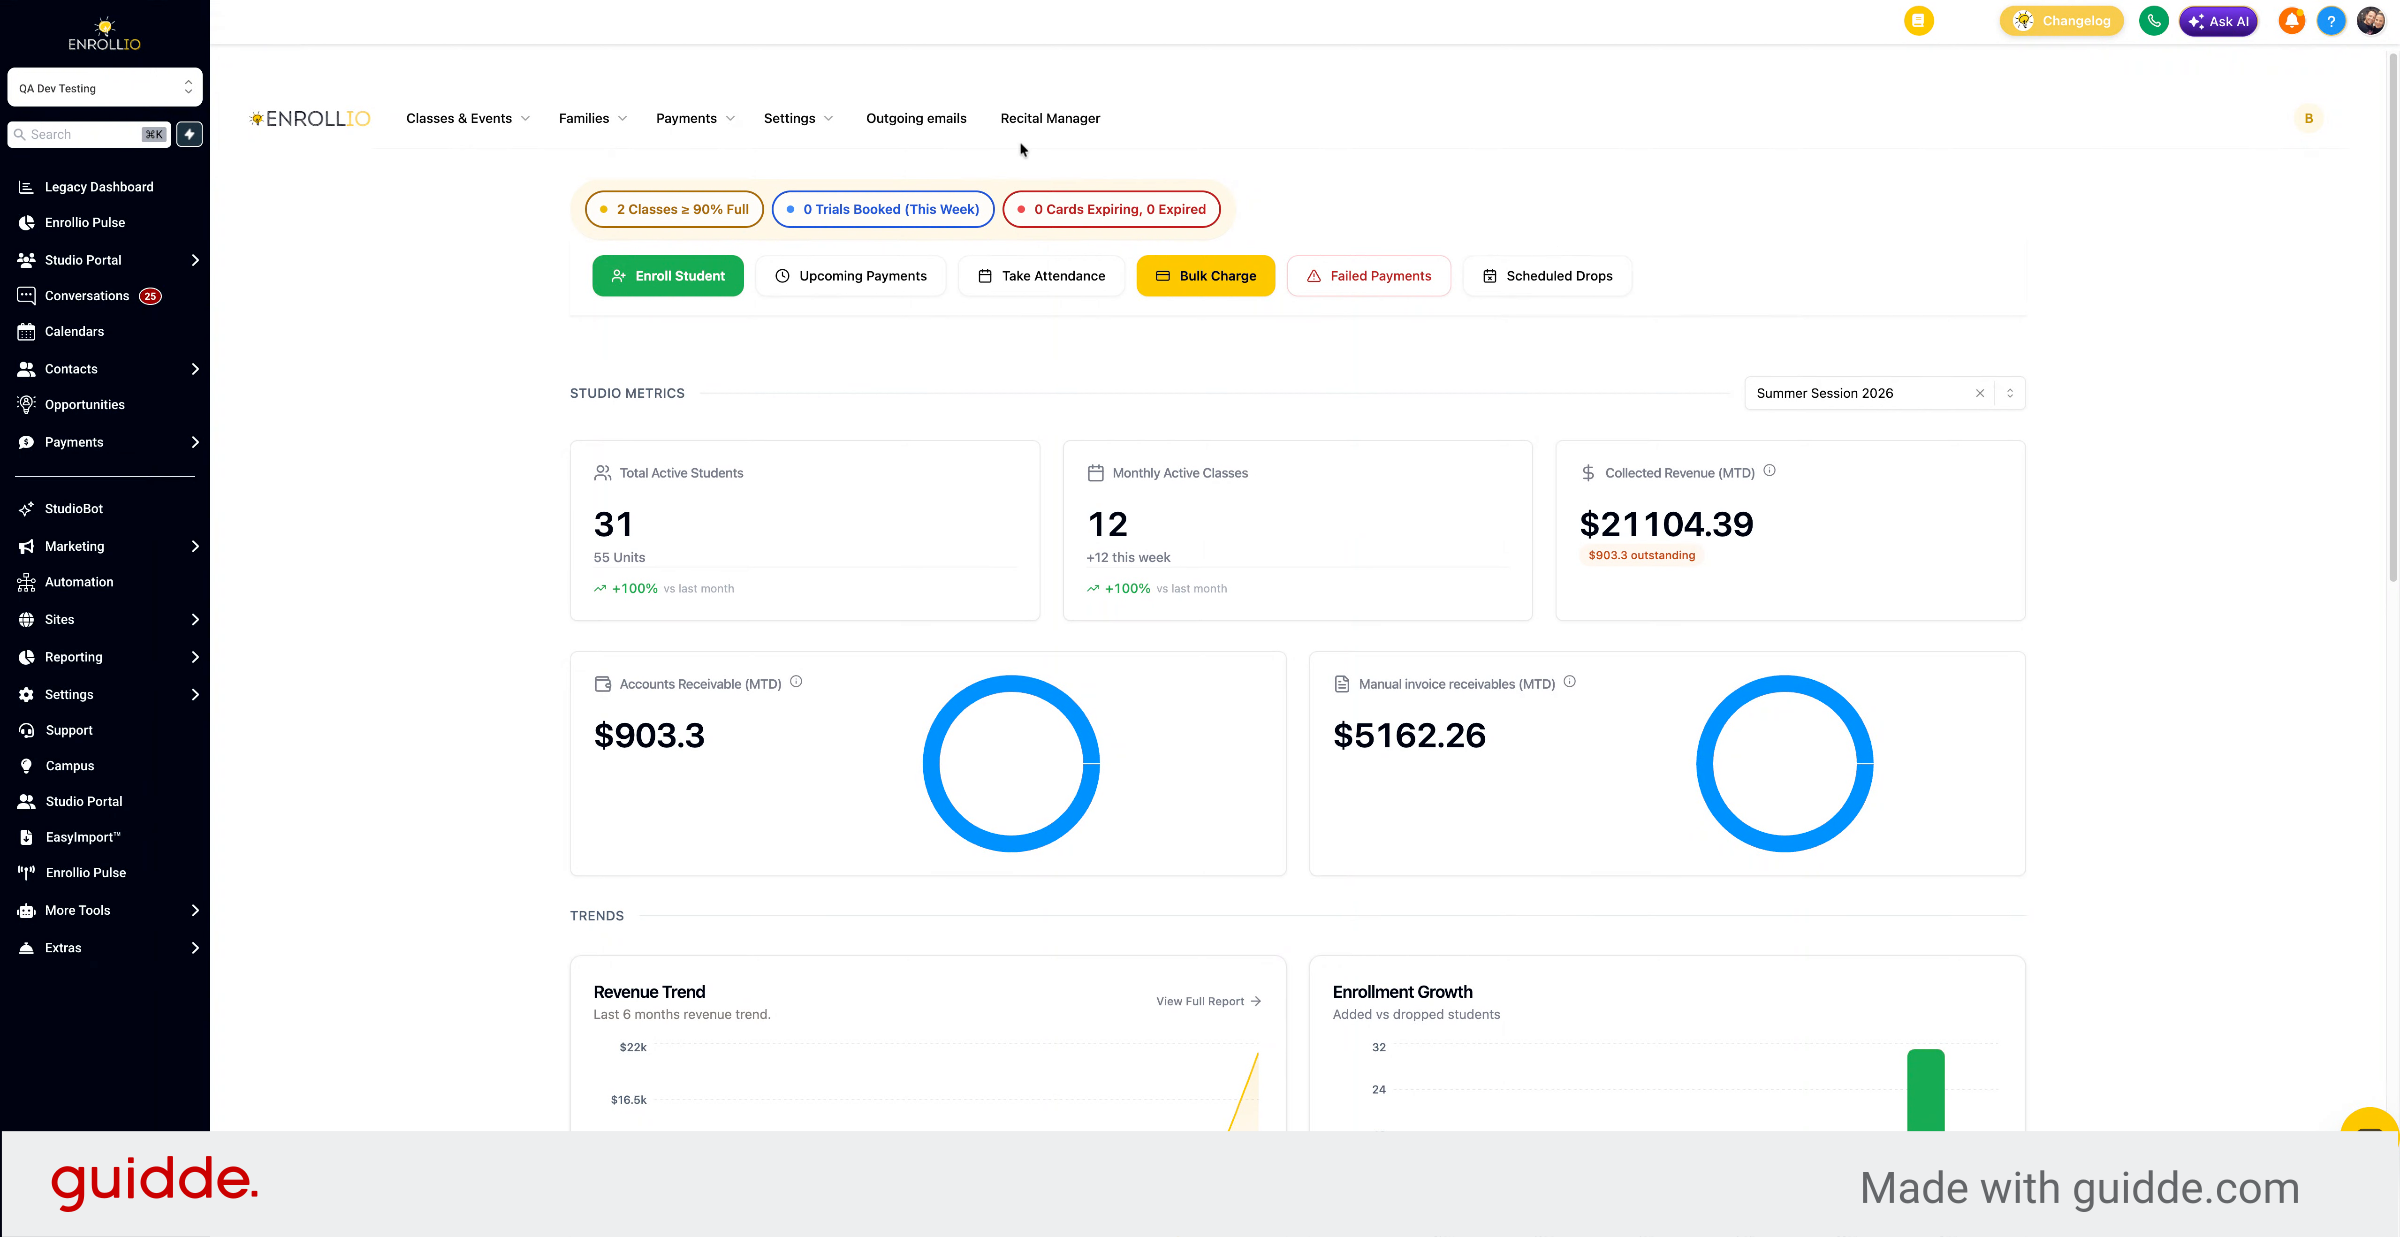
3. Check Stripe Connection Status
Check if the status says "Manage." If it says "Connect," click Connect for Stripe.
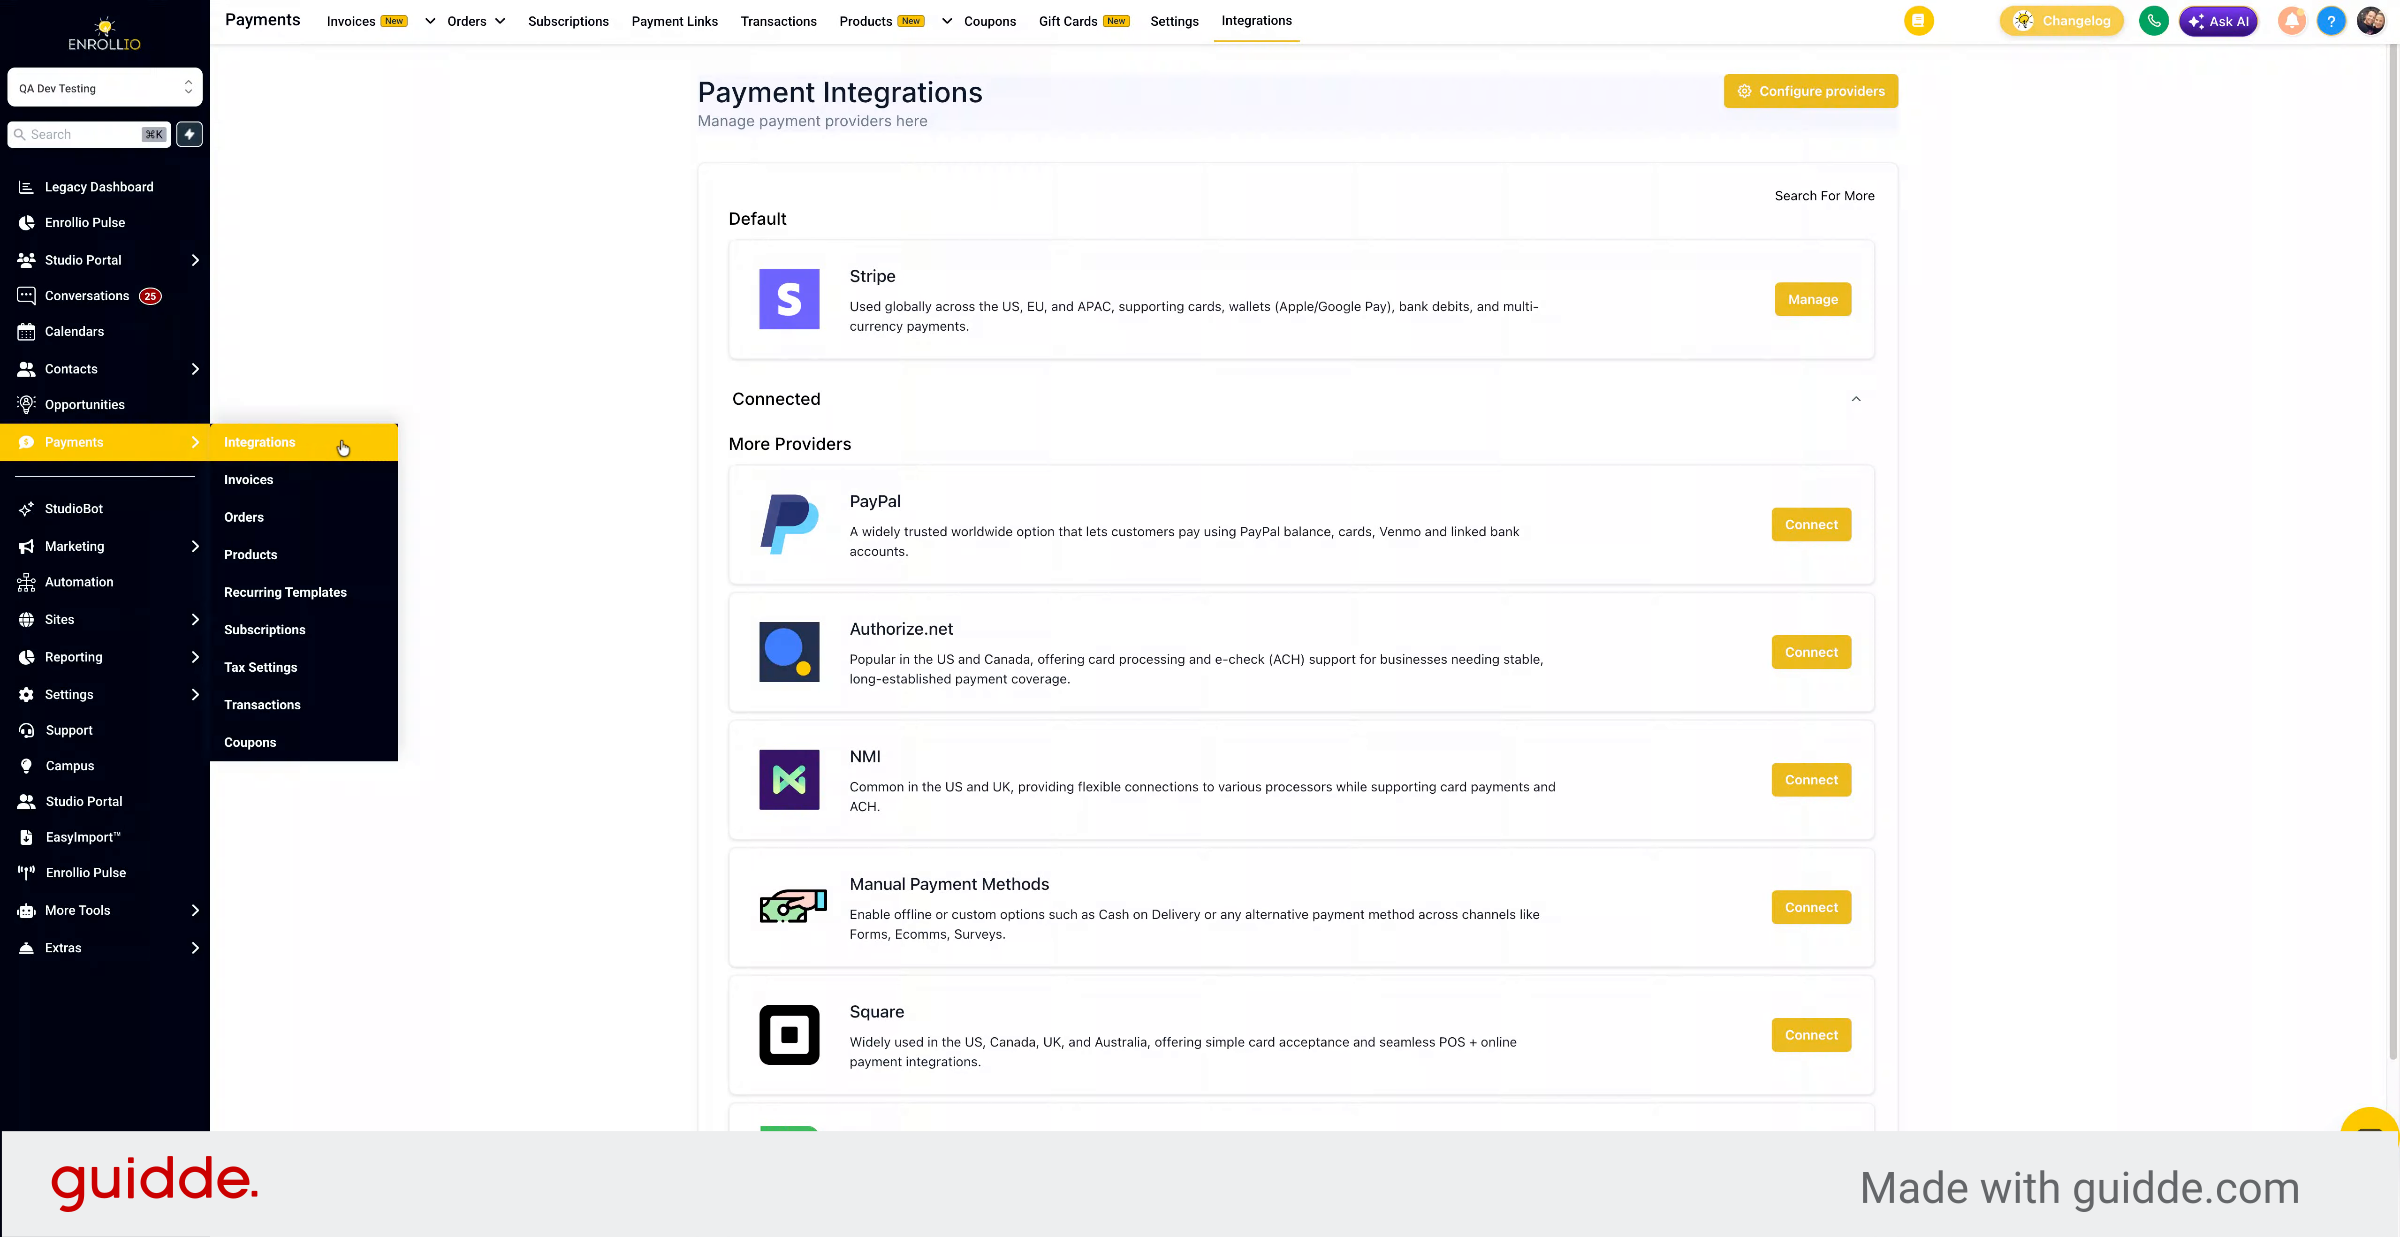
4. Connect Stripe Account
Connect your Stripe account. Once you've completed the connection, the status will change to "Manage."
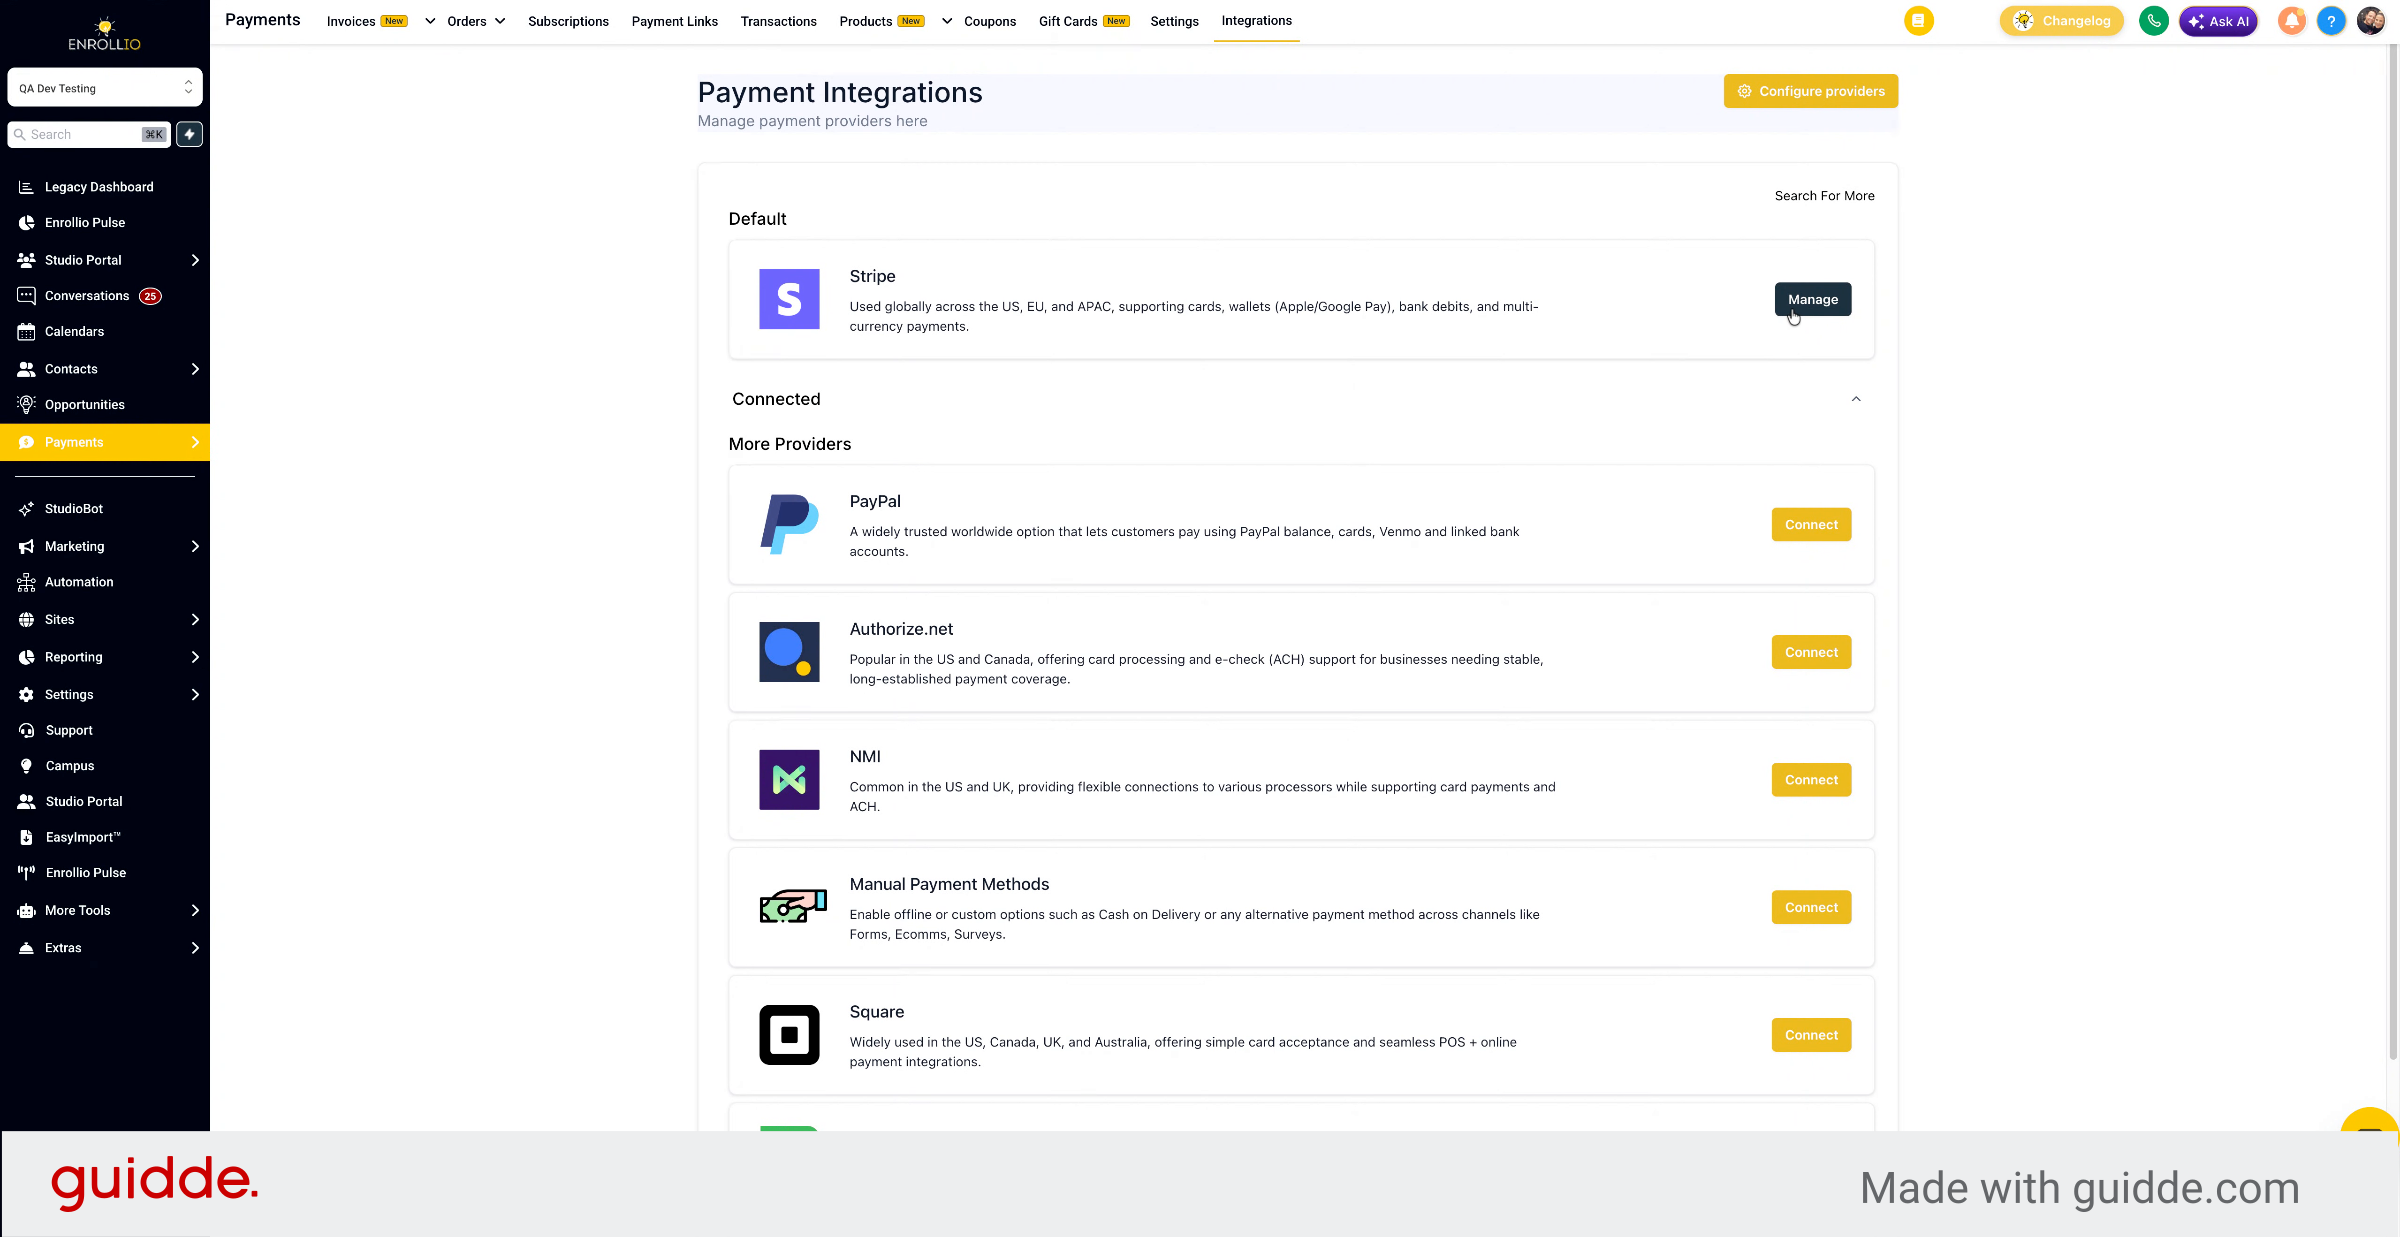
5. Return To Studio Portal
Go back to the Studio Portal.
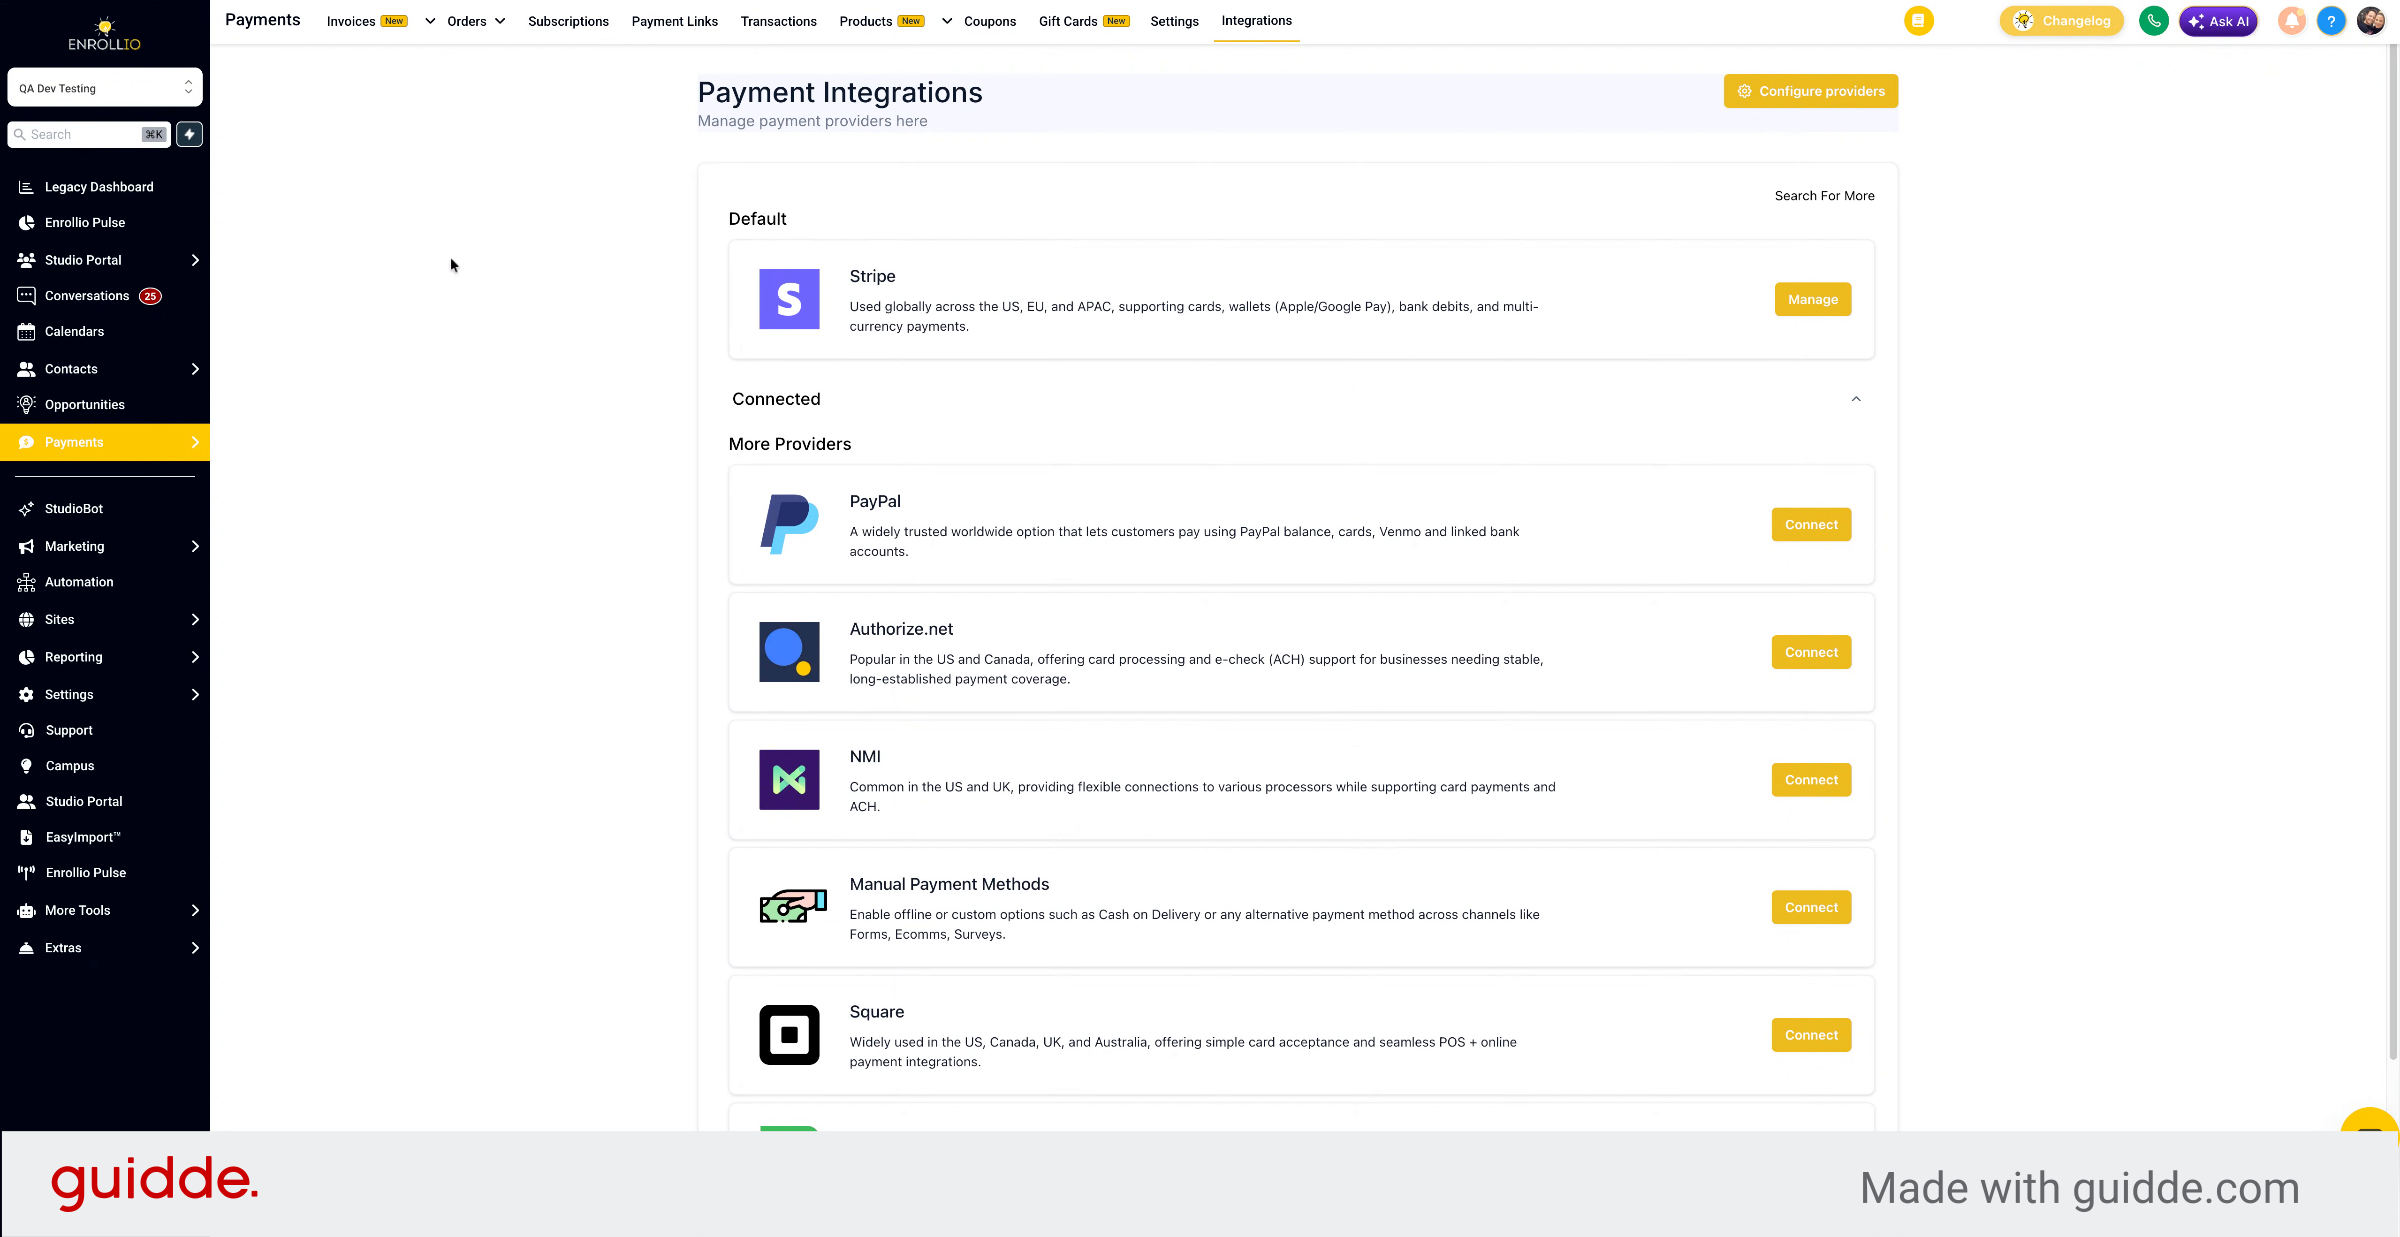
6. Navigate Studio Payment Integration
Go to Payments at the top, then to Payment Integration.
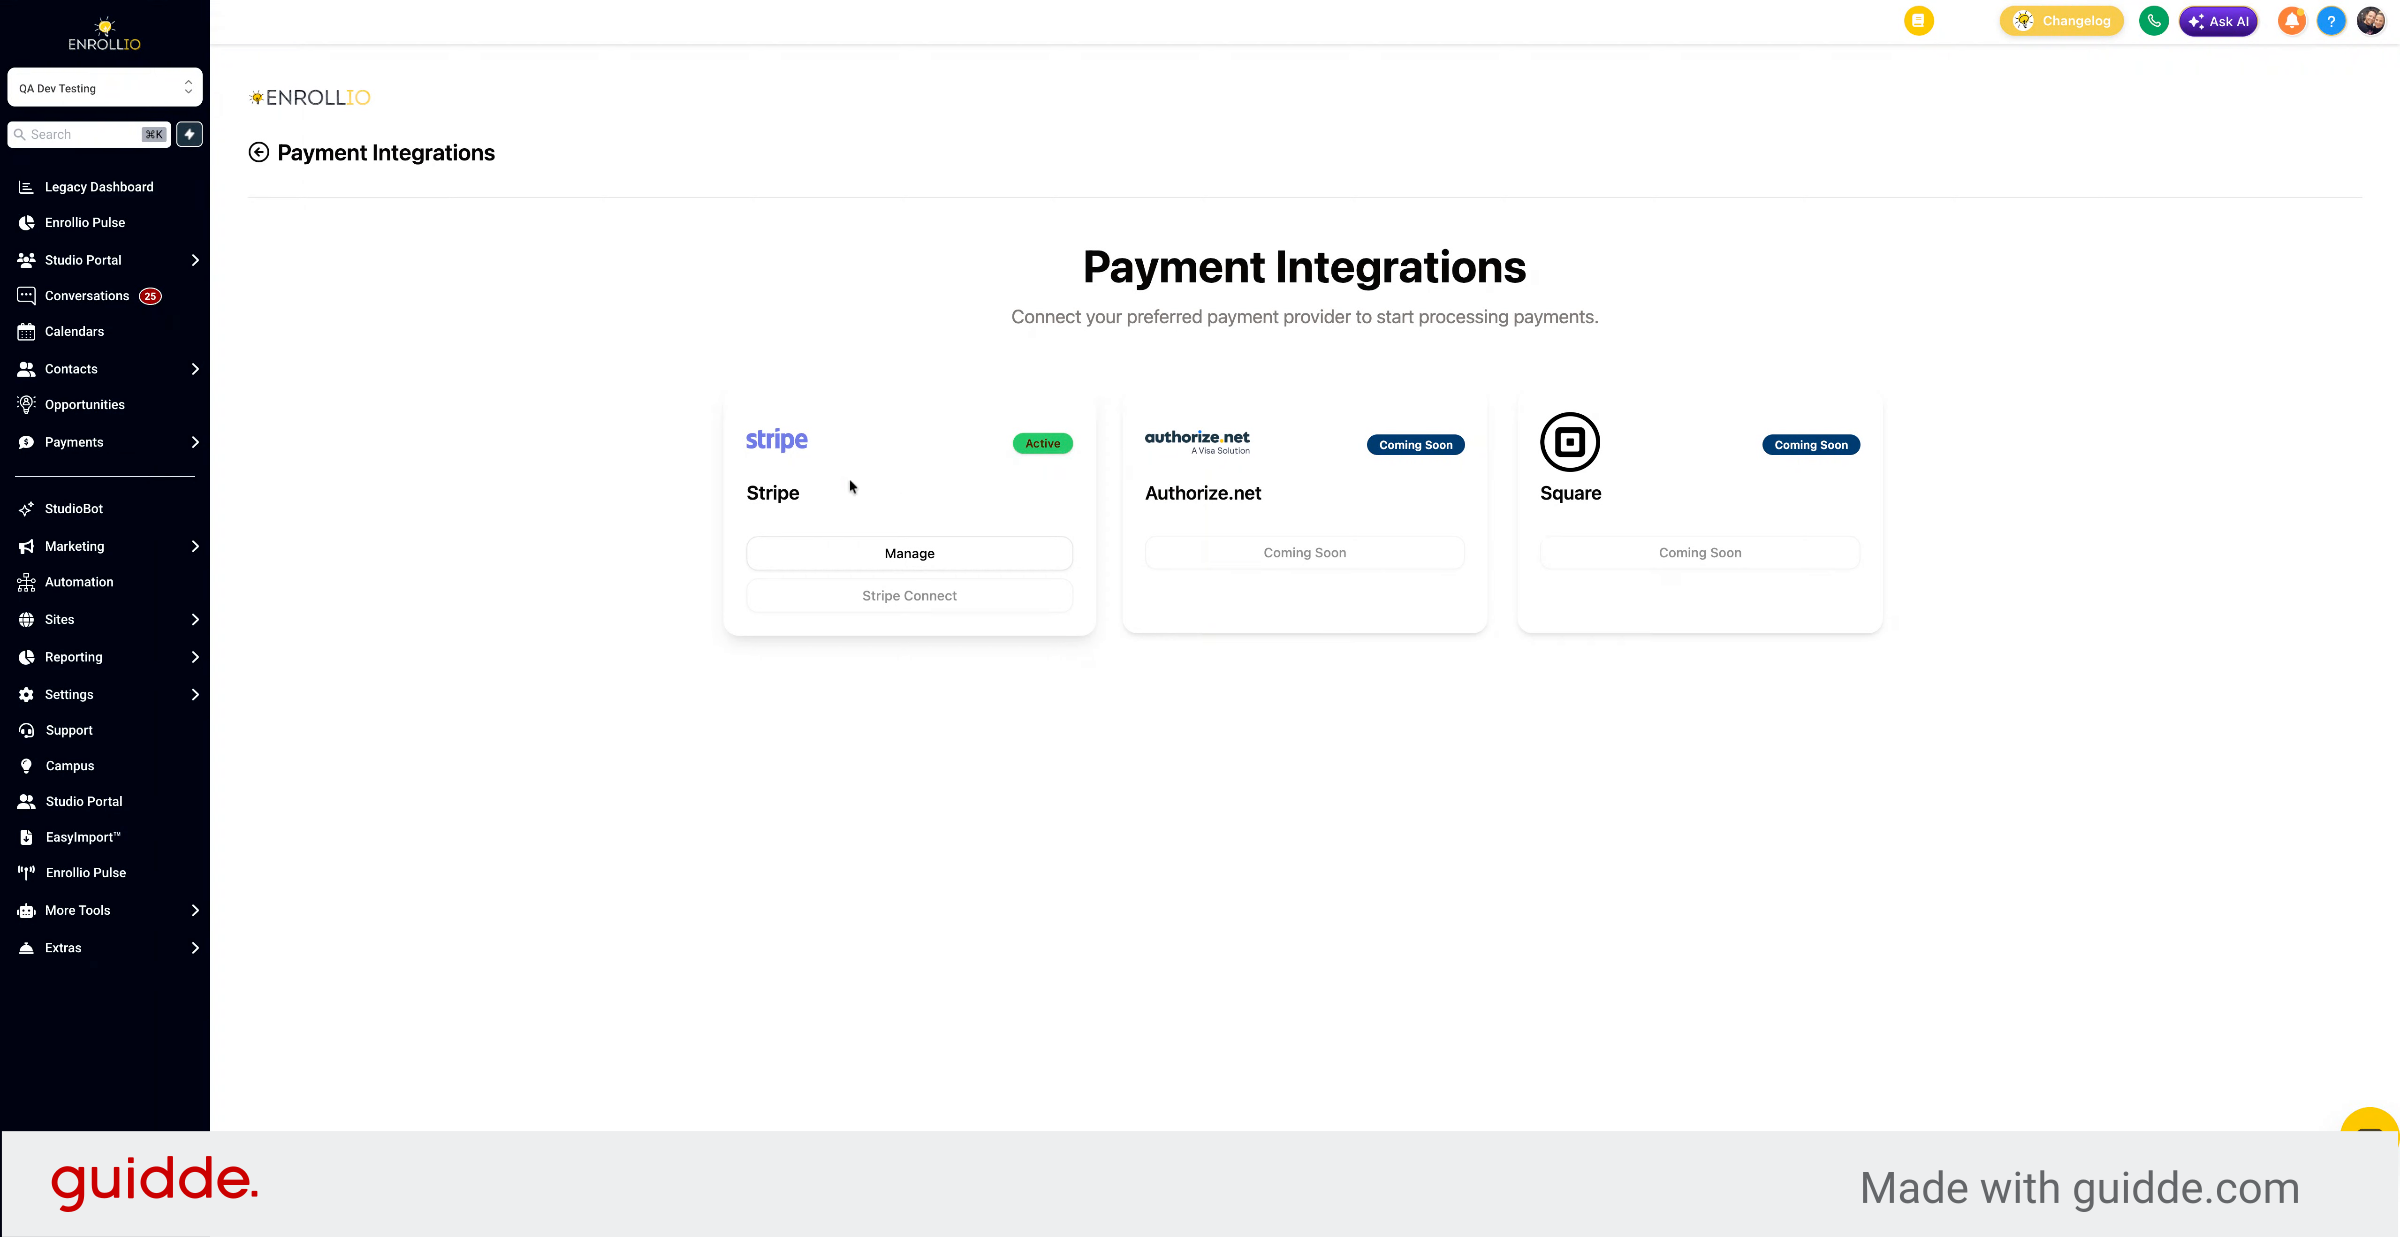
7. Complete Stripe Connection
Connect your Stripe account. Once complete, you'll be connected to Stripe and ready to process payments.
8. Final Setup Step Introduction
Now for the final step.
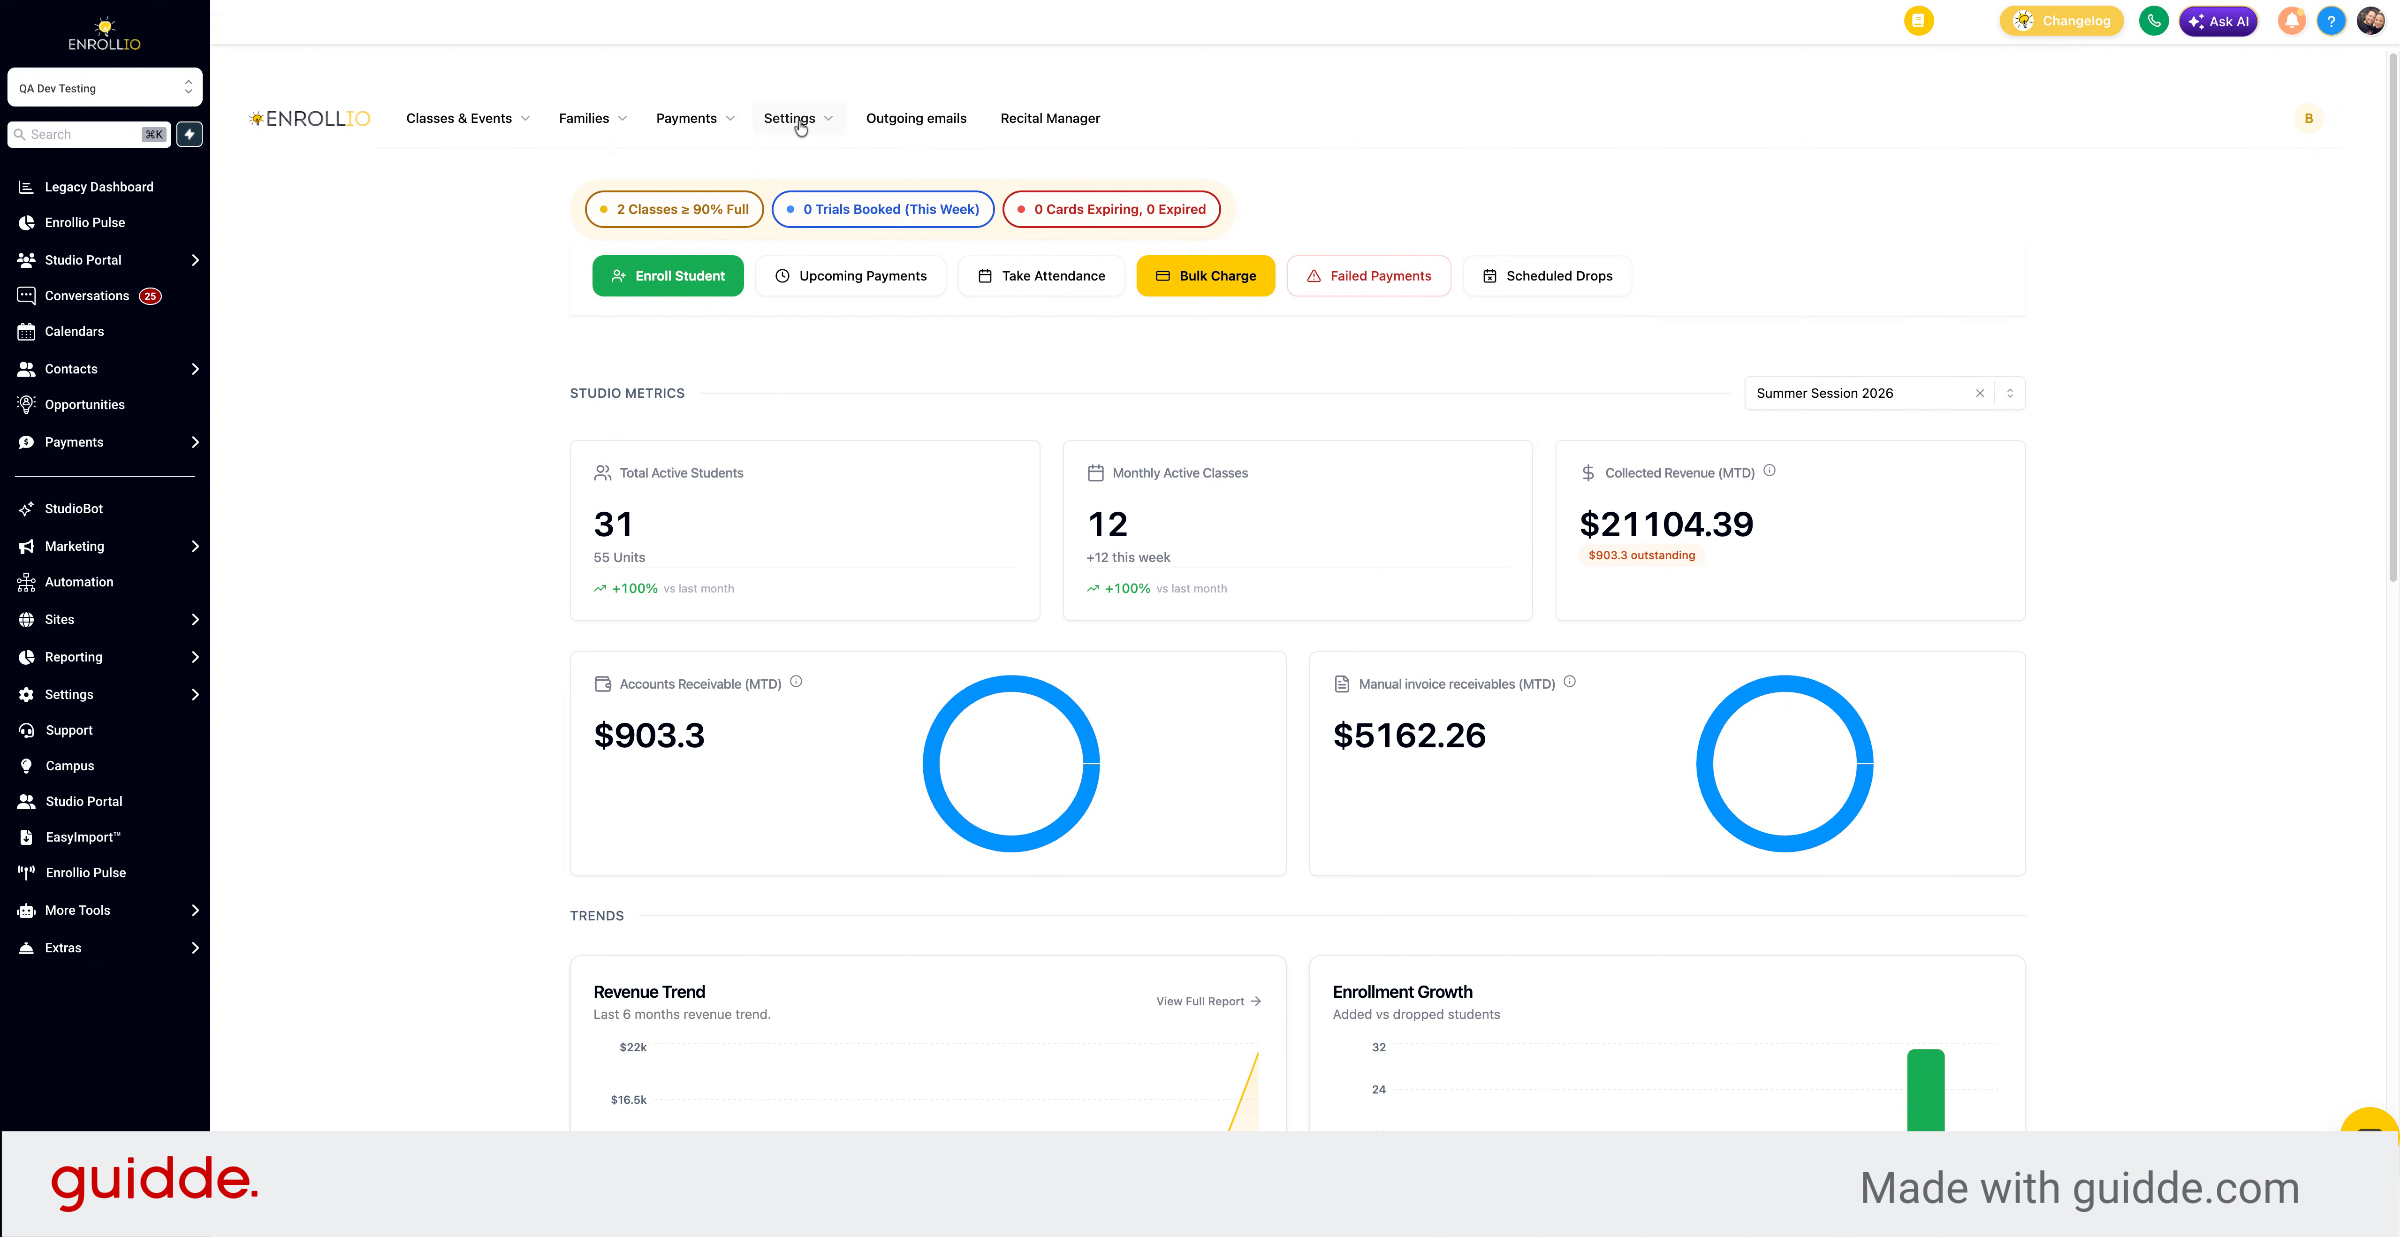
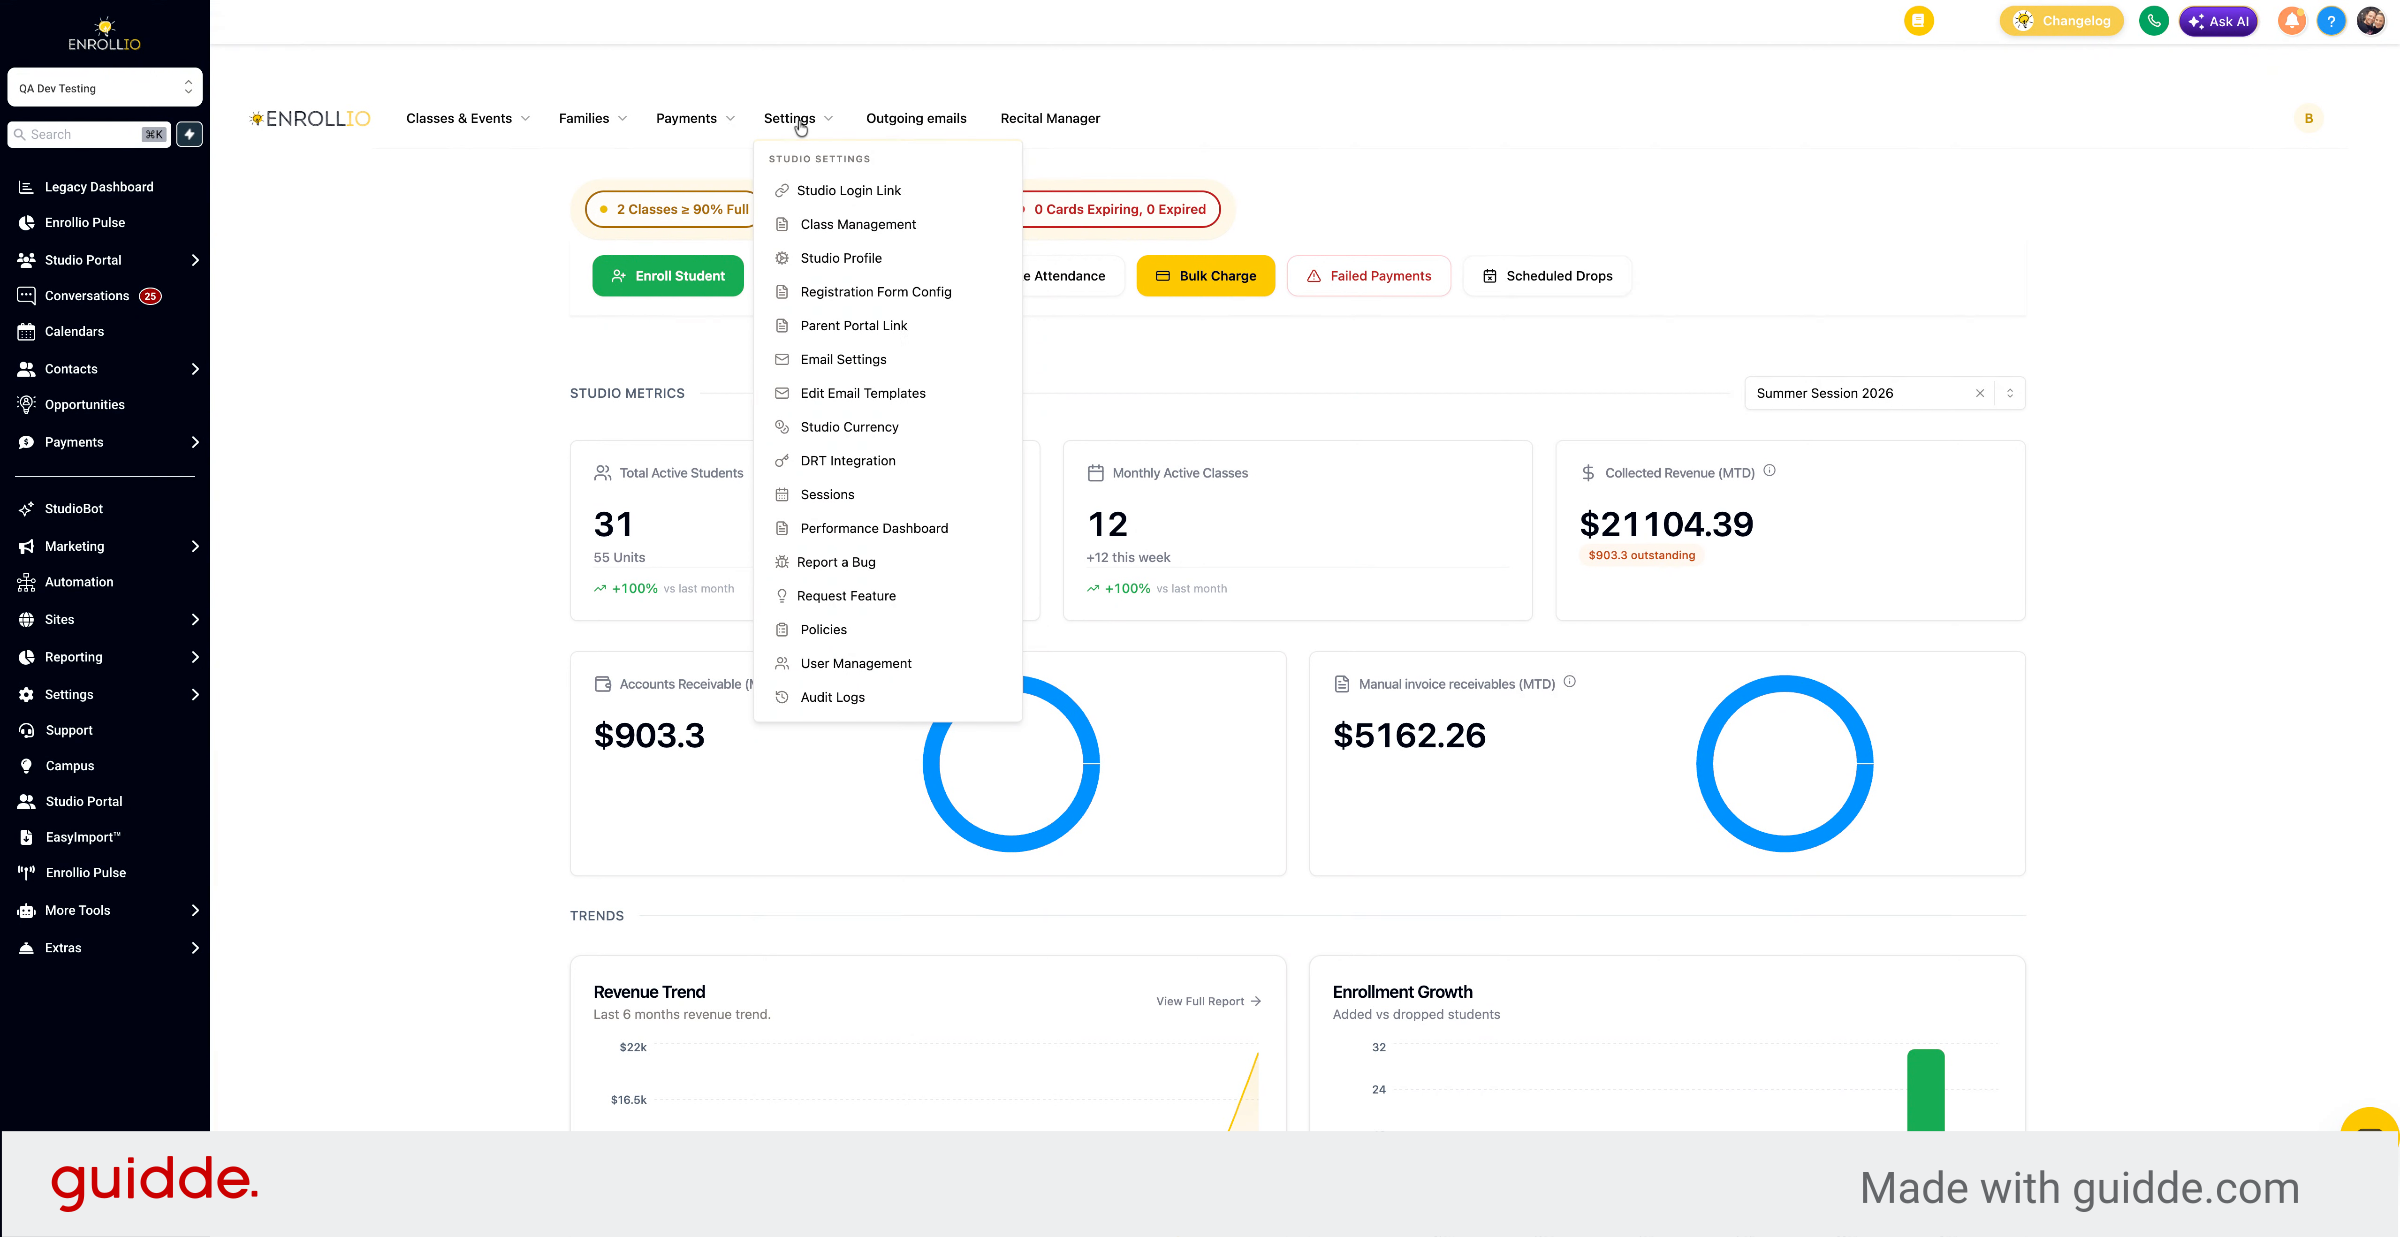
9. Access Studio Currency Settings
Go to Settings and select Studio Currency.
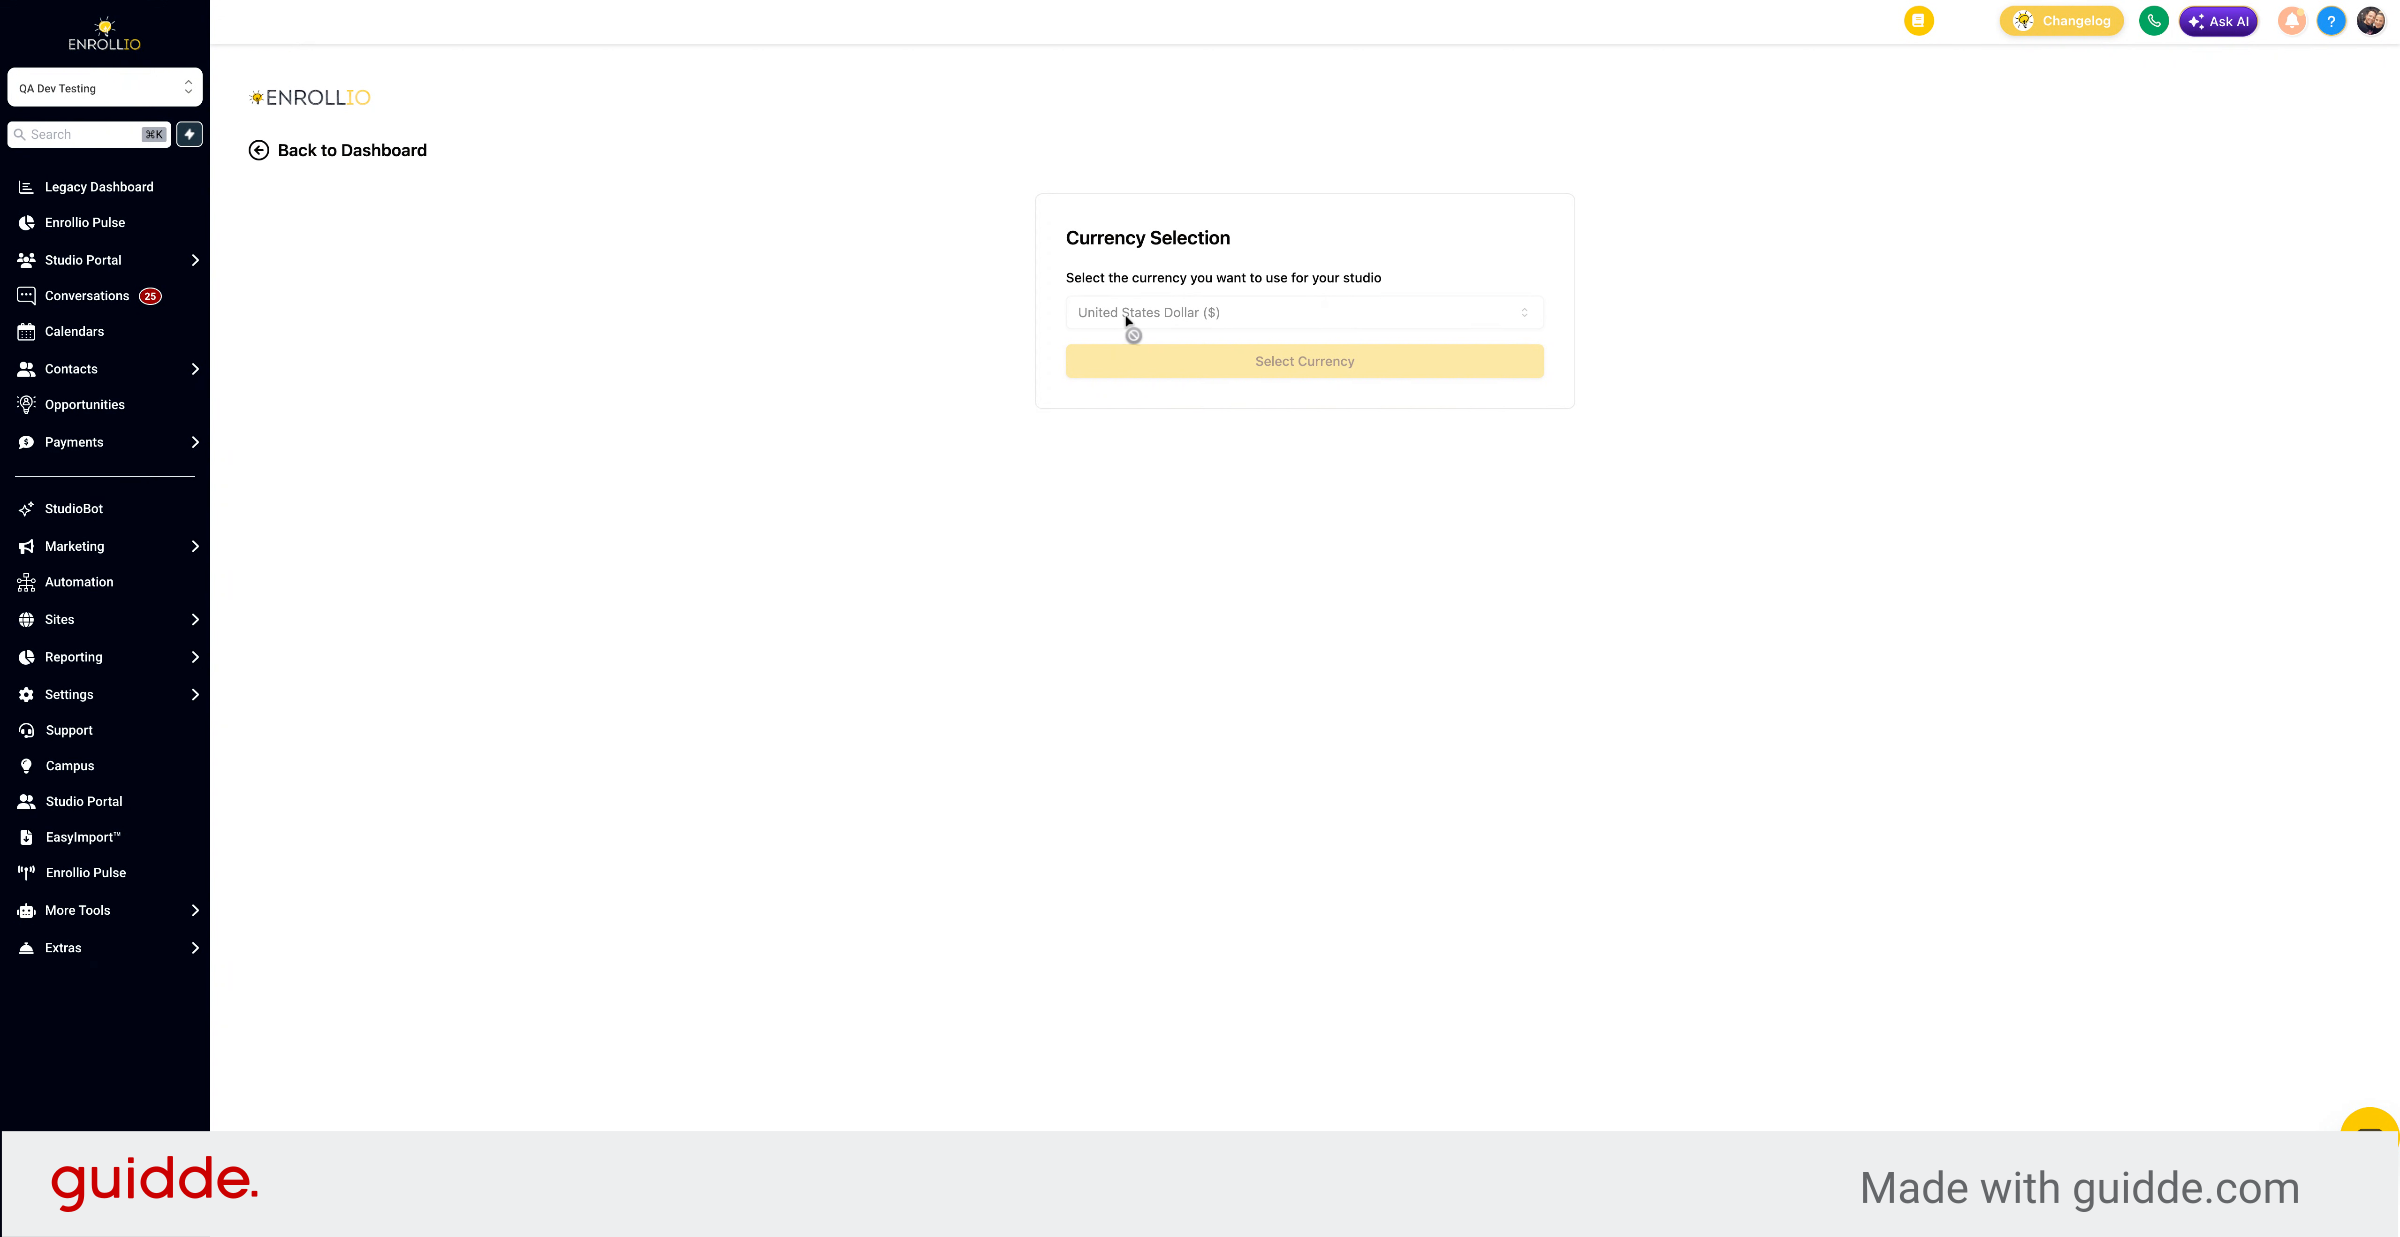
10. Select And Confirm Currency
Select your currency and then click "Select Currency."
You've now connected your Stripe account in the Studio Portal and configured your studio currency settings for payment processing.