
This article introduces the key features of your Studio dashboard. You'll learn how to navigate the various panels to manage classes, payments, and student information.
1. Tour the Studio Dashboard
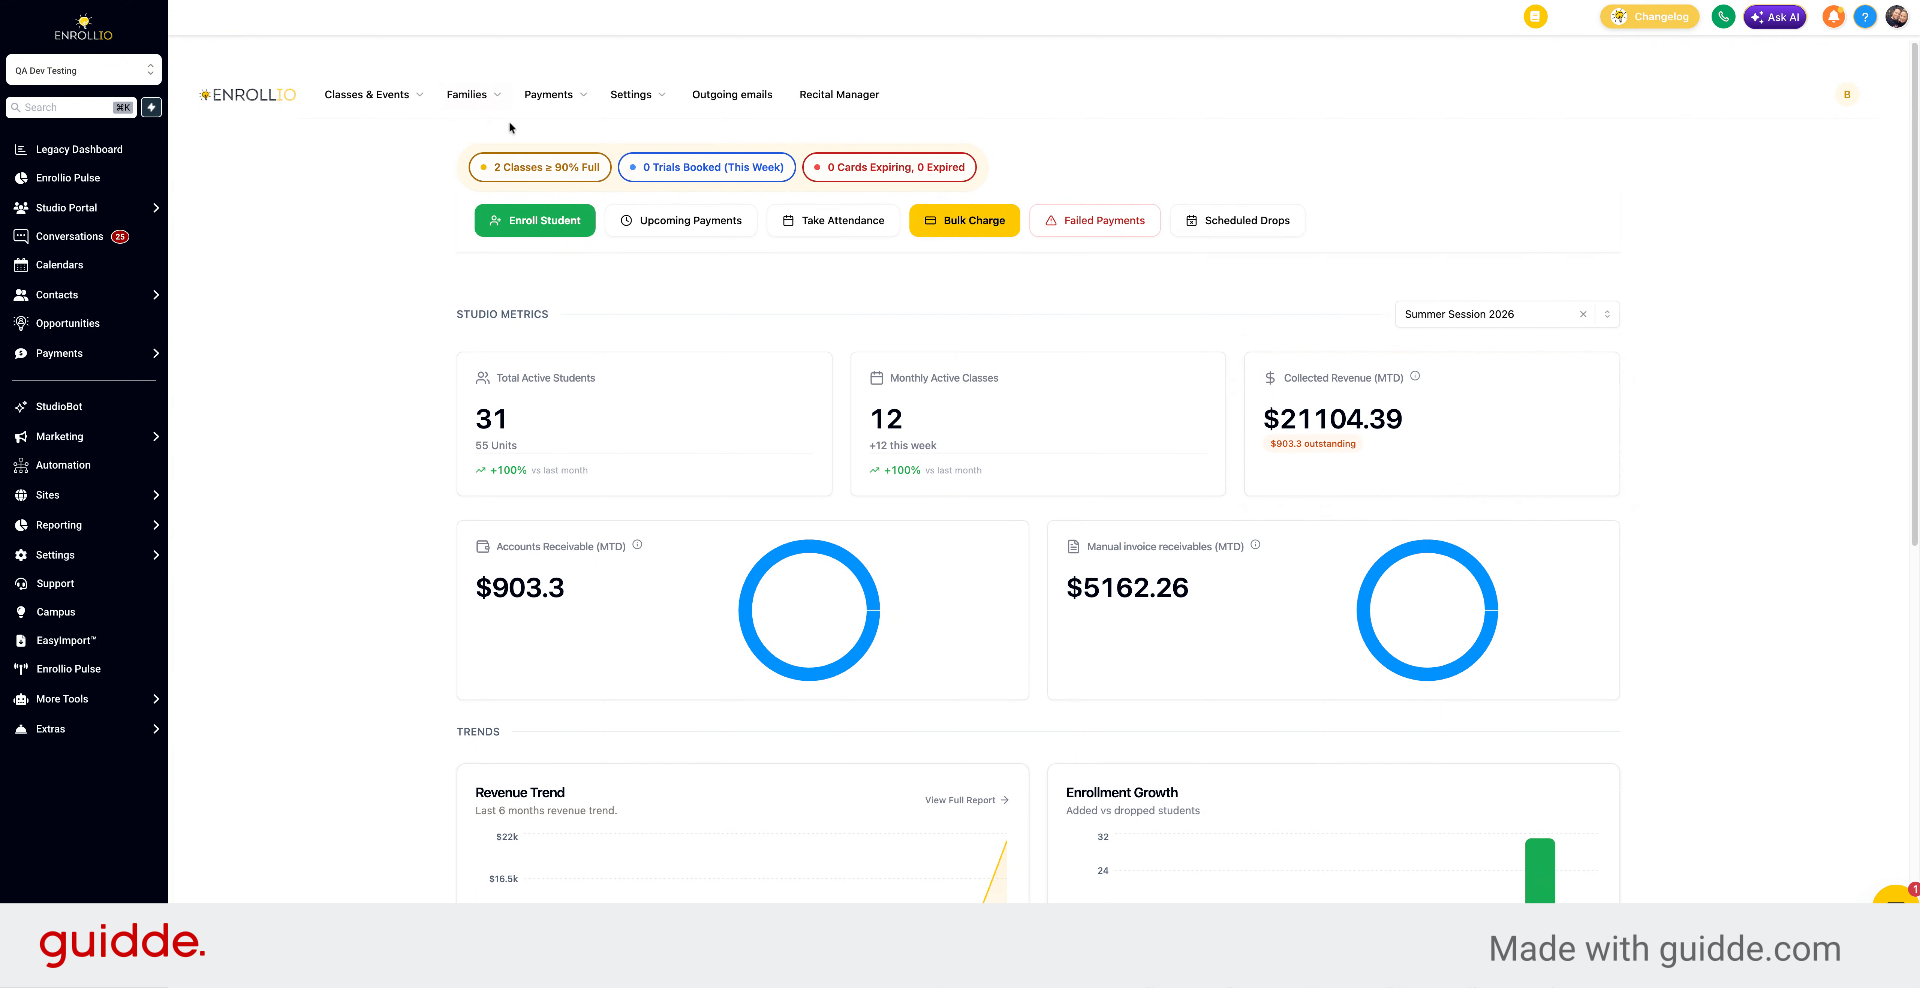
Let's take a tour of your Studio dashboard.
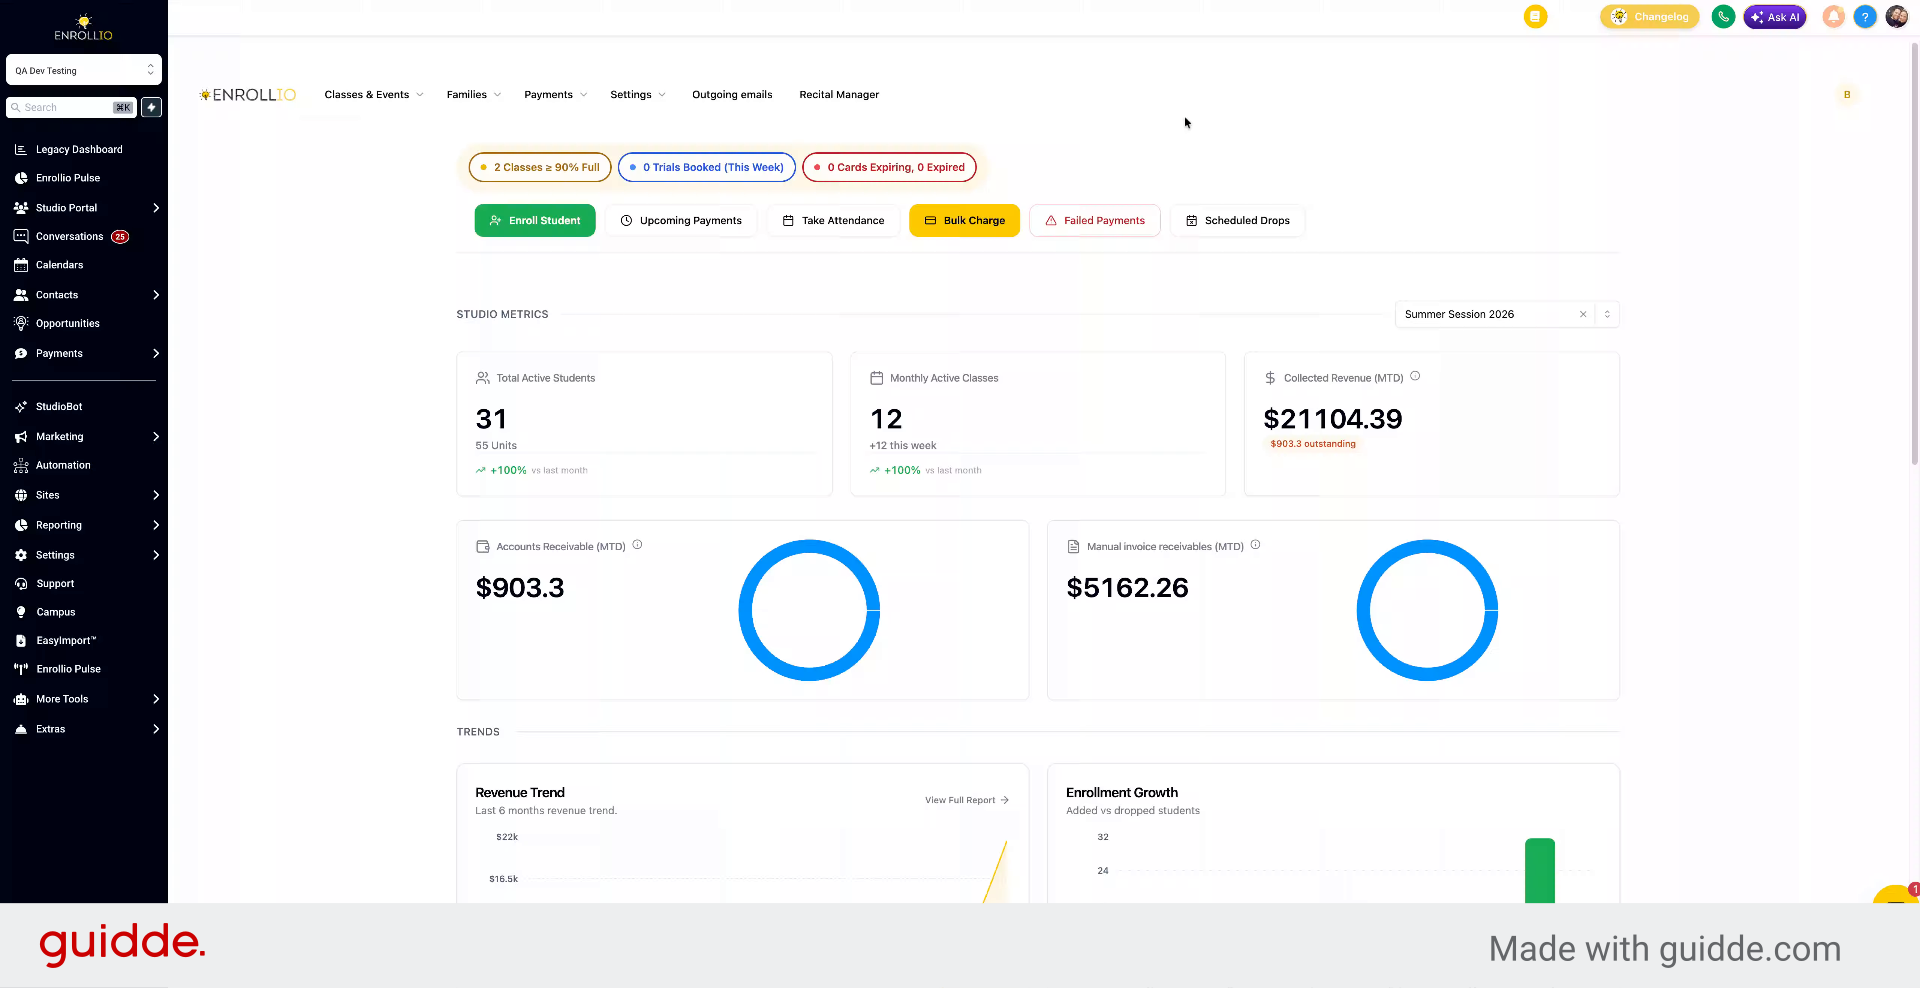
2. Review Dashboard Quick Metrics
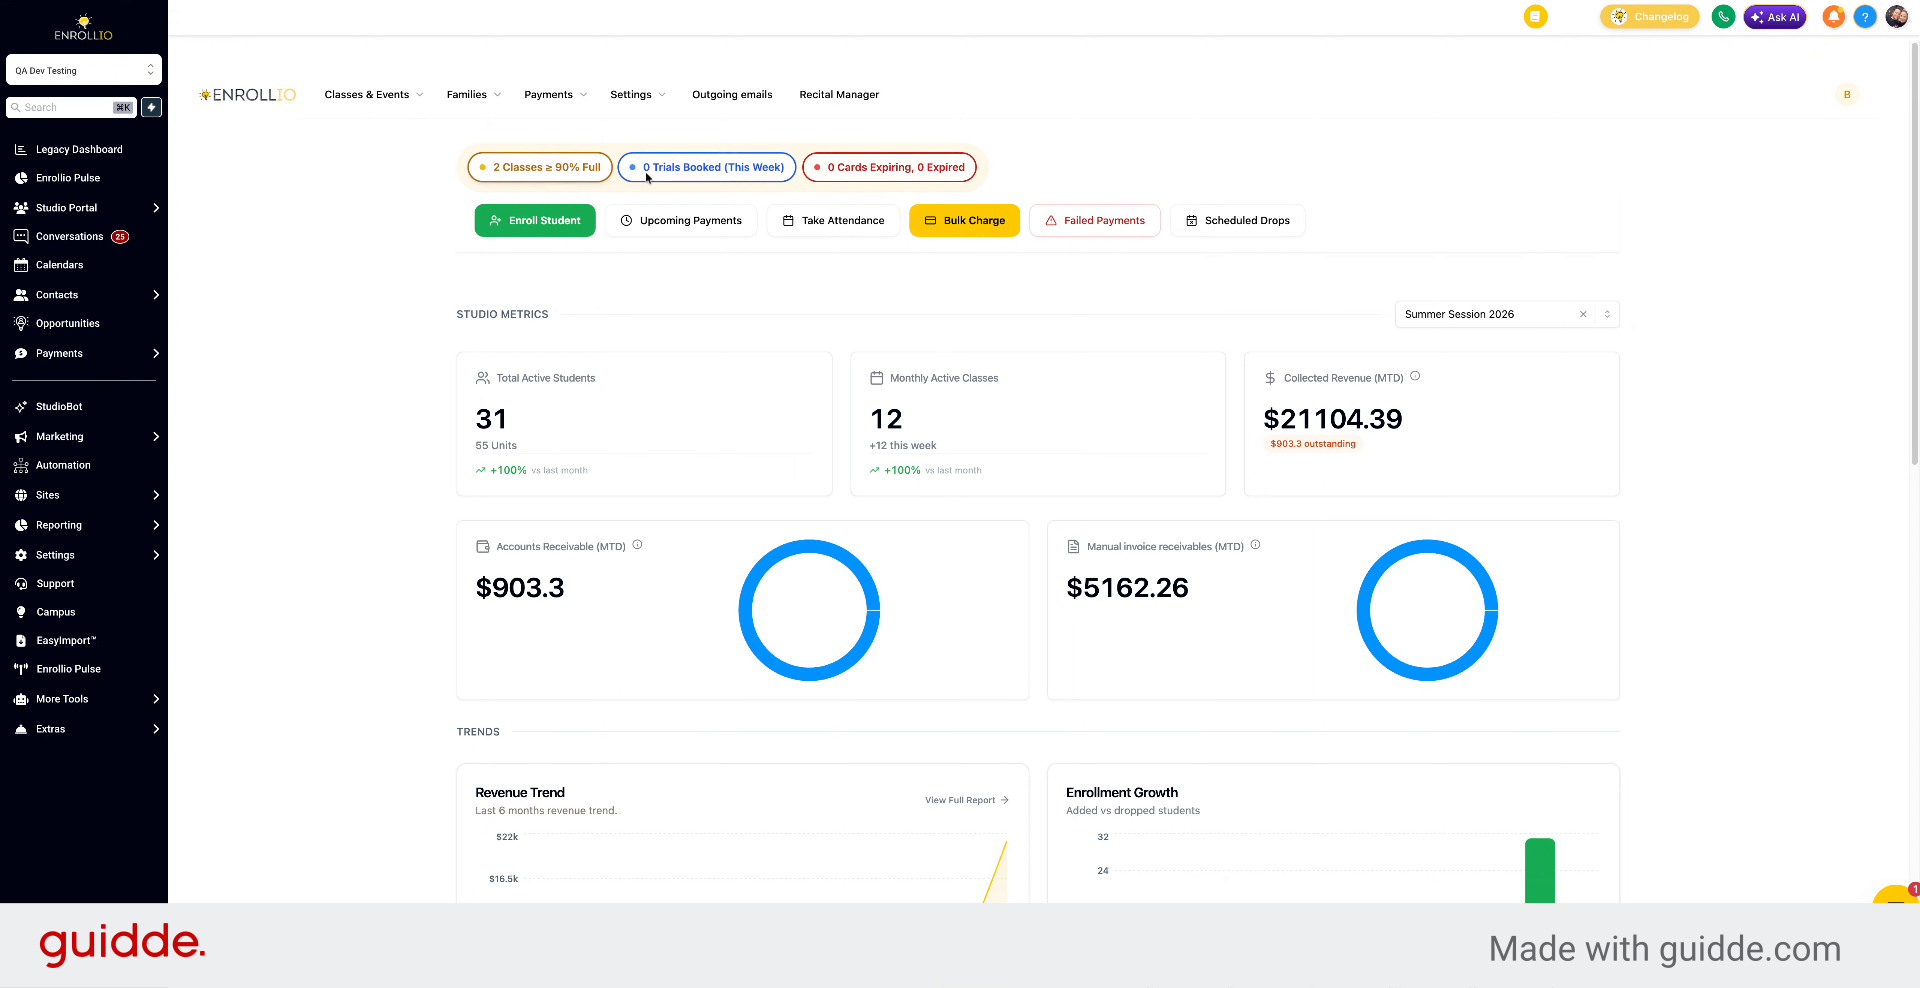
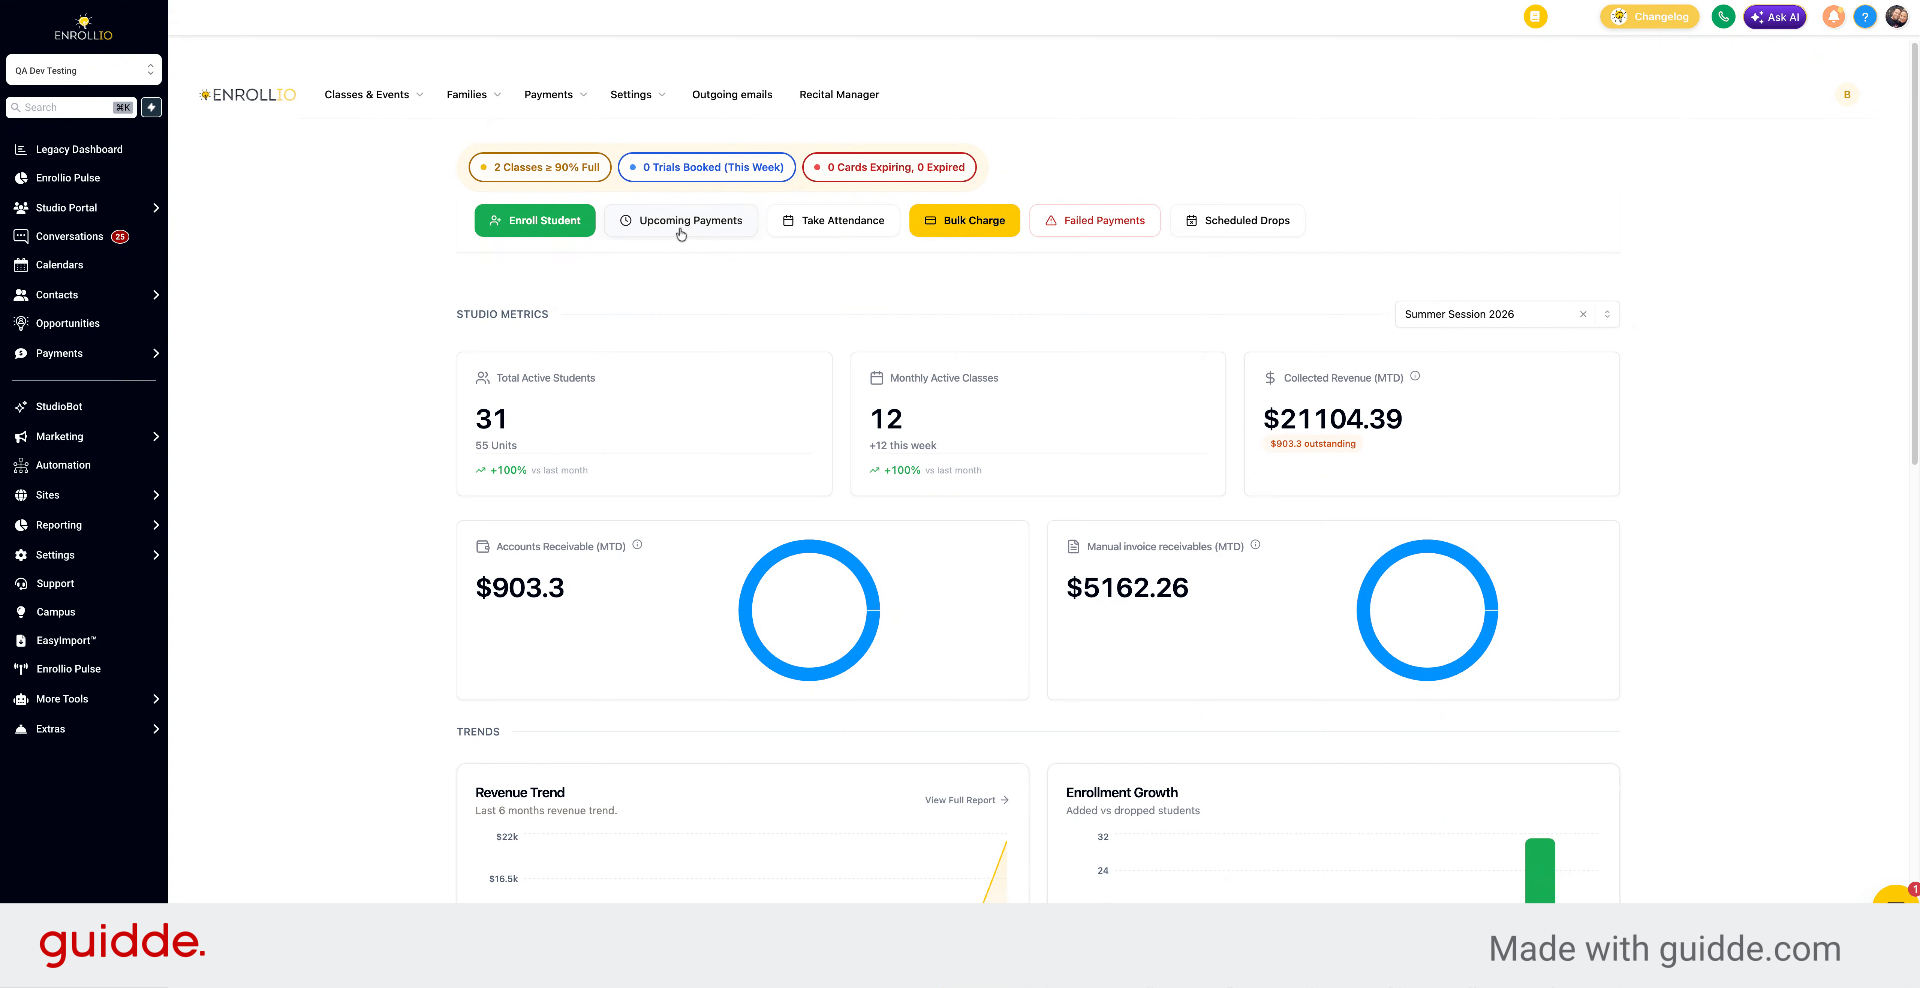
At the top, you can see quick metrics like the number of classes nearing capacity, trials booked for the coming week, and credit or debit cards that are expiring or expired.
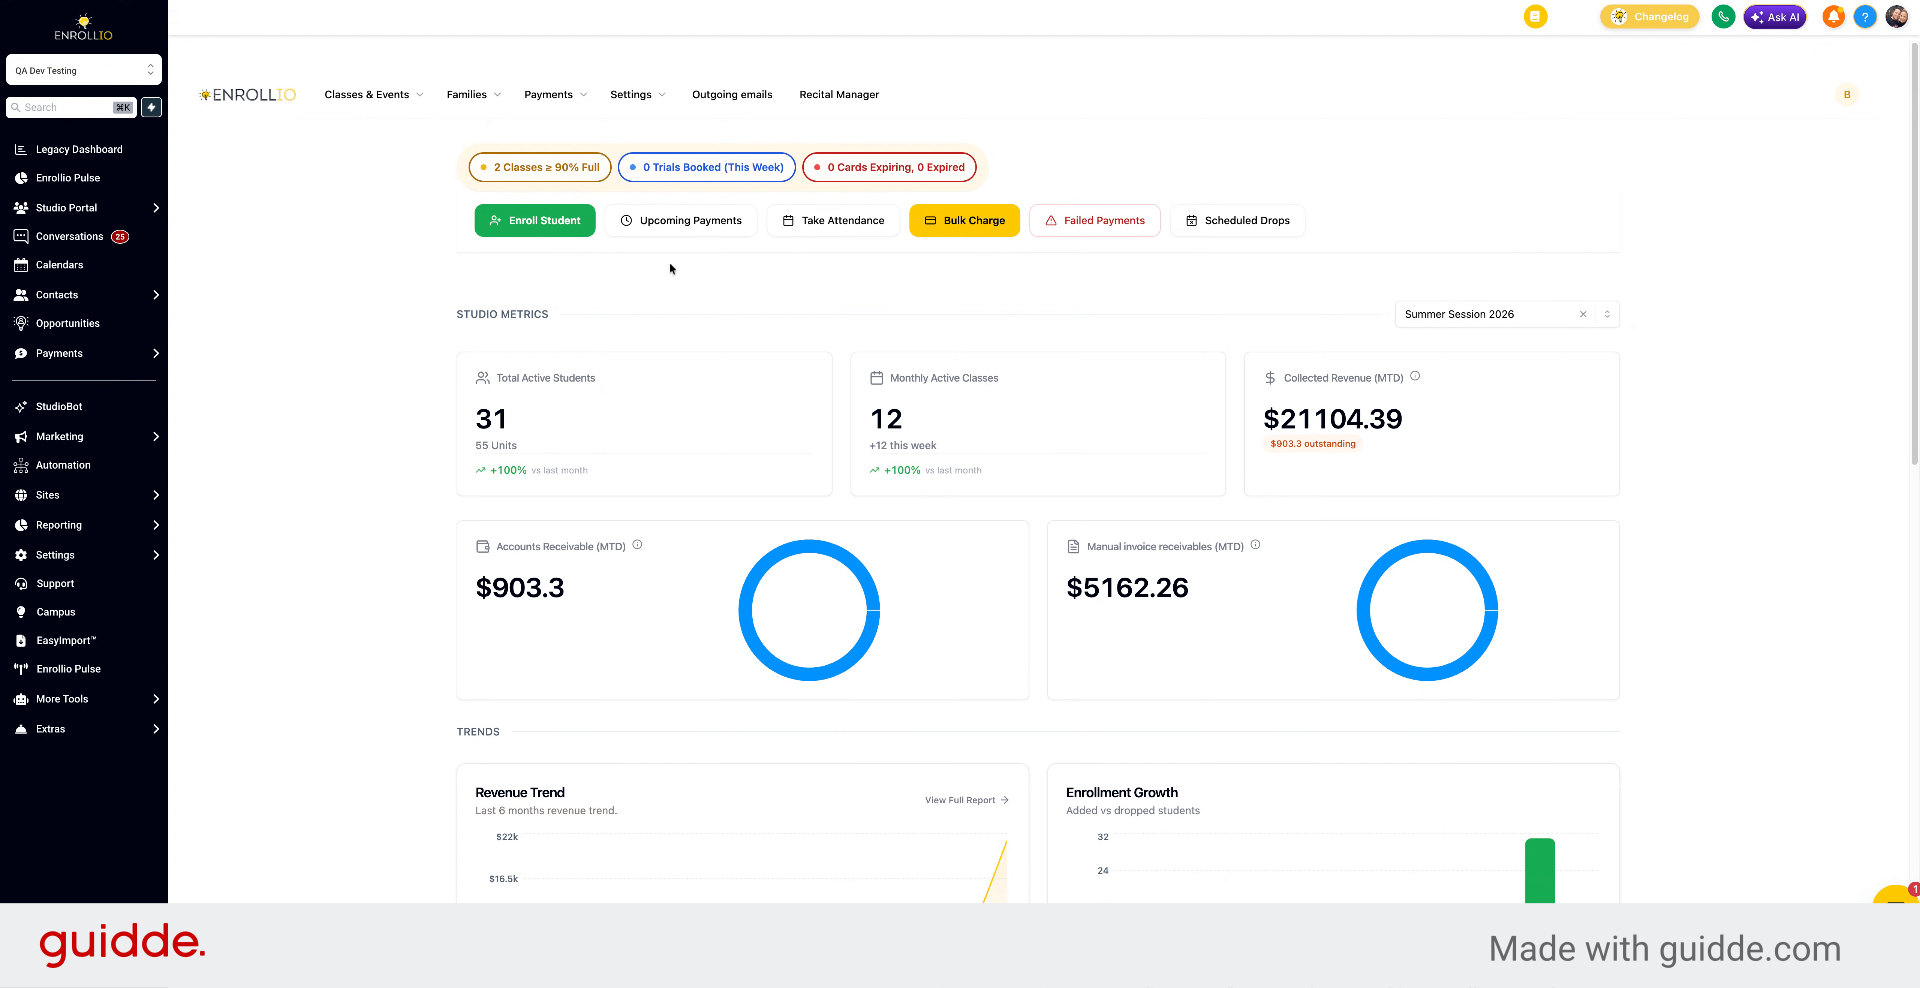
3. Scroll for Detailed Data
You can view more detailed data by scrolling down the dashboard to see additional insights.
4. Open Student Enrollment Panel
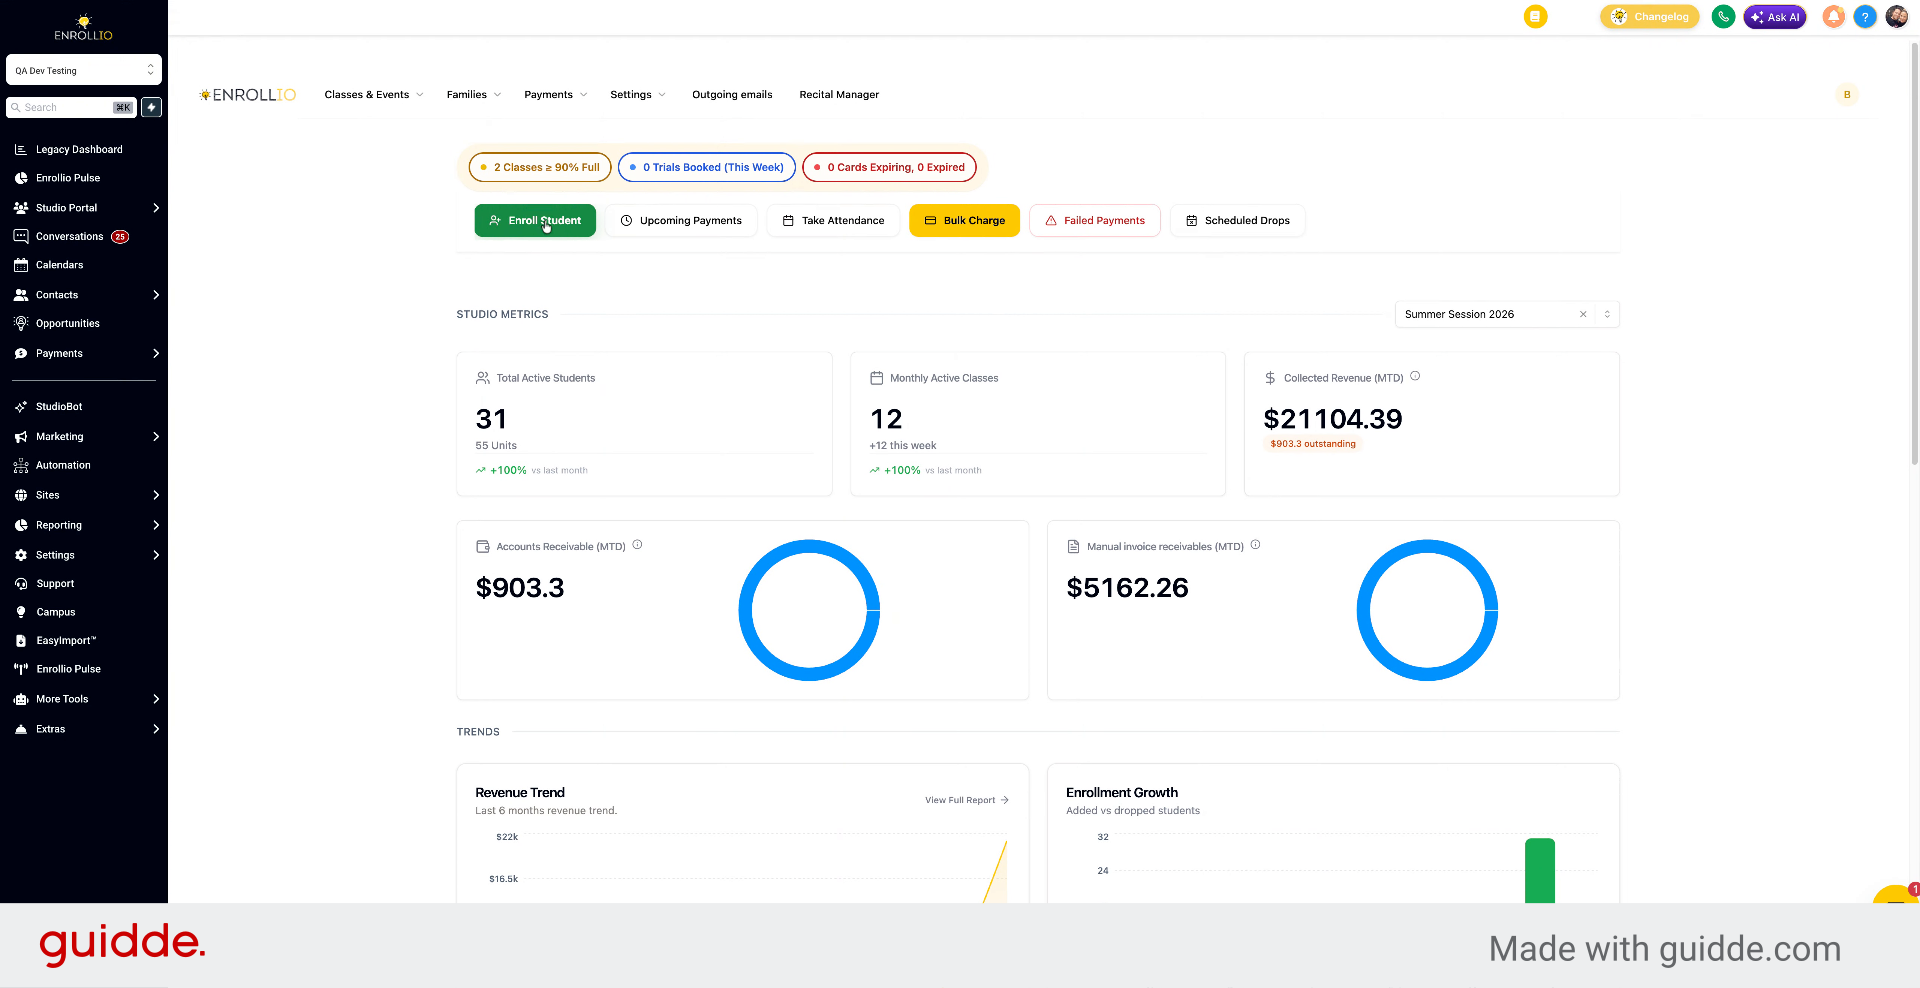
Click Enroll to open a panel where you can choose a student to enroll, select the session, class, discounts, and payment methods.
5. Access Payments and Attendance
Click the button to view upcoming payments, take attendance for a specific class, or perform a bulk charge.
6. Schedule Bulk Charges
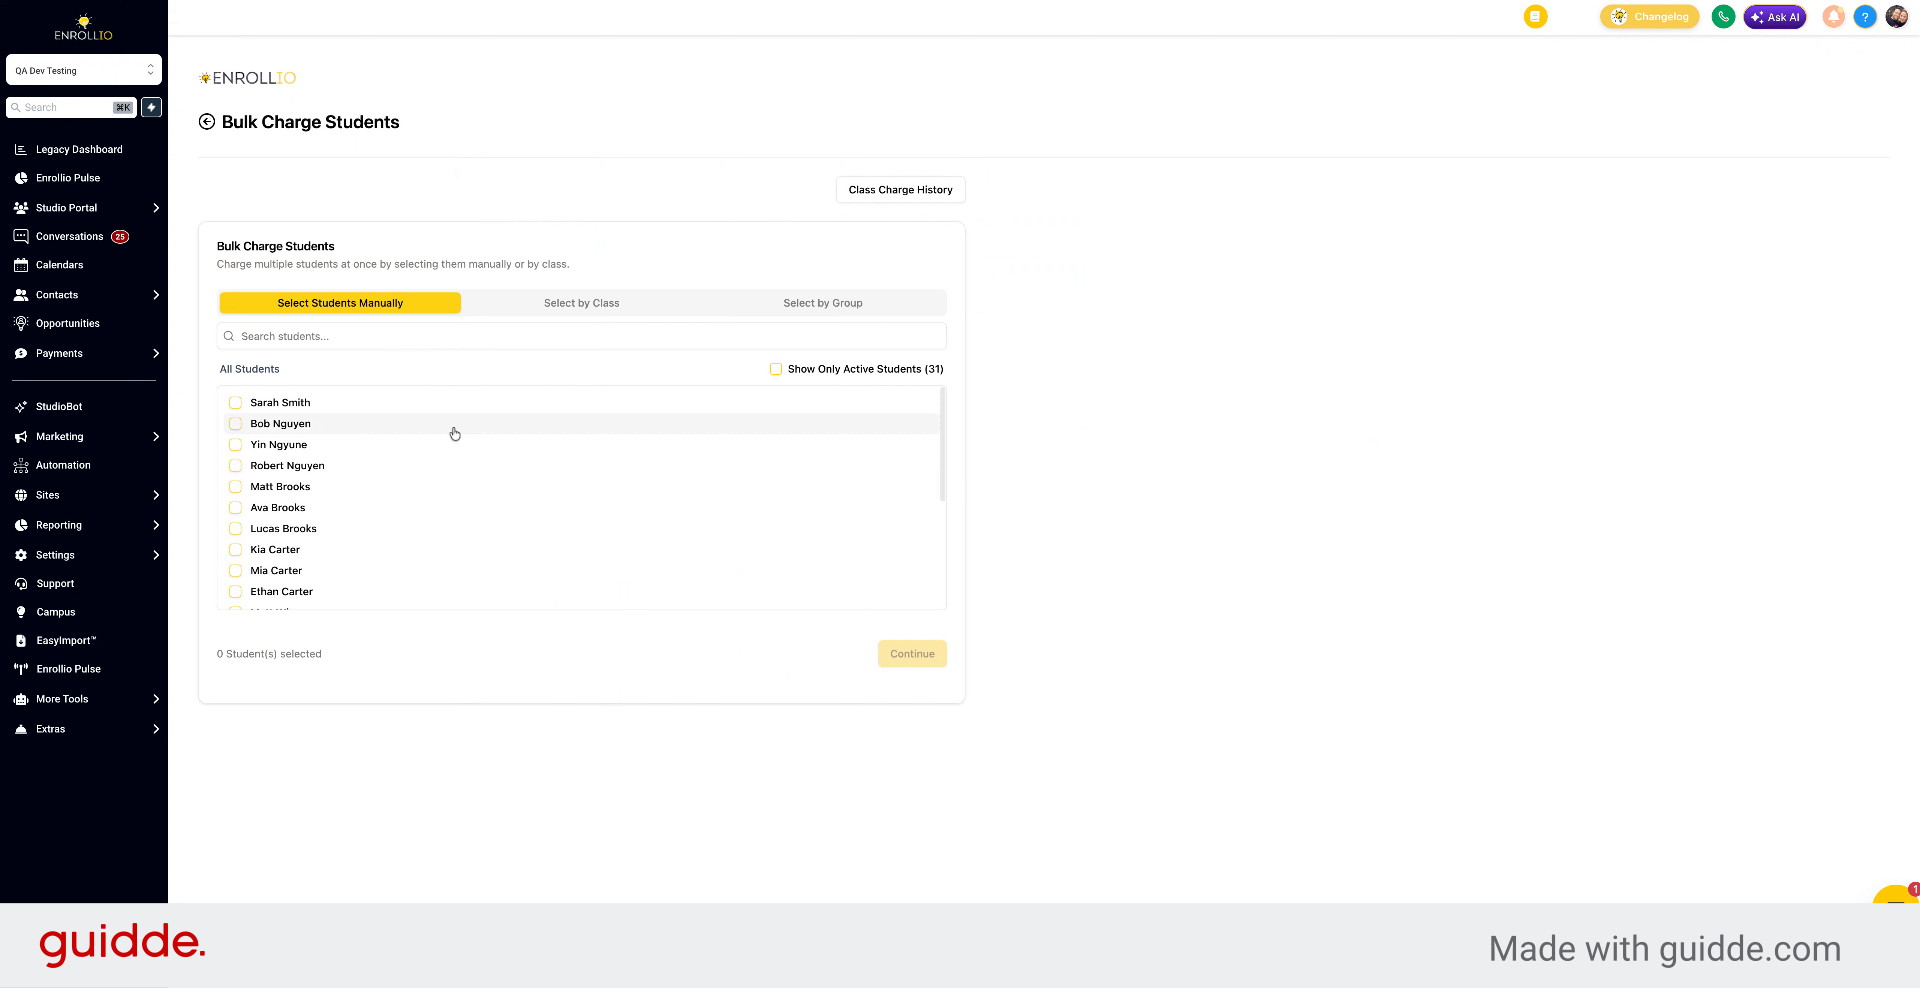
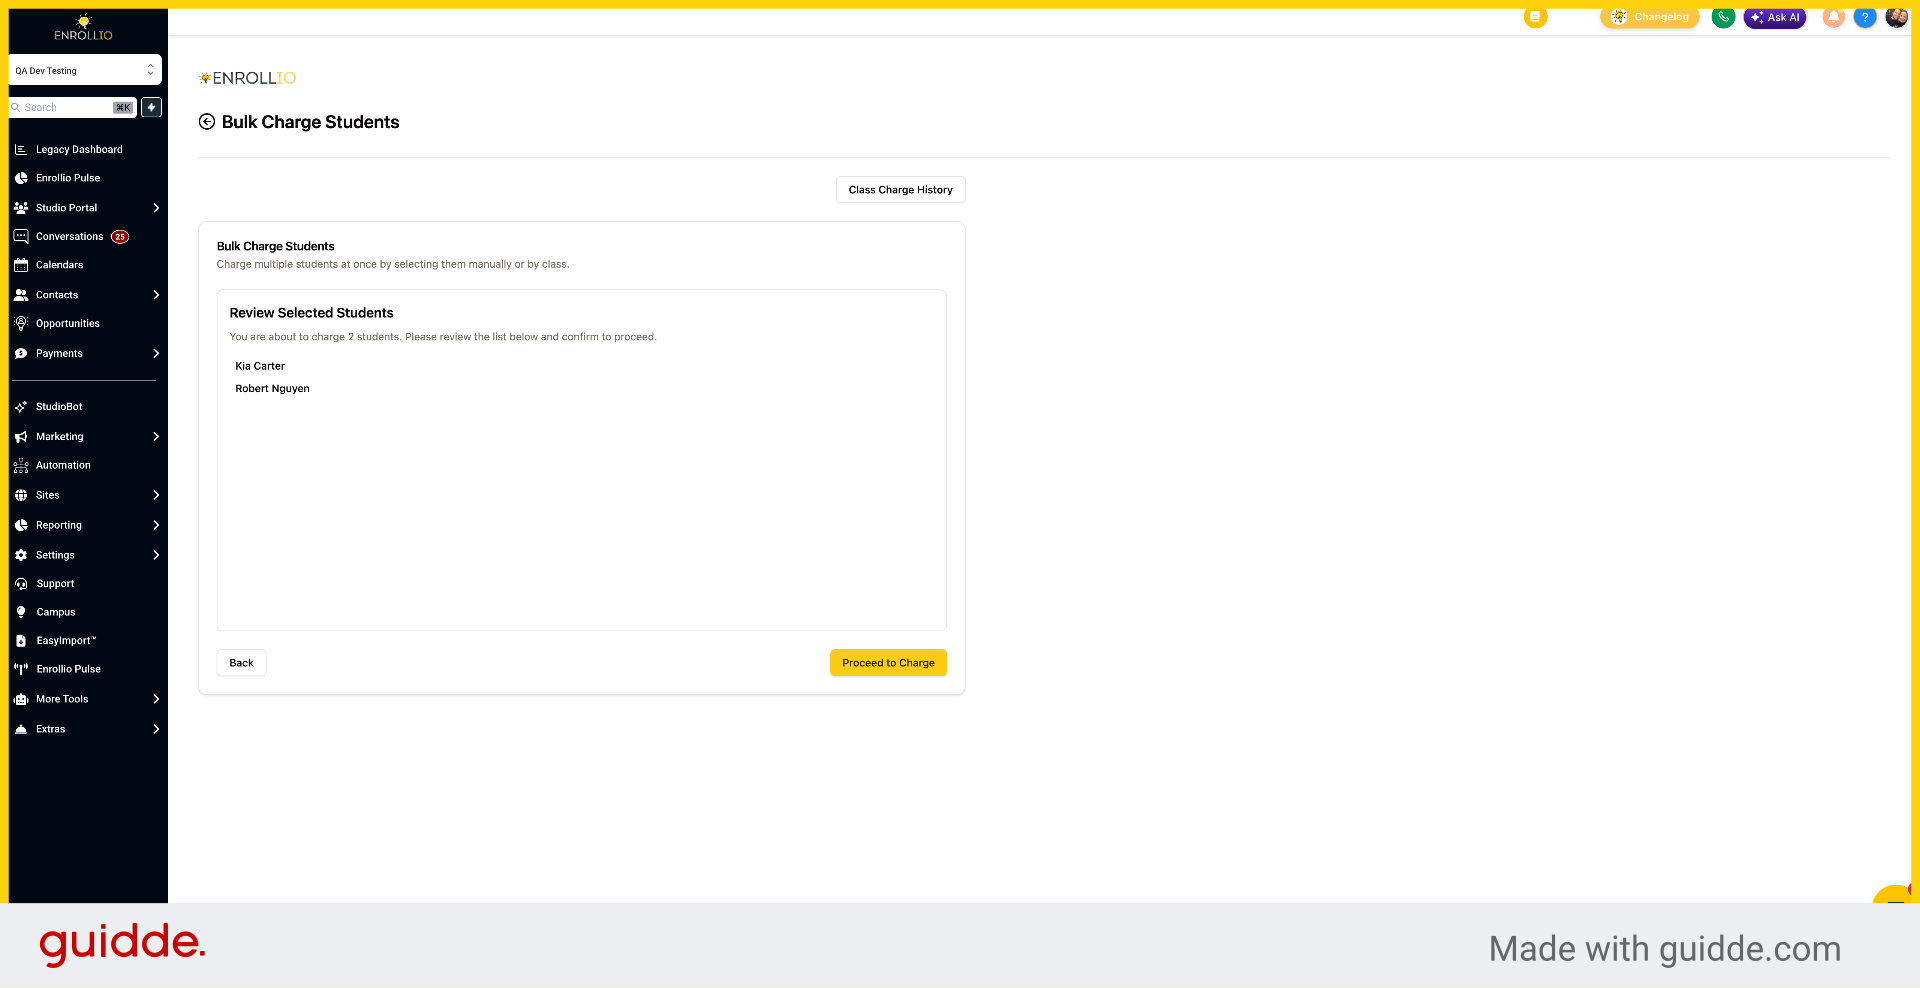
Select students, classes, groups, or all active students to schedule a bulk charge for the future by clicking Schedule.
7. Initiate Bulk Charge Students
Click Bulk Charge Students to begin charging selected students in bulk.
8. View Scheduled Drops and Failed Payments
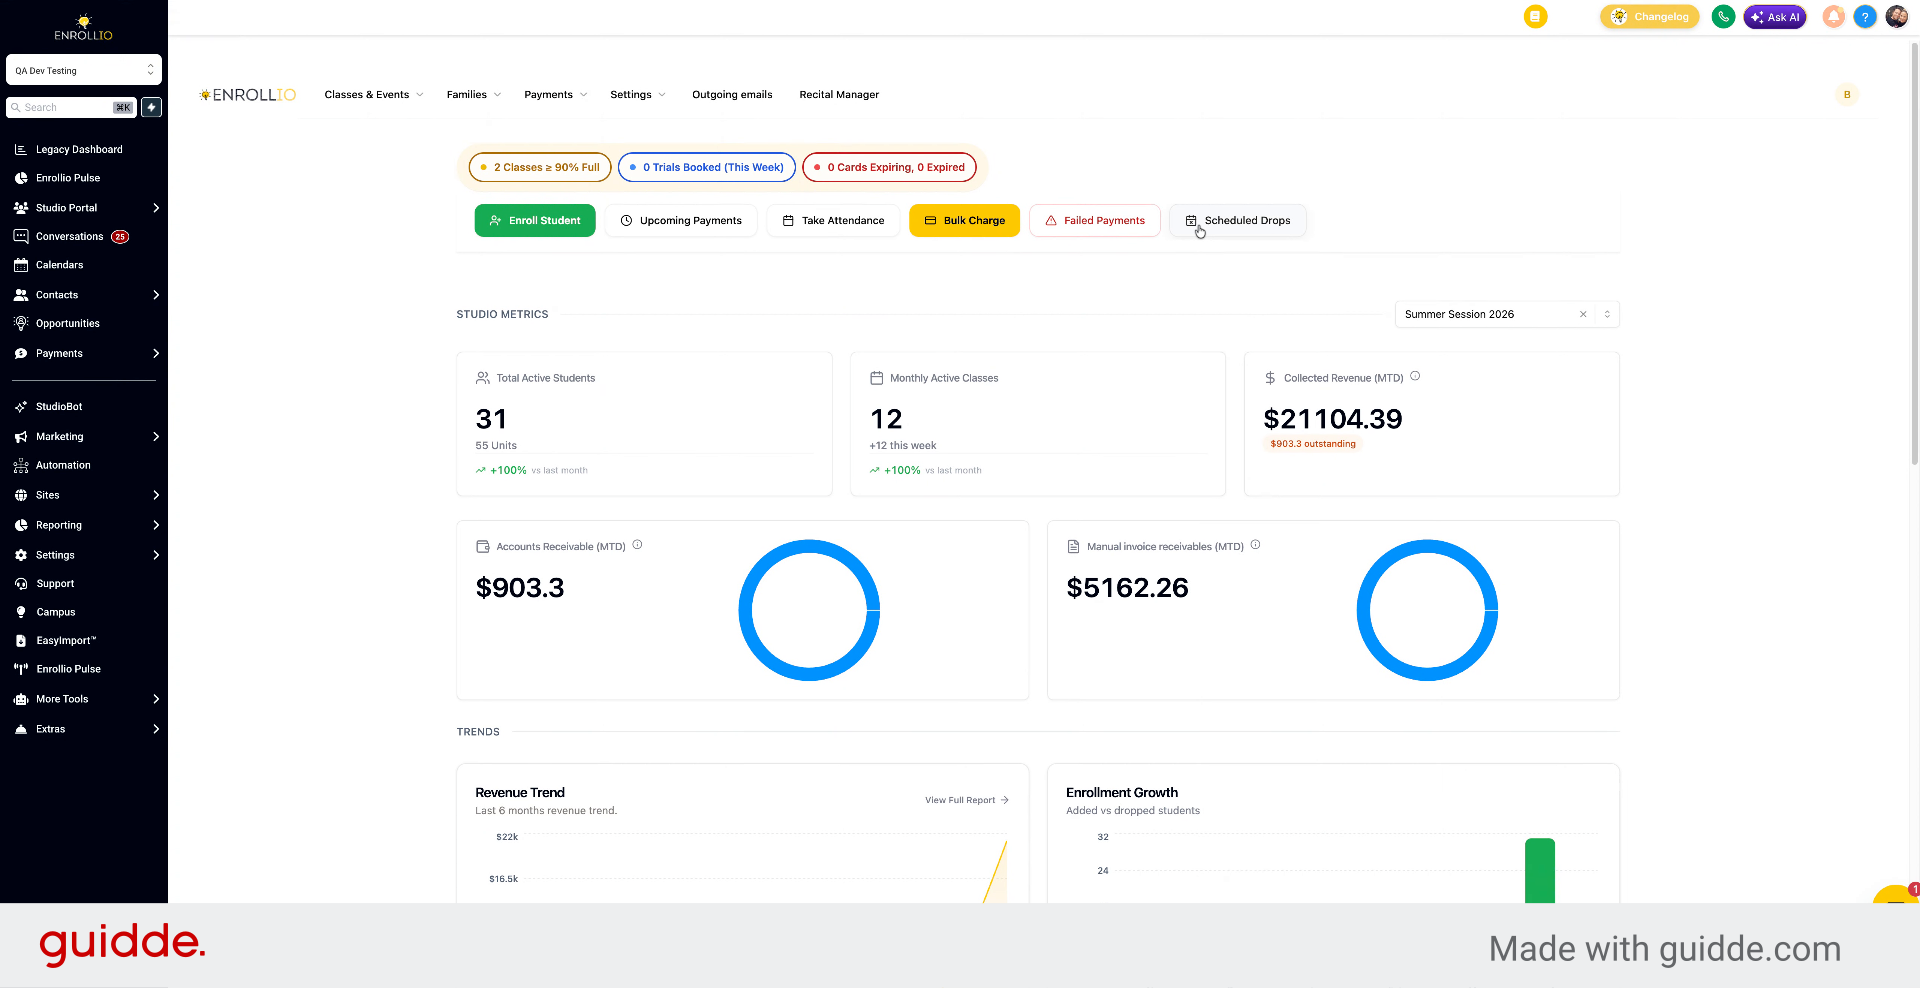
Drops shows upcoming scheduled drops, and Failed Payments displays any failed payments, which you can sort by date range.
9. Sort Studio Metrics by Session
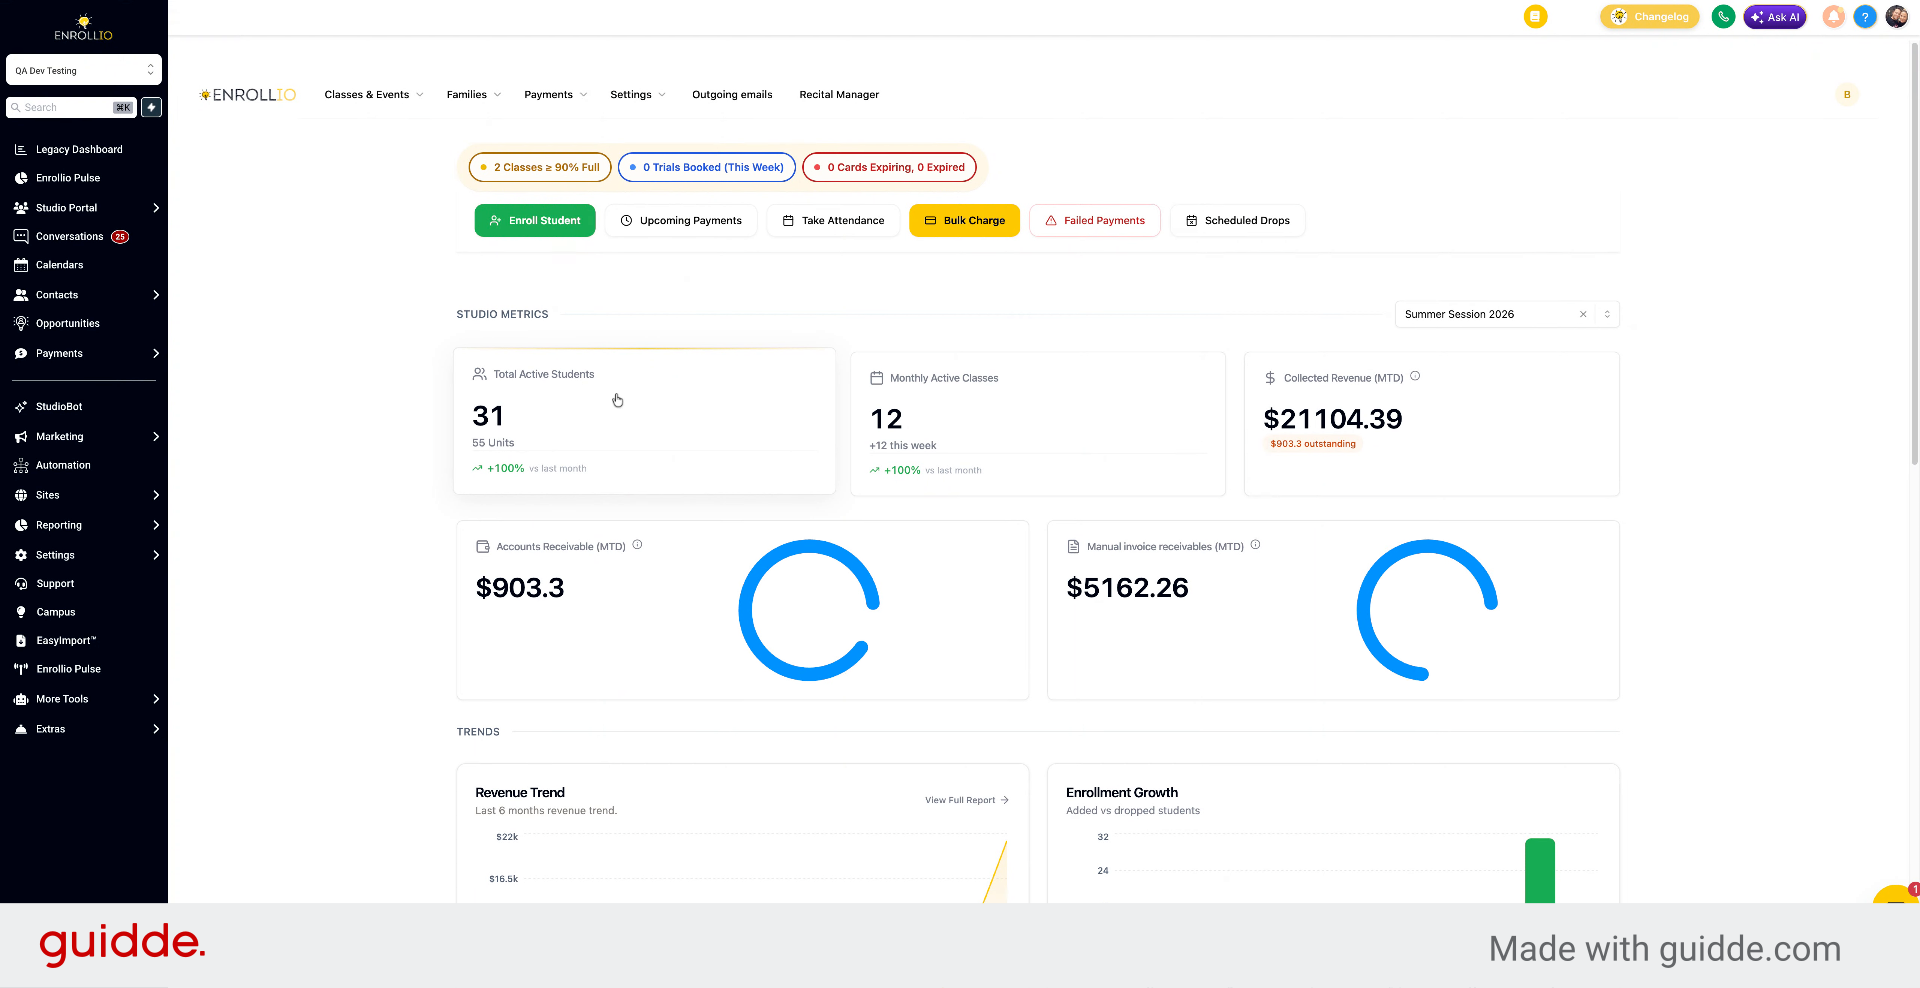
Studio metrics can be sorted by session. Click the dropdown to select a session and view stats such as active students and number of classes.
10. Review Active Students and Revenue
View enrolled students, monthly active classes, collective revenue month to date, and outstanding amounts.
11. Analyze Accounts Receivable and Revenue Trend
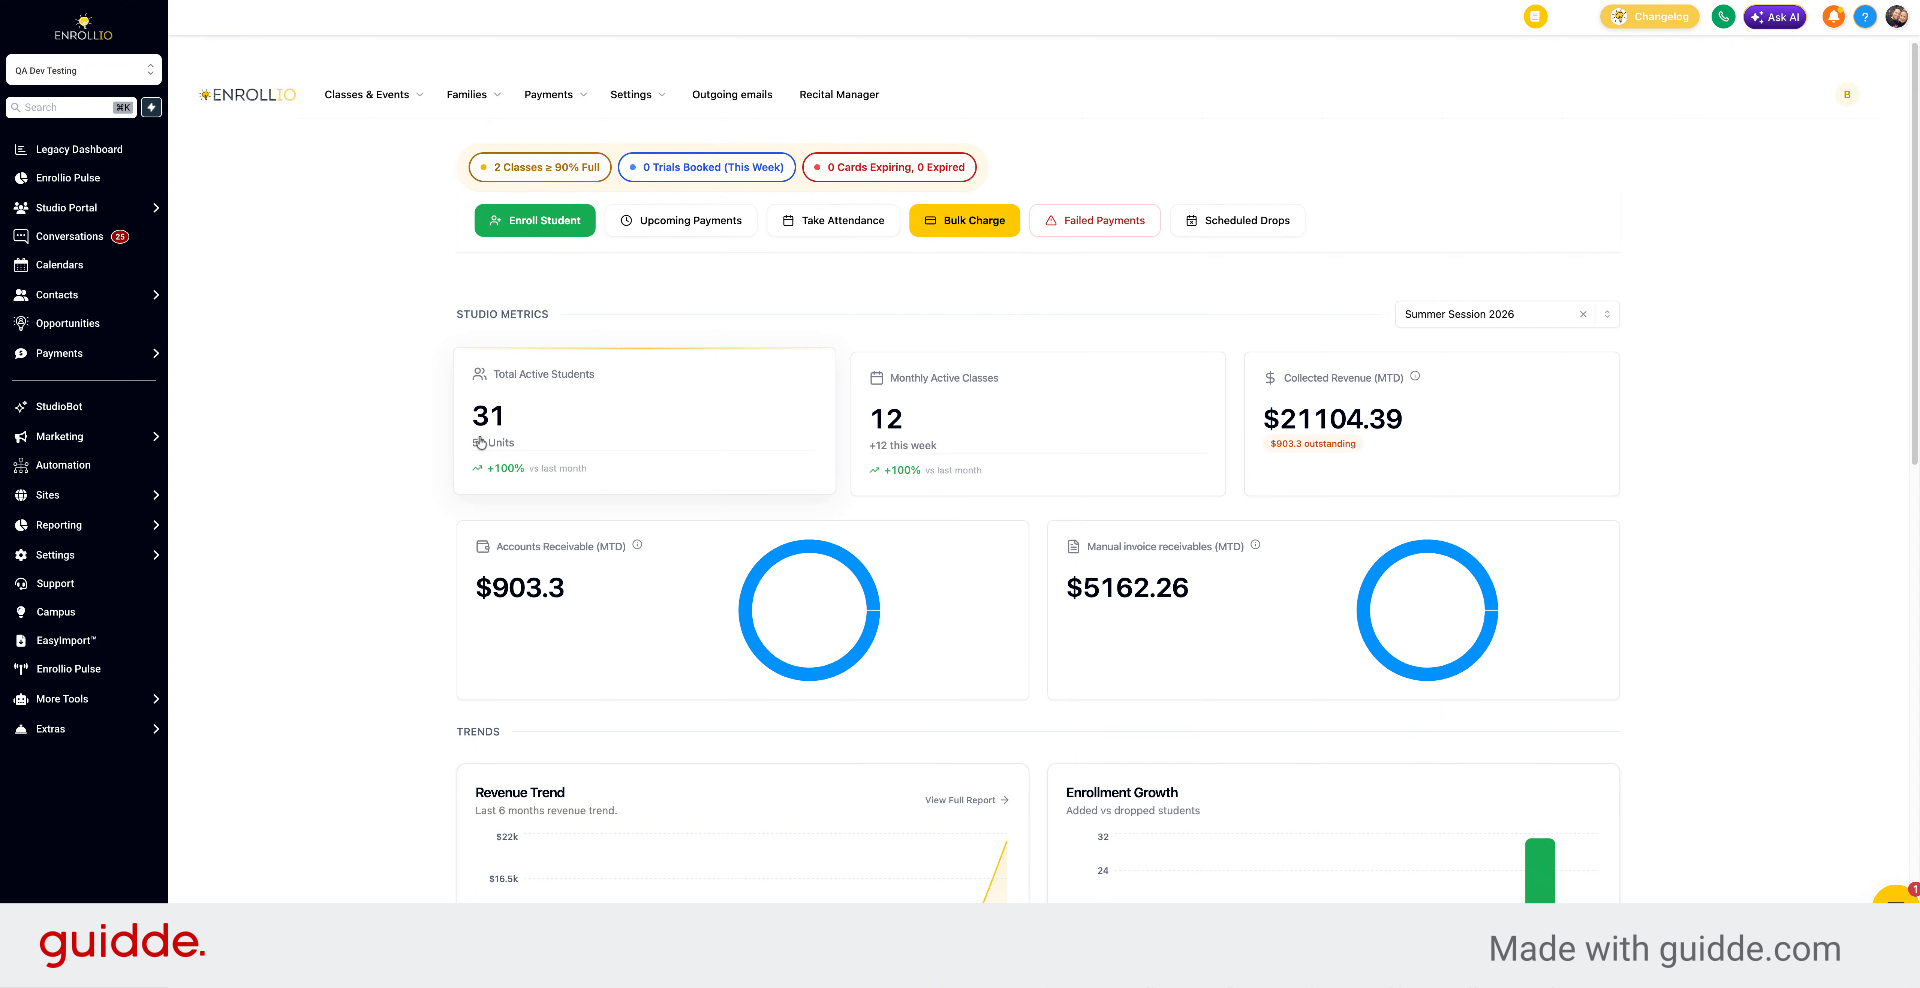
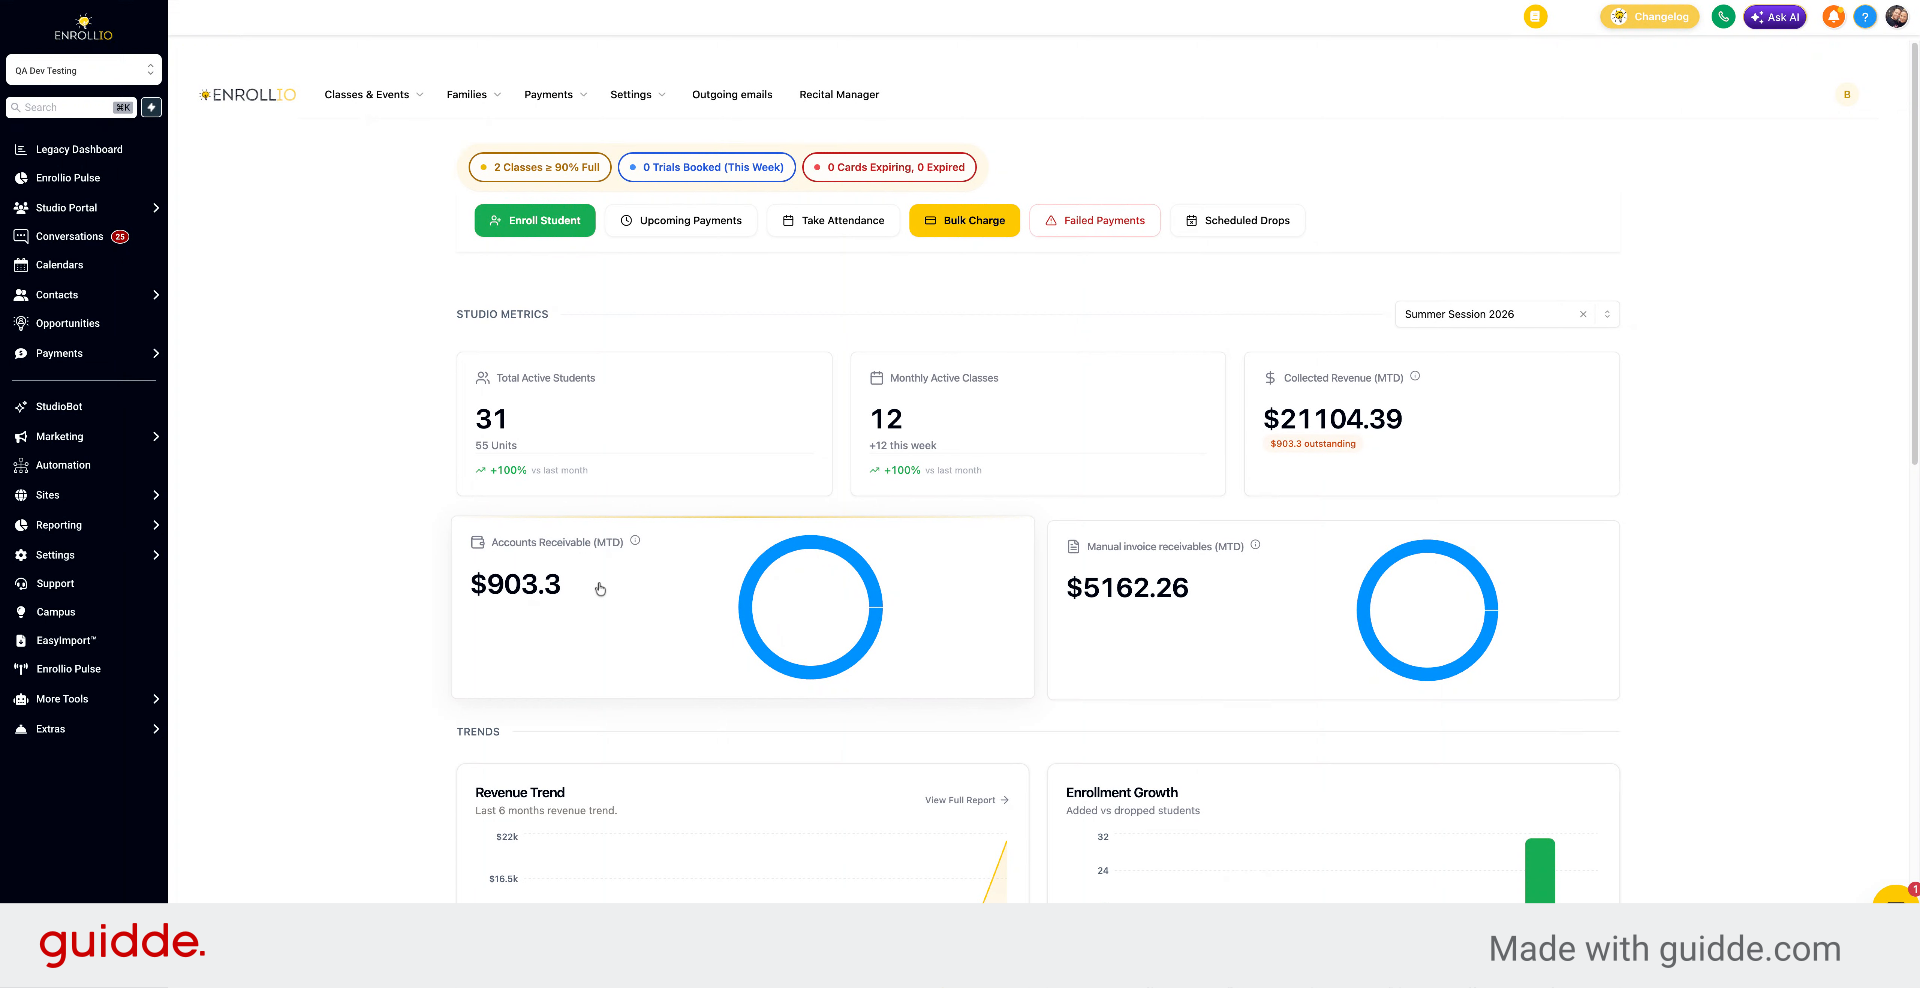
Accounts receivable and manual invoices receivable are displayed here. Click to see a full revenue trend report and download it as a CSV file.
12. Monitor Enrollment Growth
See enrollment growth by comparing the number of students added versus those dropped.
13. Check Payment Health and Refunds
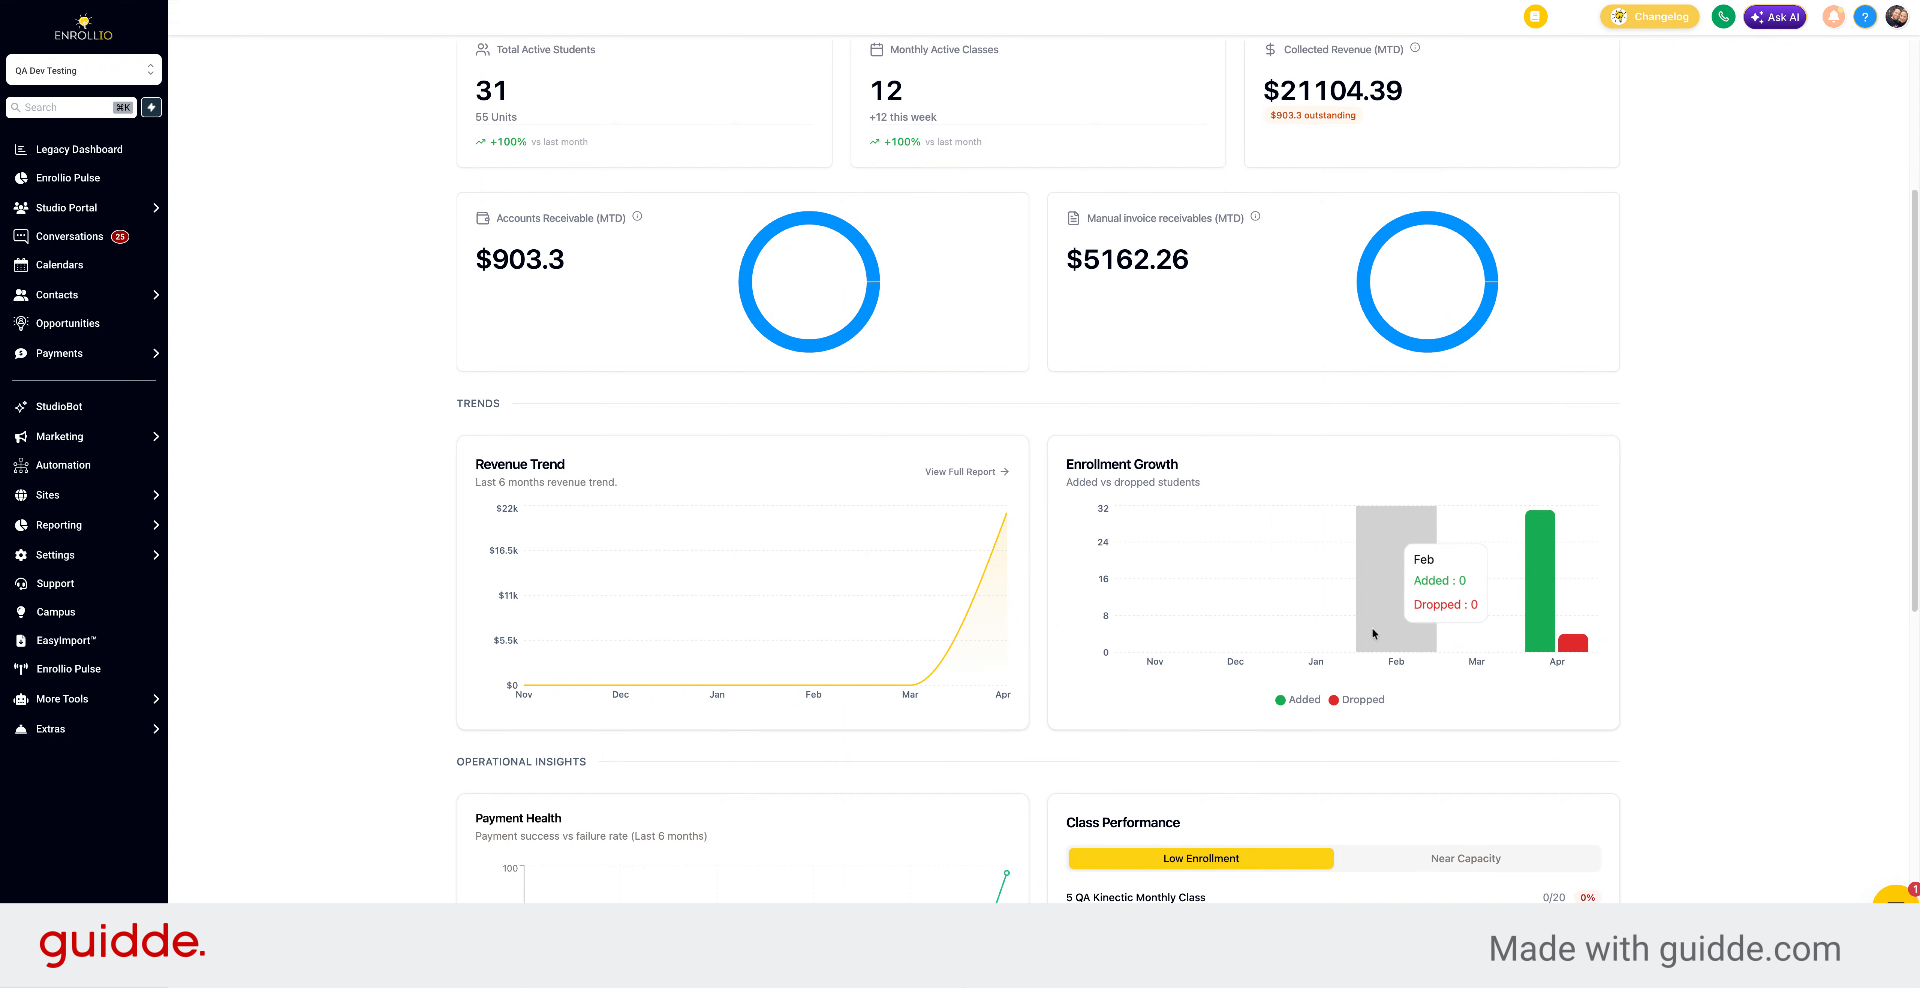
Operational insights include payment health, showing success versus failure rates, along with refunded amounts.
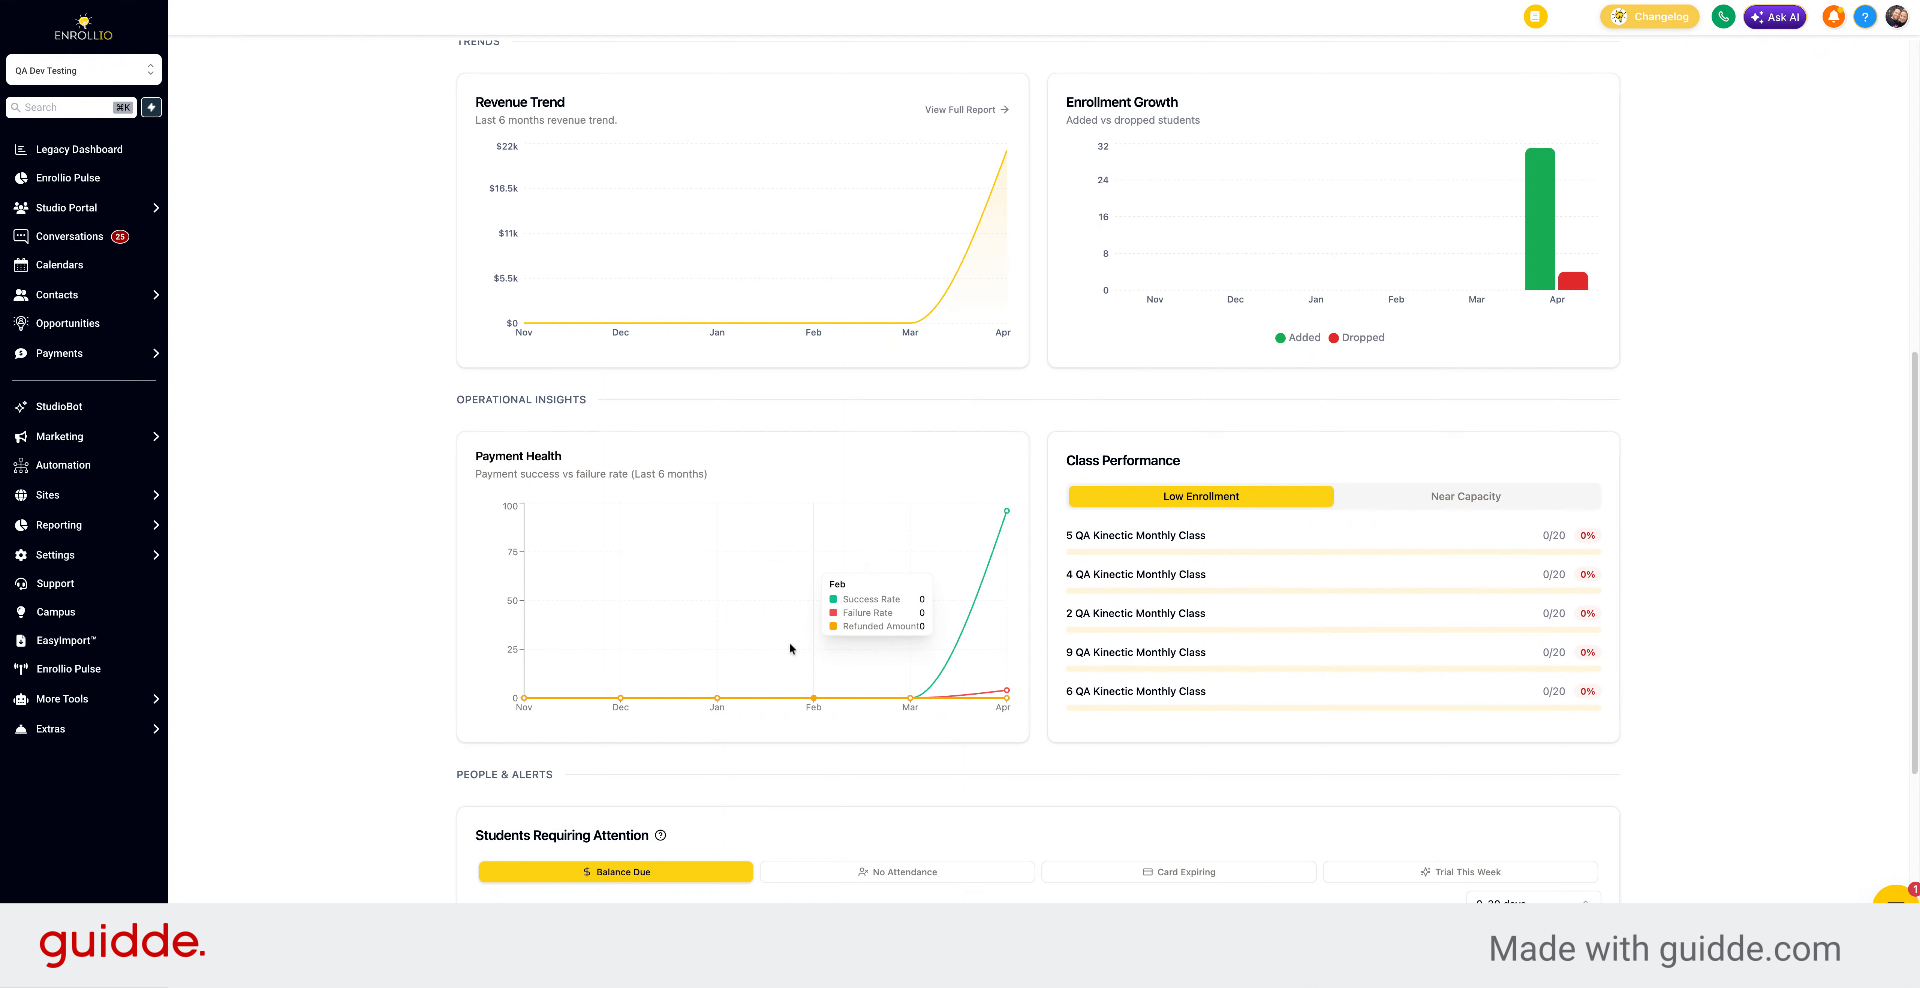
14. Assess Class Performance
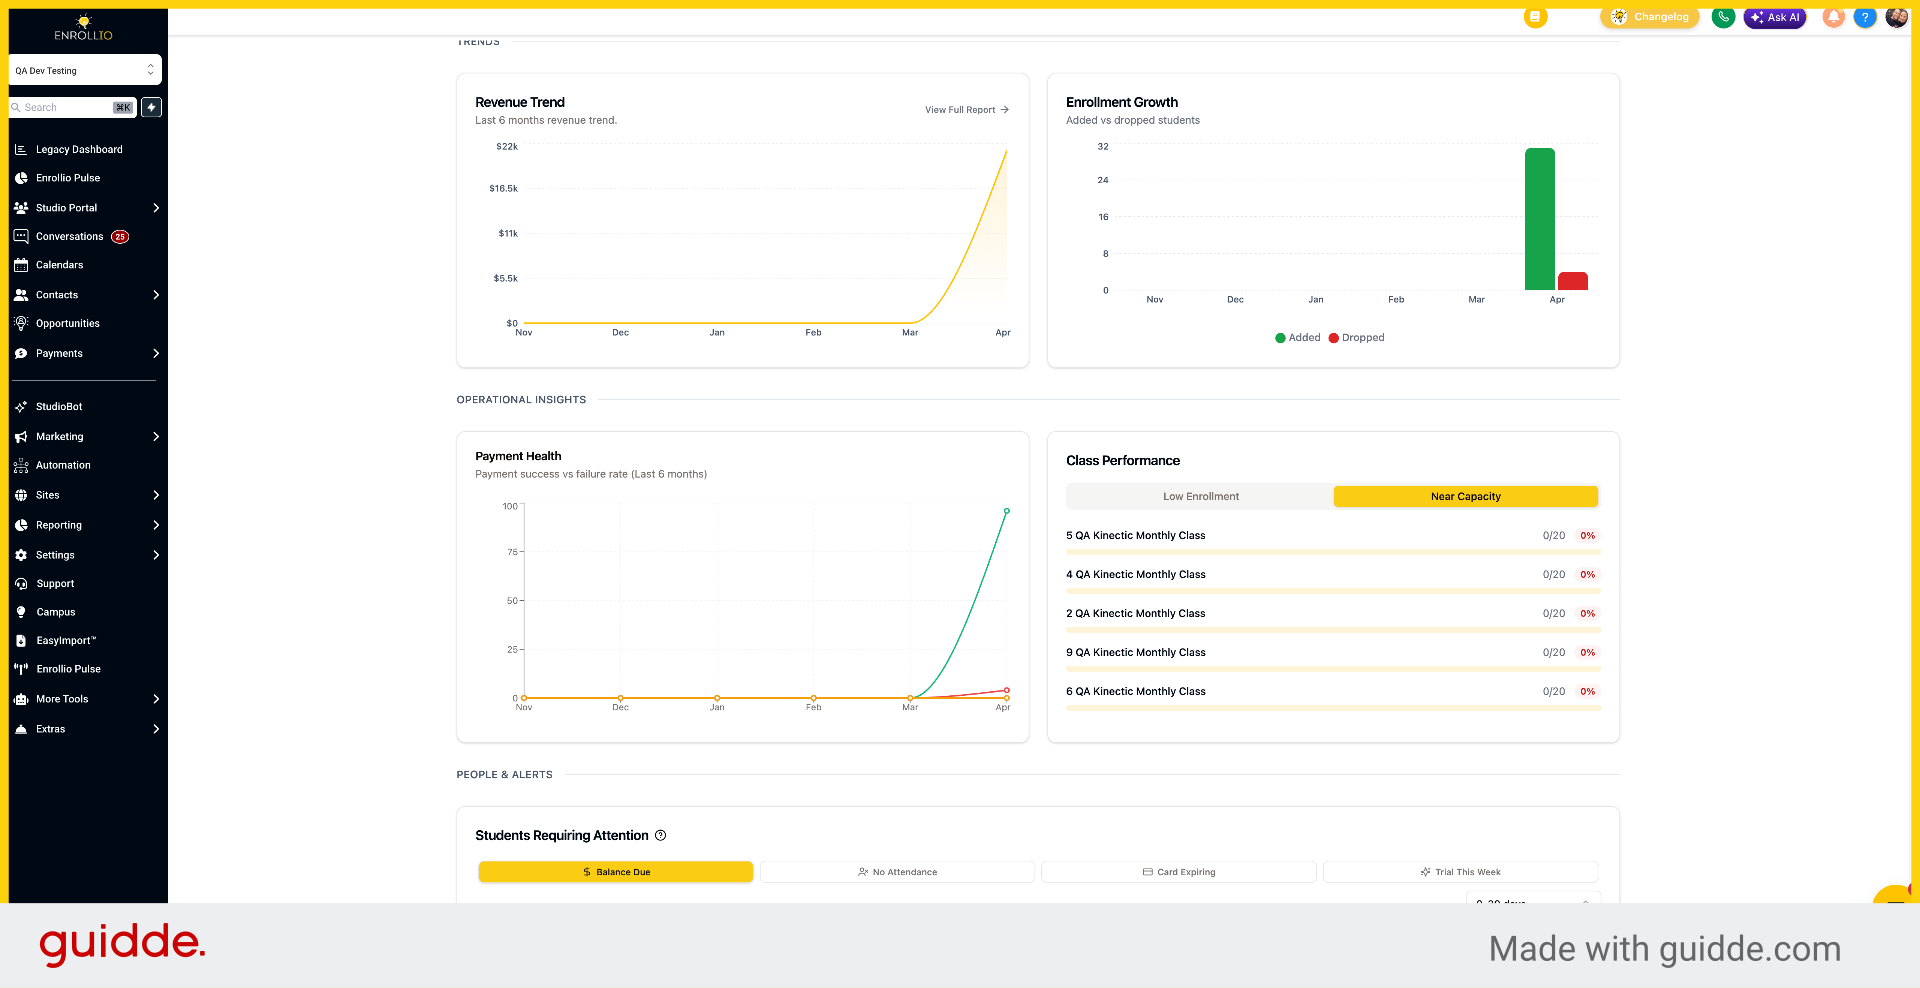
View a list of classes with the lowest enrollment and those nearing capacity.
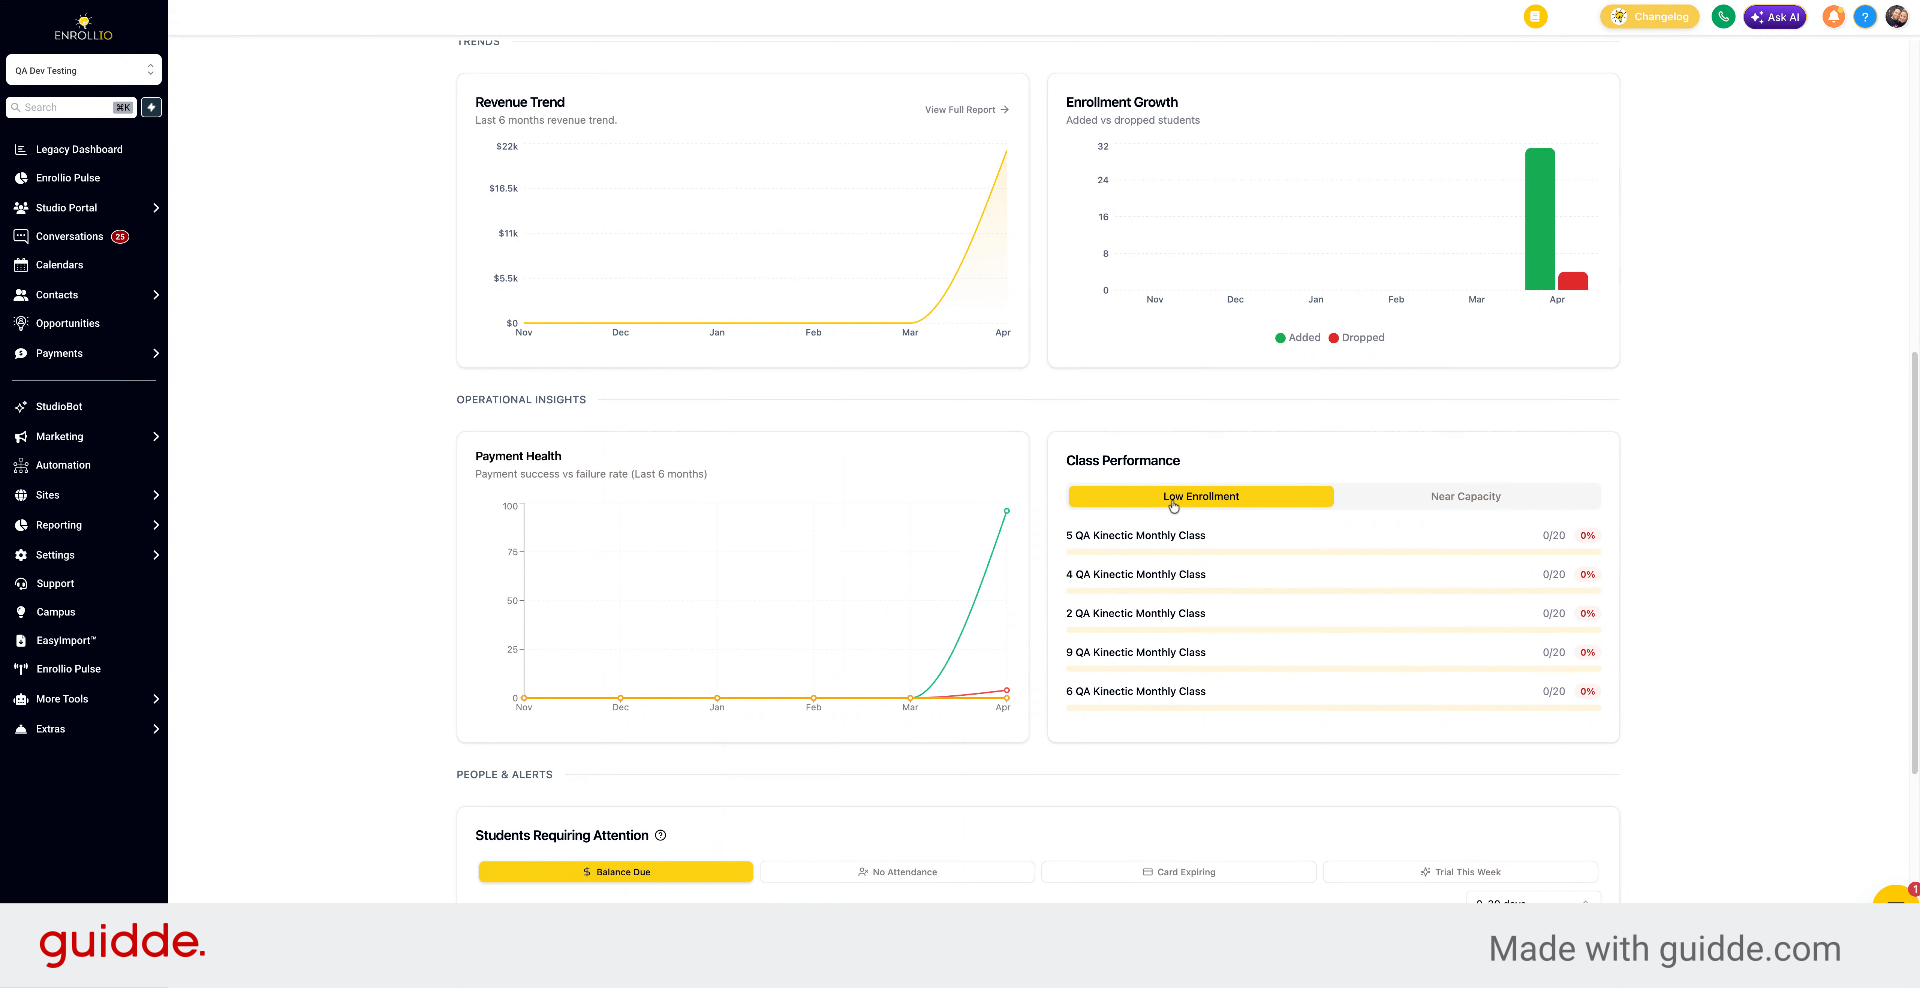
15. Select Low Enrollment Classes
Click Low Enrollment to focus on classes with fewer students.
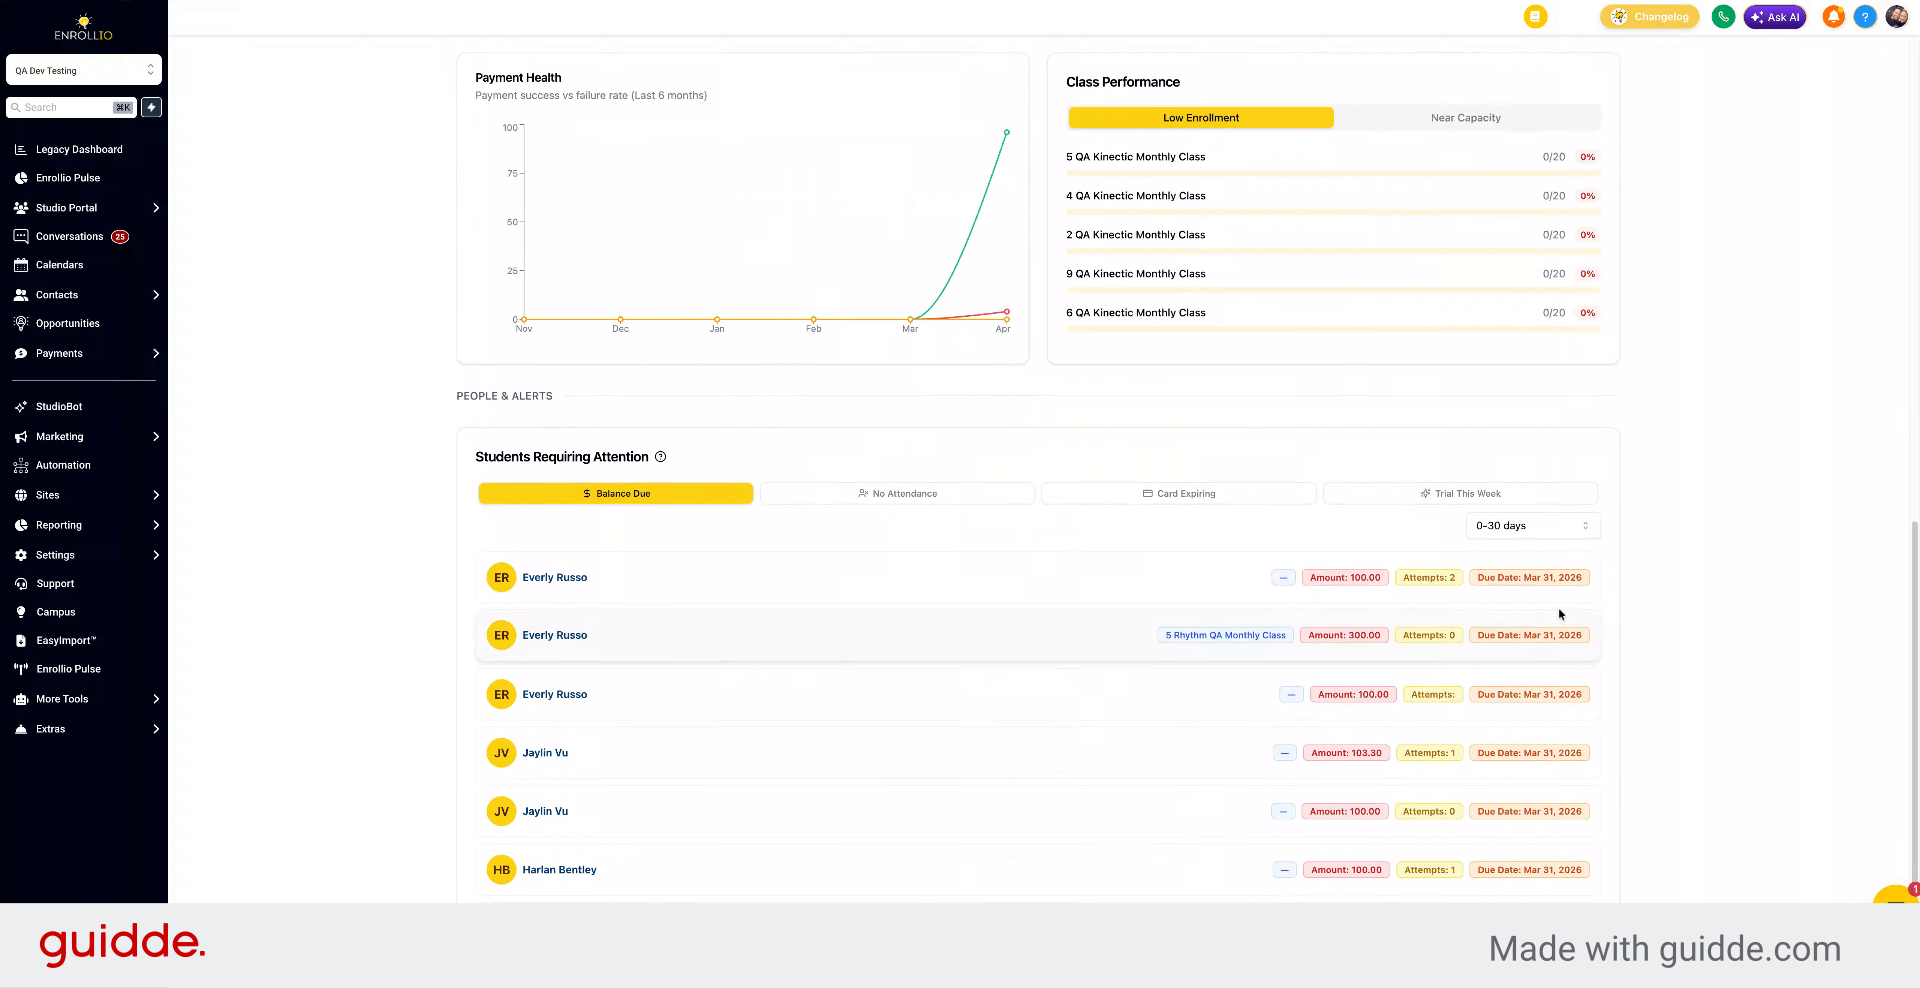
16. Manage Student Attendance and Balances
View students requiring attendance, those with balances due, no attendance, expiring cards, and trials this week by clicking into each category.
17. Explore Future Drop-Down Items
At the top, there are drop-down items that will be covered in a future video.
This article provided an overview of the Studio dashboard features, including enrollment, payments, attendance, and performance metrics.