
This article explains how to add team members within the Studio Portal. You'll learn how to manage user roles and give login access to your team.
1. Introduce Adding Team Members
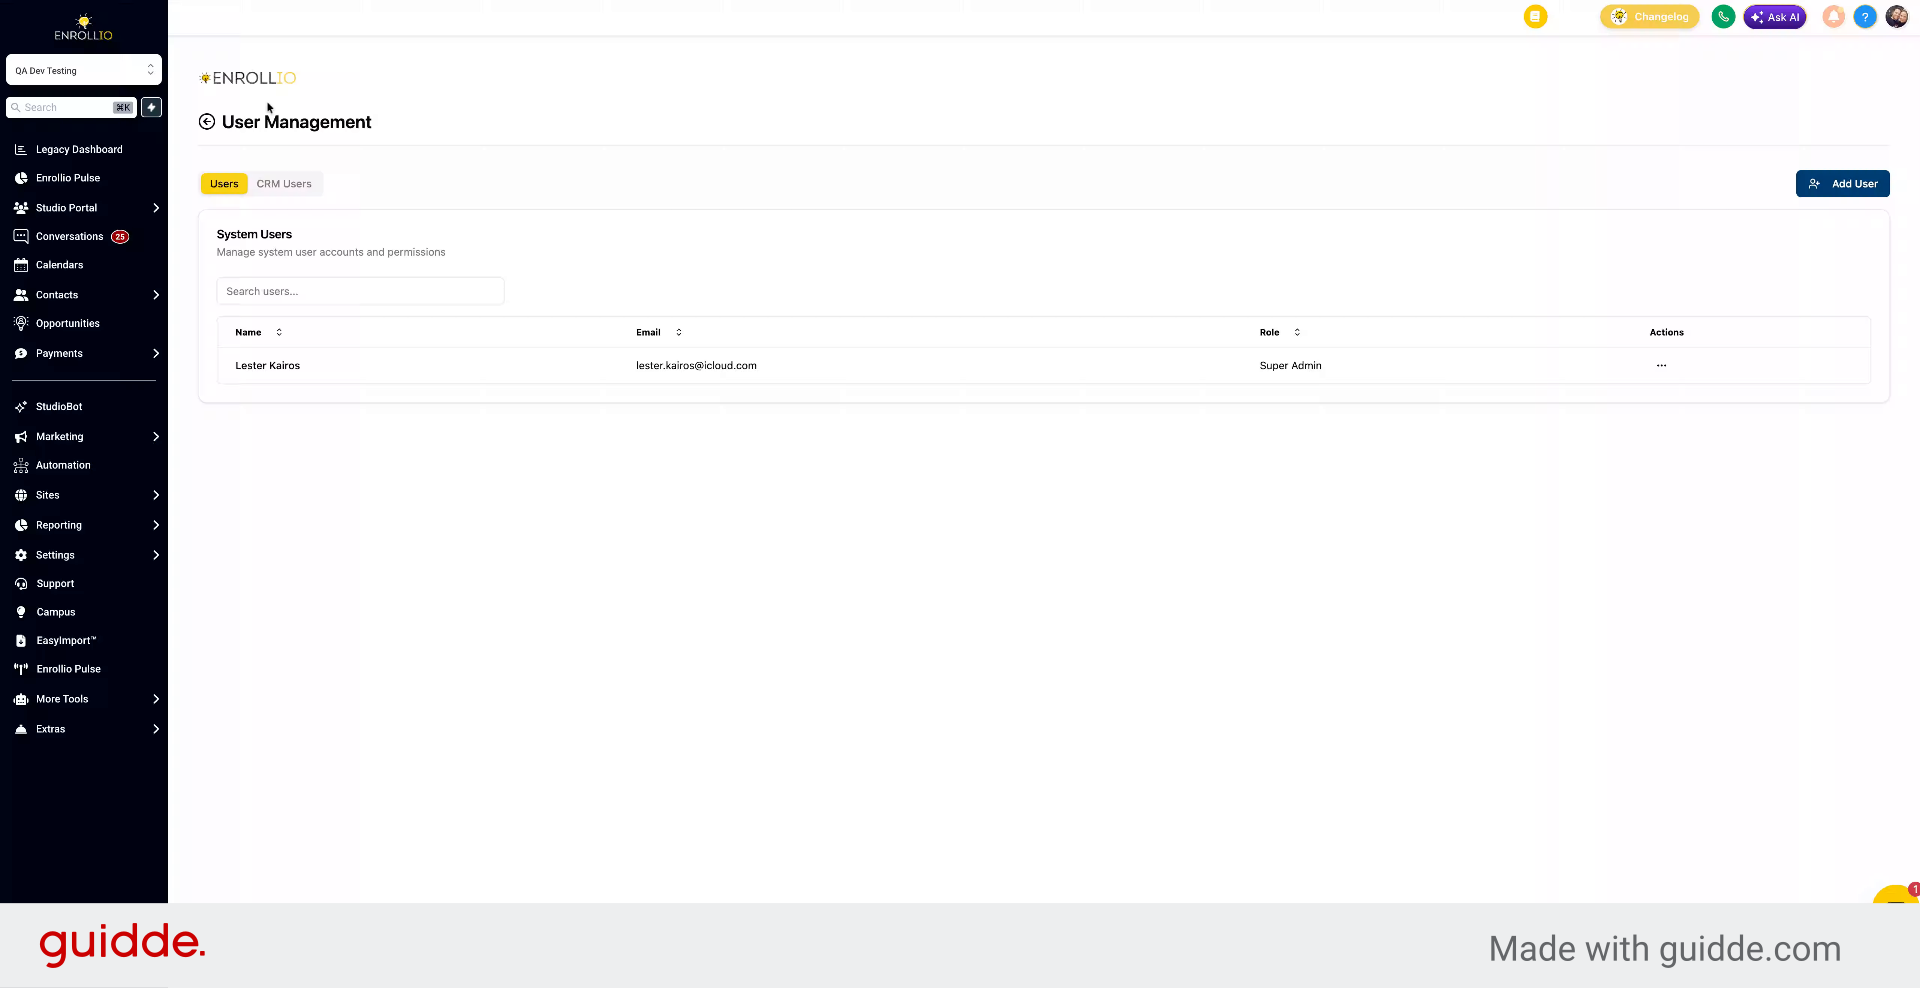
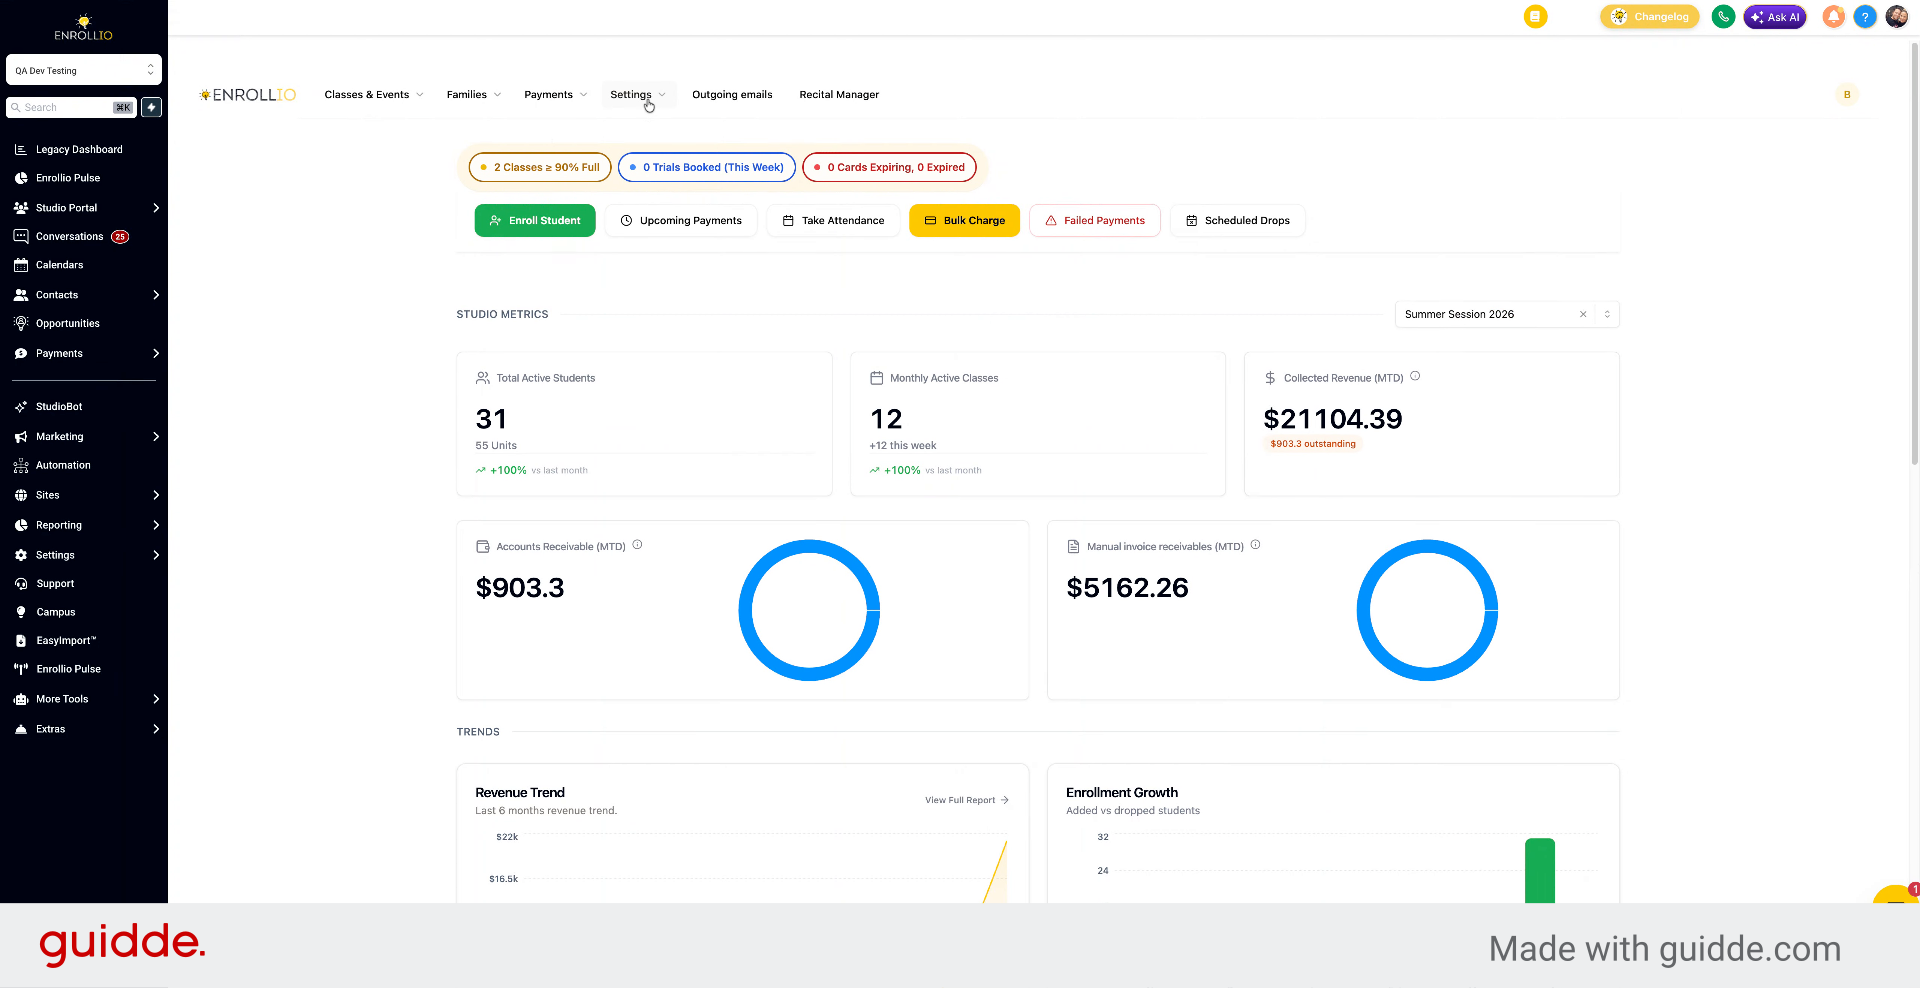
In this video, we'll walk through how to add team members inside the Studio Portal. Start by going to Settings at the top.
2. Open User Management
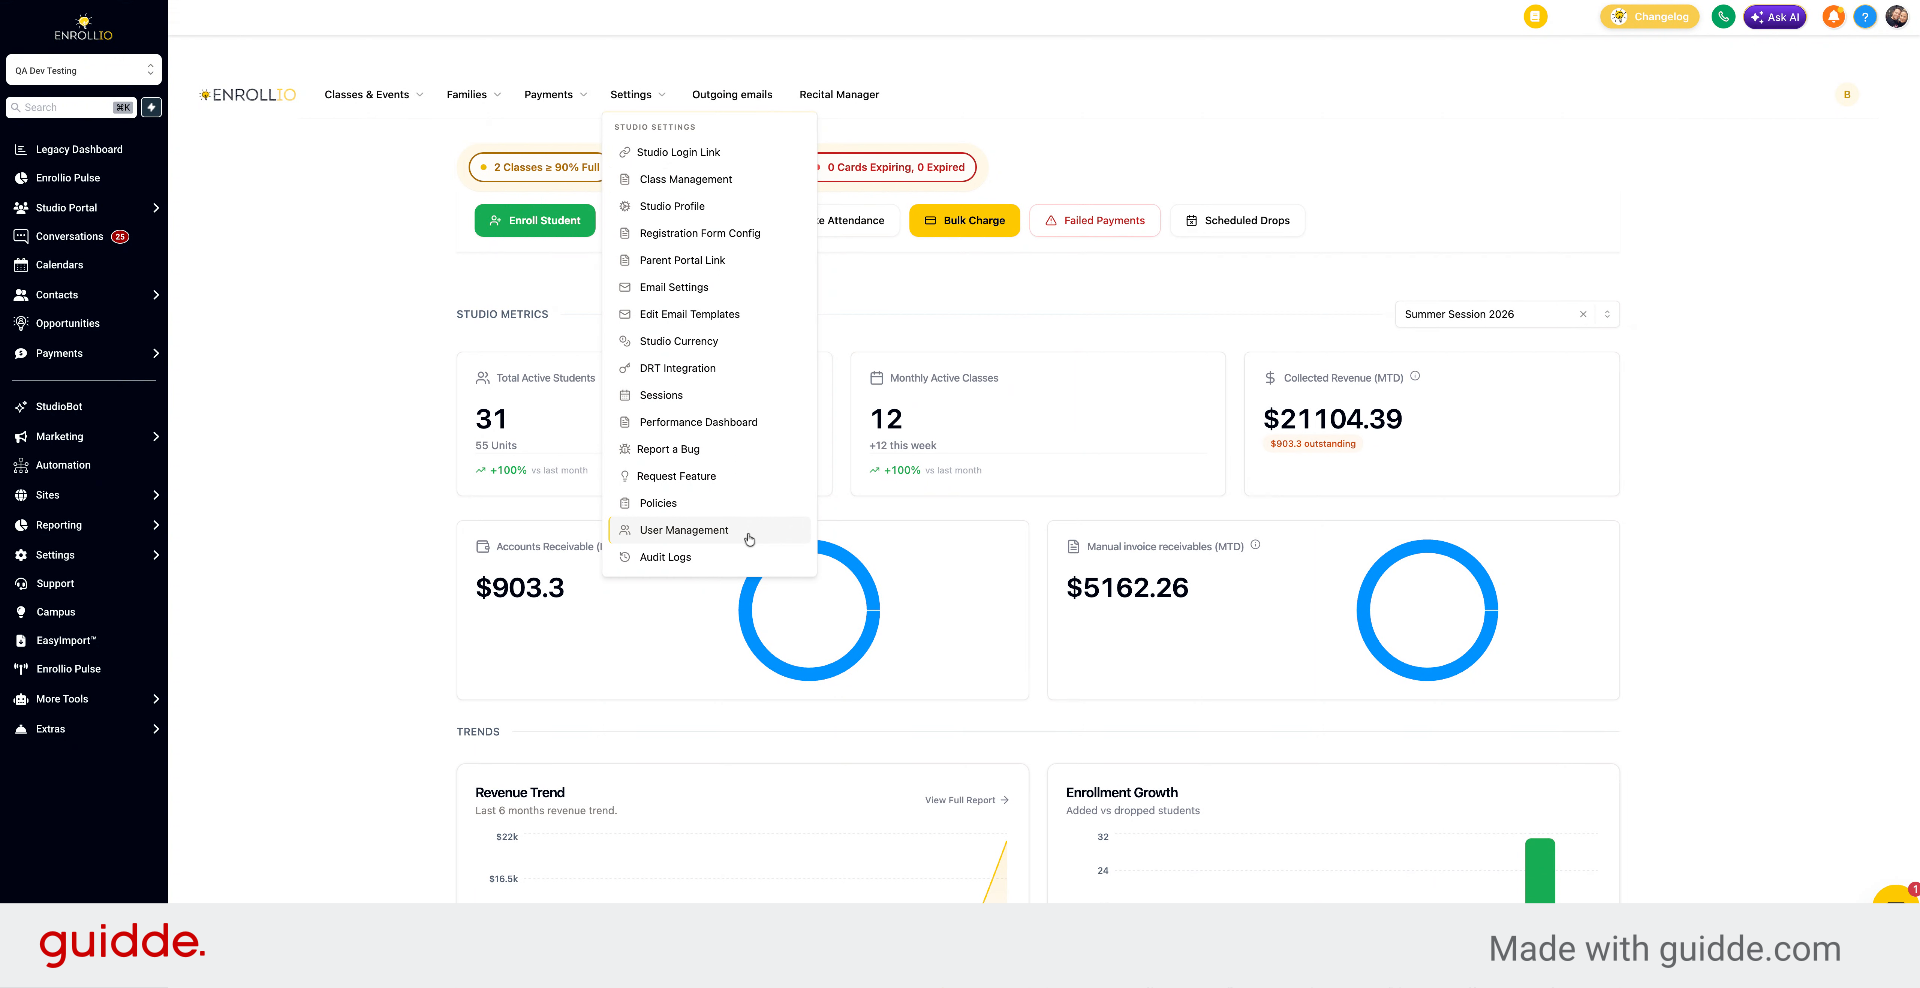
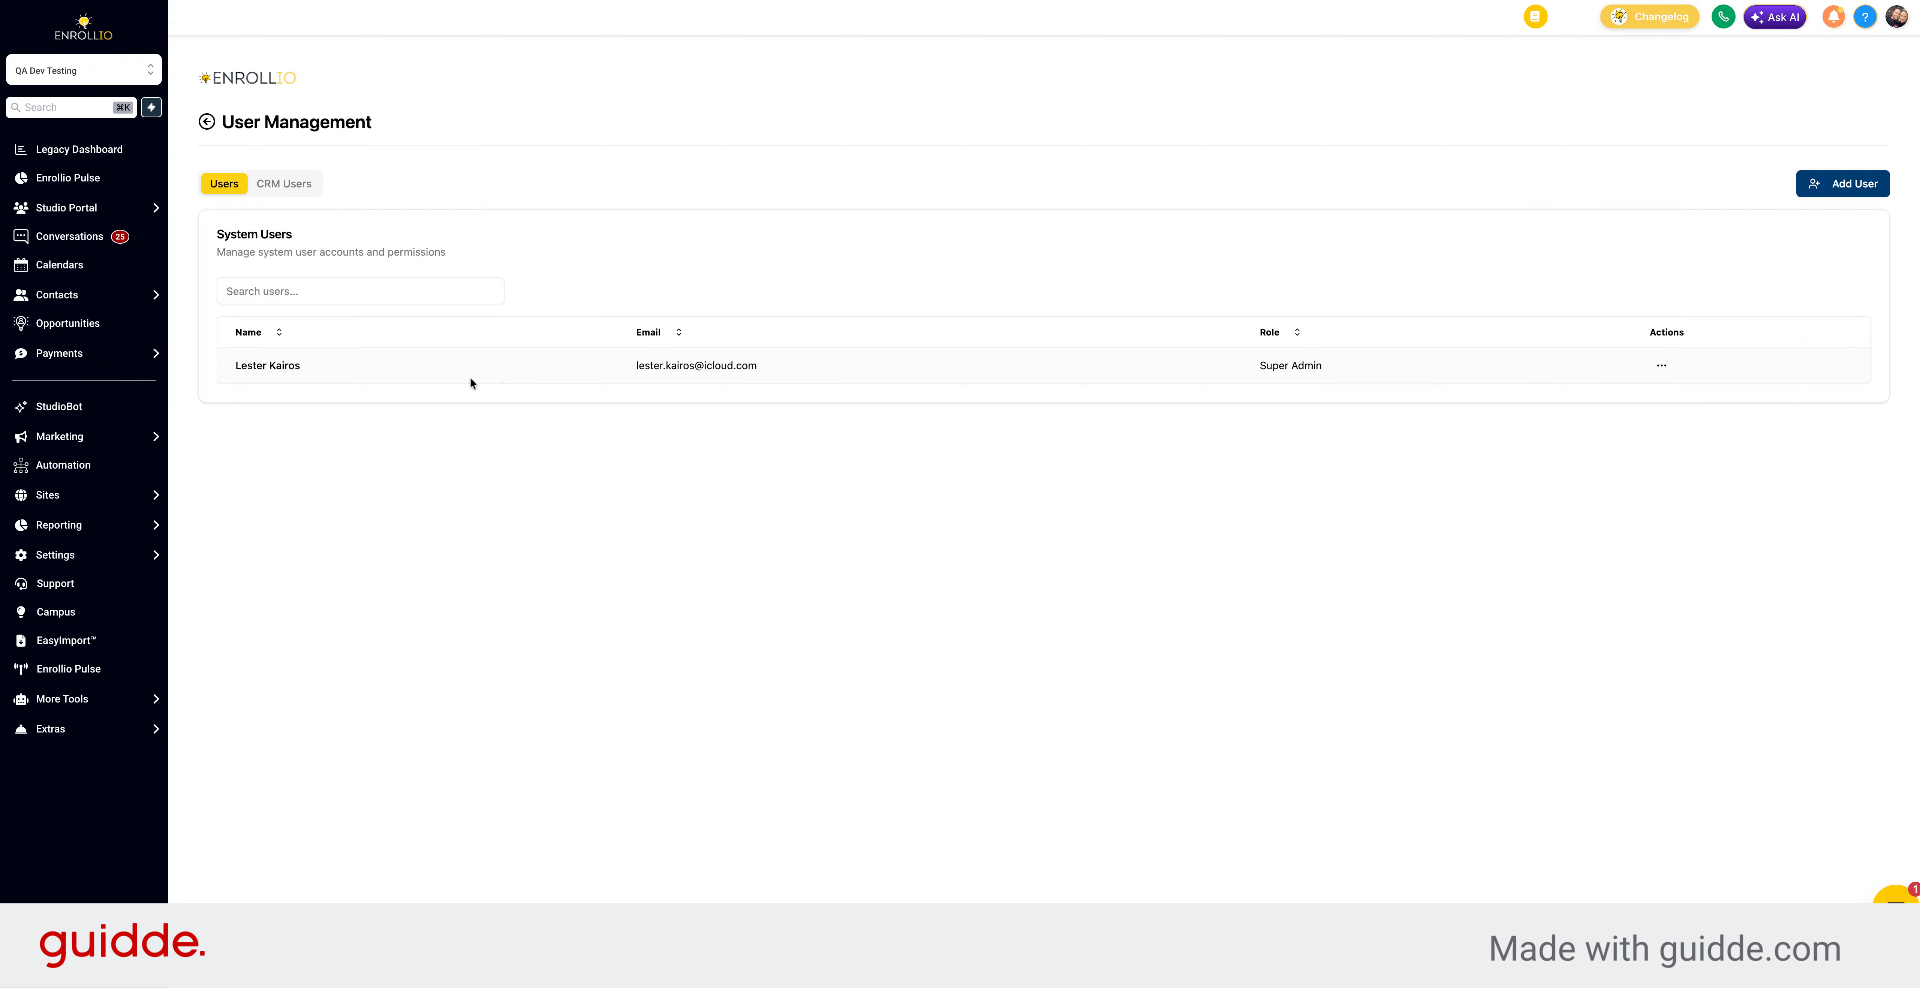
Then select User Management. You'll see your users and CRM users listed here.
3. Explain User vs CRM Users
A user is someone without CRM access. If you've added them to the CRM, they'll show up here with an option to add them as a user.
4. Select Users Tab
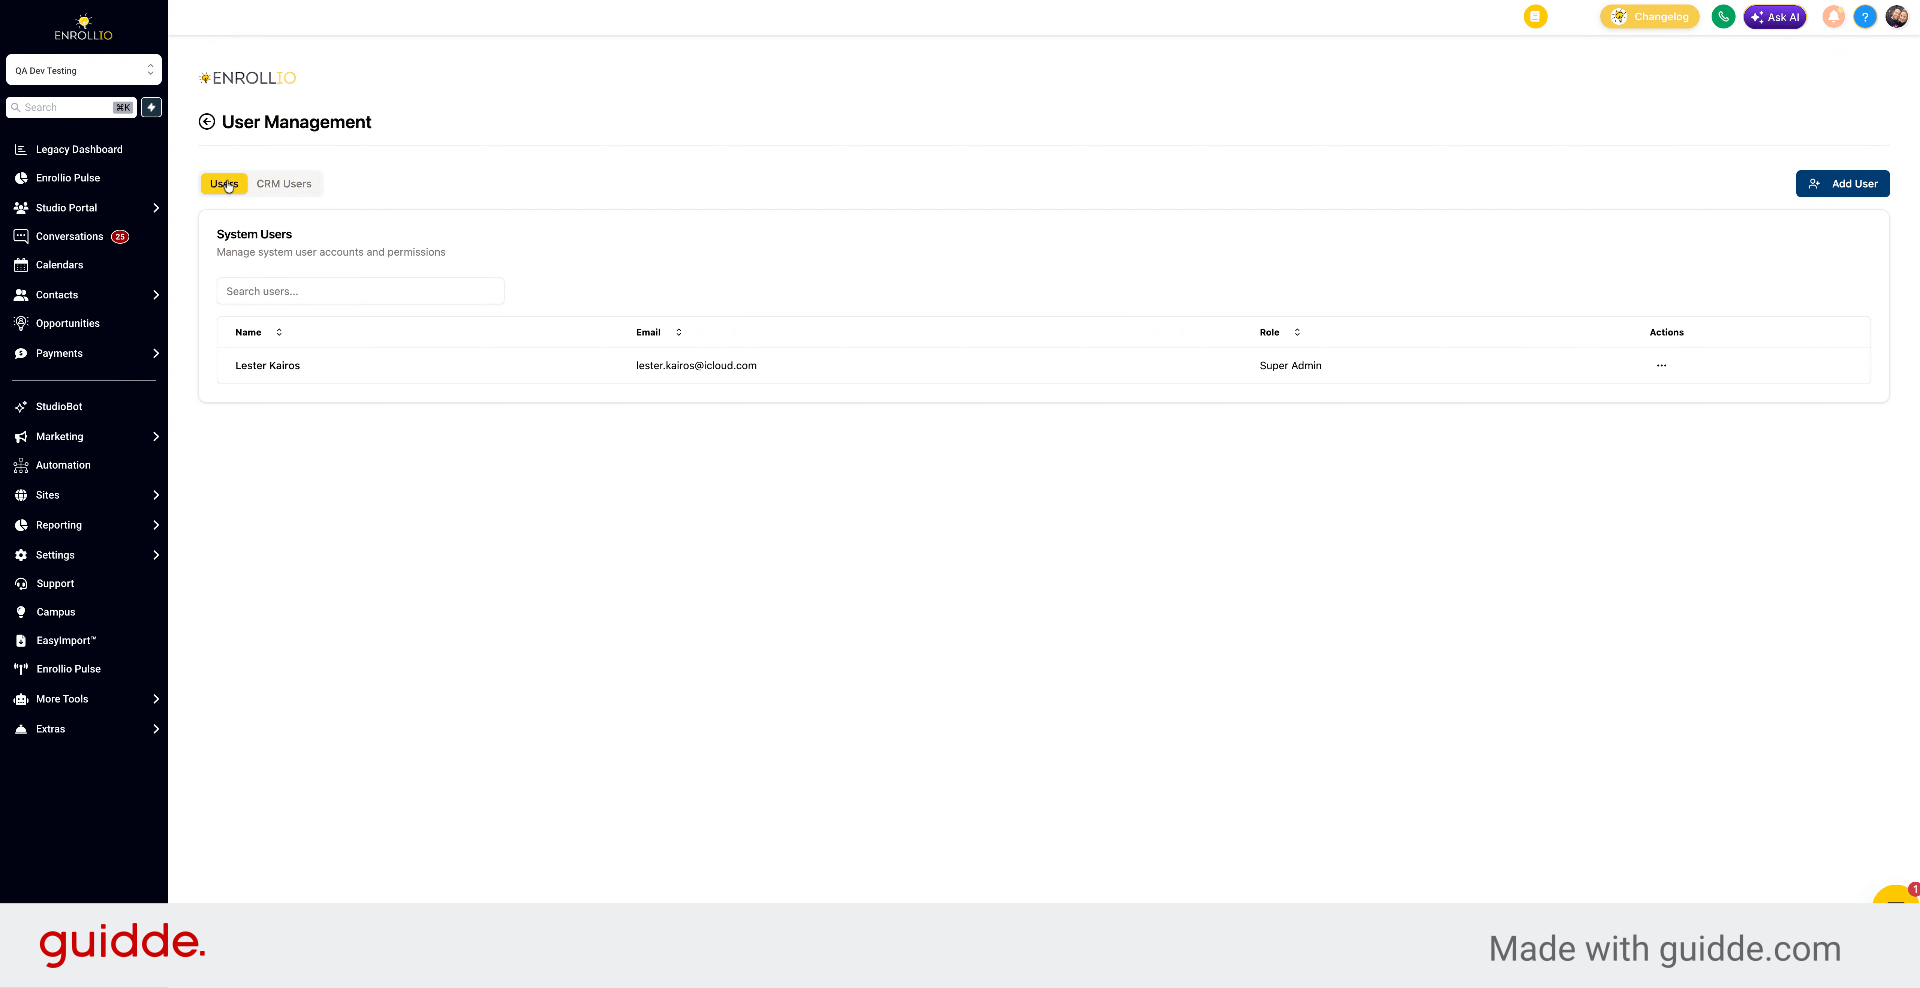
Click the Users tab to view the list of current users in the Studio Portal.
5. Overview User Access Levels
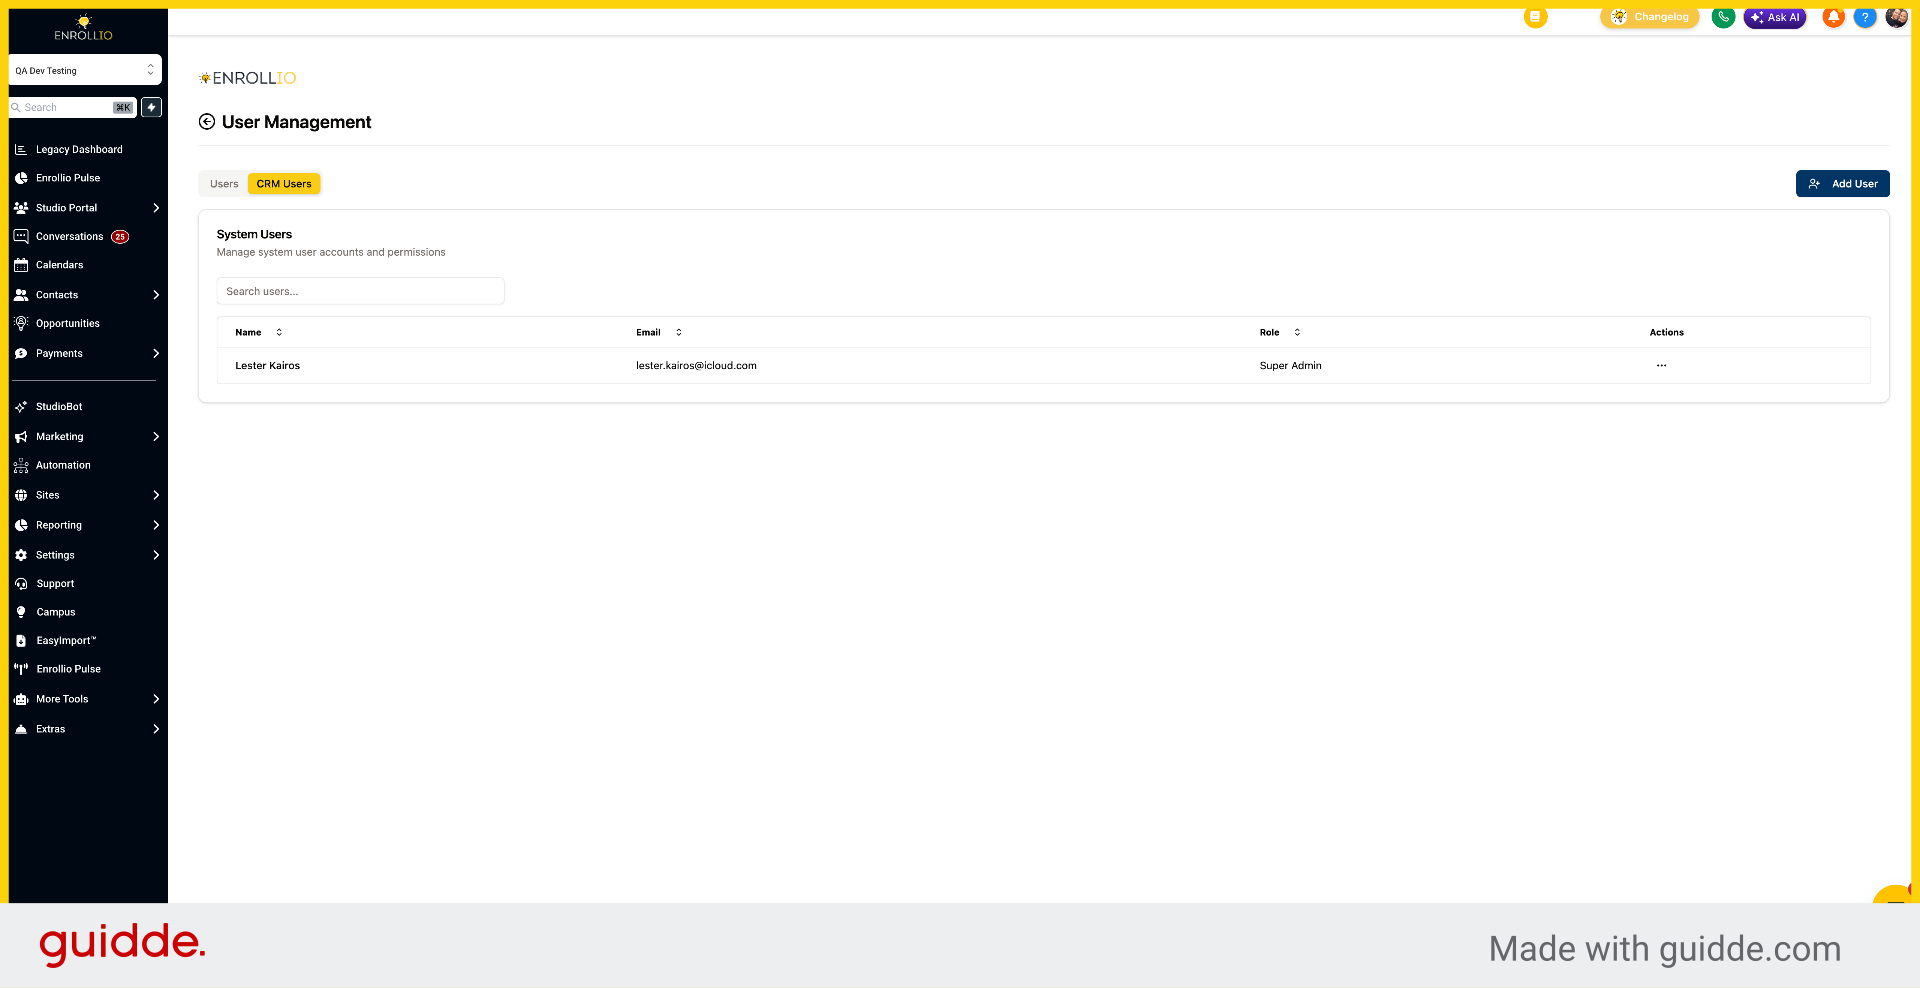
User access can be broken down into three access levels.
6. Add New User Details
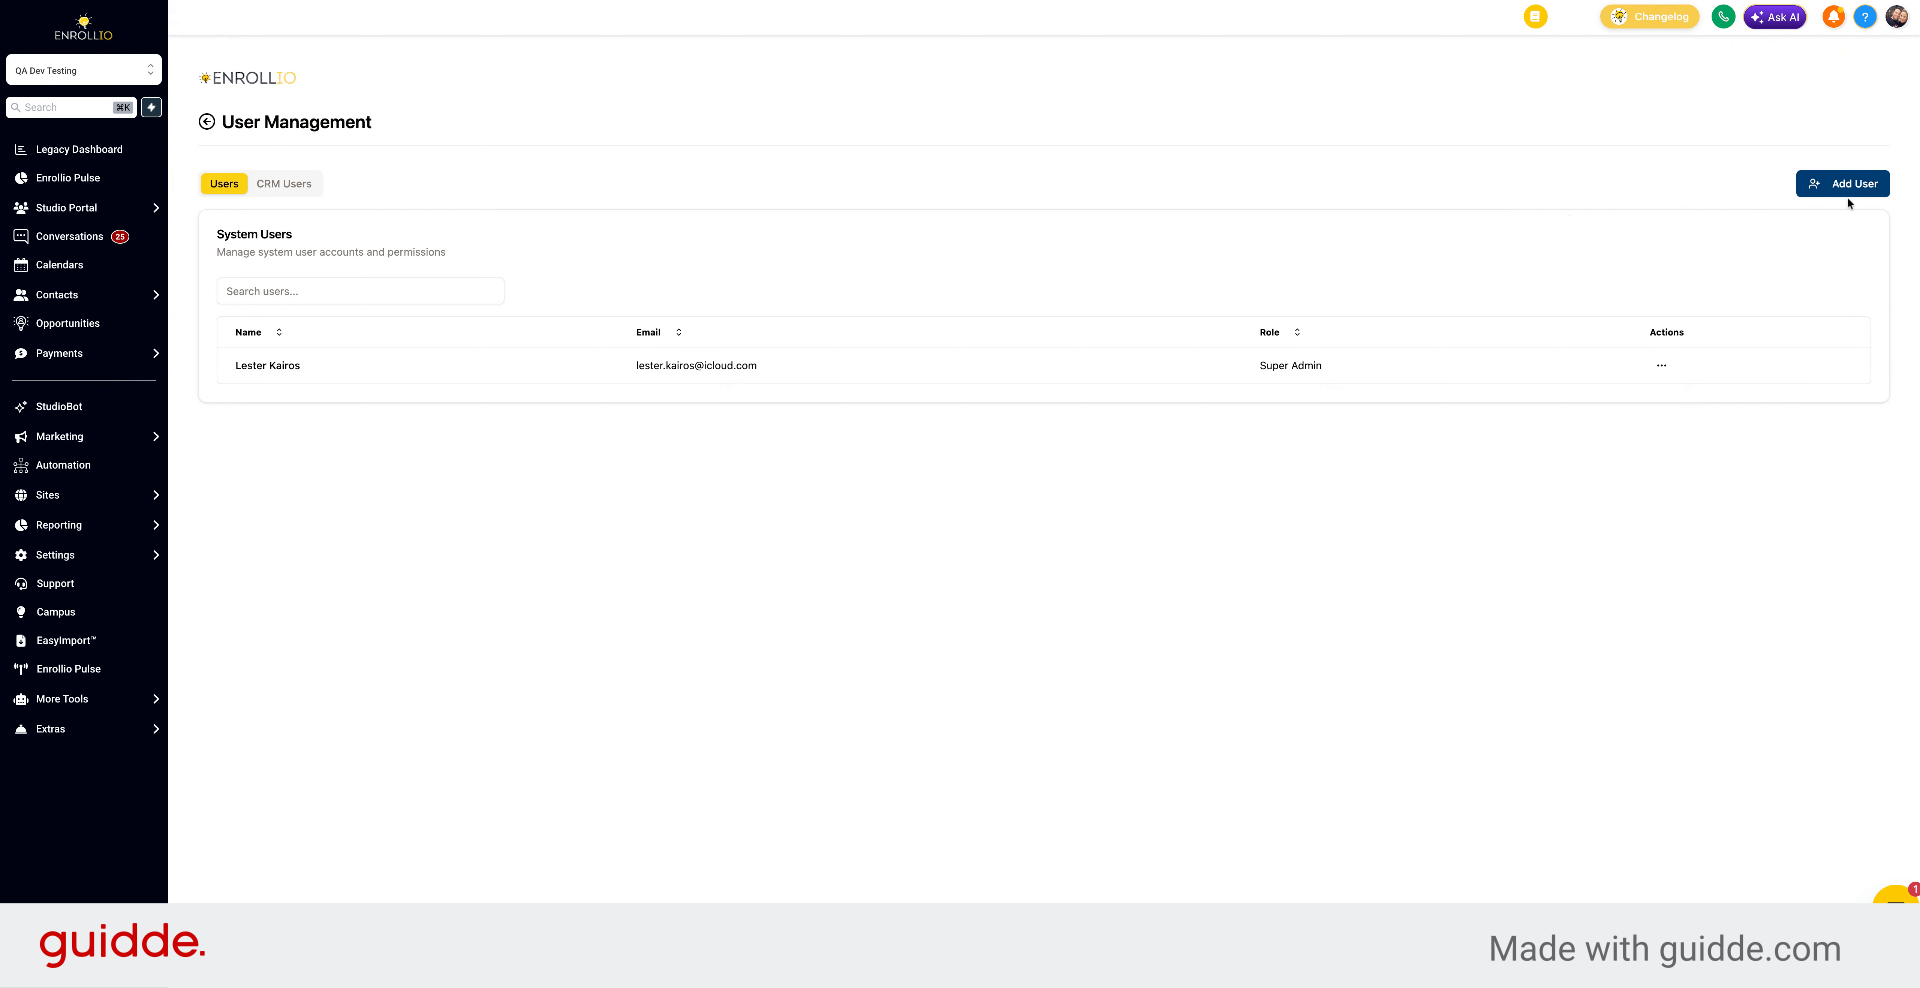
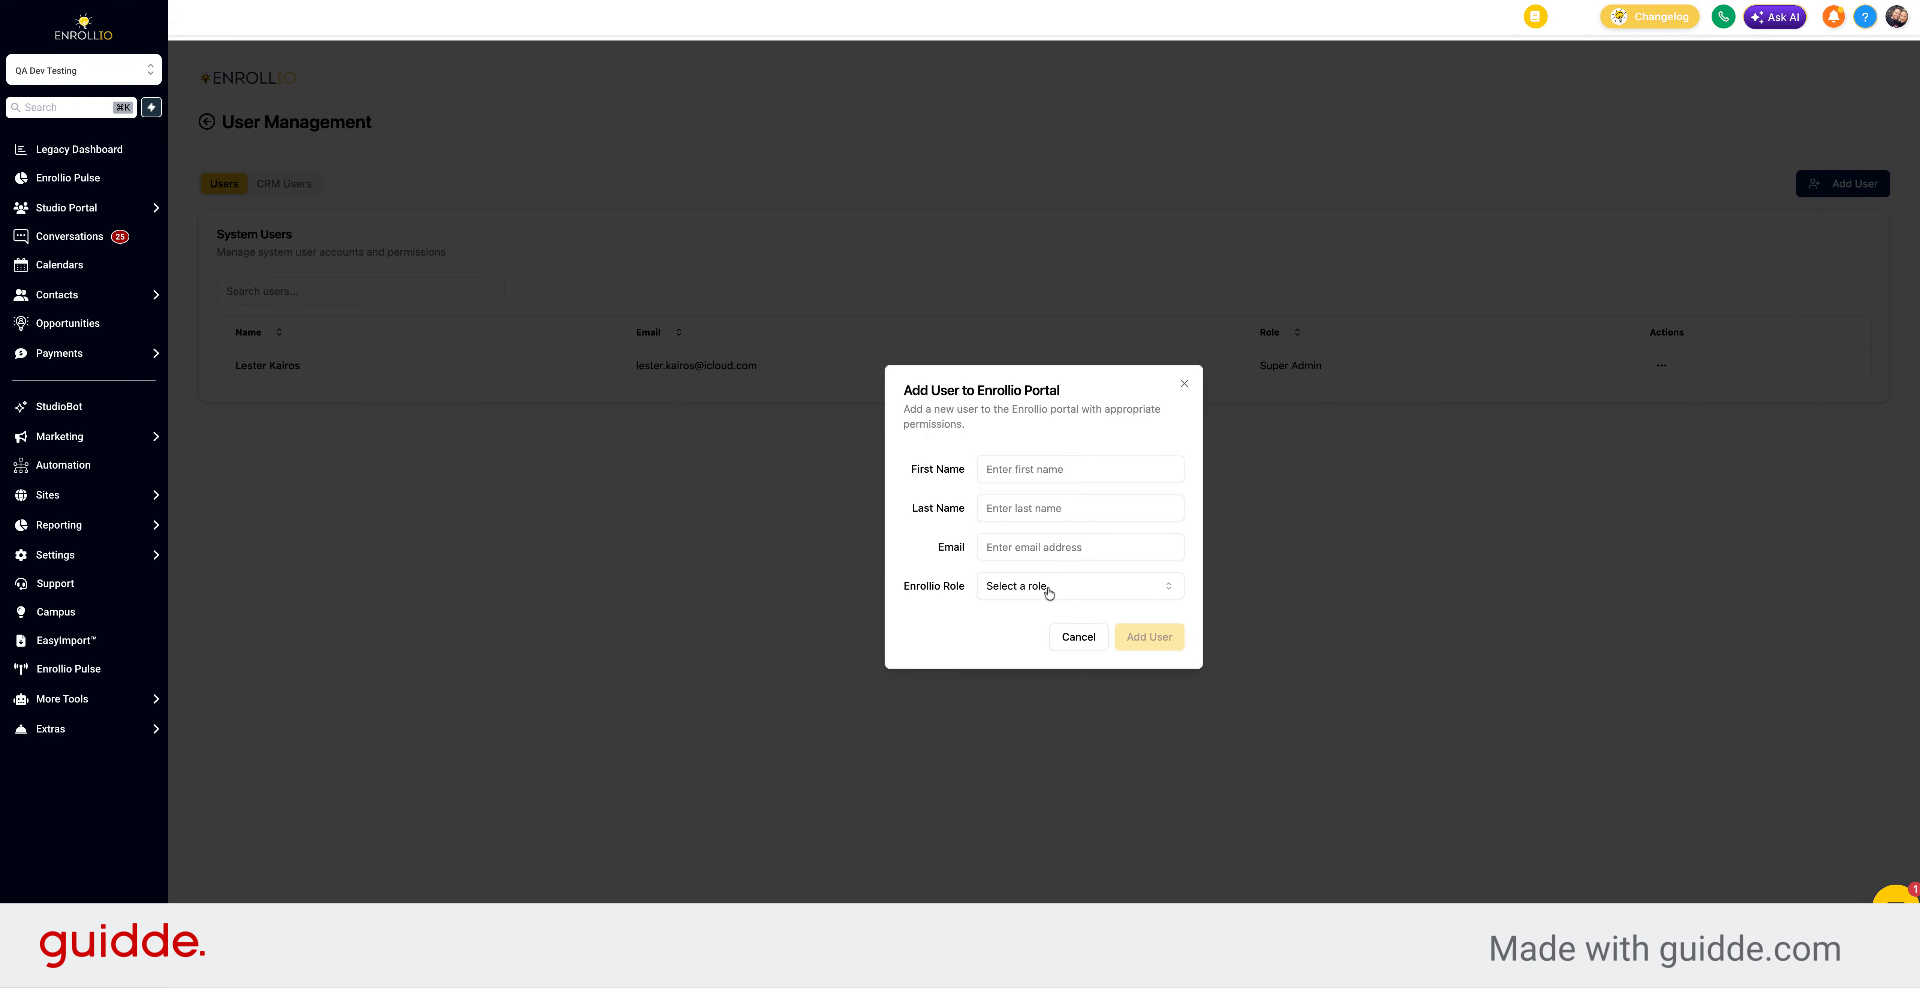
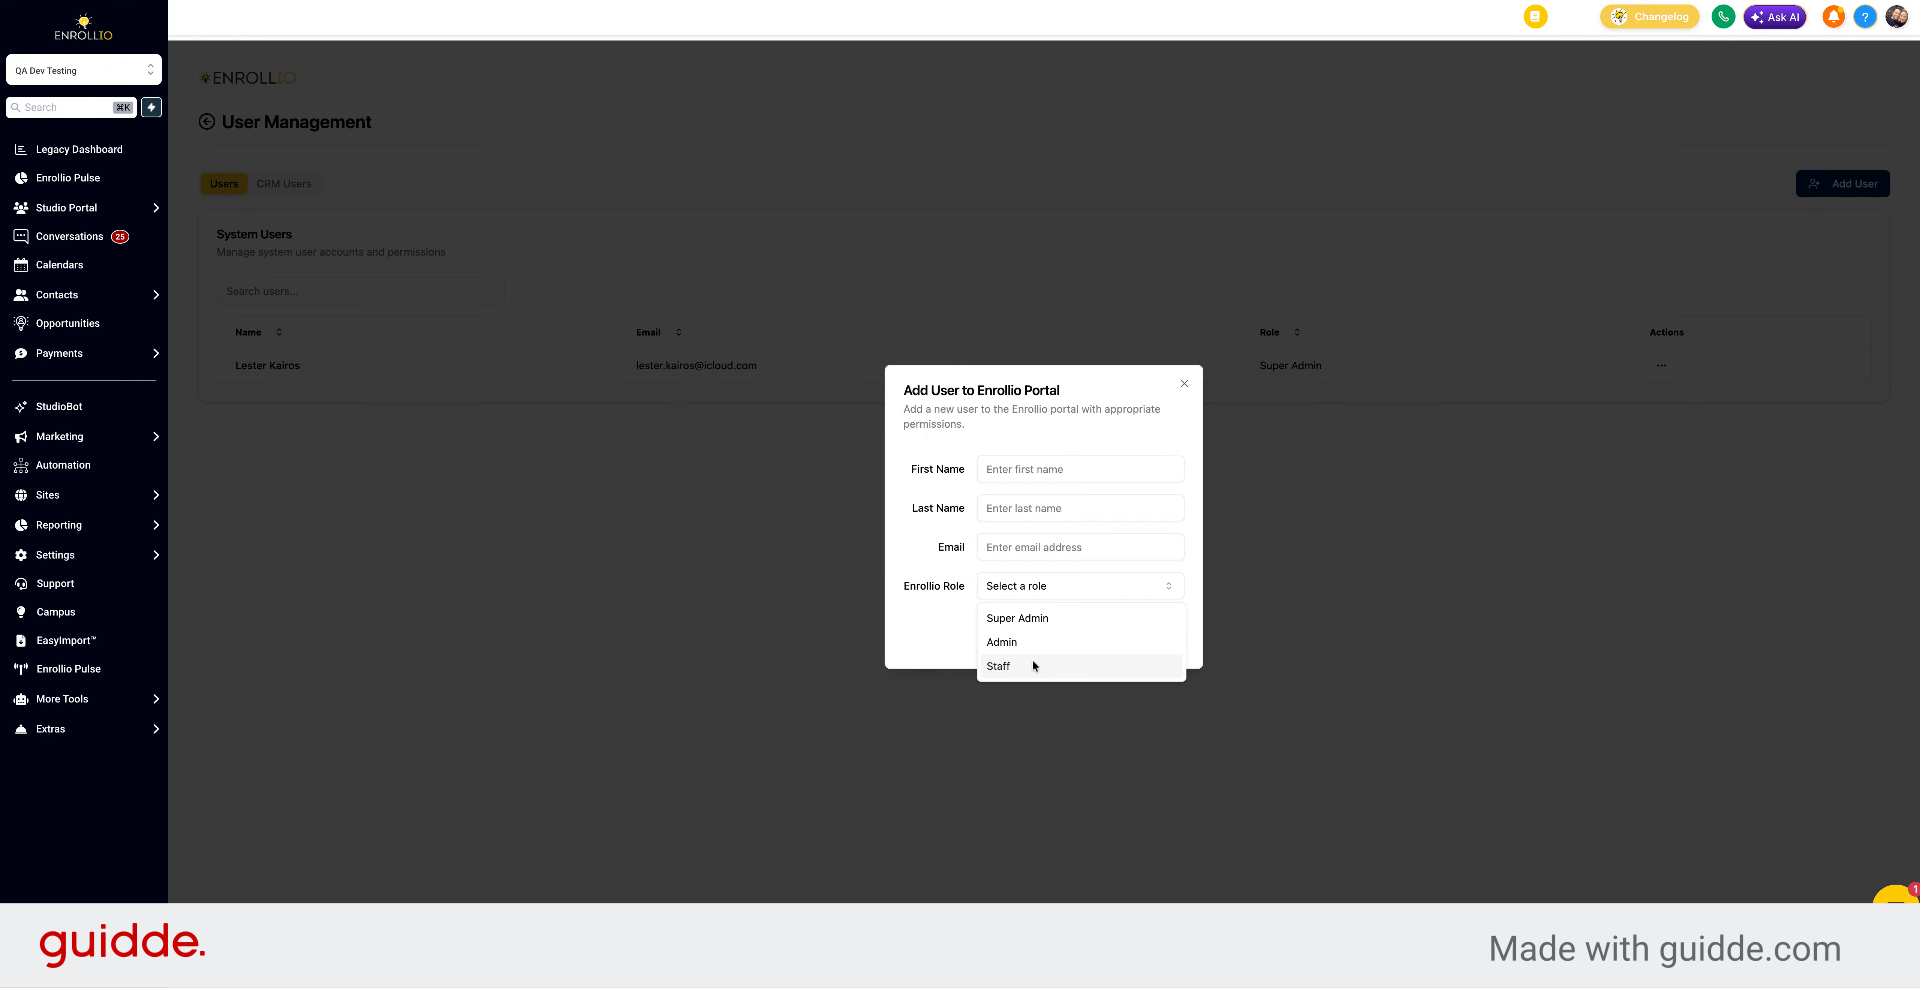
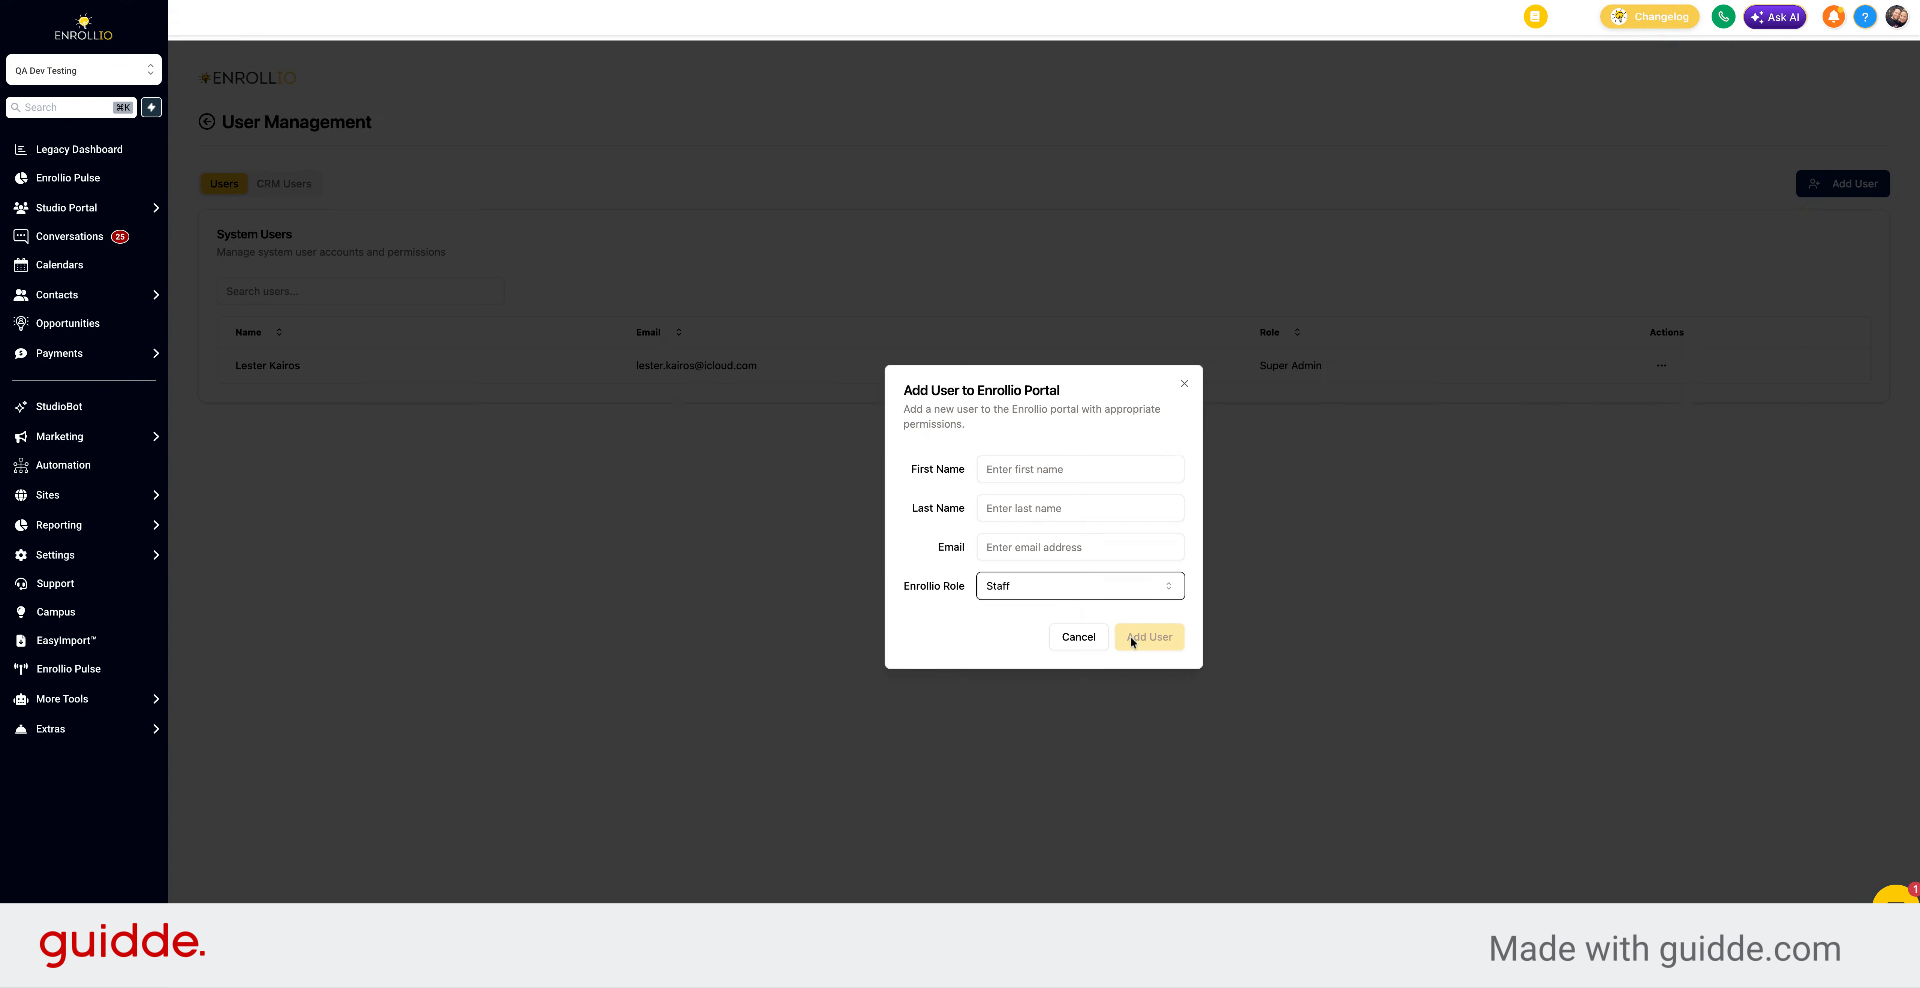
When you click add user, you can fill in first name, last name, and email.
7. Describe Super Admin Role
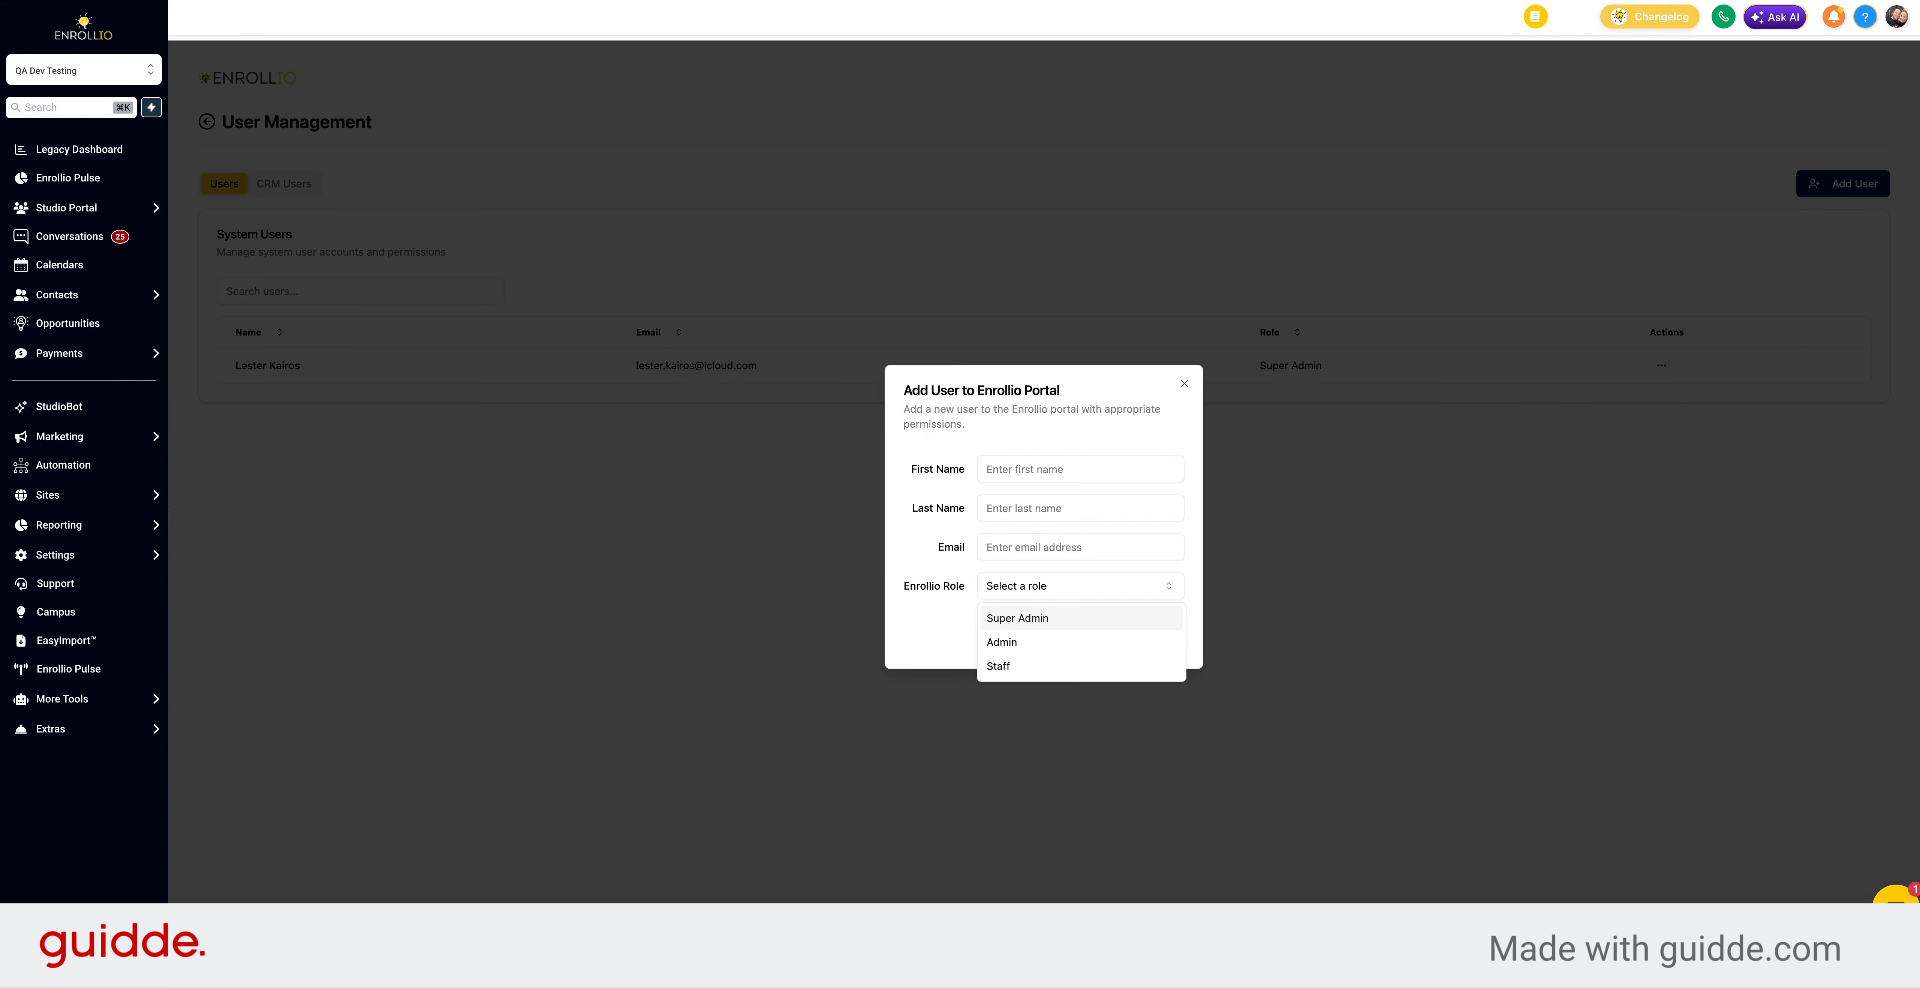
Then set the role. Super admin has full access, including the ability to add or remove team members.
8. Define Admin and Staff Roles
Admin has full access except the ability to add or remove team members. Staff can only take attendance.
9. Explain Staff Role Purpose
Add team members as staff if you want them to be able to take attendance.
10. Confirm User Login Ability
Once they're added as a user, they'll be able to log in.
11. Use Studio Login Link
You can find the Studio Login Link under Settings. Copy it and paste it into a browser to give users a login page for taking attendance.
You now know how to add and manage team members in the Studio Portal, set user roles, and share login access with your team.