
Introduction
When you embed enrollment forms on your website, you have complete control over how and when they appear to parents. You can choose the layout style, set triggers for when forms show up, and configure when they should stop appearing—all designed to help you capture more leads without overwhelming your visitors.
Any changes you make to these settings require generating a new embed code and replacing the old one on your site. The code itself is static, but you can update the behavior anytime by creating fresh embed code with your new preferences.
When to Use These Features
Time-Limited Enrollment Campaigns — Set forms to stop appearing after a certain number of displays to create urgency for limited spots or seasonal enrollment periods.
Smart Lead Capture — Automatically hide forms once a parent submits their information, or show forms only after a visitor has browsed your site a few times to avoid being pushy on first visit.
How to Configure Your Form Embed Settings
Step 1: Access the Integration Settings
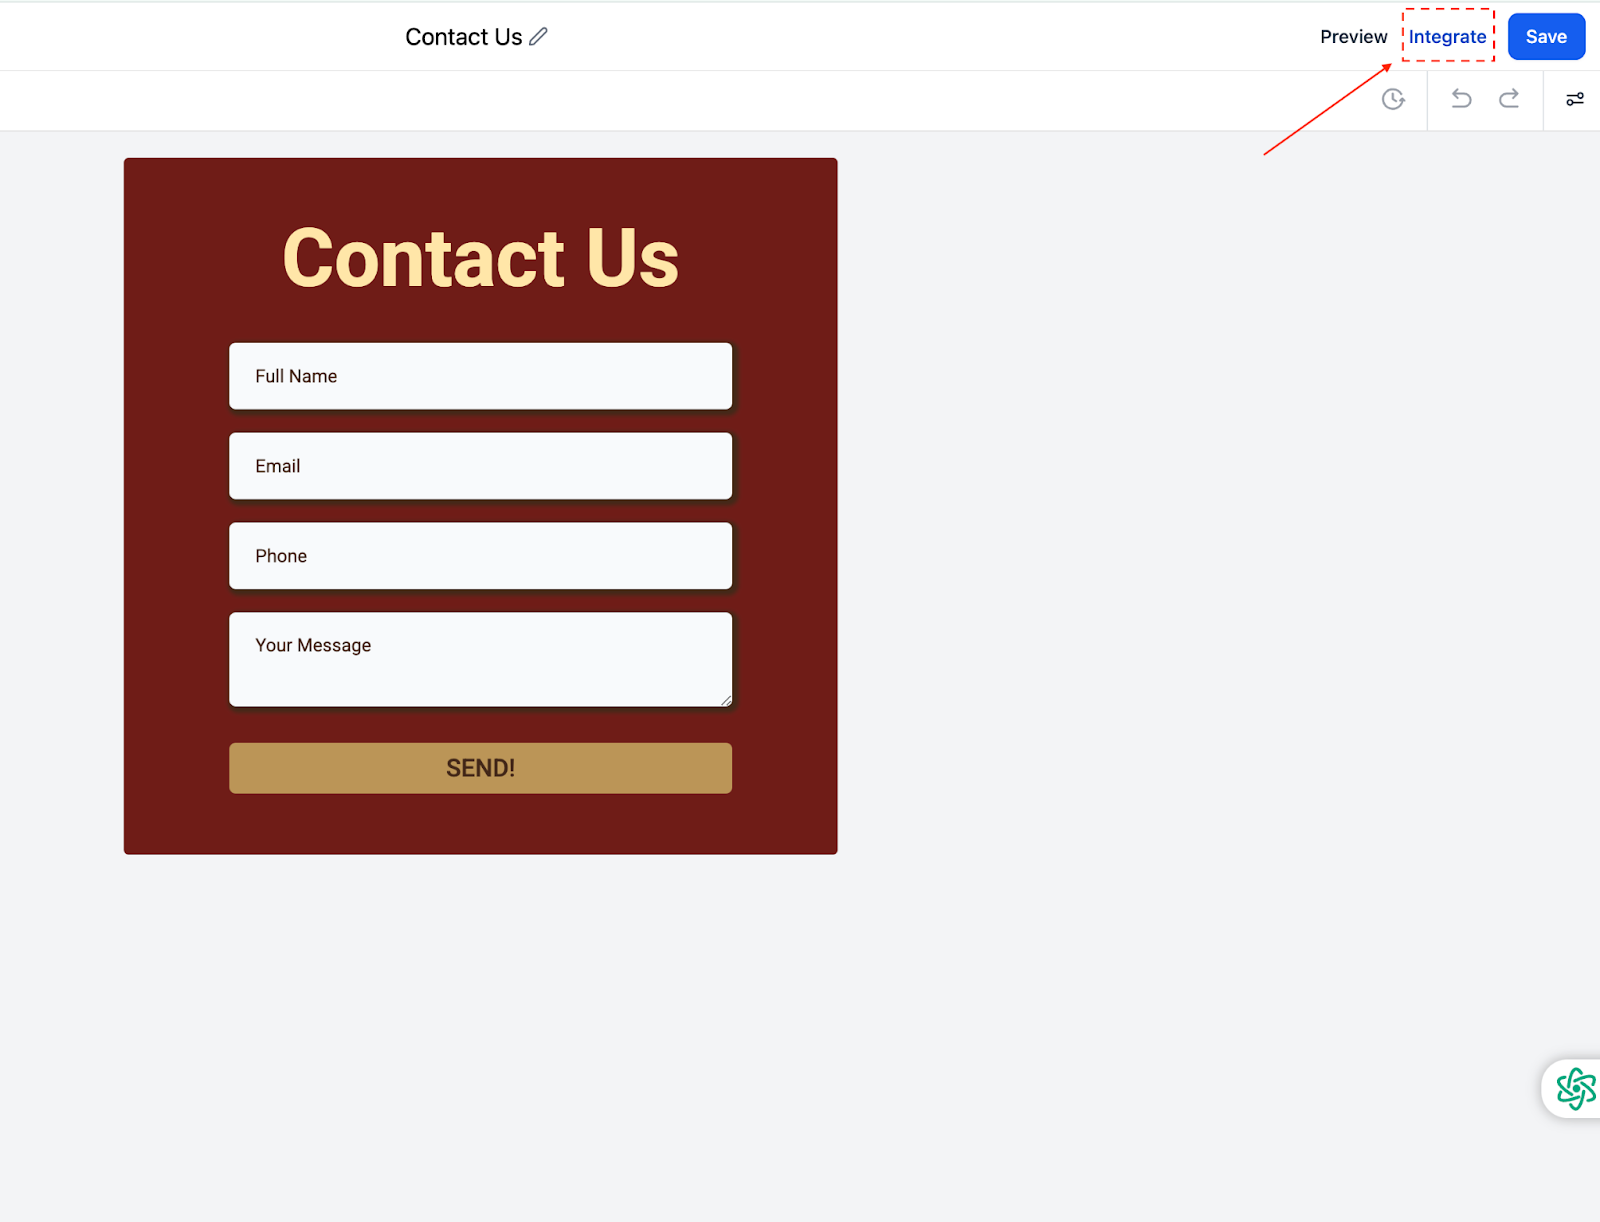
After creating your form, click the Integrate button. This opens the embed configuration screen where you'll set up all your display preferences.
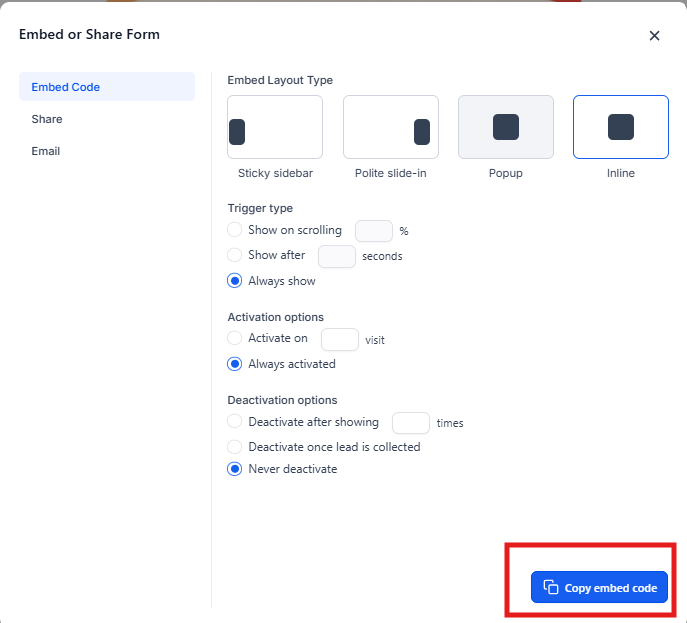
Step 2: Choose Your Form Layout
Select how the form will appear on your enrollment site. Each layout serves a different purpose:
Sticky Sidebar — The form stays fixed on the left or right side of the screen as parents scroll. It can be minimized to a small tab and expanded when clicked.
- Best for: Keeping your contact form accessible throughout the entire page
- Can be positioned on left or right edge
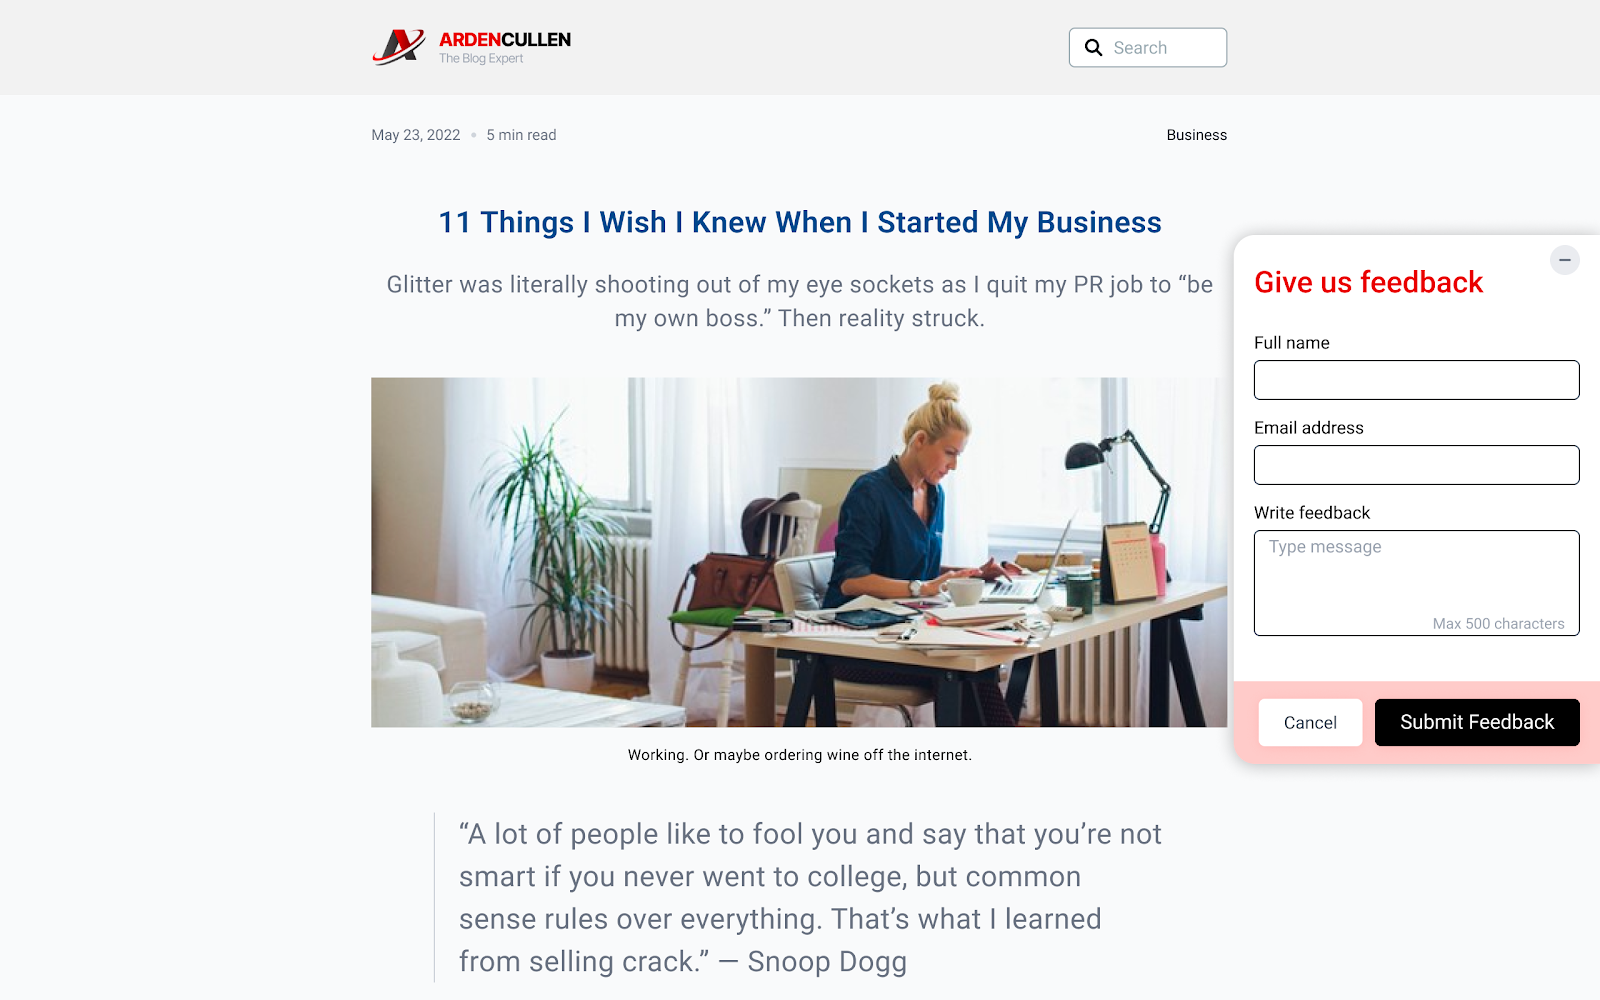
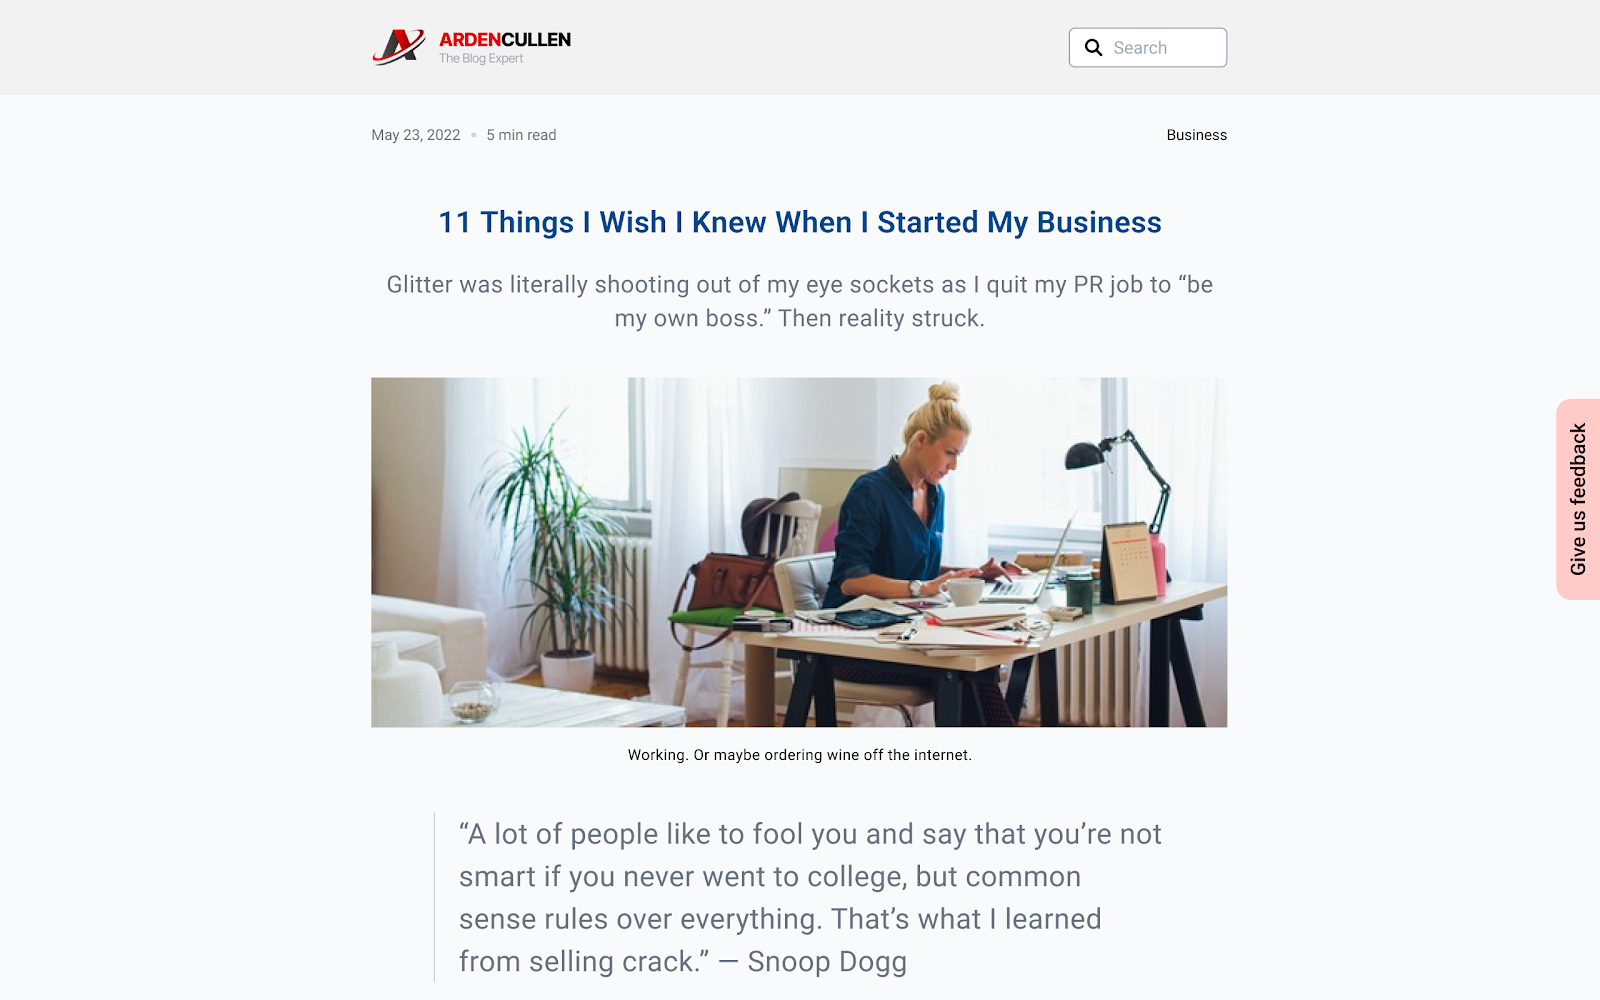
Polite Slide-In — The form slides in smoothly from the side after your trigger conditions are met. Less intrusive than a popup, but still catches attention.
- Best for: Capturing interest without blocking content
- Parents can minimize it and continue browsing
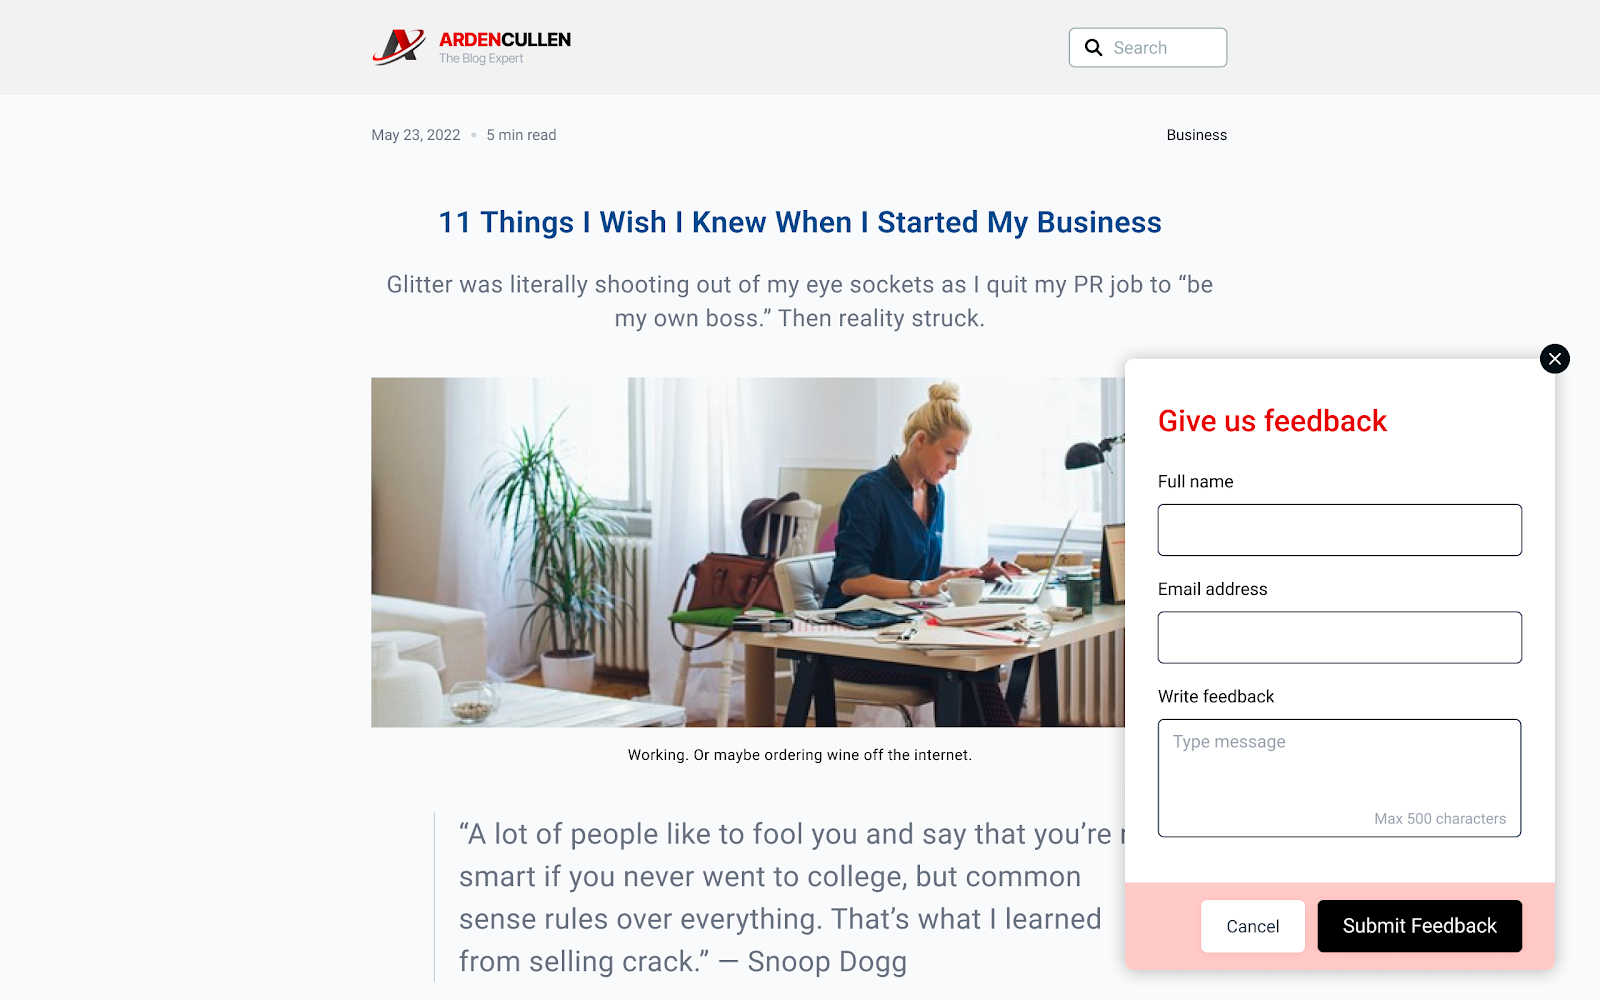
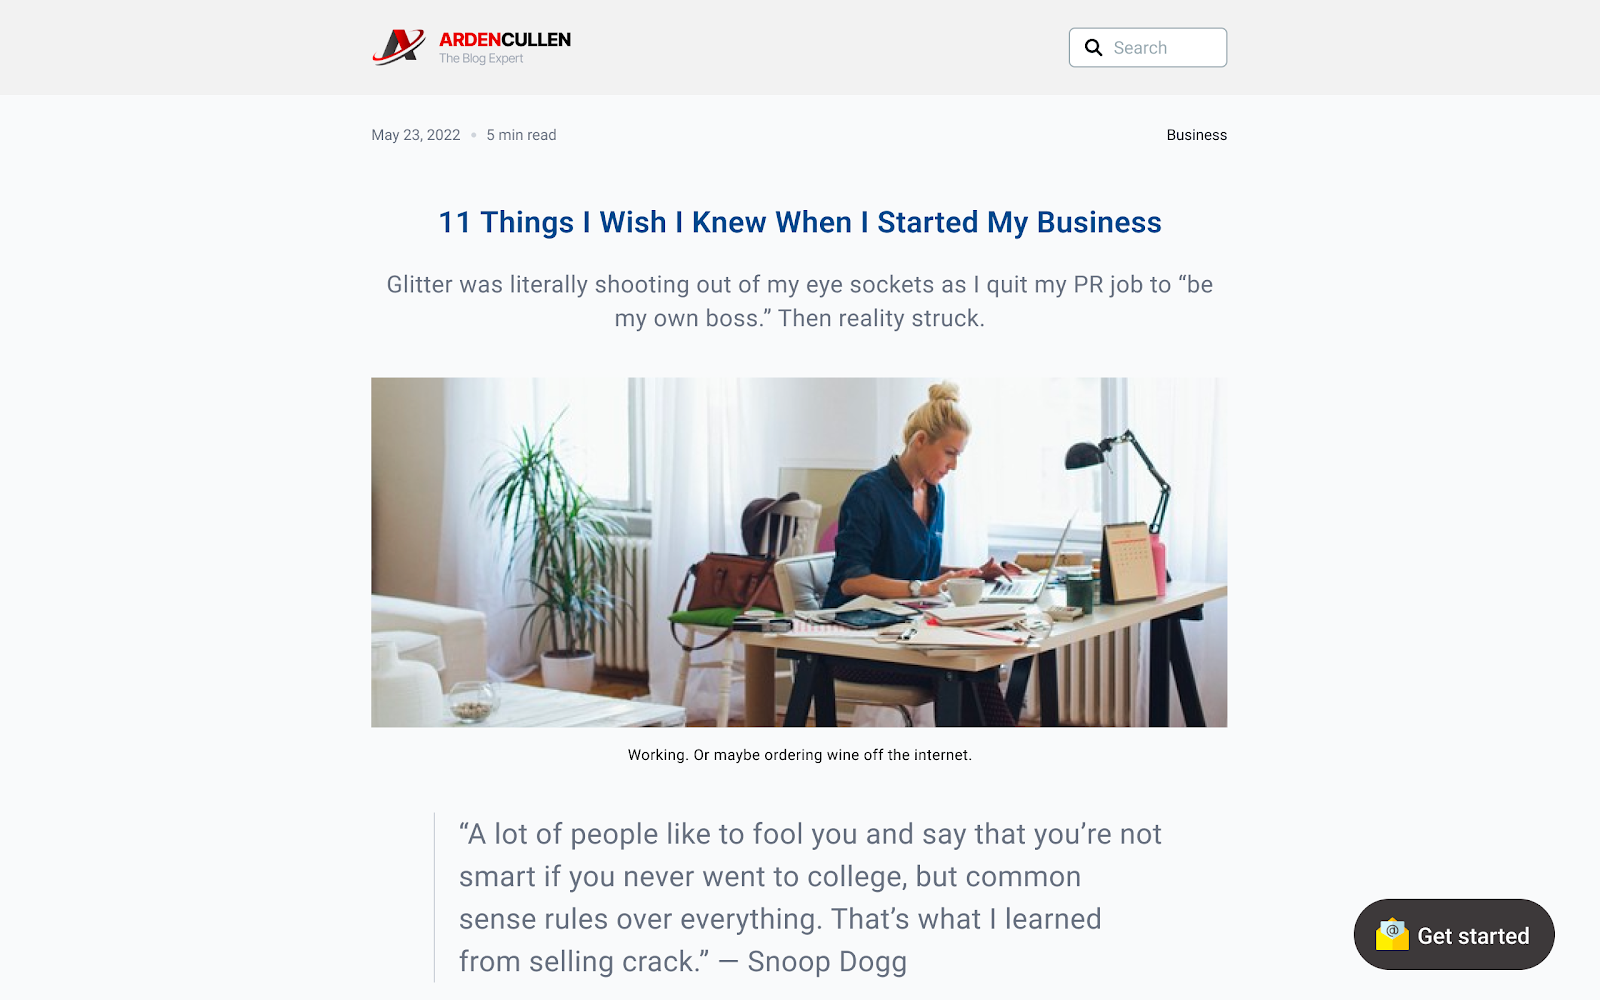
Popup — The form appears as an overlay in the center of the screen, requiring parents to either fill it out or close it.
- Best for: High-priority announcements or limited-time enrollment offers
- Demands immediate attention
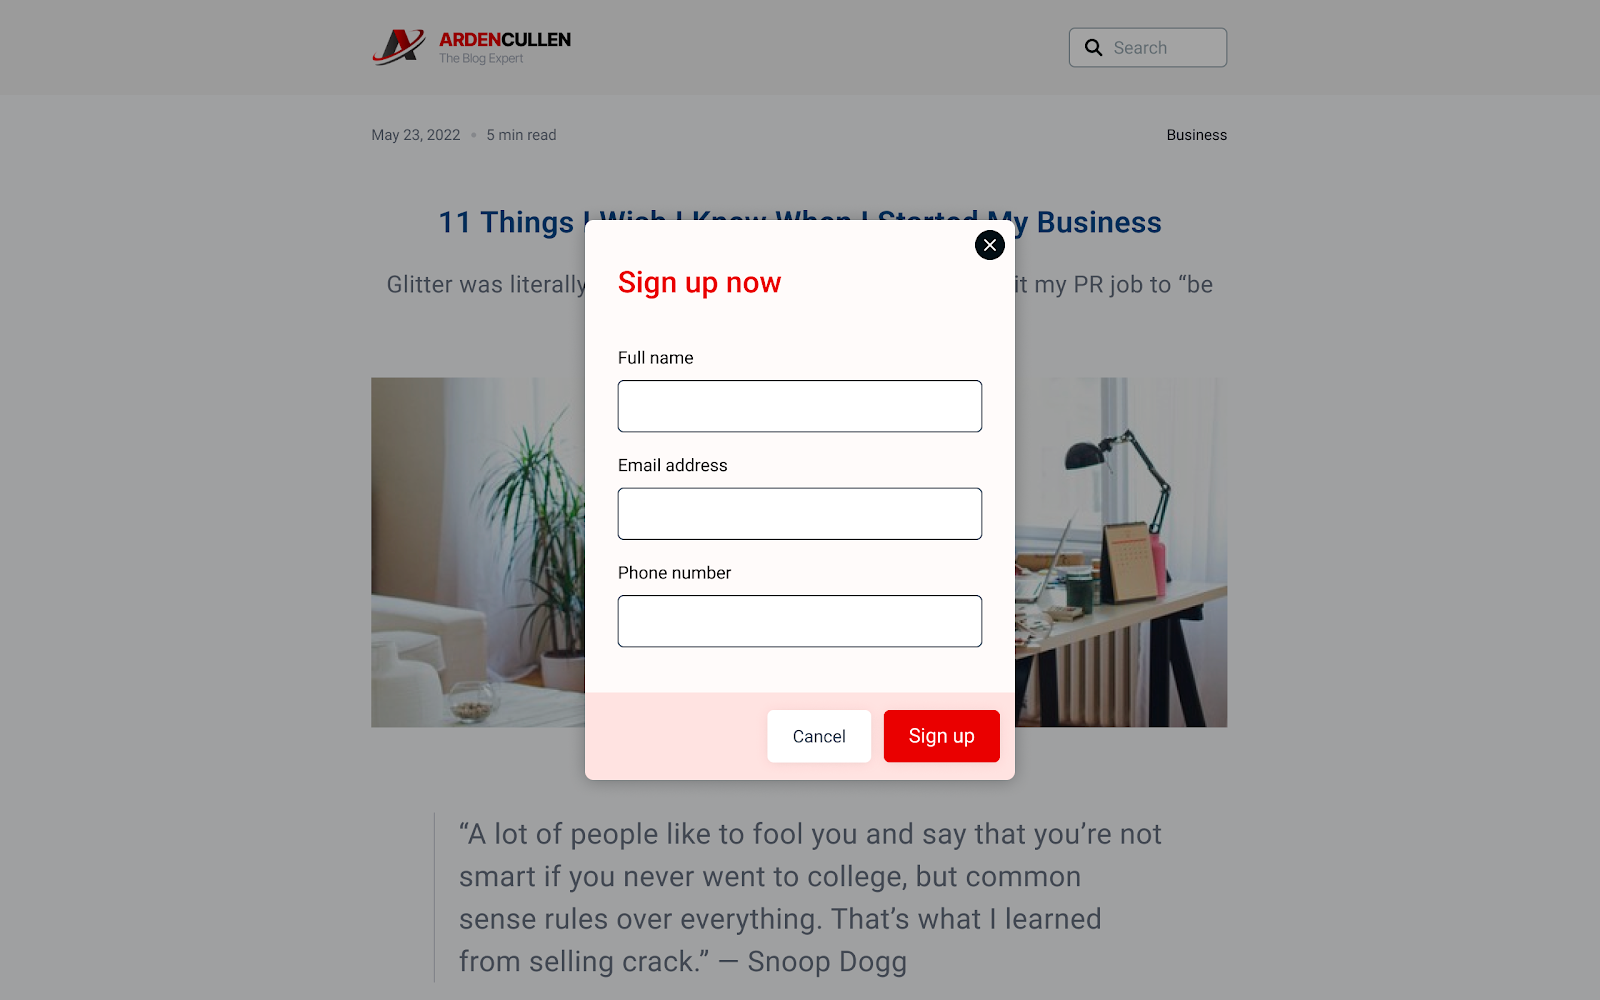
Inline — The form is embedded directly into your page content, appearing as a natural part of the layout.
- Best for: Contact sections, dedicated inquiry pages, or within blog posts
- No interruption to browsing experience
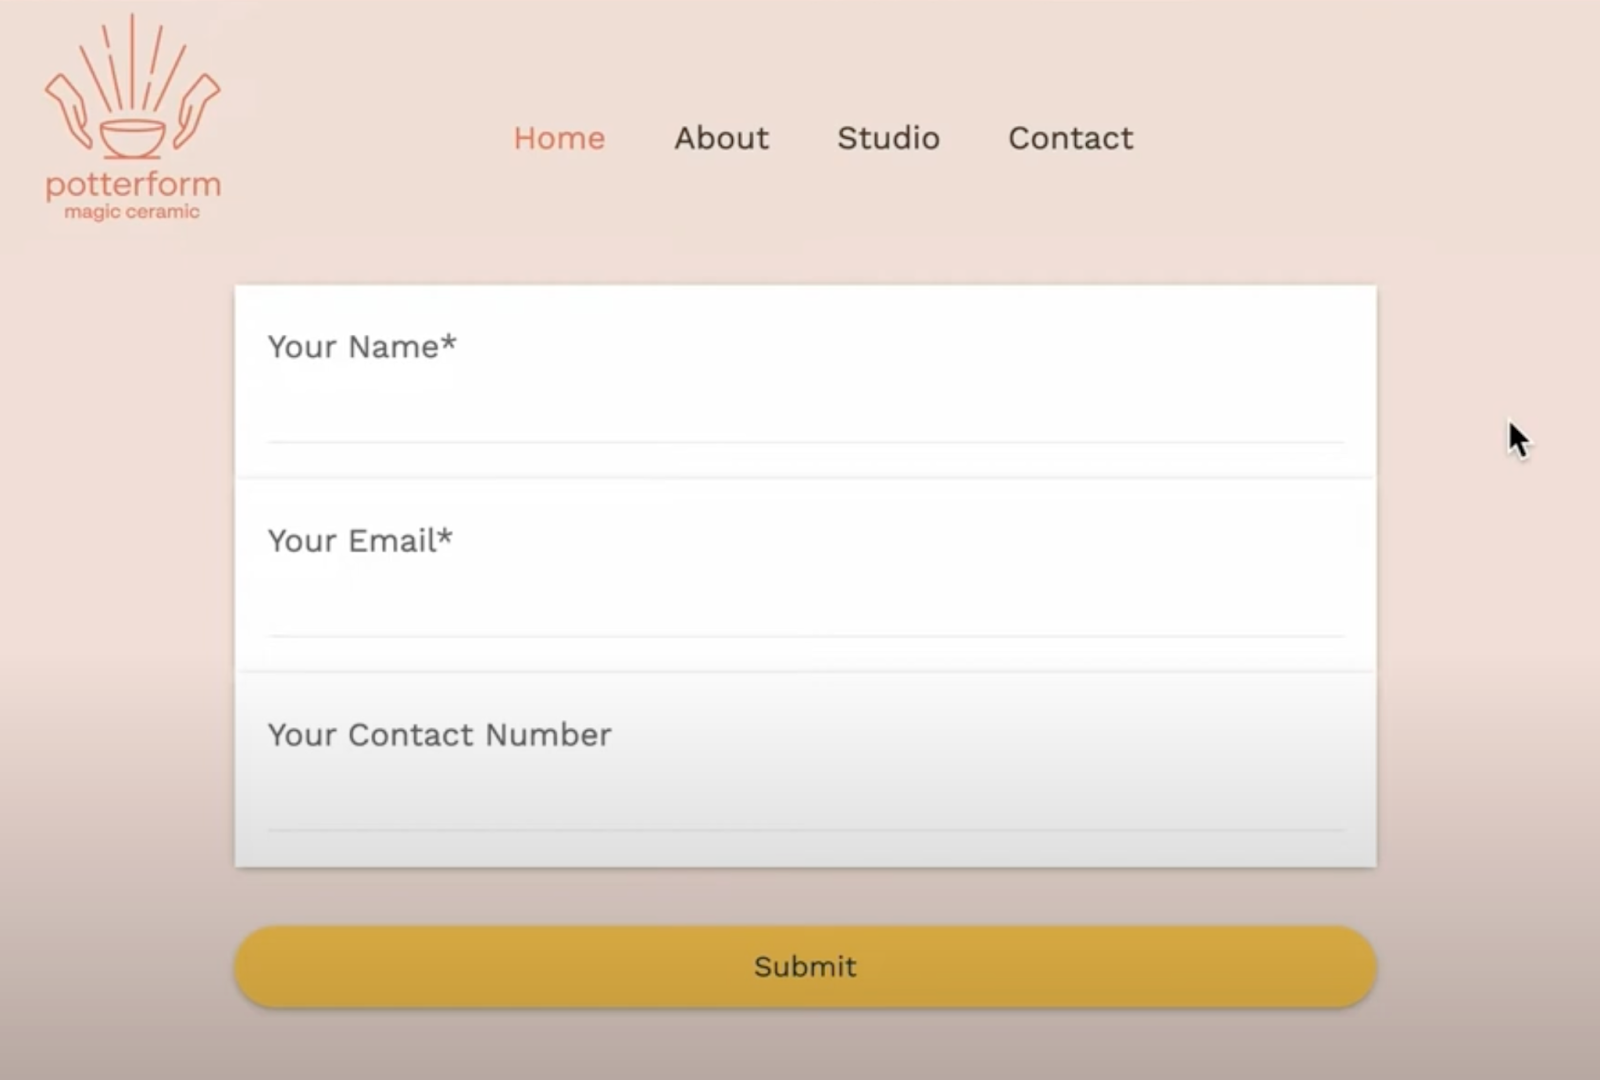
Step 3: Set Your Display Trigger
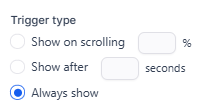
Choose when the form should appear to visitors:
Show on Scrolling [X]% — The form appears after a parent scrolls a certain percentage down the page (for example, 50%). This ensures they're engaged with your content before you ask for their information.
Show After [X] Seconds — Add a delay before the form appears. Give parents time to browse your program details before showing your enrollment form.
Always Show — The form is visible immediately when the page loads, with no delay or scroll requirement.
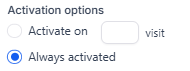
Step 4: Configure Activation Rules
Decide when the form becomes active for repeat visitors:
Activate on [X] Visit — Only show the form after a parent has visited your site a specific number of times. Great for avoiding overwhelming first-time visitors.
Always Activated — The form is active from the very first visit, no matter how many times someone has seen your site.
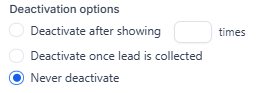
Step 5: Set Deactivation Conditions
Control when the form should stop appearing:
Deactivate After Showing [X] Times — Stop displaying the form after it's been shown a certain number of times. Perfect for creating scarcity around limited enrollment spots.
Deactivate Once Lead Is Collected — Hide the form automatically after a parent submits their information. No need to keep asking someone who's already inquired.
Never Deactivate — Keep the form active indefinitely for all visitors.
Step 6: Copy and Embed Your Form
Once you've configured all your settings, you're ready to add the form to your site.
Click Copy Embed Code to get the HTML code. Paste this into your enrollment site's HTML wherever you want the form to appear.
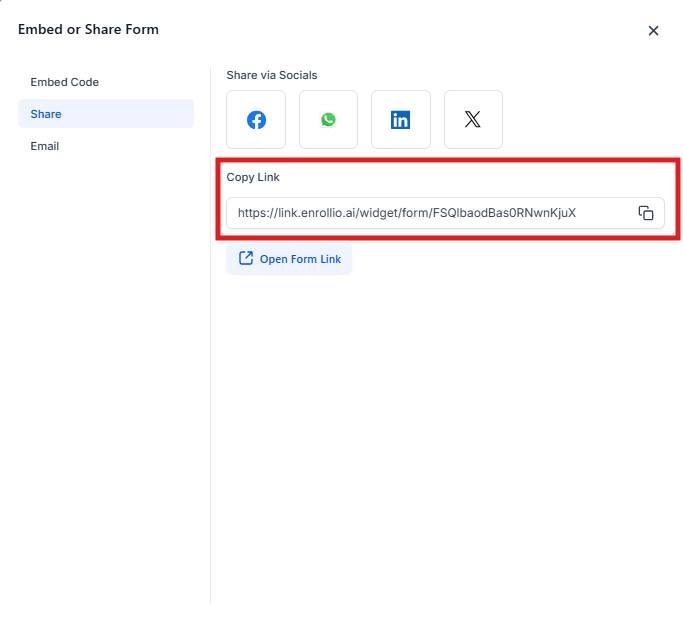
Alternatively, click Copy Form Link to get a direct URL. Use this link in text messages to parents, email campaigns
, 
Frequently Asked Questions
How do triggers and deactivation settings work together?
Triggers control when the form first appears (after scrolling, after a delay, etc.). Deactivation settings control when it stops appearing (after X displays or after someone submits).
They work together to create a smart experience. For example, you might set a form to appear after 10 seconds (trigger) and deactivate after 3 displays (deactivation). This gives parents multiple chances to fill it out without being annoying.
Do I need to update my embed code to use new settings?
Yes. If you change any layout, trigger, or deactivation settings, you need to generate a new embed code and replace the old one on your site. The embed code is static—it doesn't automatically update when you adjust settings in Enrollio.
What happens if I change settings but don't update the embed code?
Your form will continue using the old settings. The code on your website won't know about your changes until you replace it with the newly generated code.
Can I use different embed settings for different pages?
Absolutely. Generate separate embed codes with different configurations for different pages. You might want an immediate popup on your homepage but a subtle slide-in on your programs page.