
Add Custom Values to Buttons in Enrollment Page Builder
When you're building enrollment pages, you can add custom values to your buttons to track which pages or buttons parents are clicking. This helps you understand what's working and where families are taking action.
Why Add Custom Values to Buttons?
Custom button values let you:
- Track which call-to-action buttons get the most clicks
- See which enrollment pages convert best
- Pass specific information to your automations when a button is clicked
- Segment families based on what they're interested in
How to Add Custom Values to a Button
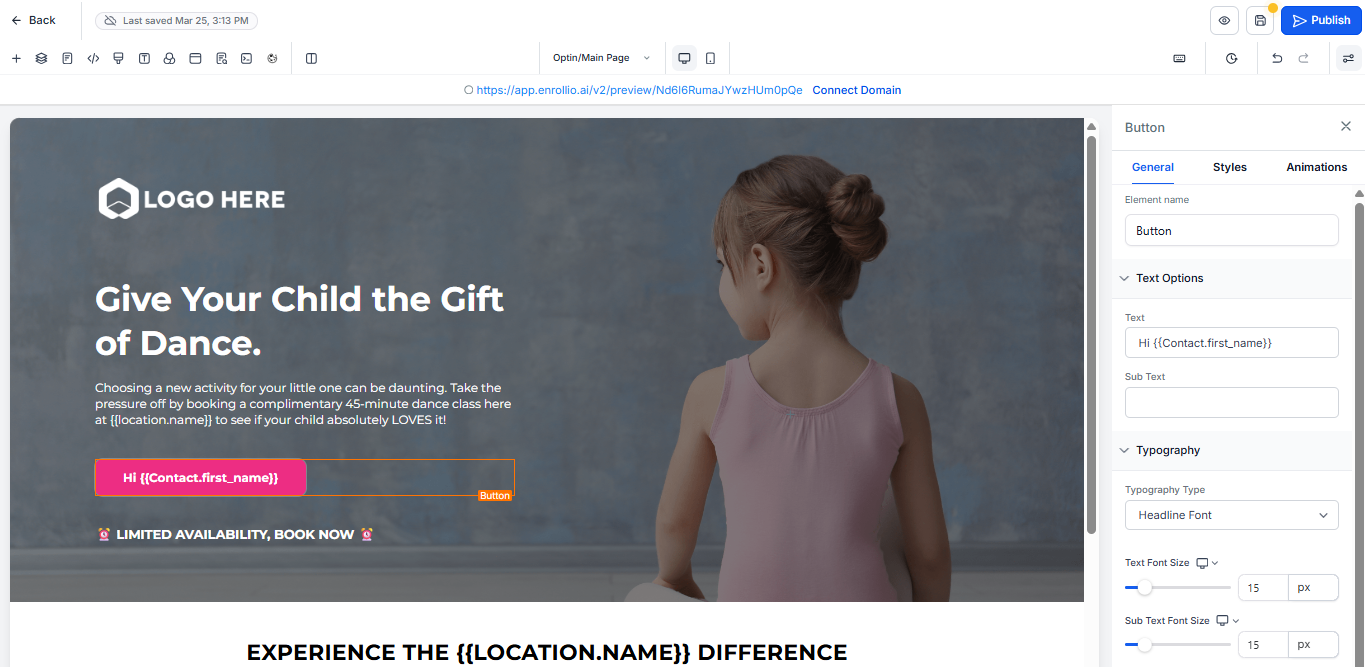
- Open your enrollment page in the Page Builder
- Click on the button you want to customize
- In the button settings panel on the right, look for the Custom Value field
- Enter your custom value (for example: "tour-request-main-page" or "enroll-now-infant-program")
- Click Save to apply your changes
Best Practices for Custom Button Values
Use descriptive names: Make your custom values clear so you know what they mean later. "infant-tour-request" is better than "button1".
Stay consistent: Use the same naming format across all your pages. For example, always use lowercase with hyphens.
Include context: Add the program type or page location in the value, like "toddler-enroll-hero" or "preschool-waitlist-footer".
Using Custom Values in Automations
Once you've added custom values to your buttons, you can use them to trigger specific actions:
- Send targeted follow-up messages based on button clicks
- Tag families with their areas of interest
- Route leads to specific enrollment pipelines
- Update family records with their program preferences
Tracking Your Button Performance
After you add custom values, you can track how each button performs in your reporting. This helps you see which calls-to-action resonate most with prospective families.
Look at your enrollment page analytics to see click-through rates by button value and adjust your pages based on what's working best.