
Web Widget Marketplace for Enrollment Pages and Sites
We're excited to share a new feature that makes it easier for you to customize your enrollment pages and childcare center websites. Our Web Widget Marketplace lets you find, install, and use small add-ons called "widgets" to make your site more engaging and unique. These widgets are created by developers and can be quickly added to your pages to make them more interactive, useful, and eye-catching.
What Is the Web Widget Marketplace?
The Web Widget Marketplace is like an app store but for small website add-ons, or "widgets." Widgets are tools you can add to your enrollment page or website, like Pricing Cards to display tuition details, Banners for announcements, and other interactive items. By adding widgets, you can make your site more engaging, boost enrollments, and improve your visitors' experience—all without needing advanced coding skills.
Why Did We Build This Feature?
Many childcare owners want easy-to-use tools that don't require hiring a developer or learning to code. The Web Widget Marketplace was designed to give you this flexibility, allowing you to quickly find and add the right widgets for your site. With these widgets, you can now personalize your enrollment site with just a few clicks to better fit your brand and goals.
How to Use the Web Widgets Marketplace
Using the Web Widget Marketplace is simple, and you don't need to be a tech expert. Here's a quick step-by-step guide to get you started:
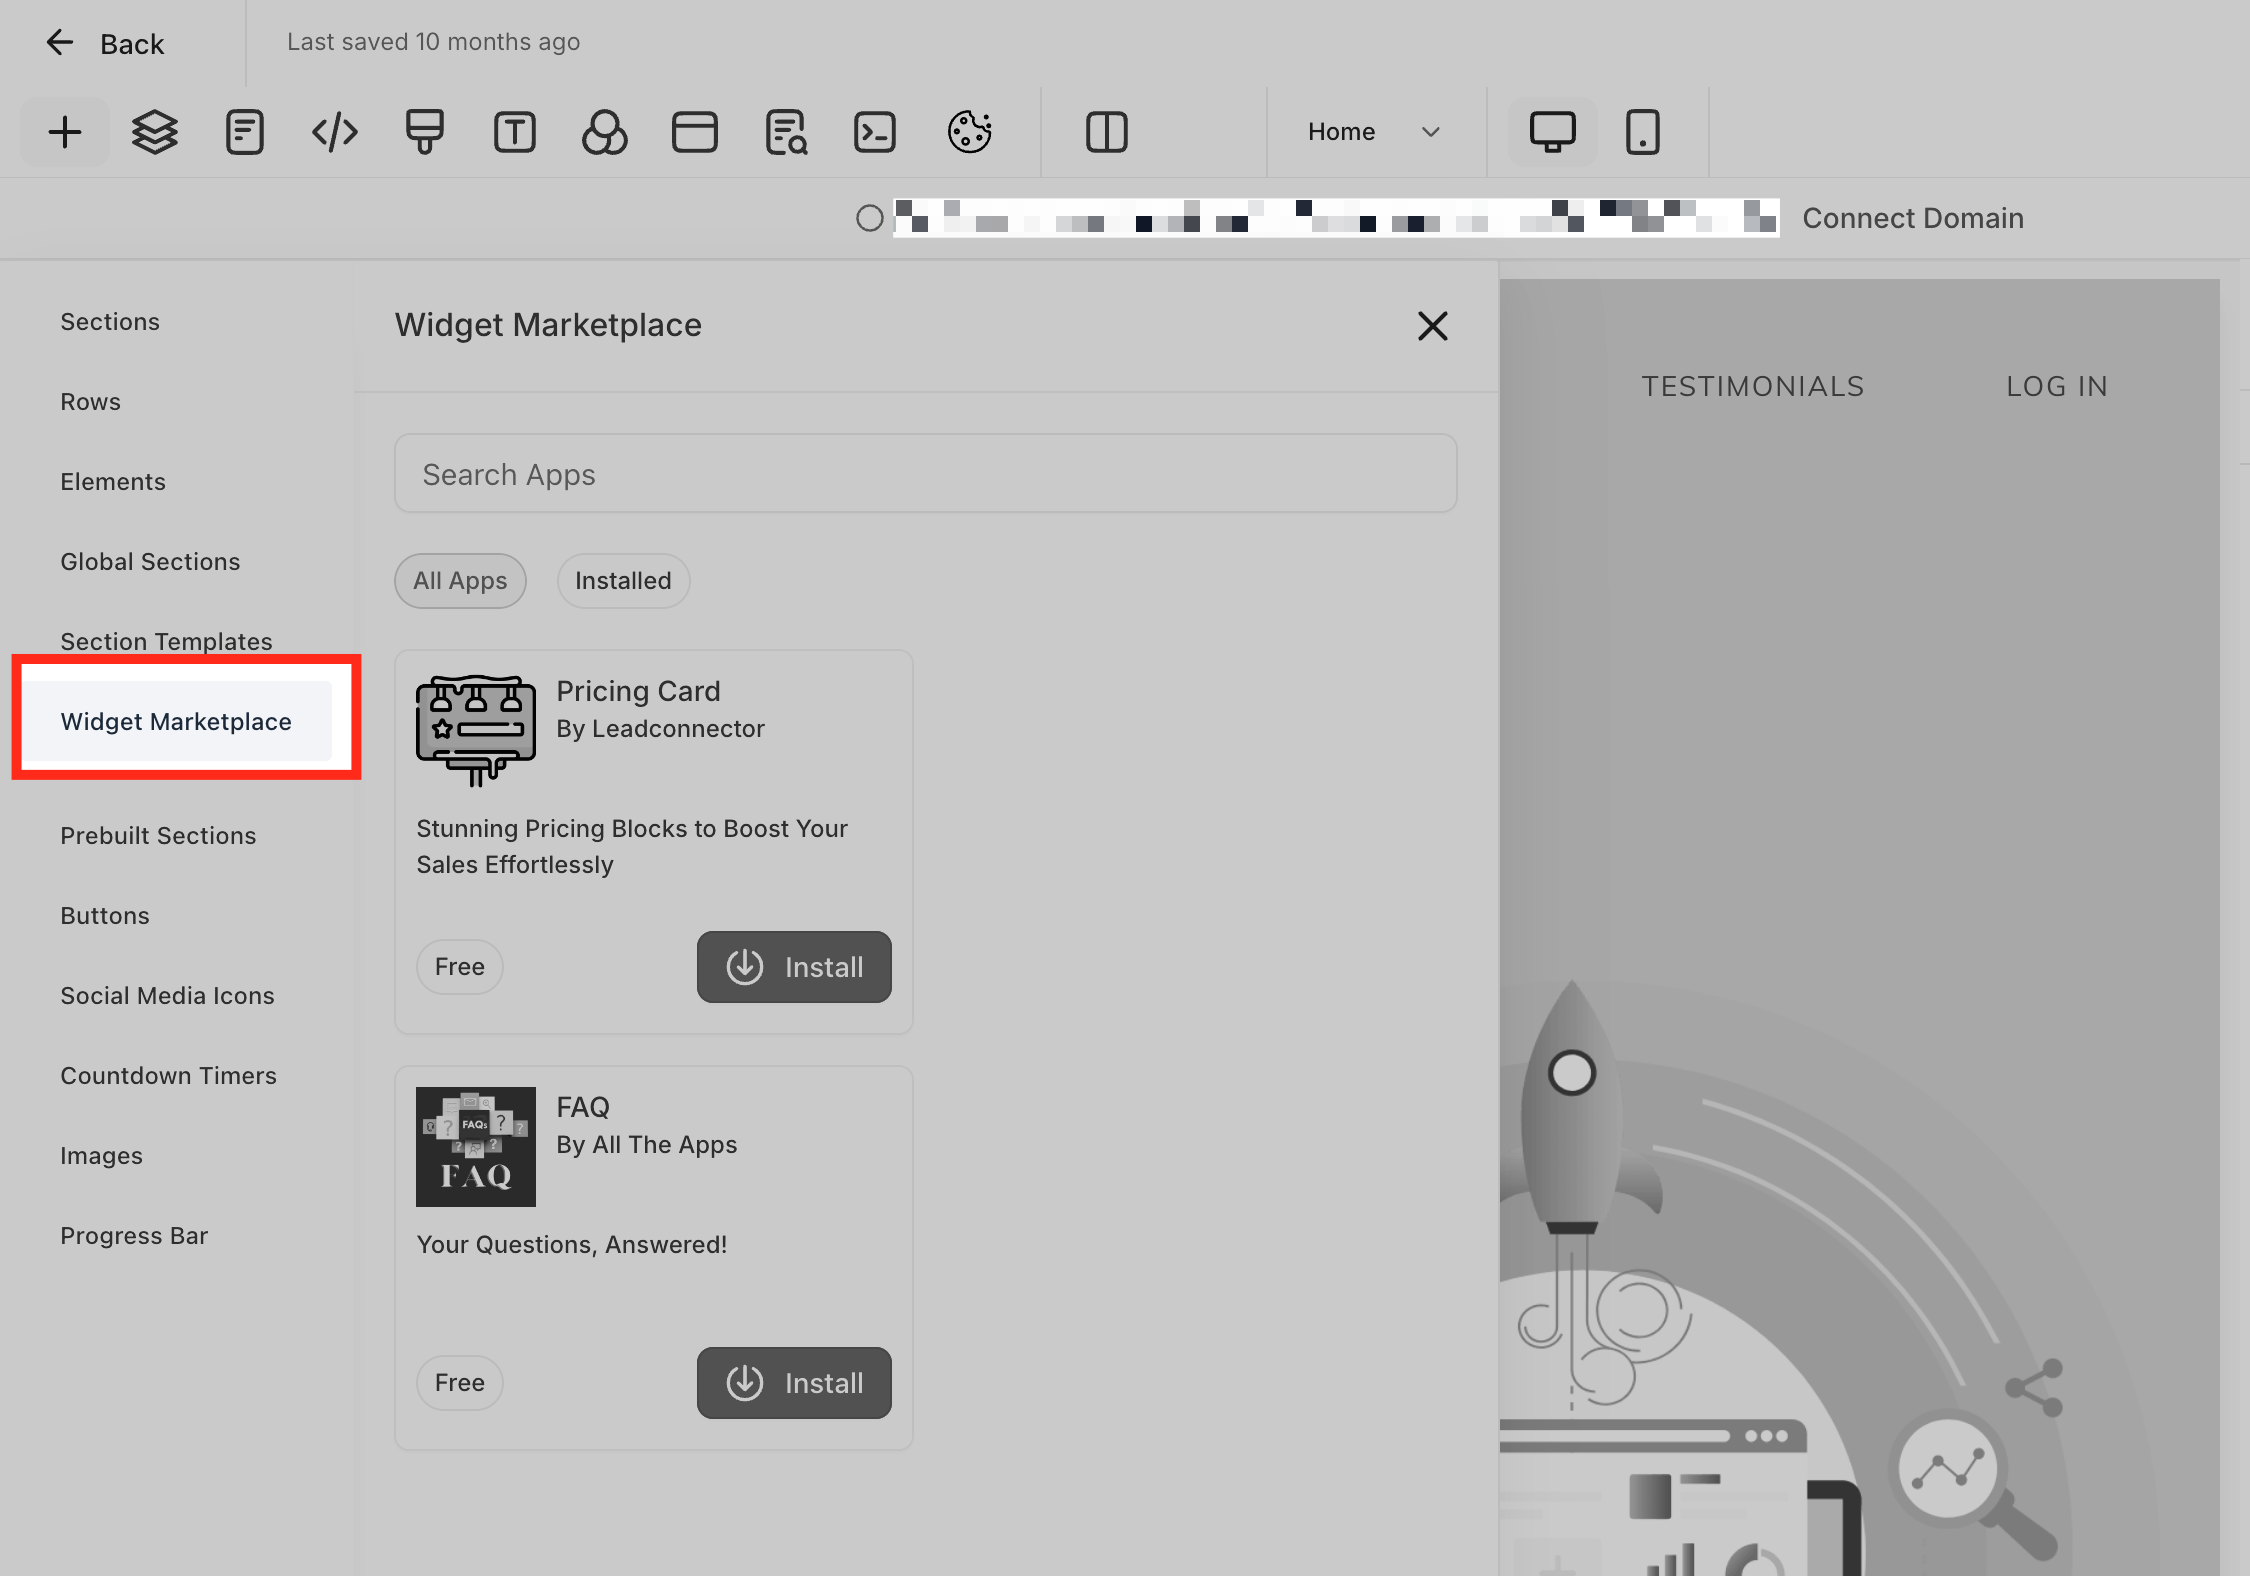
Step 1: Access the Marketplace
- Go to your enrollment page or website builder.
- Open the Widget Marketplace tab.
Step 2: Browse the Widgets
- Scroll through the available widgets or use the search bar to find something specific.
- You might find Countdown Timers for early enrollment deadlines, Testimonials to build trust with prospective families, or Product Grids for displaying your different programs.
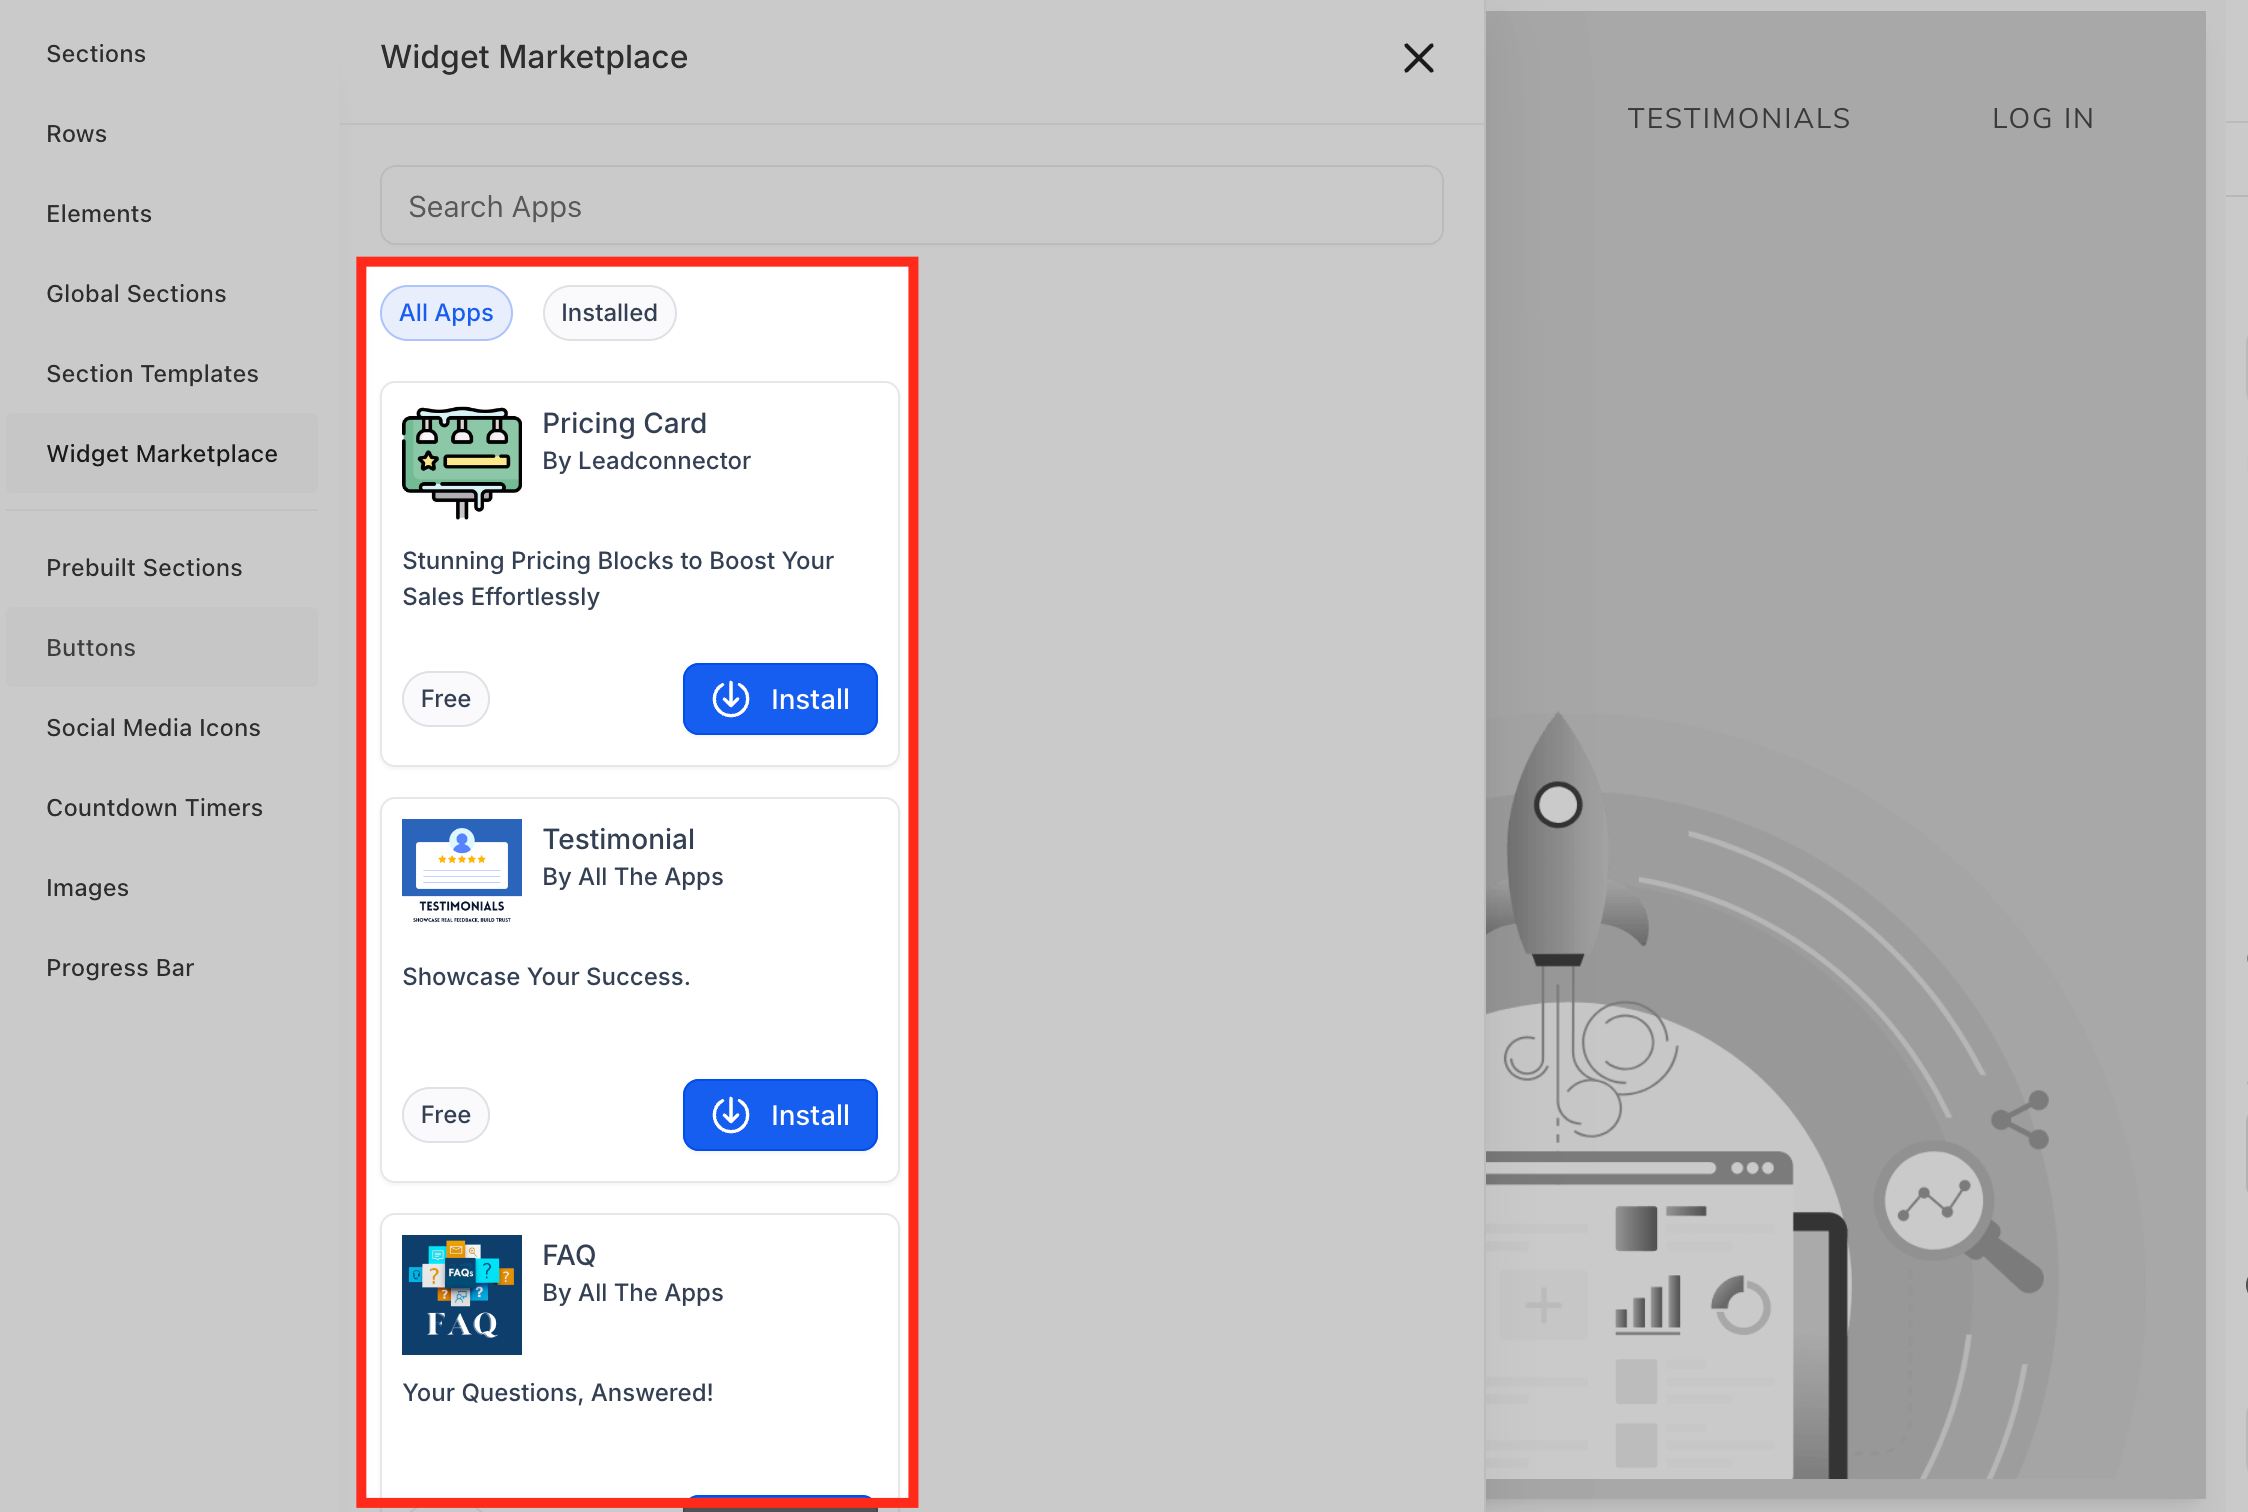
Step 3: Install the Widget
- When you find a widget you like, click Install.
- The widget will now be available in your Installed Apps section.
Step 4: Drag and Drop onto Your Page
- Drag the widget from the Installed Apps section and drop it into the part of the page where you want it.
- Position it wherever you think it will have the most impact.

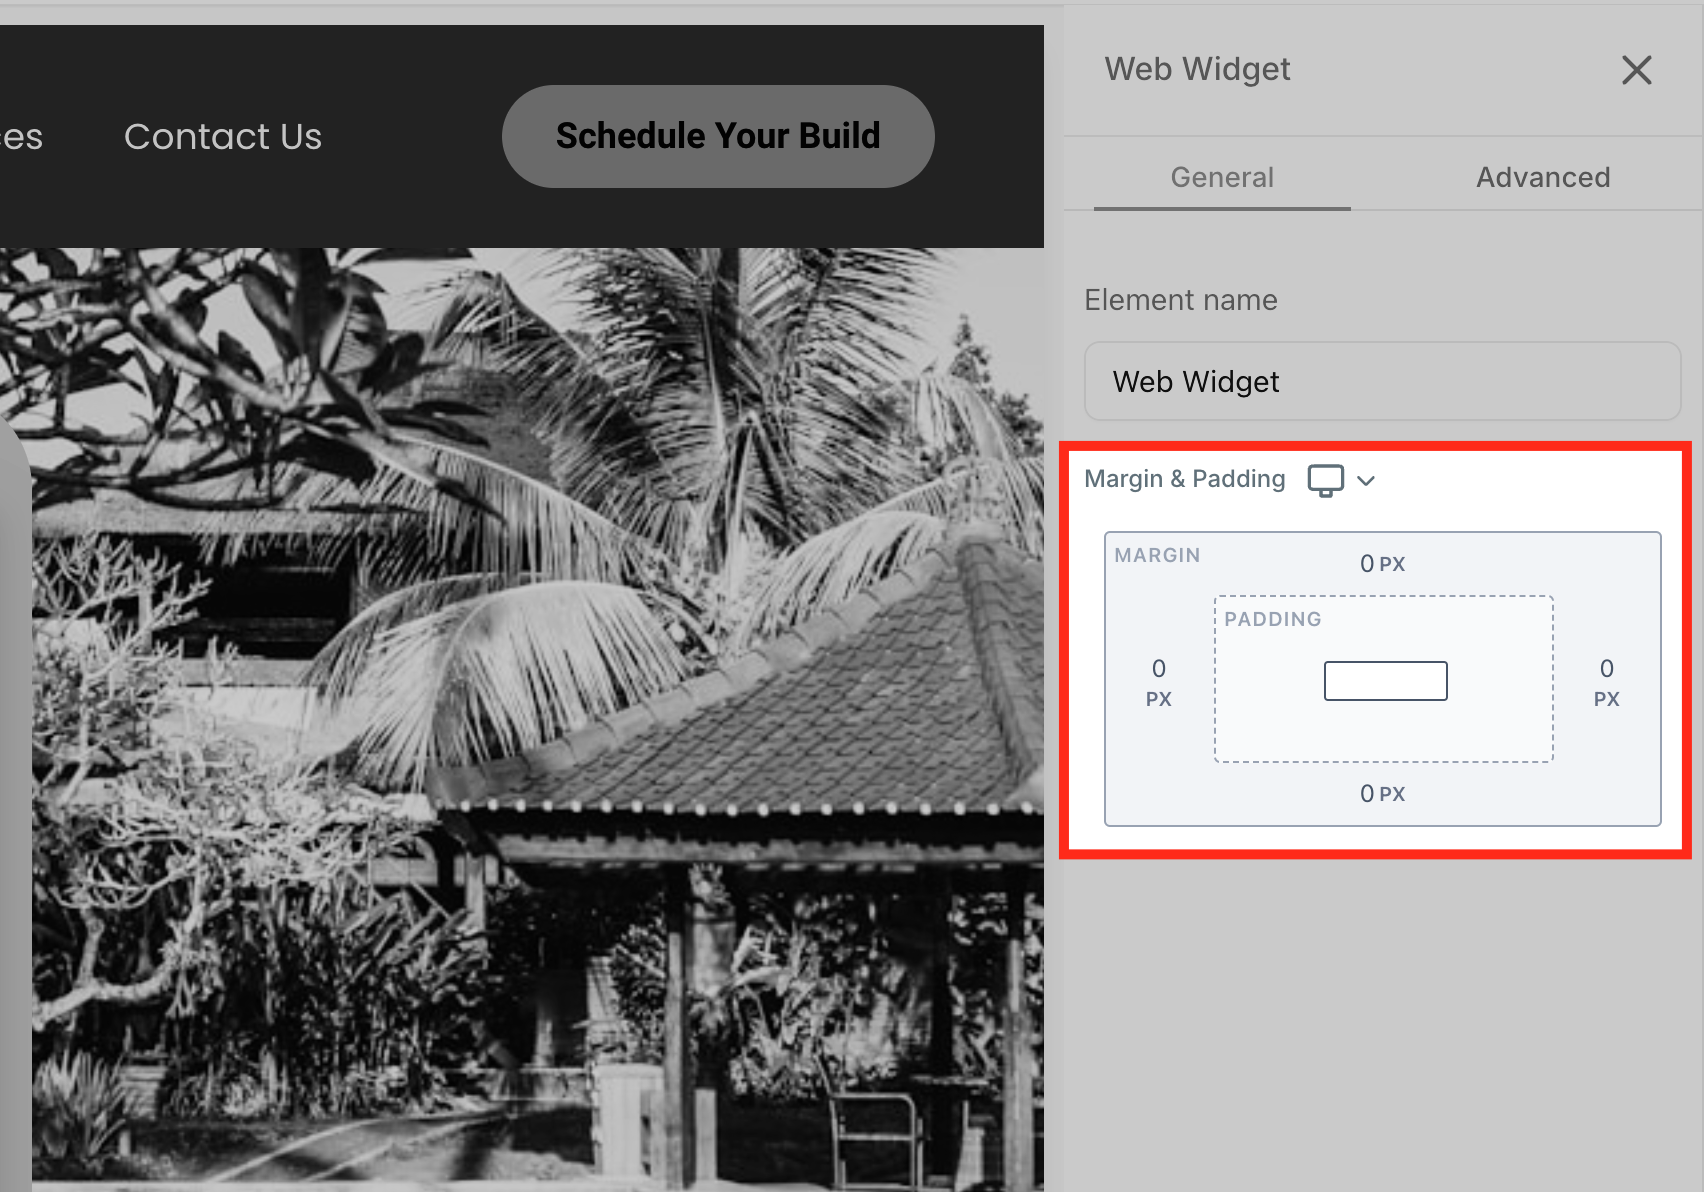
Step 5: Customize Settings
- Click on the widget to adjust its settings.
- You can change things like margins, padding, or visibility.
Summing It Up
The Web Widget Marketplace is a great way to add personality and functionality to your enrollment site. Whether you're promoting your childcare programs, showcasing your center, or building your waitlist, these widgets make it easy to design a unique site that engages prospective families and drives enrollments.