
Image actions let you turn any image on your enrollment pages or website into an interactive element. When a parent clicks an image, you can trigger helpful actions like showing a contact form, scrolling to your pricing section, or opening your phone dialer.
Available Image Actions
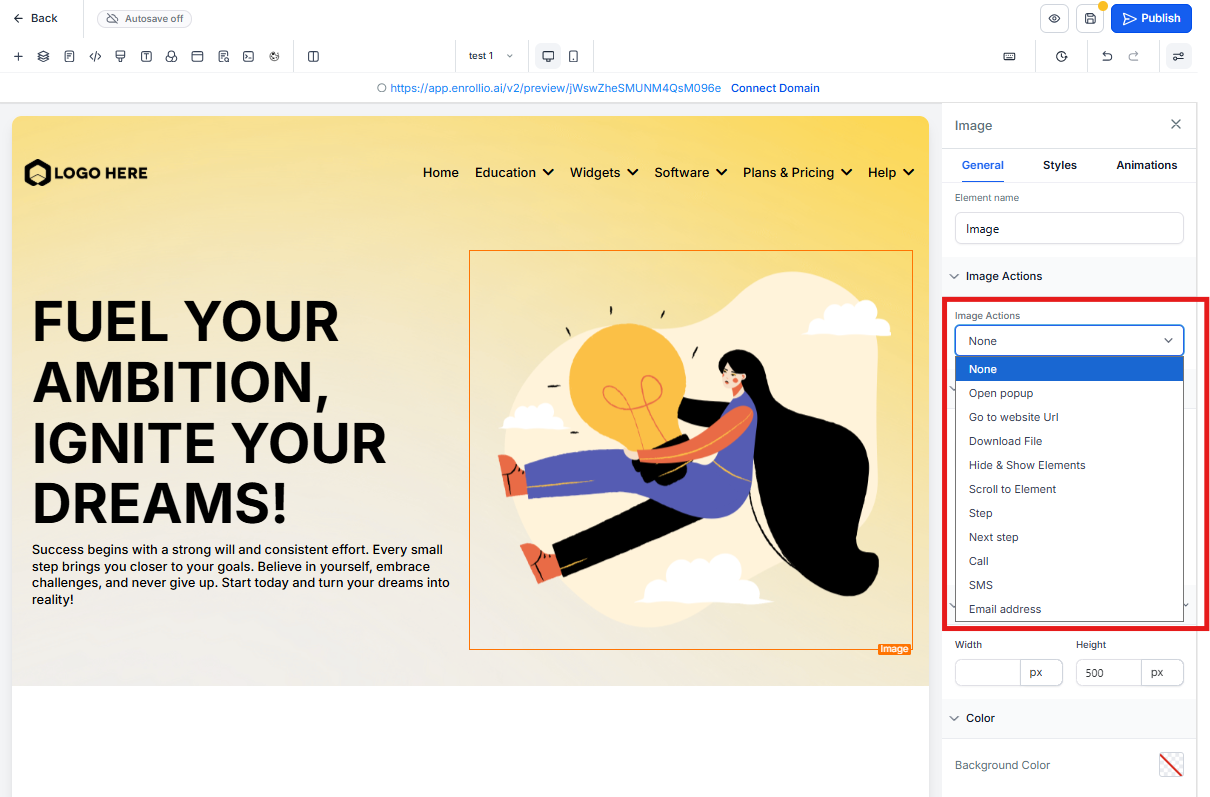
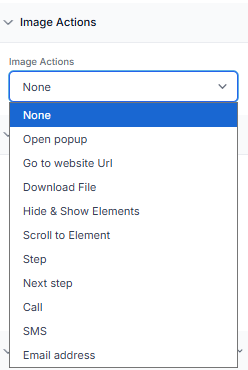
You can configure images to perform these actions when clicked:
- Open popup — Display a form, video, or additional information
- Go to website URL — Link to another page on your site or an external site
- Hide elements — Temporarily hide sections of your page
- Show elements — Reveal hidden sections
- Scroll to element — Jump to a specific section on the same page
- Step next — Advance to the next step in a multi-step form
- Call — Open the phone dialer with your center's number pre-filled
- Text message — Open the messaging app to text your center
- Email address — Open the email client with your center's email pre-filled
Where You Can Use Image Actions
Image actions work on these page elements:
- Image element
- Image Feature element
- Navigation Menu
How to Add an Action to an Image
- Open your enrollment page or site in the page builder
- Click the image you want to make interactive
- In the right sidebar, find the Actions section
- Click Add Action
- Select your desired action from the dropdown menu
- Configure any additional settings (like which element to scroll to, or what phone number to call)
- Save your changes
Pro Tips
Make it obvious: If an image is clickable, make sure parents know it. Add a subtle hover effect or include visual cues like "Click to learn more" text nearby.
Mobile-friendly calls: The Call action is perfect for mobile visitors — they can tap your logo or a staff photo to instantly dial your center.
Smooth navigation: Use "Scroll to element" to create one-page enrollment sites where images guide parents through your programs, pricing, and contact form without leaving the page.