
How to Use the Block Editor for Enrollment Pages and Sites
The Block Editor makes it easy to customize text and formatting on your enrollment pages and sites. Whether you're updating your tour registration page or tweaking copy on your main site, these tools help you create professional, polished content quickly.
What's in the Block Editor
The Block Editor gives you precise control over text formatting without touching any code. Here's what you can do:
Custom Fonts for Highlighted Text
Select any text block and choose from your custom fonts directly in the editor. This keeps your branding consistent across all your enrollment pages and parent-facing content.
Subscript and Superscript
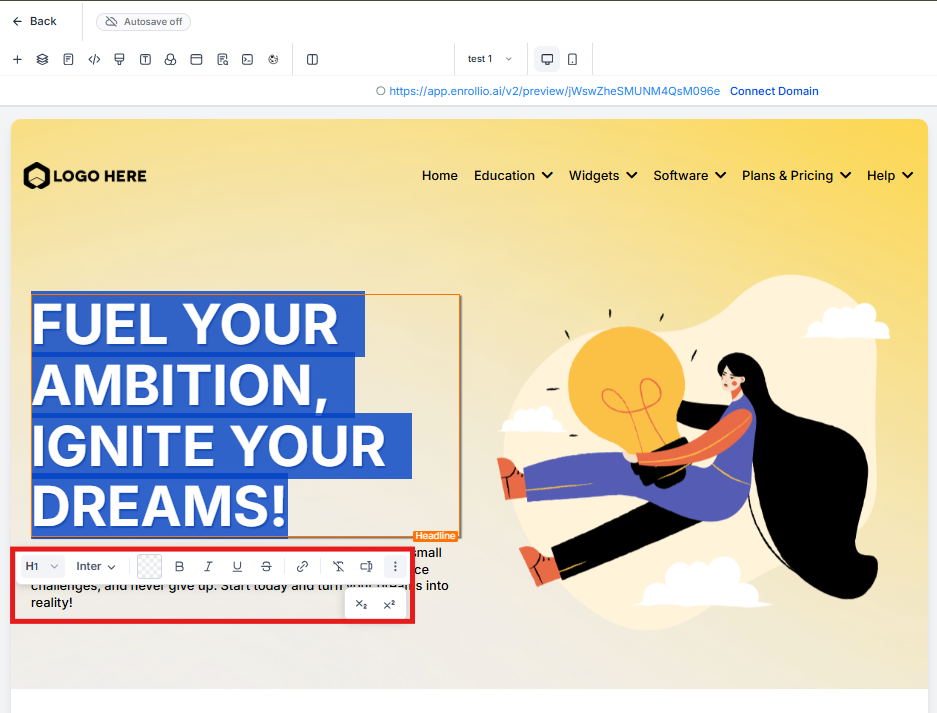
Need to add trademark symbols or format pricing footnotes? Use the new subscript and superscript options right from the formatting menu.
Better List Formatting
Bullet lists now have their own dedicated section, making it easier to create clear program features, tuition details, or enrollment requirements.
Choose from several list styles:
- Unordered lists: Disc (●), Circle (○), Square (■)
- Ordered lists: Lower Alpha (a, b, c), Upper Alpha (A, B, C), Lower Roman (i, ii, iii), Upper Roman (I, II, III)
You can also use custom icons when you need full design control for things like program benefits or checklist items.
Cleaner Interface
We've removed unnecessary formatting options to keep the editor focused and easy to use. The Block Editor is designed for quick, manual text edits—bolding text, creating lists, and formatting individual elements.
When to Use the Block Editor vs. AI Page Revisions
Not sure which tool to use? Here's a quick guide:
Use Block Editor for: Quick manual copy tweaks inside a single text element—like updating tuition pricing, bolding program names, or fixing a typo.
Use AI Page Revisions for: Broader updates across an entire section or page—like rewriting your "About Us" section or updating page-wide styles without rebuilding your layout.
How to Use the Block Editor
Here's how to format text on your enrollment pages and sites:
- Open your page for editing: Click Sites in the sidebar, then select the enrollment page or site you want to edit.
- Add or select a text element: Click "Add Elements" and choose a text block, or click on existing text you want to format.
- Format your text: Use the Block Editor toolbar to apply custom fonts, create lists, add subscript/superscript, or adjust styling.
- Save your changes: Click Save when you're done.

Pro Tip: Keep your enrollment pages scannable by using bullet lists for program features, tuition options, and enrollment steps. Parents are busy—make it easy for them to find key information quickly.
What This Means for Your Enrollment Pages
These updates help you create more engaging, professional content for prospective families. With better formatting tools and a streamlined interface, you can update your pages faster and with more design control—without needing a web designer.