
How to Delay Elements on Your Enrollment Pages Using the Minute Timer
Want to show a special offer or call-to-action after a parent has been on your enrollment page for a certain amount of time? The minute timer feature lets you reveal elements gradually to create urgency and improve conversions.
What You Can Do with the Minute Timer
The minute timer controls when elements appear on your enrollment pages. For example, you might want to:
- Show a discount banner after 30 seconds to encourage immediate enrollment
- Display a "limited spots available" message after 1 minute
- Reveal a special bonus offer after parents scroll through your program details
How to Set Up a Delayed Element
Step 1: Add Your Element
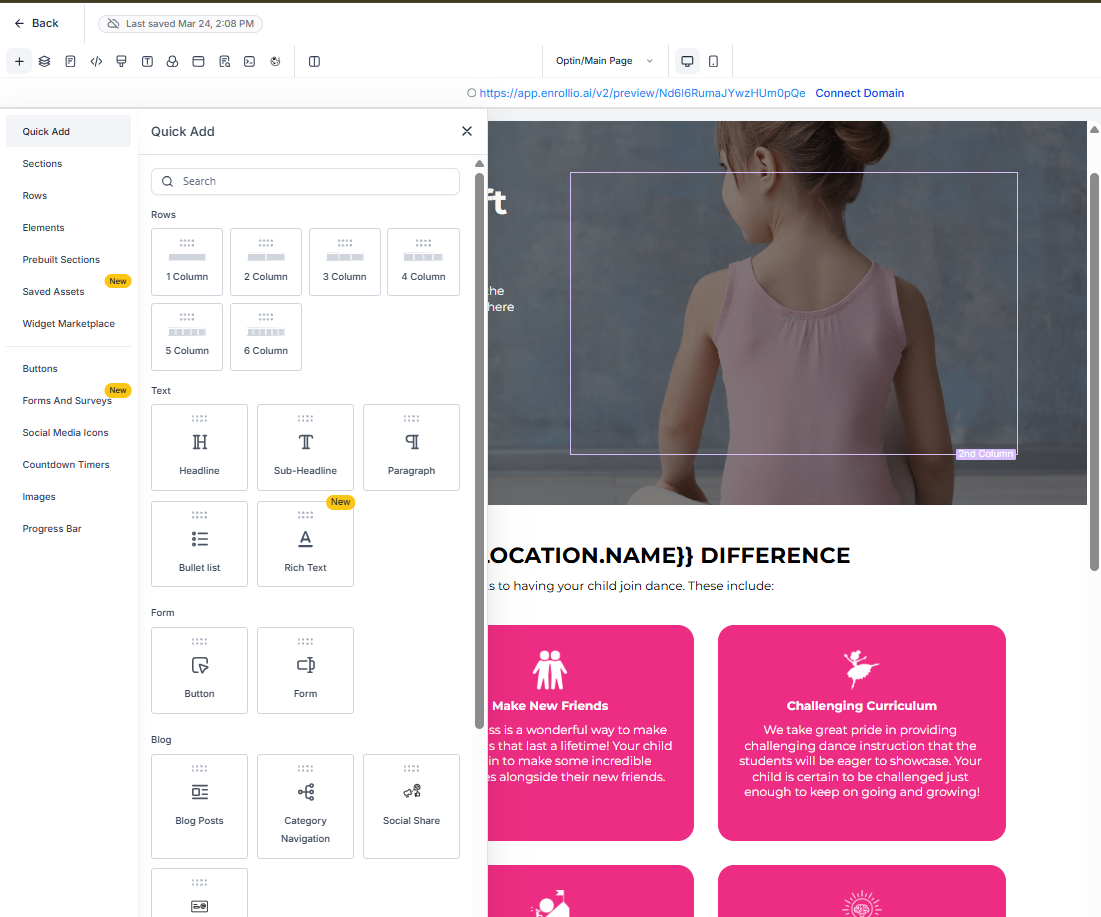
First, add the element you want to delay to your enrollment page (button, text, image, etc.).
Step 2: Access Visibility Settings
- Click on the element you want to delay
- In the right sidebar, find the Visibility section
- Look for the Minute Timer option
Step 3: Configure the Timer
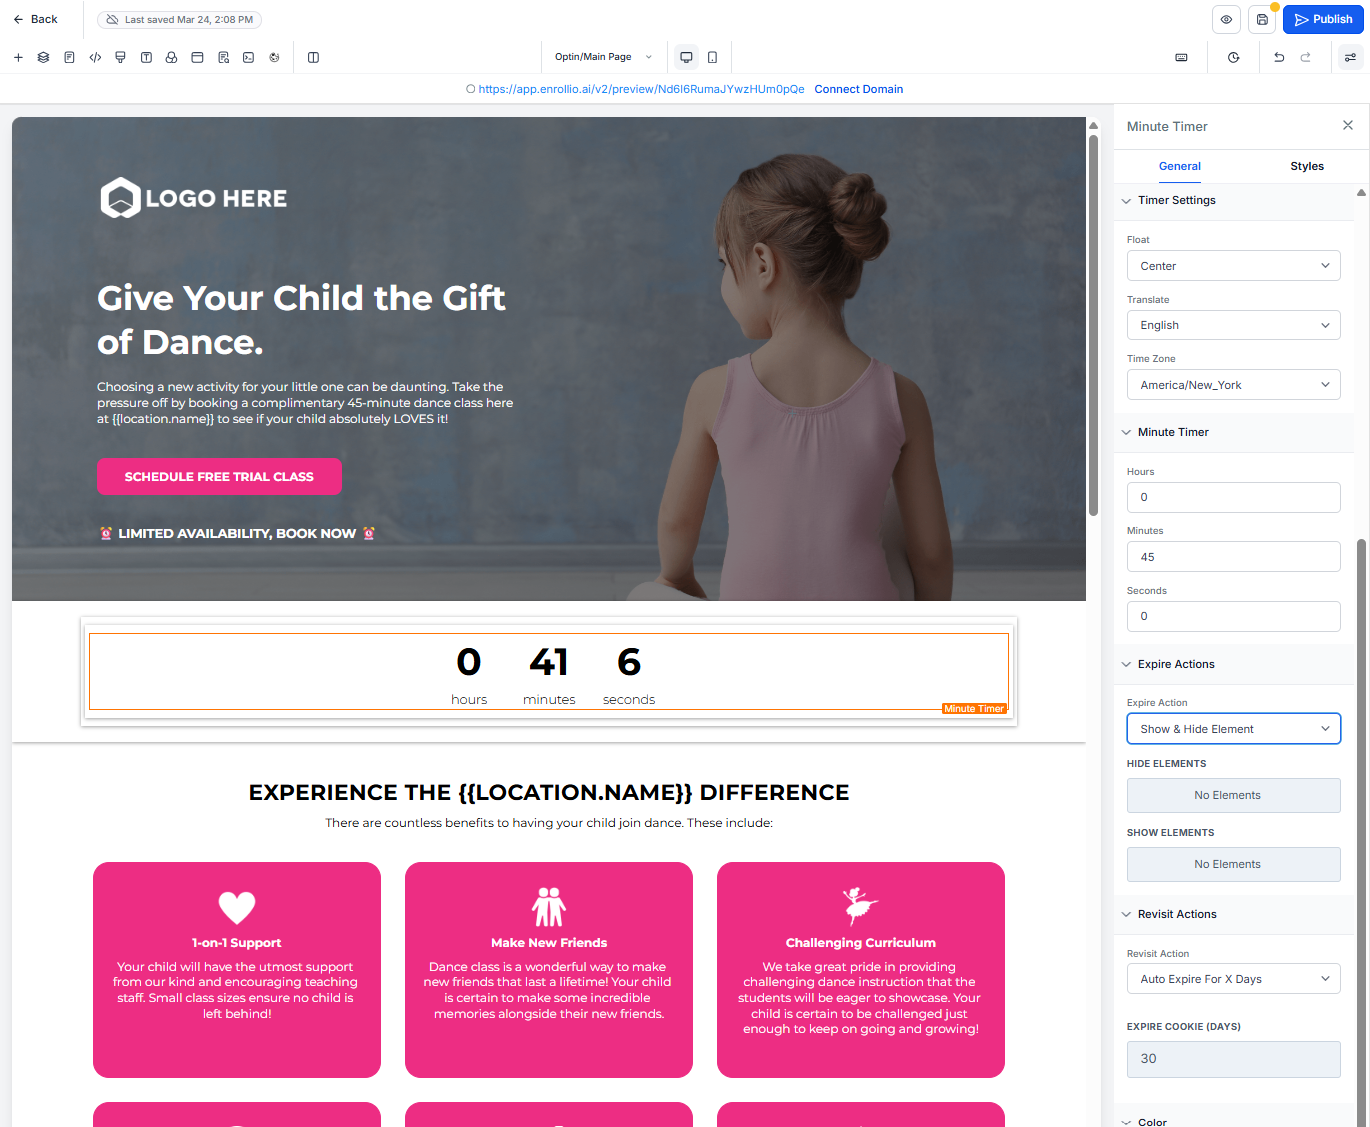
- Toggle Minute Timer to ON
- Enter the number of minutes to wait before showing the element
- Choose whether the timer should start when the page loads or when the element comes into view
Step 4: Preview and Test
Click Preview to see how your delayed element will appear. The element should be hidden initially and appear after your set time.
💡 Pro Tip
Use shorter delays (30-60 seconds) for enrollment pages. Parents are busy and may not stay on a page for several minutes. Test different timings to see what works best for your audience.
Common Use Cases
Create Urgency with Limited-Time Offers
Show a "Only 3 spots left — enroll today!" banner after parents have been reading for 45 seconds. This creates urgency without being pushy right away.
Reveal Tour Booking Incentives
After a parent explores your program details for a minute, display a special offer: "Book a tour in the next 10 minutes and receive a free week of care."
Progressive Information Display
For longer enrollment pages, reveal testimonials or additional program details gradually to keep parents engaged as they scroll.
Best Practices
- Don't overdo it: Use delayed elements sparingly. Too many appearing at different times can feel chaotic.
- Keep it relevant: Make sure delayed elements add value rather than distract from your main enrollment message.
- Test on mobile: Check how delayed elements appear on phones and tablets, where parents often browse.
- Combine with other features: Pair minute timers with countdown timers for maximum impact on limited offers.
Troubleshooting
Element Not Appearing
If your element doesn't show up after the set time:
- Check that the minute timer toggle is ON
- Verify you've entered a time value (must be greater than 0)
- Make sure the element isn't hidden by other visibility rules
- Clear your browser cache and test in an incognito window
Element Shows Immediately
If the element appears right away instead of after the delay, the minute timer may not be properly saved. Re-open the element settings, confirm the timer is configured, and click Save on the page.
📌 Need Help?
Contact our support team if you're having trouble setting up delayed elements. We're here to help you create enrollment pages that convert.