
Countdown timers help you create urgency for enrollment deadlines, open house events, or limited-time tuition offers. The "Copy Code" feature lets you embed these timers into your website or email campaigns outside of Enrollio's built-in tools.
This guide shows you how to copy countdown timer code, customize it for your needs, and troubleshoot common issues.
What Is Countdown Timer Copy Code?
The "Copy Code" feature gives you an HTML snippet to embed your countdown timer in platforms outside Enrollio. Use it when you want to:
- Display timers on external websites: Show enrollment deadlines or event countdowns on your non-Enrollio website by pasting the code into your page's HTML.
- Add timers to external email campaigns: Insert countdown timers into email platforms outside Enrollio to create urgency for prospective families.
Pro Tip: If you're using Enrollio's built-in website builder or email tools, you don't need Copy Code—just drag and drop the countdown timer element directly.
Understanding Countdown Timer Types
Enrollio offers three types of countdown timers:
- Fixed: Ends at the same time for everyone (requires an end date). Perfect for enrollment deadlines or event start times.
- Recurring: Counts down, resets, and counts down again (requires a start date, duration, and loop count). Great for weekly tour reminders.
- Dynamic: Shows a personalized deadline for each family (requires a unique ID and duration). Ideal for "24-hour" enrollment offers that start when each family opens your email.
Do I Need to Edit the Code?
Whether you need to edit the code depends on where you're using it:
| Where You're Using It | Edit startDate? | Edit uniqueID? | Why |
|---|---|---|---|
| Website or landing page (any platform) | No—paste as-is | Optional—leave default unless tracking specific pages | All visitors see the same deadline |
| Static email (same deadline for everyone) | Yes—replace with your email send time | No—delete or ignore | Everyone shares the same deadline |
| Dynamic email in Enrollio (personalized deadline per family) | Yes—replace with {{right_now.date_time_iso}} | Leave as {{contact.id}} or use another contact field | Enrollio fills these automatically, giving each family their own timer |
| Dynamic email in other platforms (Mailchimp, Constant Contact, etc.) | Yes—use that platform's current-time merge tag | Yes—use that platform's unique ID merge tag | Each platform has its own merge tag syntax |
Key Concept:
- Static timer = One shared deadline for all families
- Dynamic timer = Personalized deadline for each family (needs both startDate and uniqueID to work correctly)
How to Use Countdown Timer Copy Code
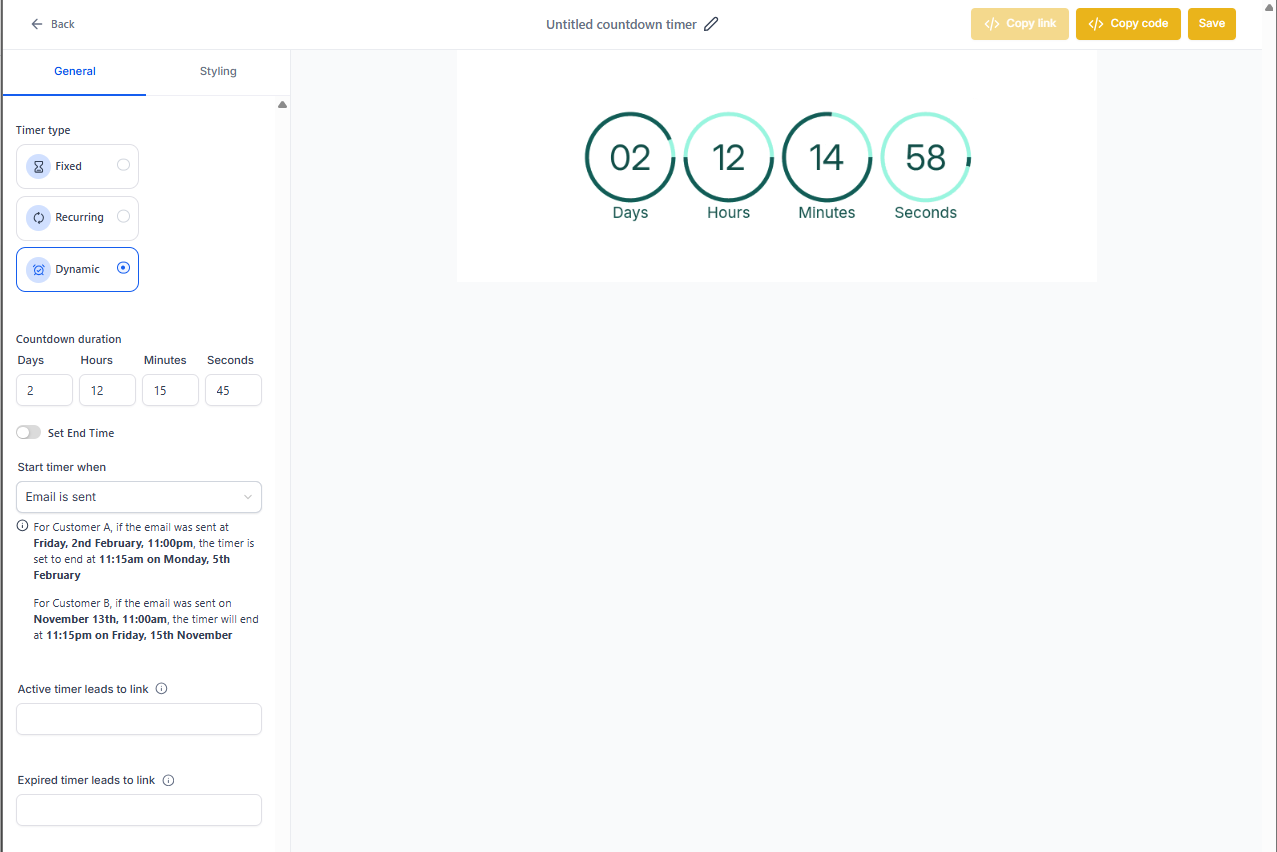
Step 1: Create Your Countdown Timer
Set up your countdown timer by choosing:
- End date and time
- Visual appearance (colors, fonts)
- Display format (days, hours, minutes, seconds)
Step 2: Copy the Code
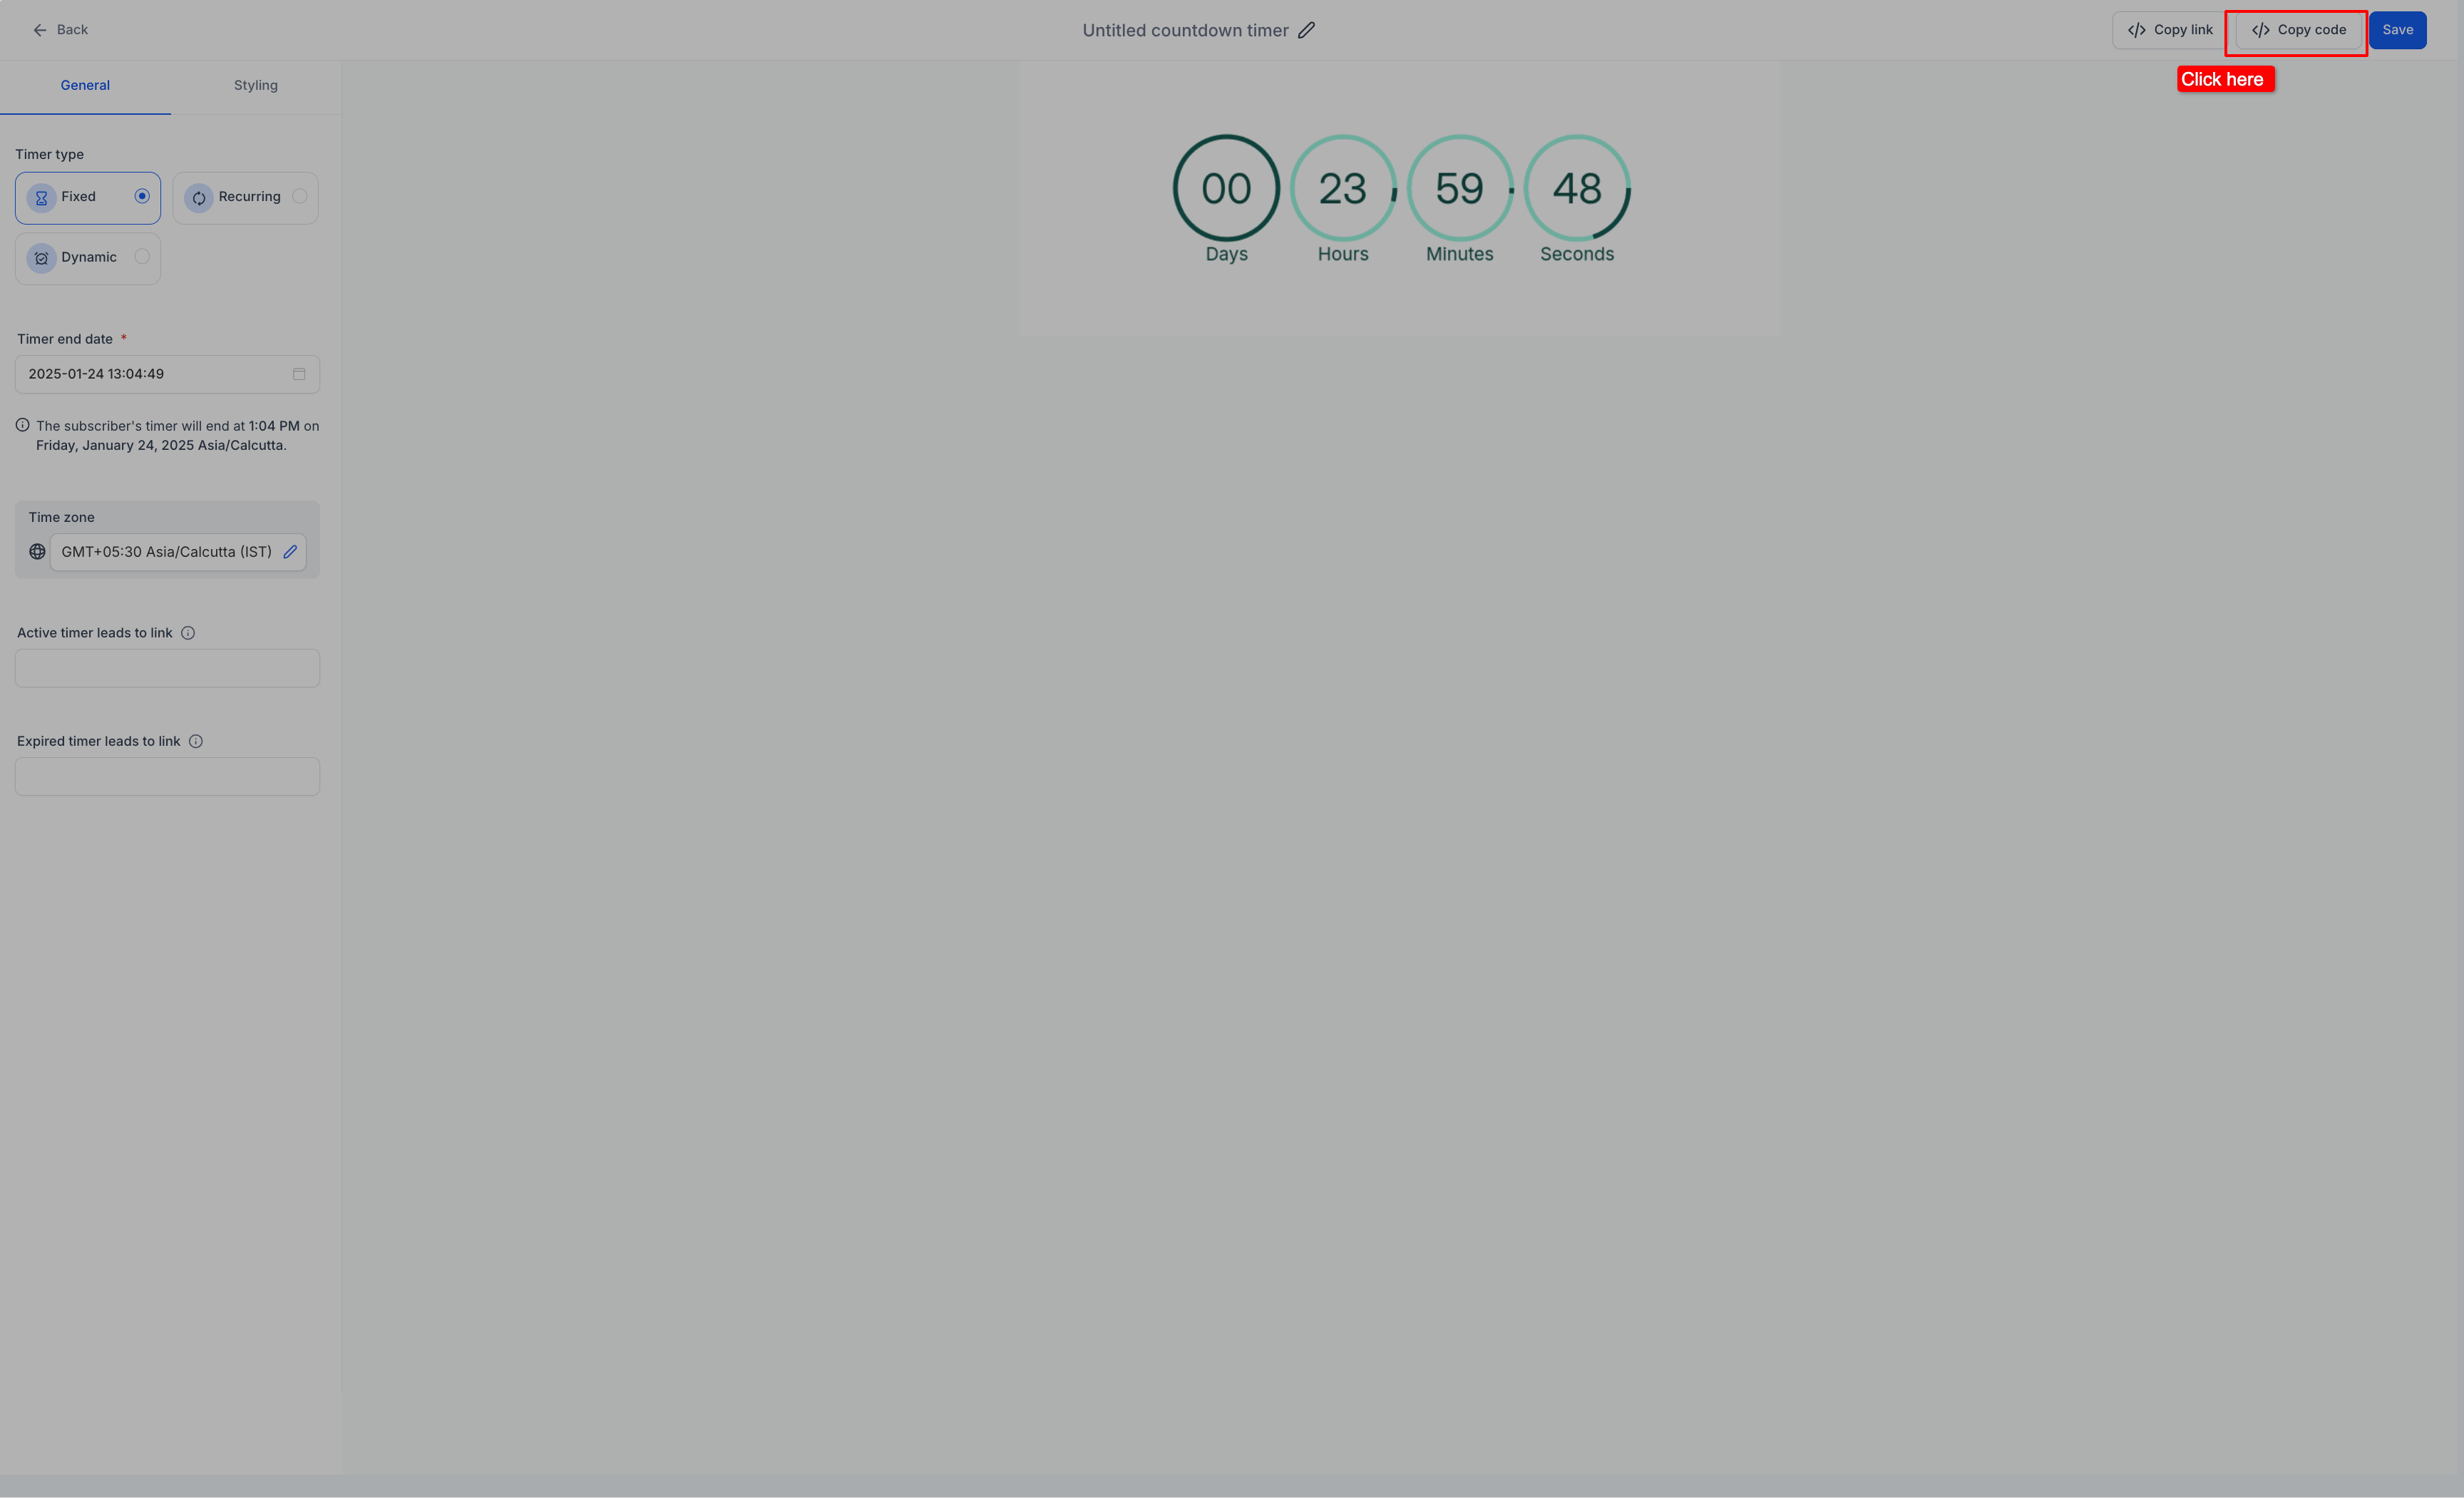
Click the "Copy Code" button to copy the HTML snippet to your clipboard.
Step 3: Choose Platform and Alignment
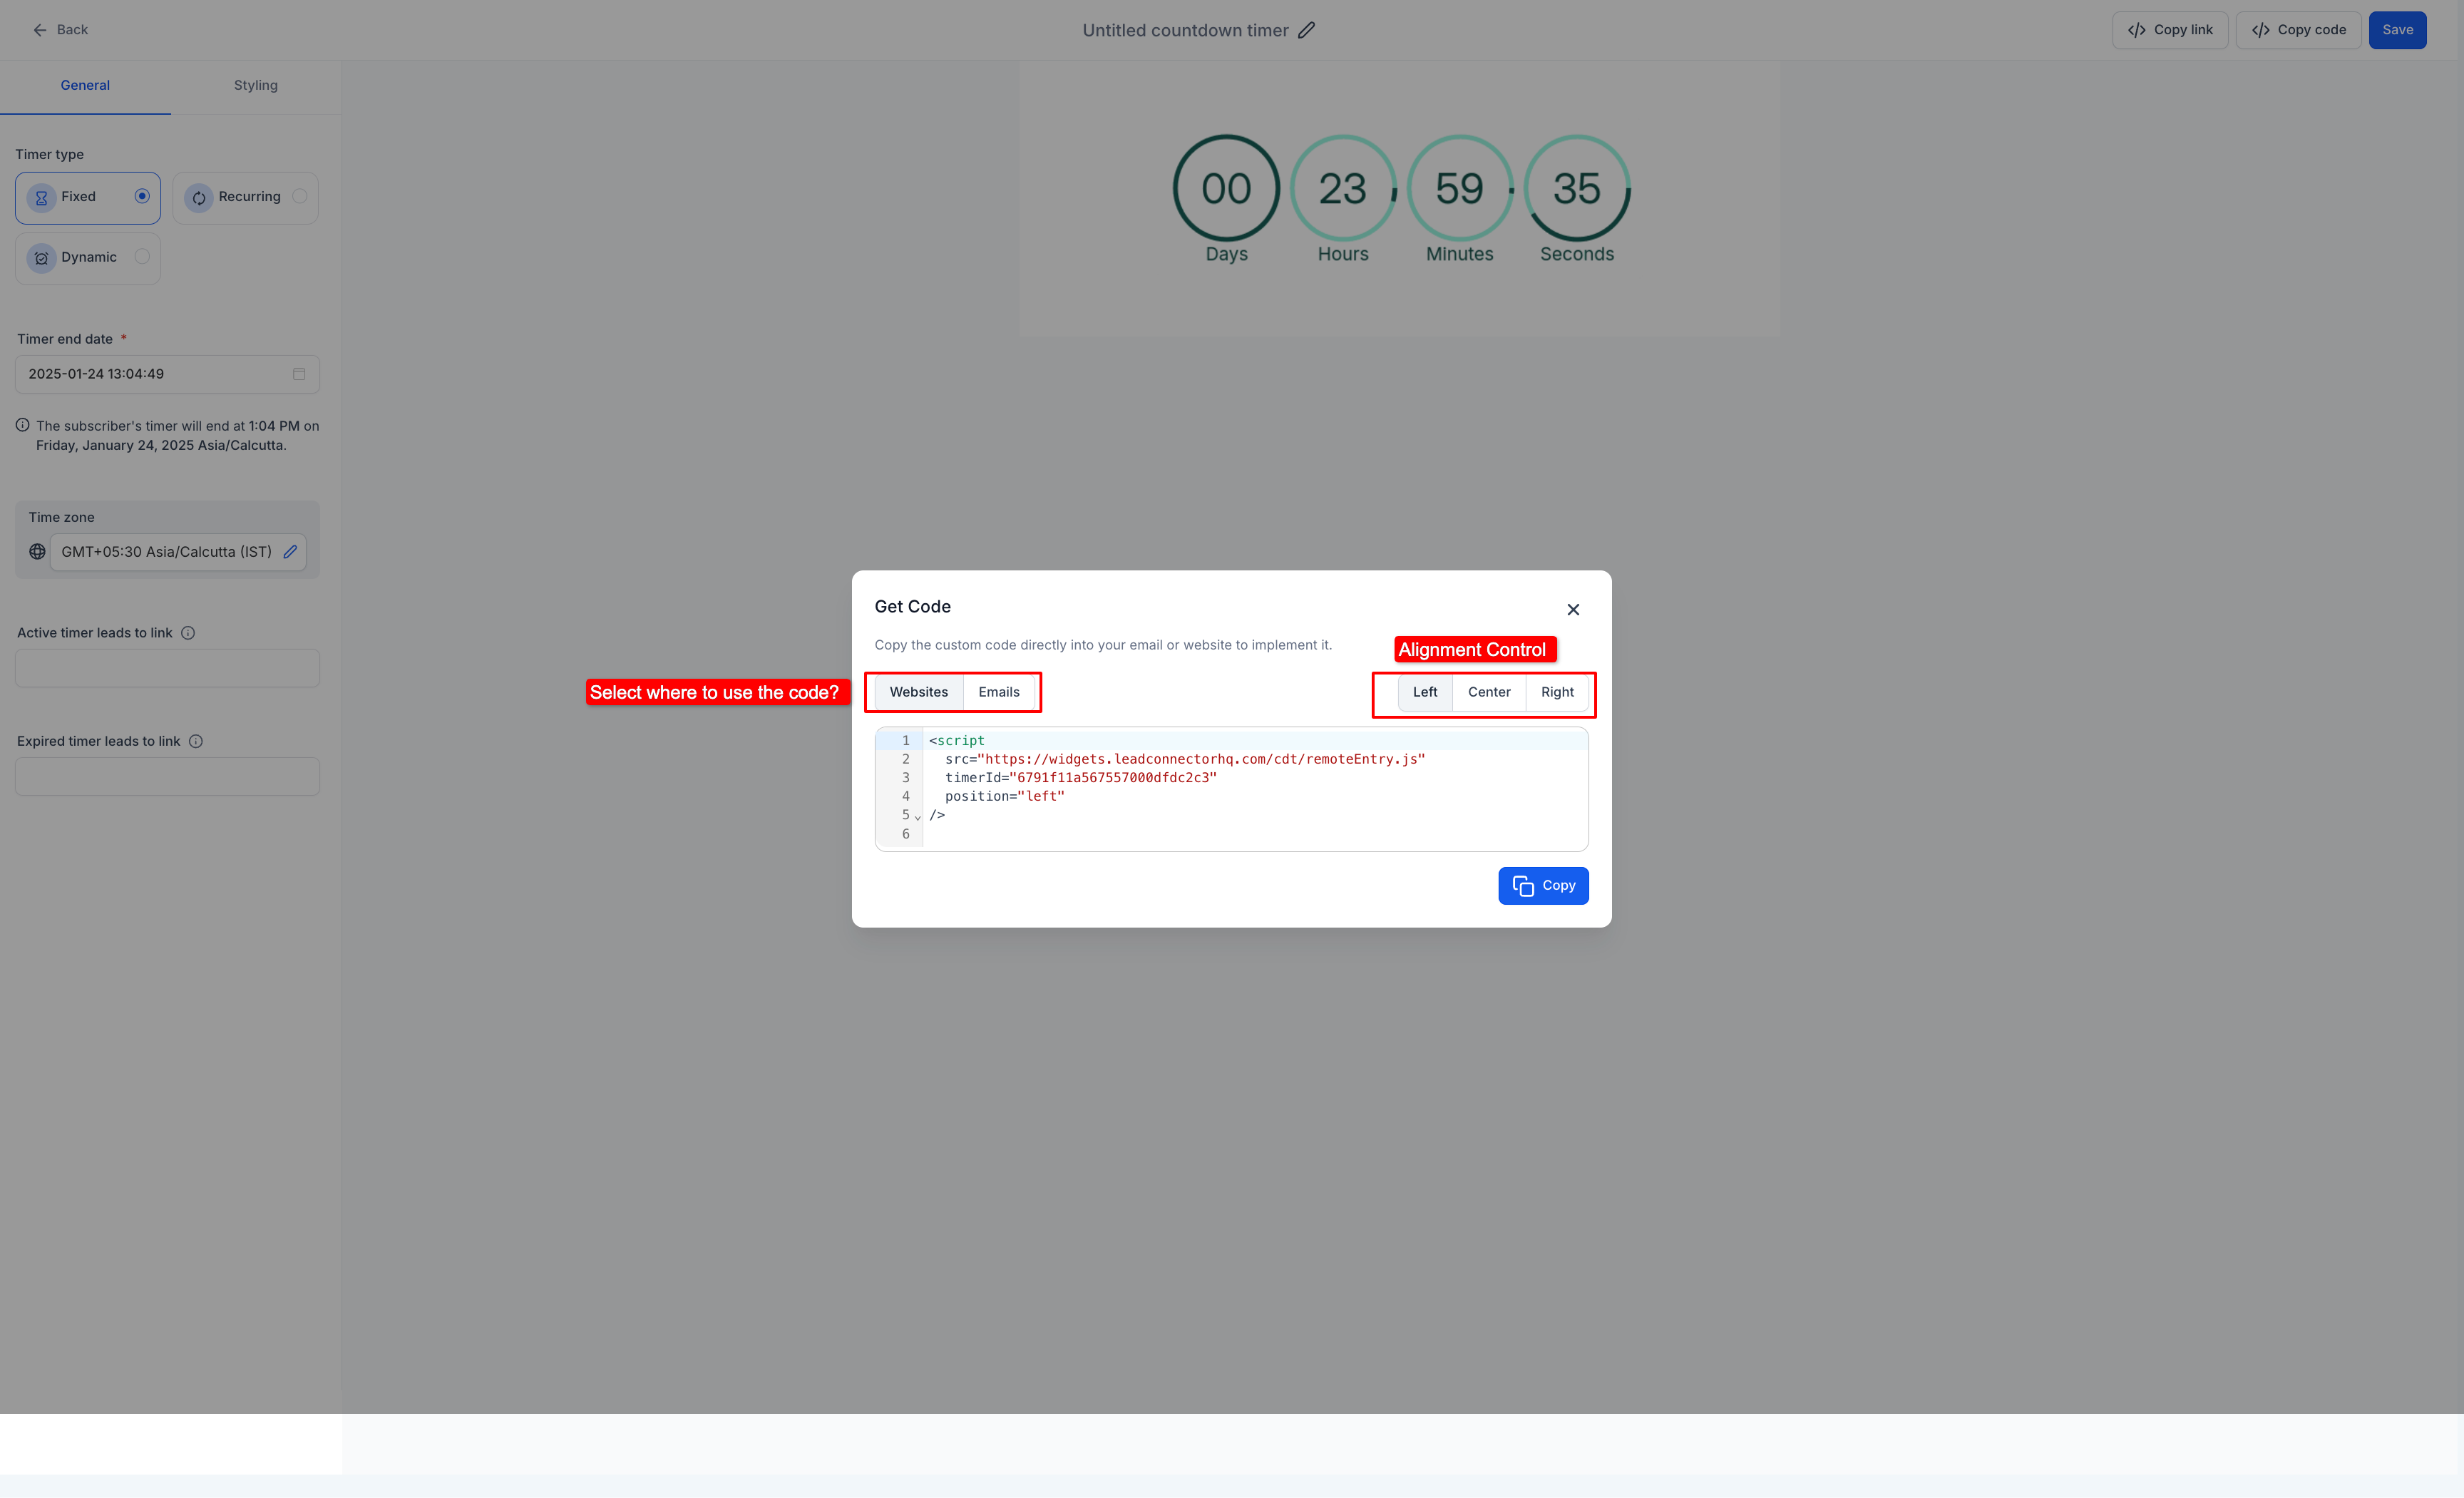
Select whether you're using this for email or website, then choose your timer alignment (left, center, or right) to match your design.
Step 4: Add Unique ID for Dynamic Timers (If Needed)
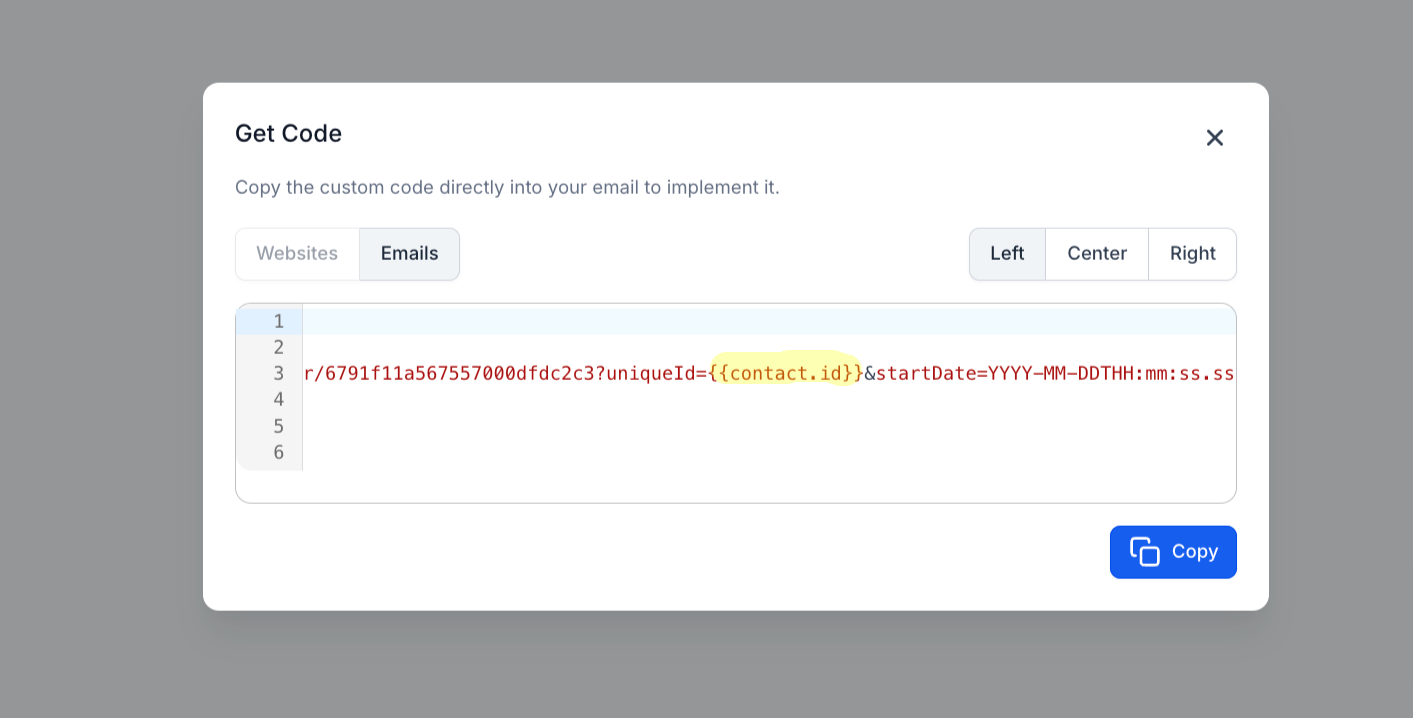
For dynamic timers, replace contact.id with your relevant unique identifier to personalize the countdown for each family.
Example: If your unique ID field is contact.enrollment_number, change:...uniqueID={{contact.id}}&...
to:...uniqueID={{contact.enrollment_number}}&...
Pro Tip: This step is only necessary for dynamic timers where each family needs their own countdown.
Step 5: Update the Start Date
The start date tells the timer when to begin counting down. How you fill this depends on your platform:
For static emails outside Enrollio:
Replace startDate=YYYY-MM-DDTHH:mm:ss.sssZ with the exact date and time you sent the email.
Example: If you sent the email on January 1, 2025 at 3:30 PM, use:startDate=2025-01-01T15:30:00Z
For dynamic emails in Enrollio:
Replace startDate=YYYY-MM-DDTHH:mm:ss.sssZ with:startDate={{right_now.date_time_iso}}
Enrollio automatically fills this with the current time when each family opens the email.
Troubleshooting Common Issues
- Timer never starts: Make sure startDate contains a real date in ISO format (2025-01-01T15:30:00Z) or a valid merge tag like {{right_now.date_time_iso}}.
- Everyone sees the same countdown: Check that uniqueID is different for each family. Use a merge tag, not a hard-coded value.
- Wrong timezone displayed: Verify your date ends with Z (UTC) or includes a timezone offset like -05:00.
Frequently Asked Questions
Do I need to edit code when using timers in Enrollio's website builder?
No. The default code works perfectly because all visitors share the same deadline. Just paste it in a code block element if needed, or use the built-in countdown timer element.
Is the unique ID really optional?
Only for static timers. Dynamic timers need a unique ID—otherwise all families will see the same cached countdown, defeating the personalization.
Can I test a dynamic email timer before sending to families?
Yes. Send a test email to yourself. The merge tags will populate with your own contact data, showing you exactly what families will see.
Can I use Copy Code inside Enrollio's email builder?
You can paste it into a code snippet element, but it's easier to just use the built-in countdown timer element instead. Copy Code is mainly for external platforms.