
Getting Started with Countdown Timers
Create urgency and drive more enrollments with countdown timers in your marketing campaigns. Whether you're promoting an open house, early bird discount, or limited spots available, countdown timers help parents act quickly.
What is a Countdown Timer?
A countdown timer visually counts down to a specific deadline, creating urgency for parents to act before time runs out. Use them for limited-time enrollment discounts, event registrations, or waitlist promotions.
Why Use Countdown Timers?
Creates Urgency: Shows time ticking down, encouraging parents to enroll now rather than later.
Increases Conversions: Timers can boost conversion rates by up to 27%, turning interested families into enrolled families faster.
Highlights Limited Availability: Perfect for promoting limited spots in specific classrooms or age groups.
Keeps Parents Engaged: Families stay on your page longer and are more likely to complete enrollment forms.
When to Use Countdown Timers
Countdown timers work great for childcare centers in these scenarios:
- Enrollment Discounts: "Early bird pricing ends in 3 days!"
- Open House Events: Count down to your facility tour or meet-and-greet event
- Limited Spots Available: "Only 5 spots left in our Toddler Program"
- Waitlist Promotions: "Claim your spot before this offer expires"
- Registration Deadlines: "Register for Summer Camp by Friday"
- Special Programs: Build anticipation for new after-school programs or curriculum launches
Types of Countdown Timers
Fixed Timer
Counts down to a specific date and time. Perfect for one-time events or promotions.
Example: "Open House starts in 2 days, 5 hours!"
Recurring Timer
Resets automatically after reaching zero. Great for ongoing weekly tours or monthly enrollment cycles.
Example: "Next weekly tour starts in..." (resets every week)
Dynamic Timer
Personalized for each parent based on their actions, like when they opened your email.
Example: "Your exclusive discount expires in 24 hours" (starts counting when they open the email)
Best Practices
Design: Make sure your timer matches your center's branding and colors.
Placement: Put the timer where parents will see it immediately—at the top of emails or prominently on enrollment pages.
Consistency: Use the same timer across your emails and enrollment pages so families trust the deadline.
Clear Next Steps: Always include a strong call-to-action button near the timer ("Enroll Now" or "Reserve Your Spot").
Expiry Message: Show a clear message when time runs out, like "This offer has ended" with a link to current enrollment options.
Understanding Timer Links
Every countdown timer needs two links to work correctly:
Active Timer Link: Where parents go while your offer is still available—typically your enrollment form or special offer page. Use the same countdown timer on this page so it automatically redirects when time expires.
Expired Timer Link: Where parents land after time runs out. This page should explain the promotion ended and show current enrollment options.
Pro Tip: Always add both links before saving your timer. This ensures parents have a smooth experience whether they click during or after your promotion.
How to Create a Countdown Timer
Follow these steps to set up your first countdown timer:
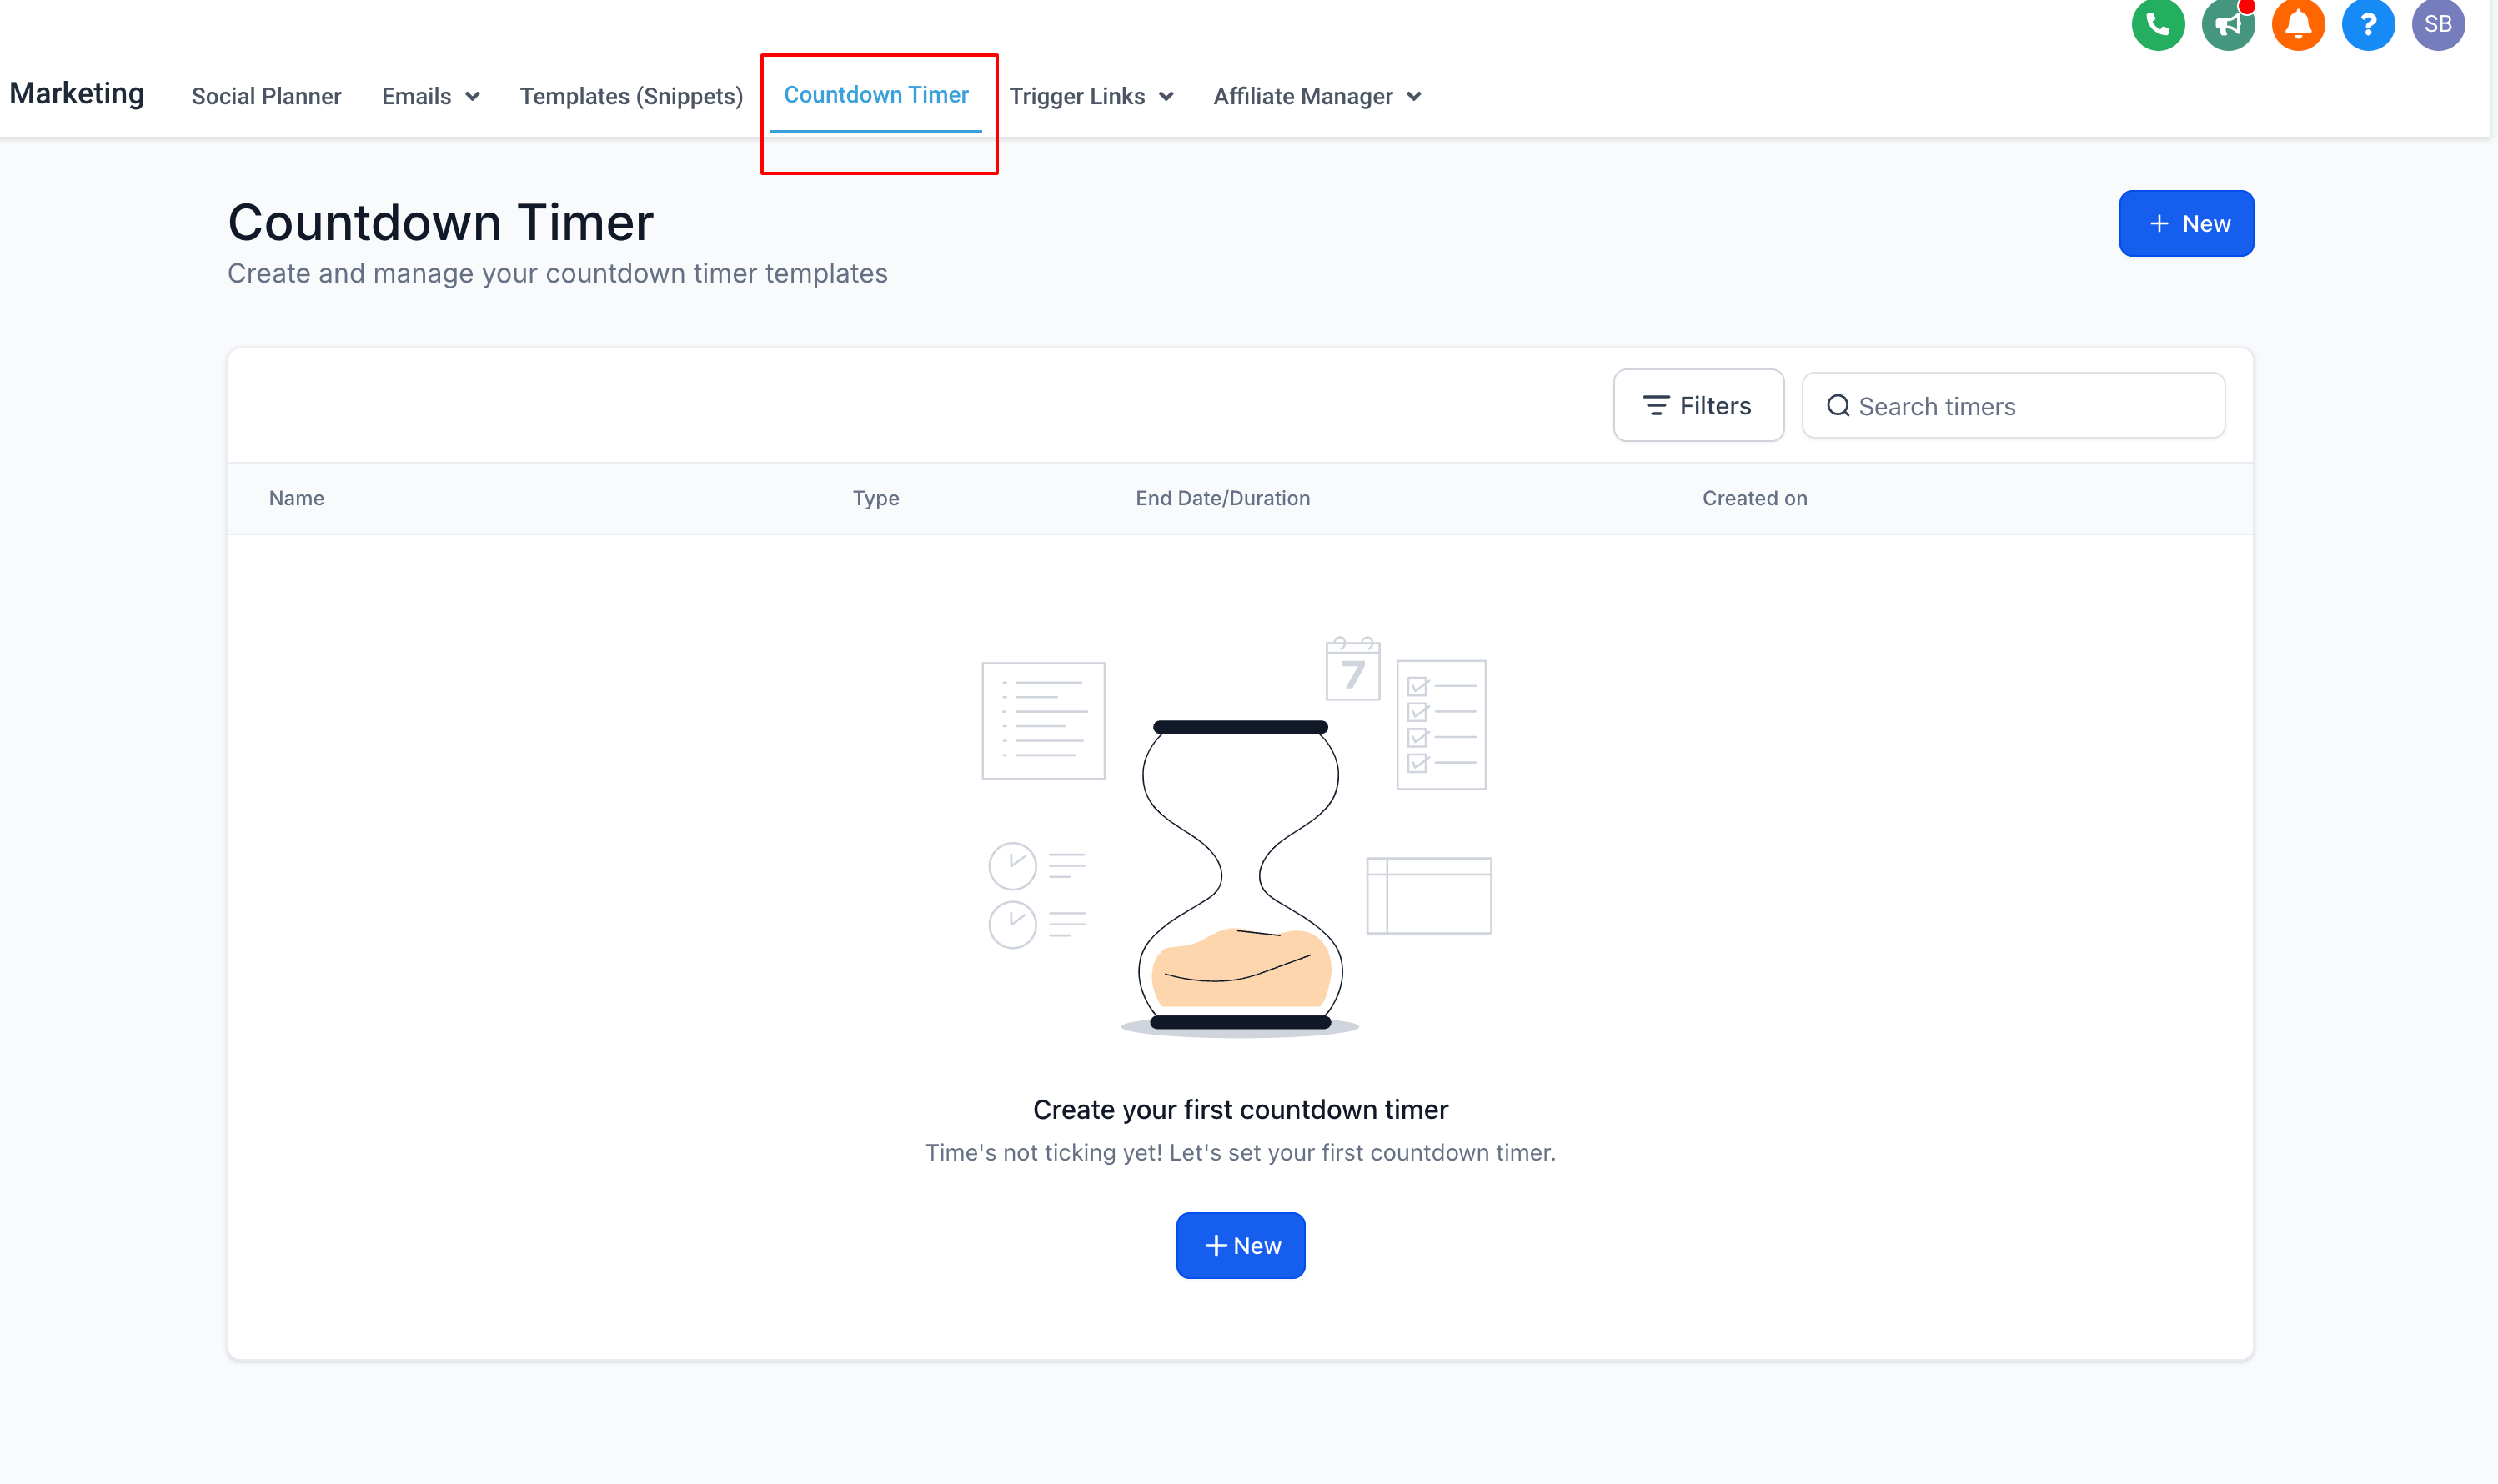
- Navigate to Marketing: Go to the Marketing section in your Enrollio dashboard and click "Countdown Timer."
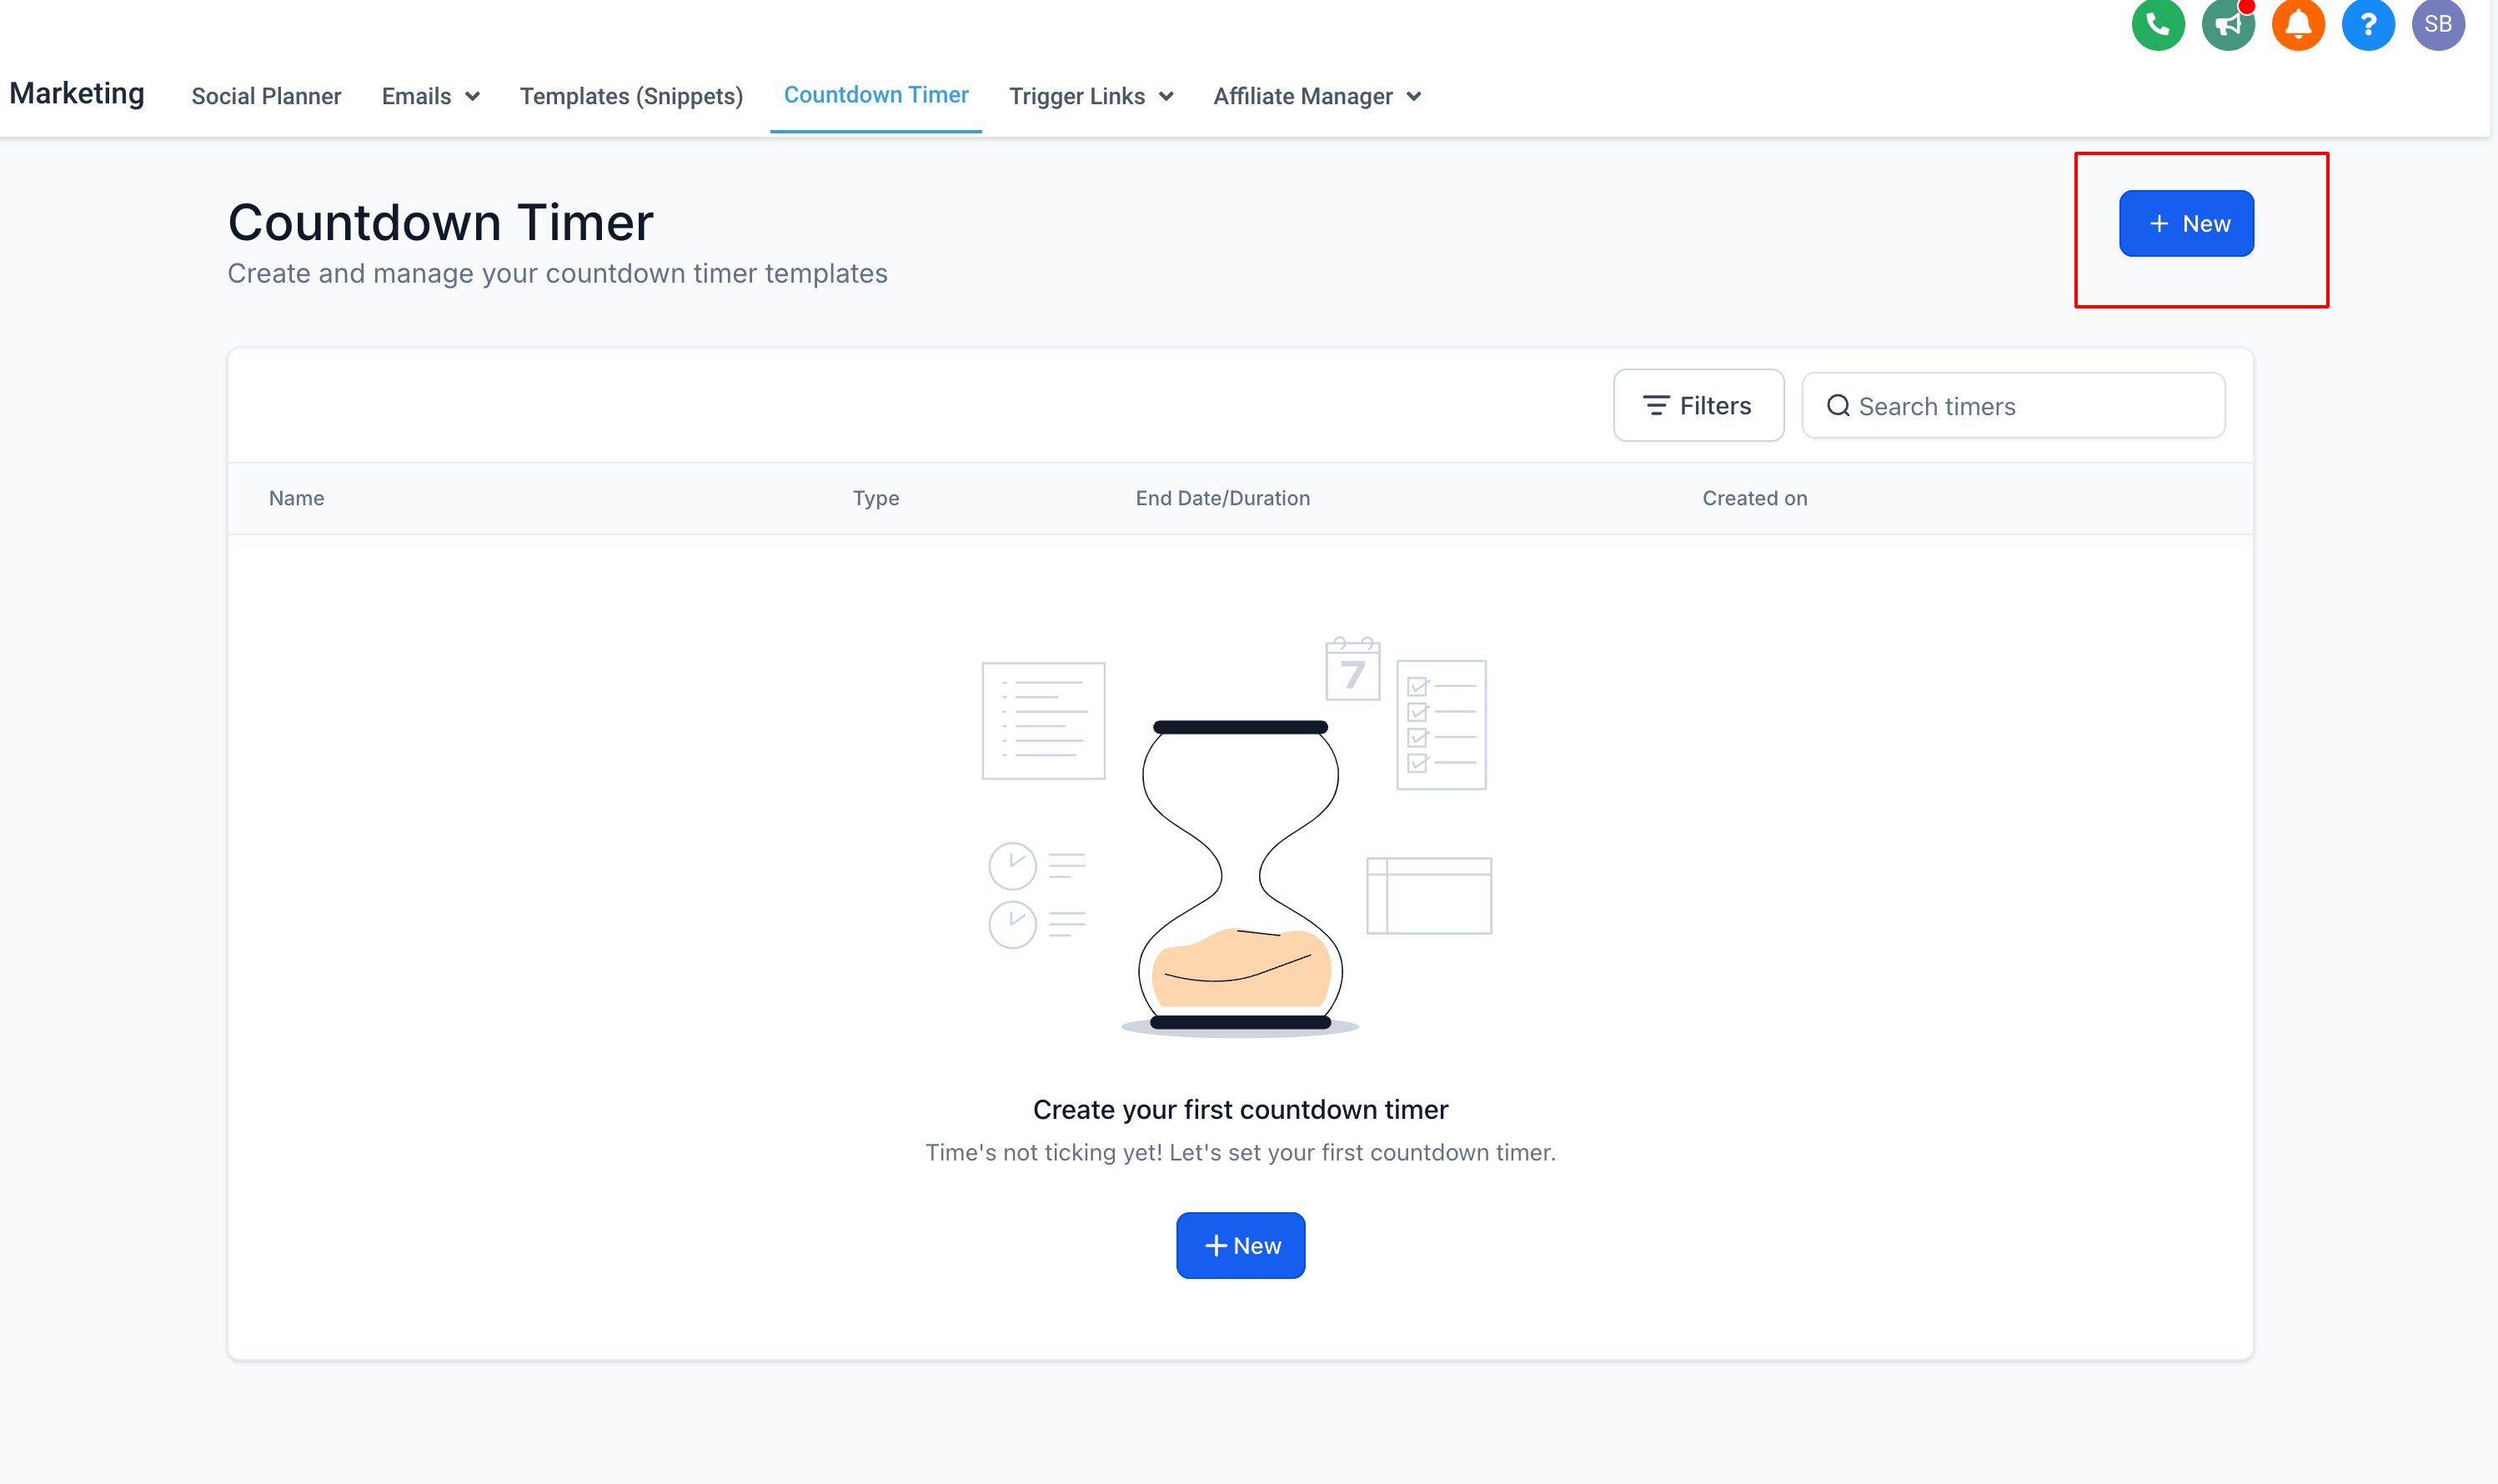
- Click New: Click the "New" button to start creating your timer.
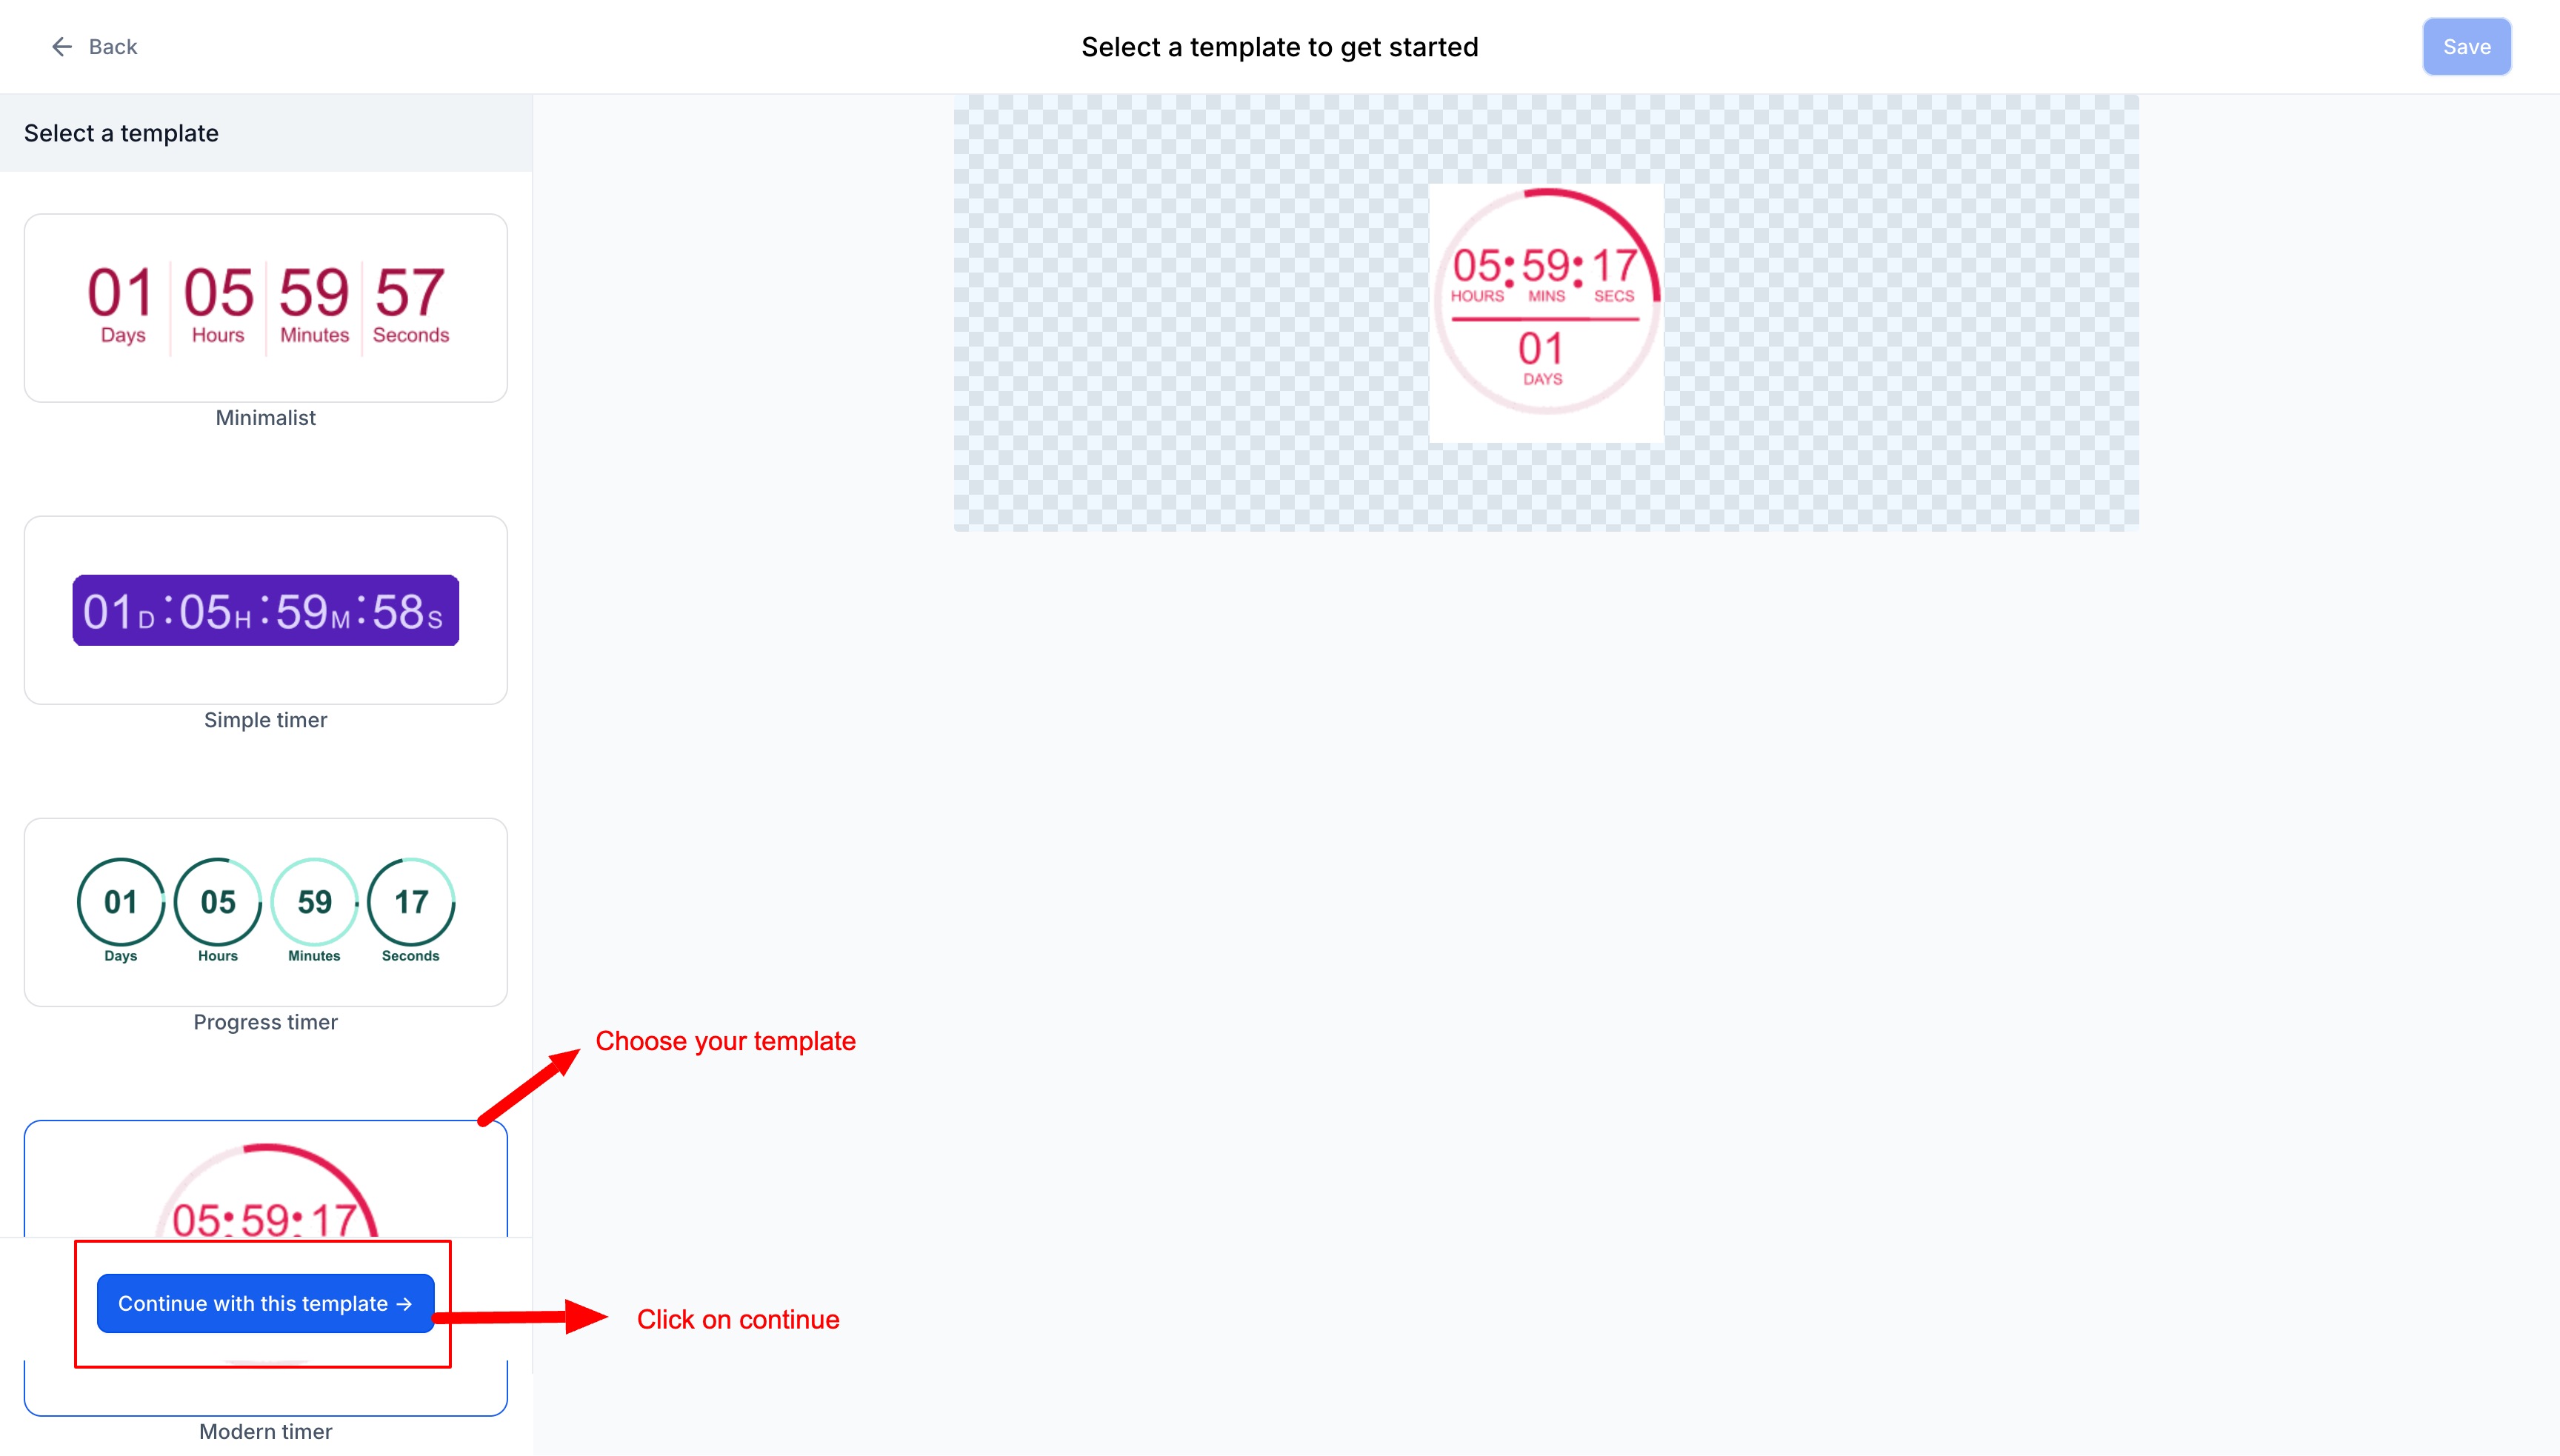
- Select a Template: Choose a design template that matches your brand, then click "Continue with this template."
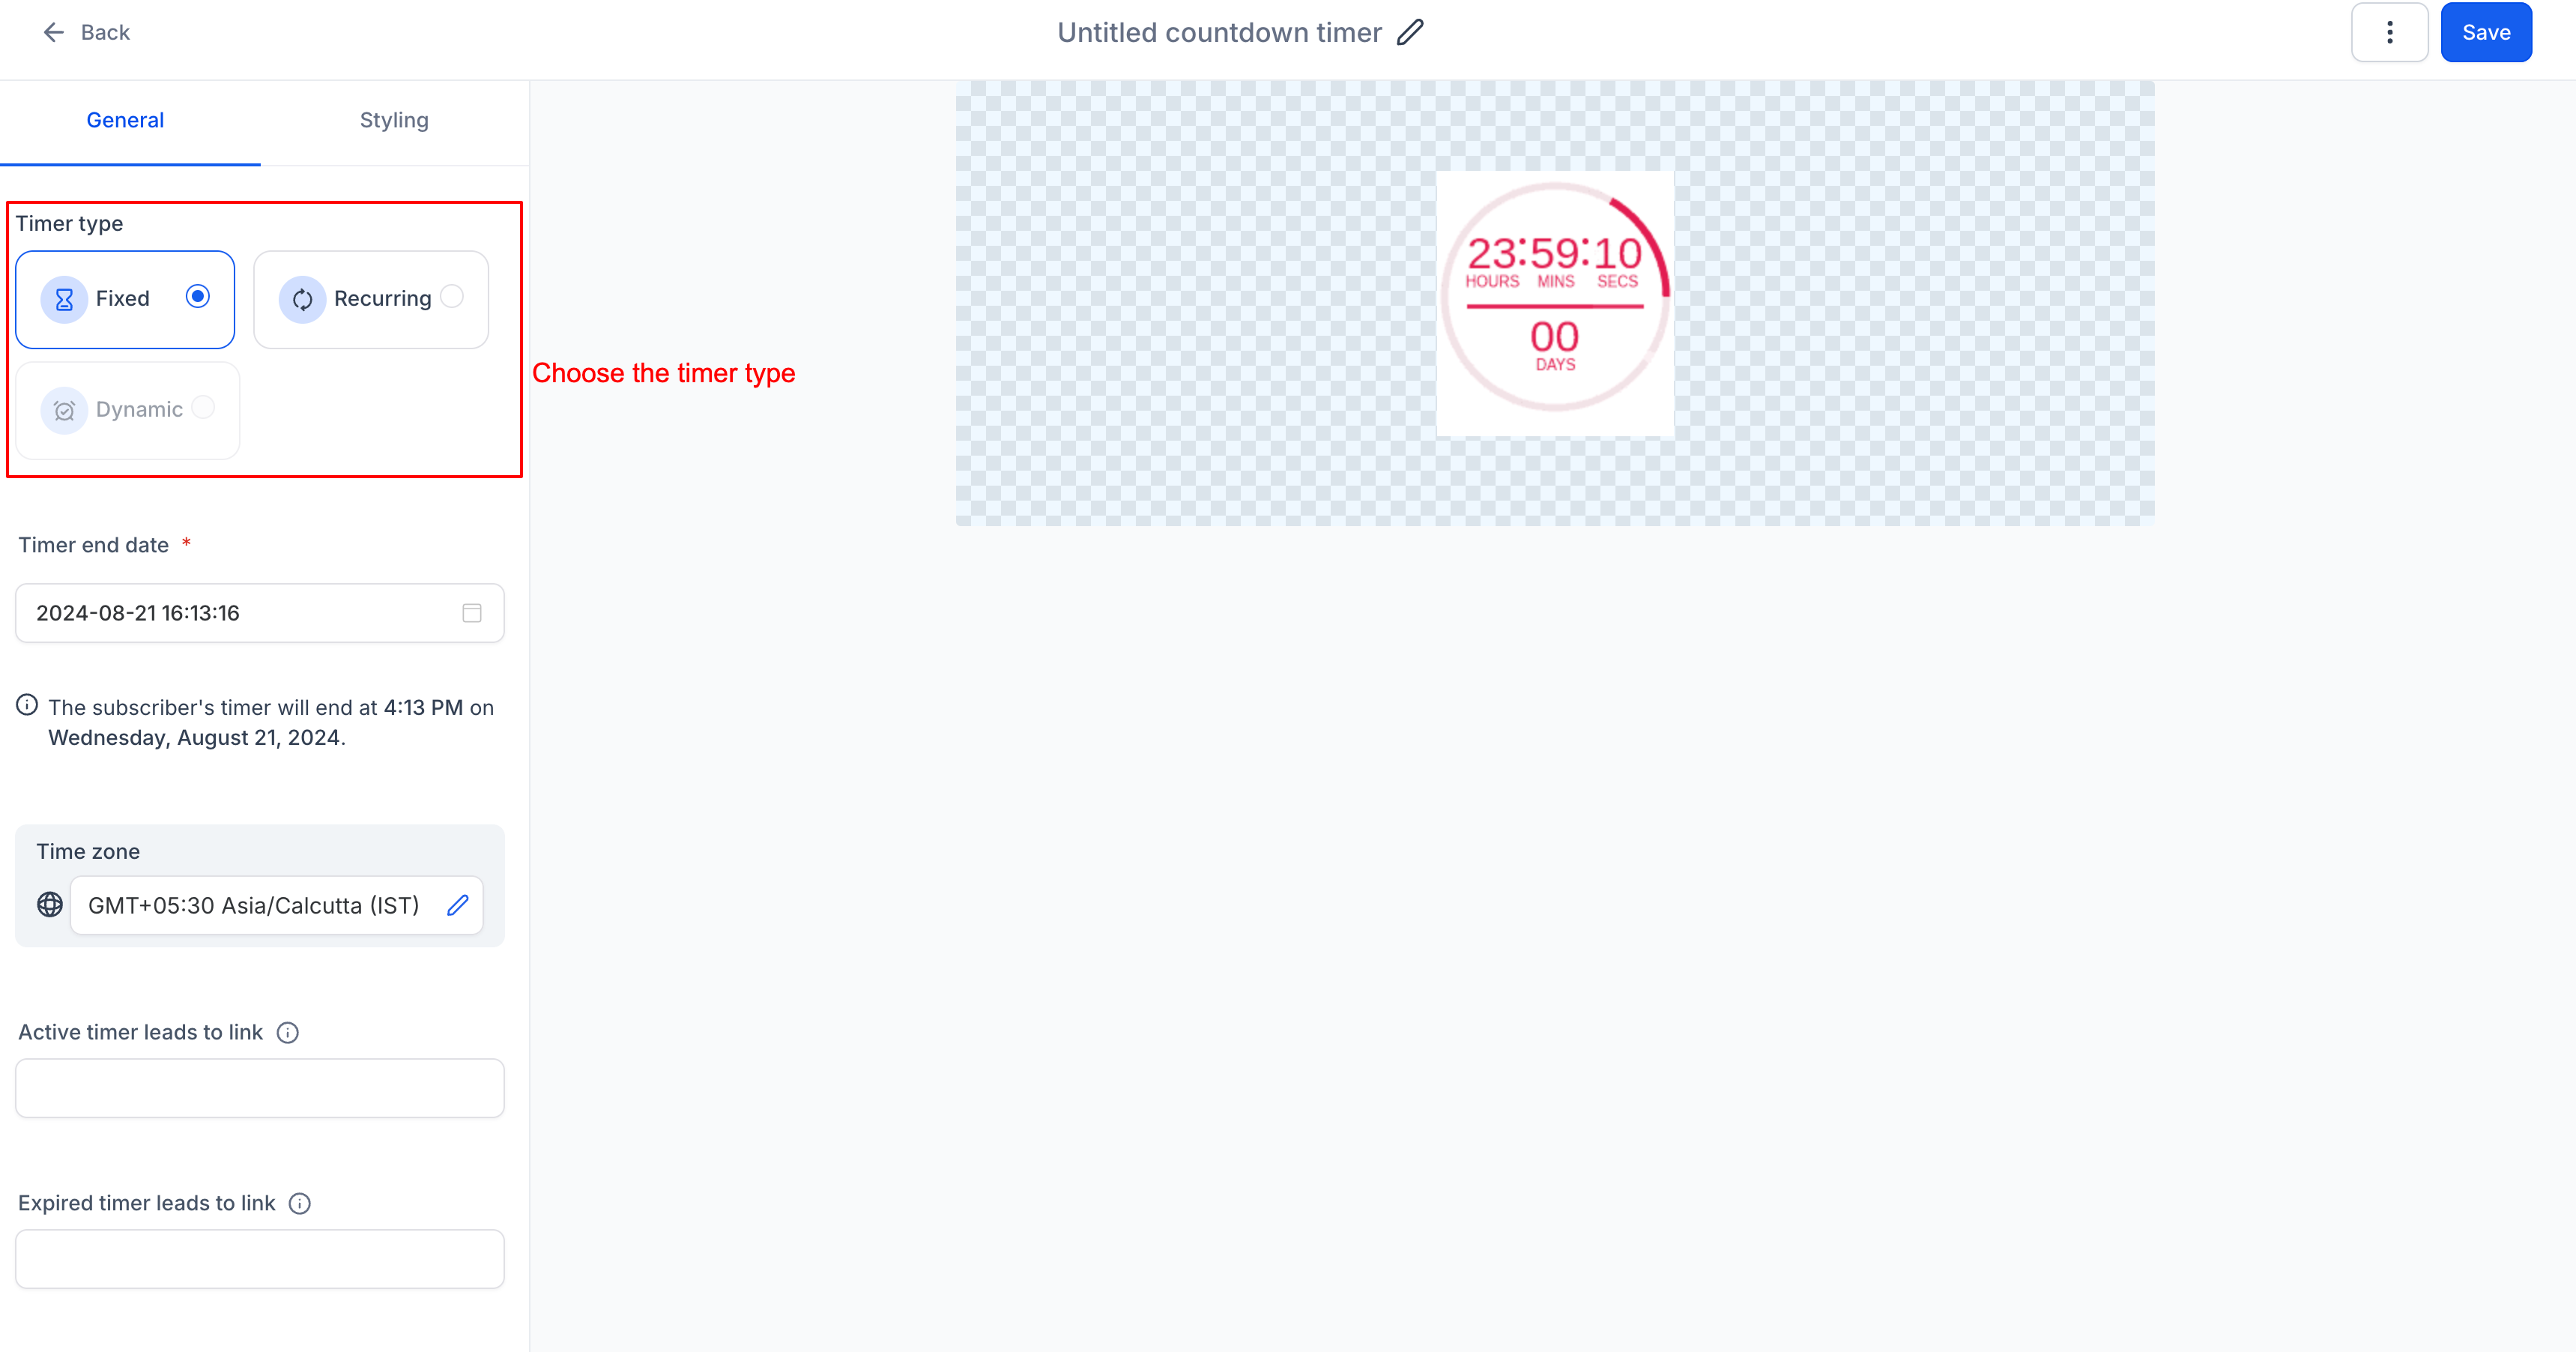
- Choose Timer Type: Select Fixed, Recurring, or Dynamic based on your needs.
-
Configure Timer Settings:
- Fixed Timer: Set the exact end date and time
- Recurring Timer: Define how long each countdown lasts and how many times it repeats
- Dynamic Timer: Set how many hours or days each parent has from when they see the timer
-
Add Your Links:
- Active Link: Enter the URL for your active offer page (enrollment form, special pricing page, etc.)
- Expired Link: Enter the URL parents see after the timer ends
- Customize the Look: Adjust colors, fonts, and time display format to match your center's branding. Upload an expiry image if you want a custom graphic when time runs out.
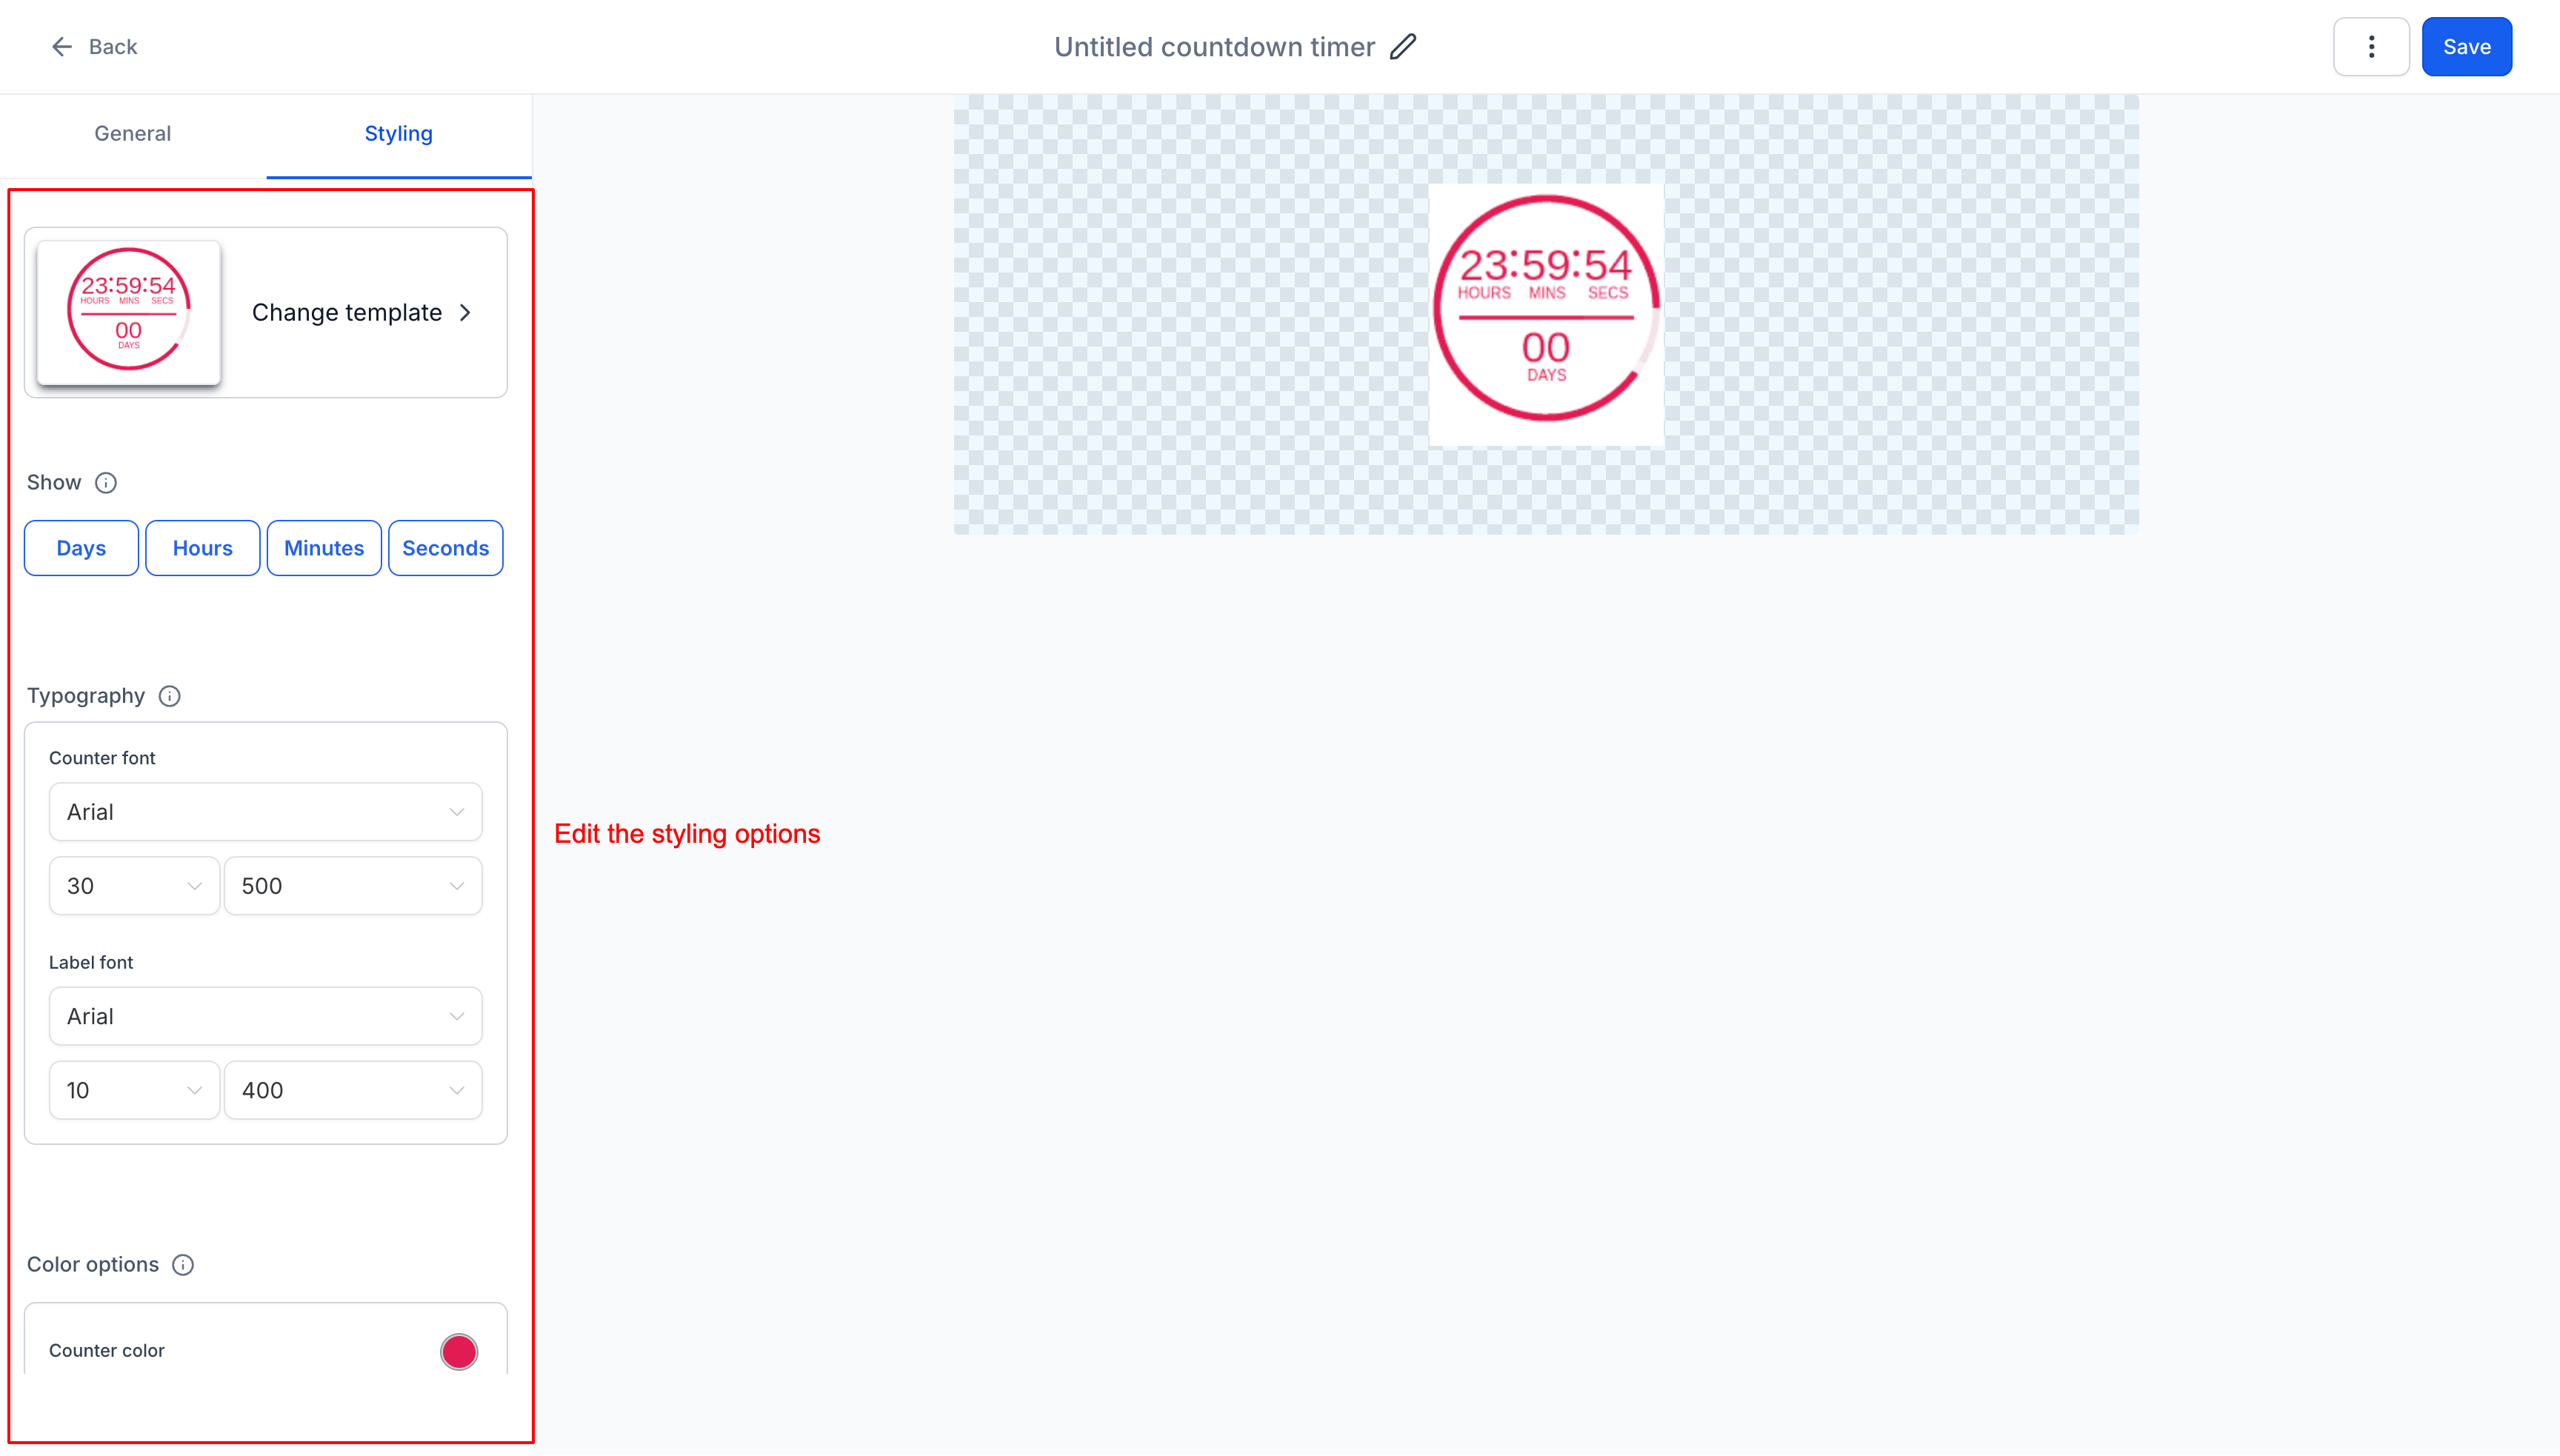
- Name Your Timer: Click at the top to give your timer a clear name like "Spring Enrollment Early Bird" so you can find it easily later.
- Save: Click "Save" to finalize and activate your countdown timer.
Using Your Timer
Once created, you can add your countdown timer to:
- Email campaigns to prospective families
- Text messages about limited-time offers
- Enrollment pages and landing pages
- Your center's website
Next Steps: Learn how to add your countdown timer to emails and enrollment pages in the related articles below.