
You've finished writing your blog post and you're ready to share it with parents and prospective families. Before you publish, it's always smart to preview how it looks on both desktop and mobile devices.
This article shows you how to preview your blog post in Enrollio before going live.
Important: Category, Keywords, Author, and Slug cannot be changed after your blog post is published. Double-check these before publishing.
What You'll See in Preview Mode
When you preview your blog post, you'll see exactly how it will appear to visitors. All interactive elements work just like they will when published:
- Featured image from SEO settings
- Blog post title
- Category (if added)
- Publish date and estimated read time
- Full blog post content
- Clickable hyperlinks and embedded videos
- Tags (if added)
- Author details with photo and bio (if added)
- "Back to Blog" button (note: this won't function in preview mode)
How to Preview Your Blog Post
Follow these steps to preview your post before publishing:
- Click the three dots in the top right corner of the blog editor
- Select "Preview Post" from the dropdown menu
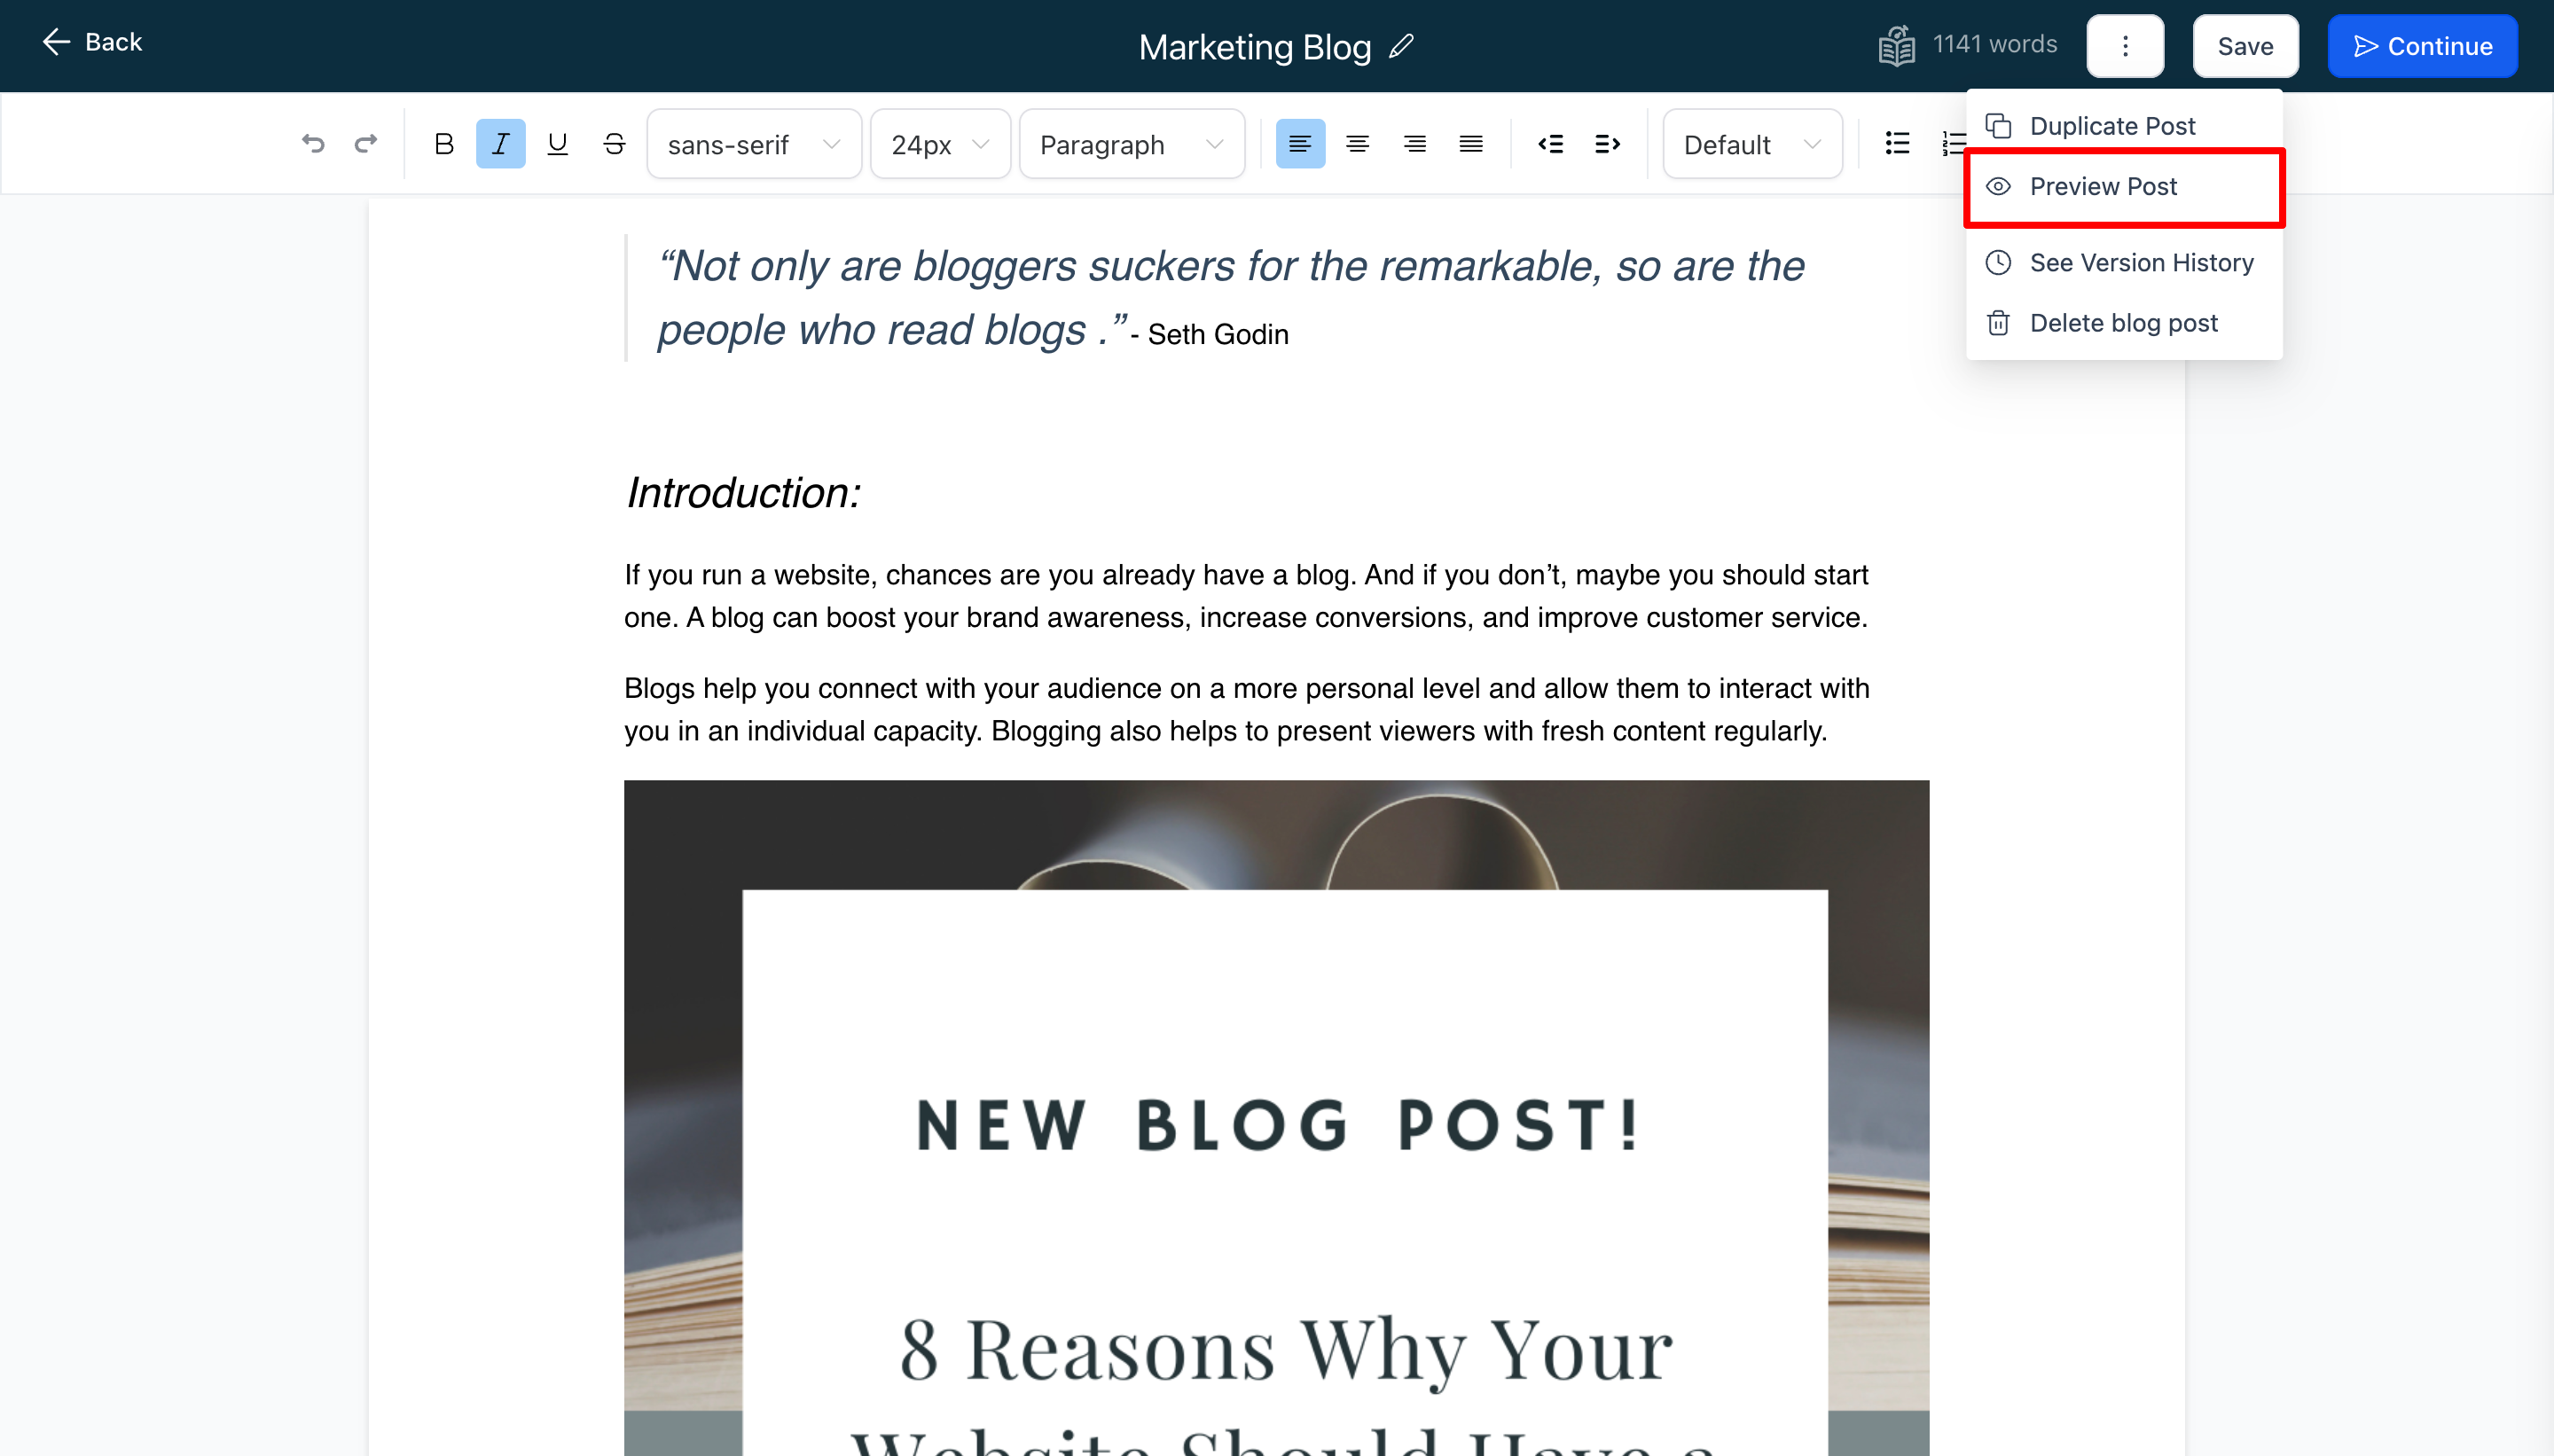
Your blog post will open in preview mode, showing exactly how it will look when published.
Switch Between Mobile and Desktop Views
Since parents often browse your site on their phones, it's important to check how your post looks on mobile devices.
In preview mode, click the toggle button at the top of the screen to switch between desktop and mobile views. This lets you ensure your post looks great on any device.
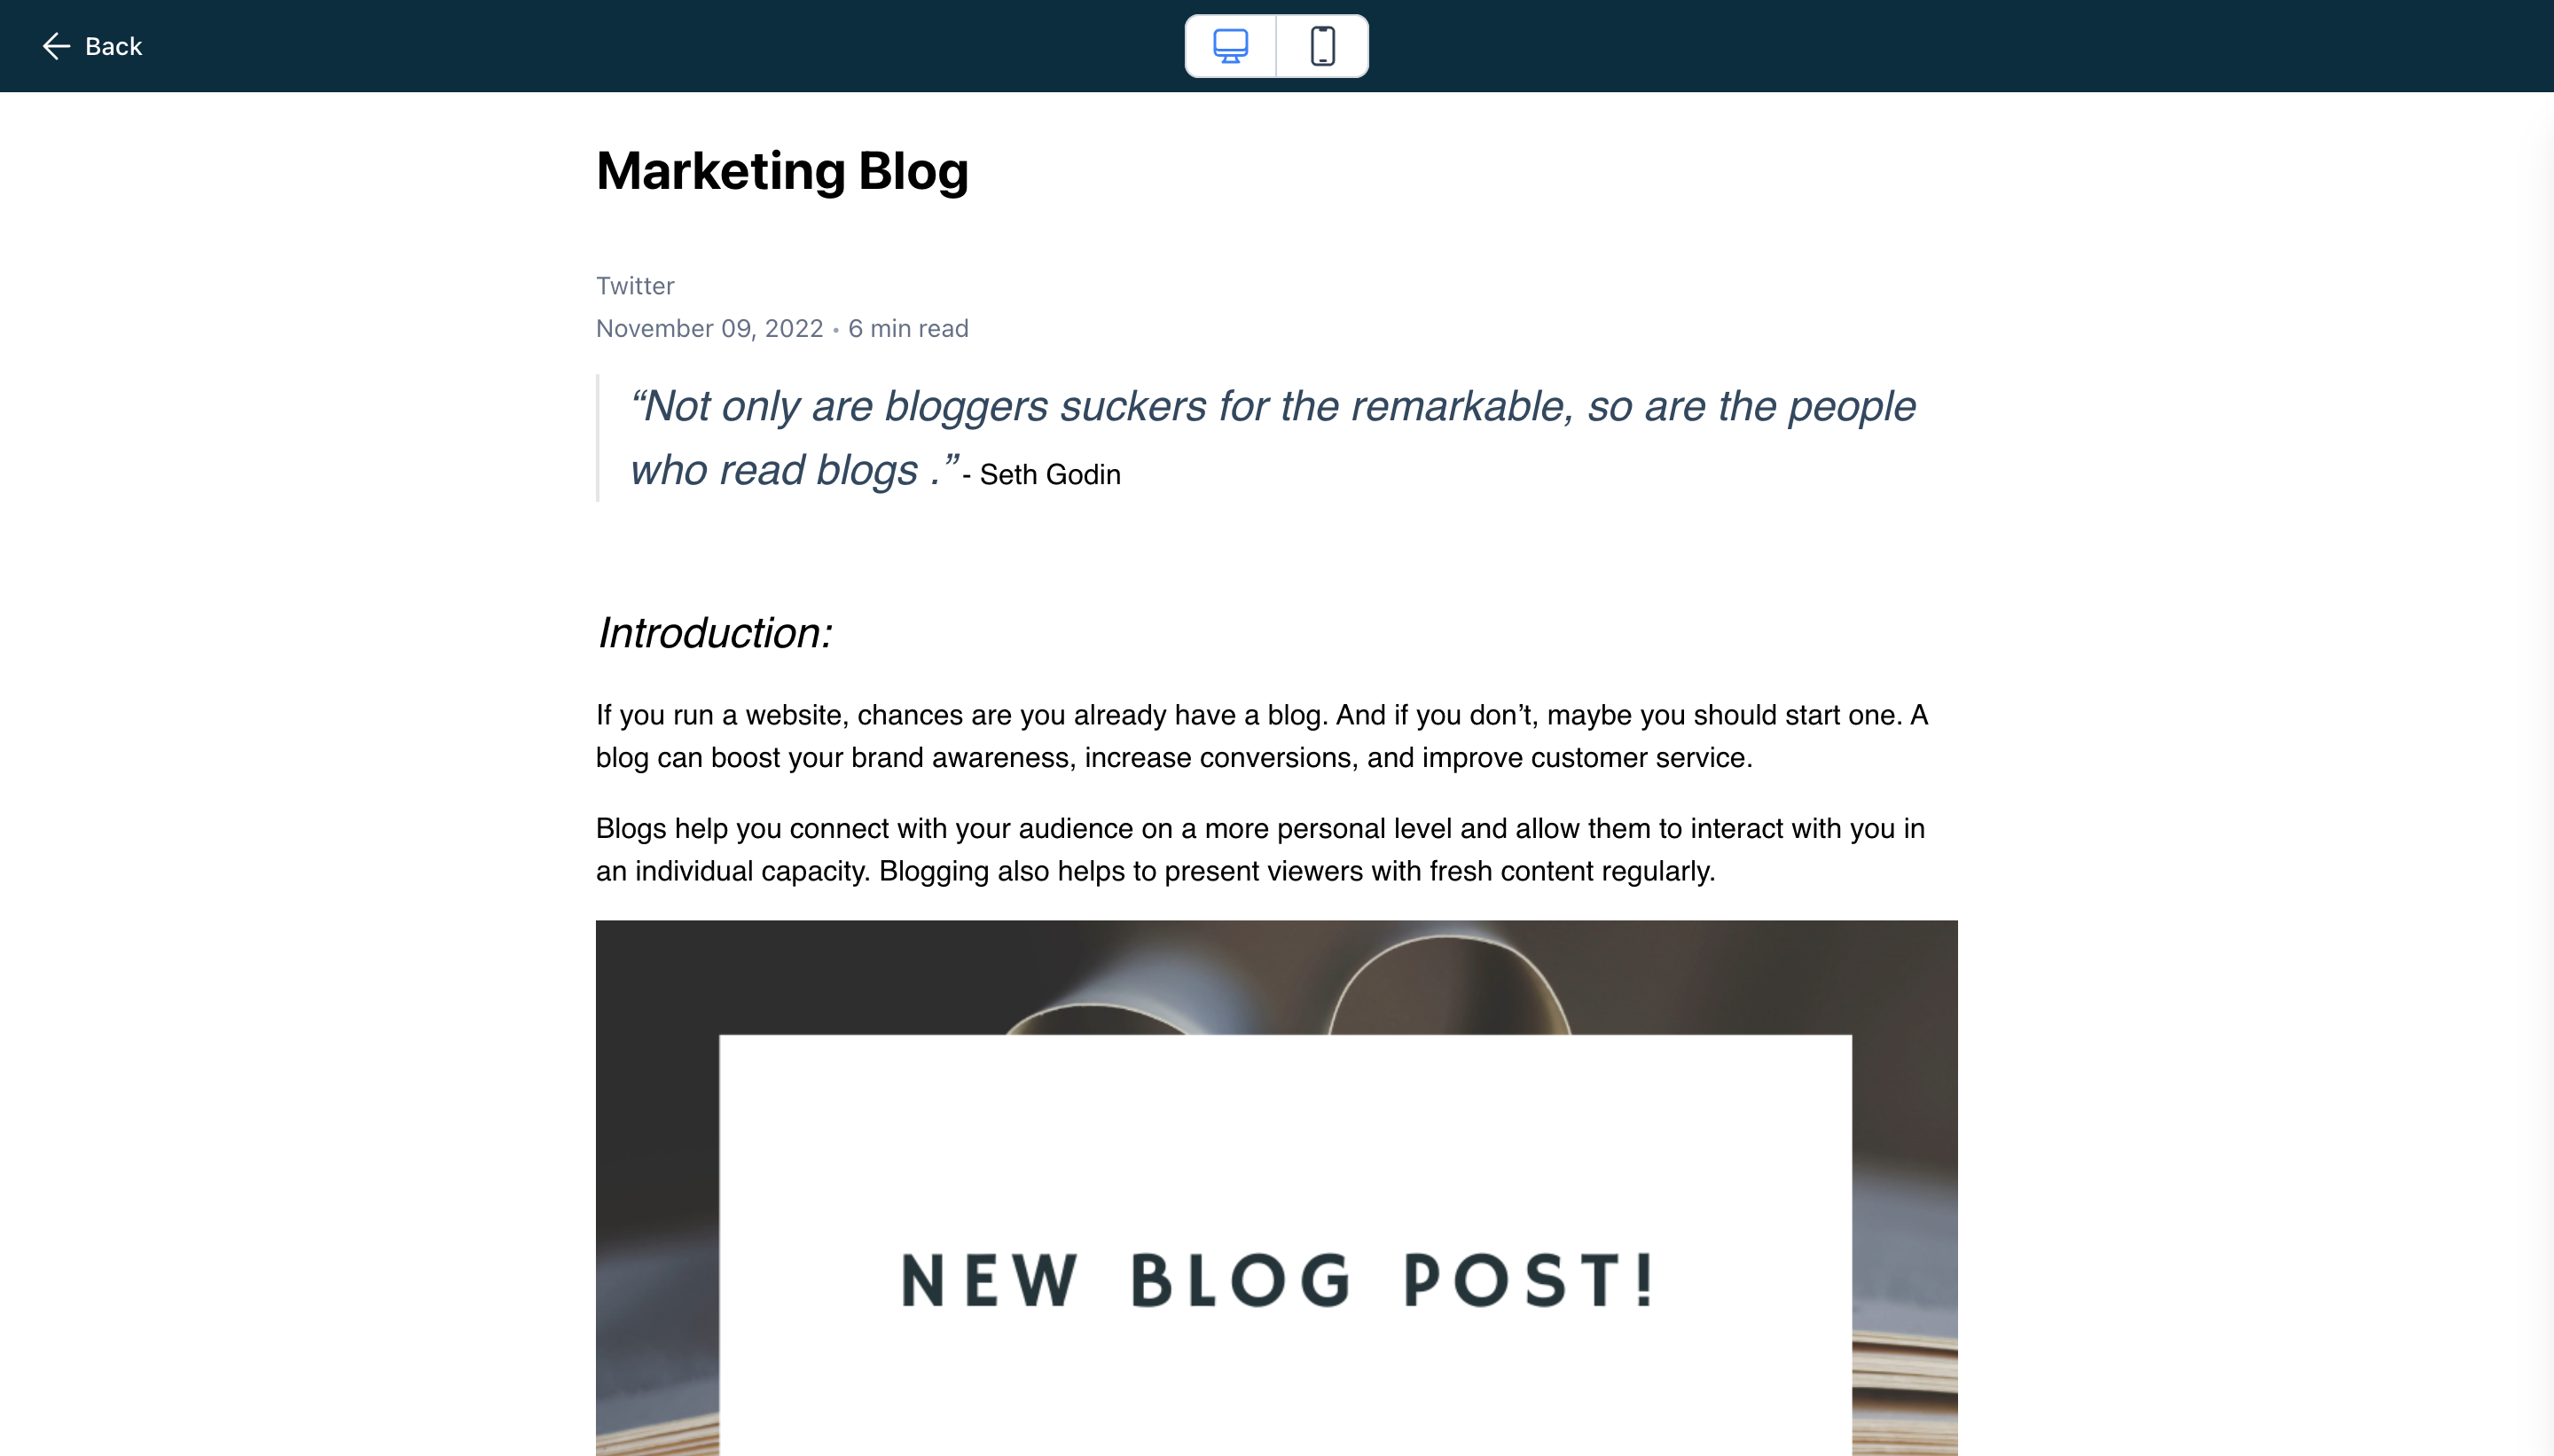
Pro Tip: Always check your blog post on mobile view. Many parents will read your posts on their phones while waiting for pickup or during their commute.