
Your Voice AI assistant doesn't have to live in a floating chat bubble. You can now embed it directly into your enrollment pages — right where parents are reading about your program, filling out forms, or deciding whether to book a tour.
This gives families a more natural way to ask questions without leaving the content they're viewing, and helps you control exactly where the AI appears on your page.
What's an Embedded Voice AI Widget?
By default, Voice AI widgets appear as floating buttons that stick to a corner of your page. With embedded placement, the widget appears inline — meaning it sits right inside your page content, just like a heading, image, or form.
You might place it under your program description, next to a "Schedule a Tour" button, or inside a frequently asked questions section. It stays put instead of following parents as they scroll.
Step 1: Open the Chat Widget Builder
From your Enrollio dashboard, go to Sites > Chat Widget.
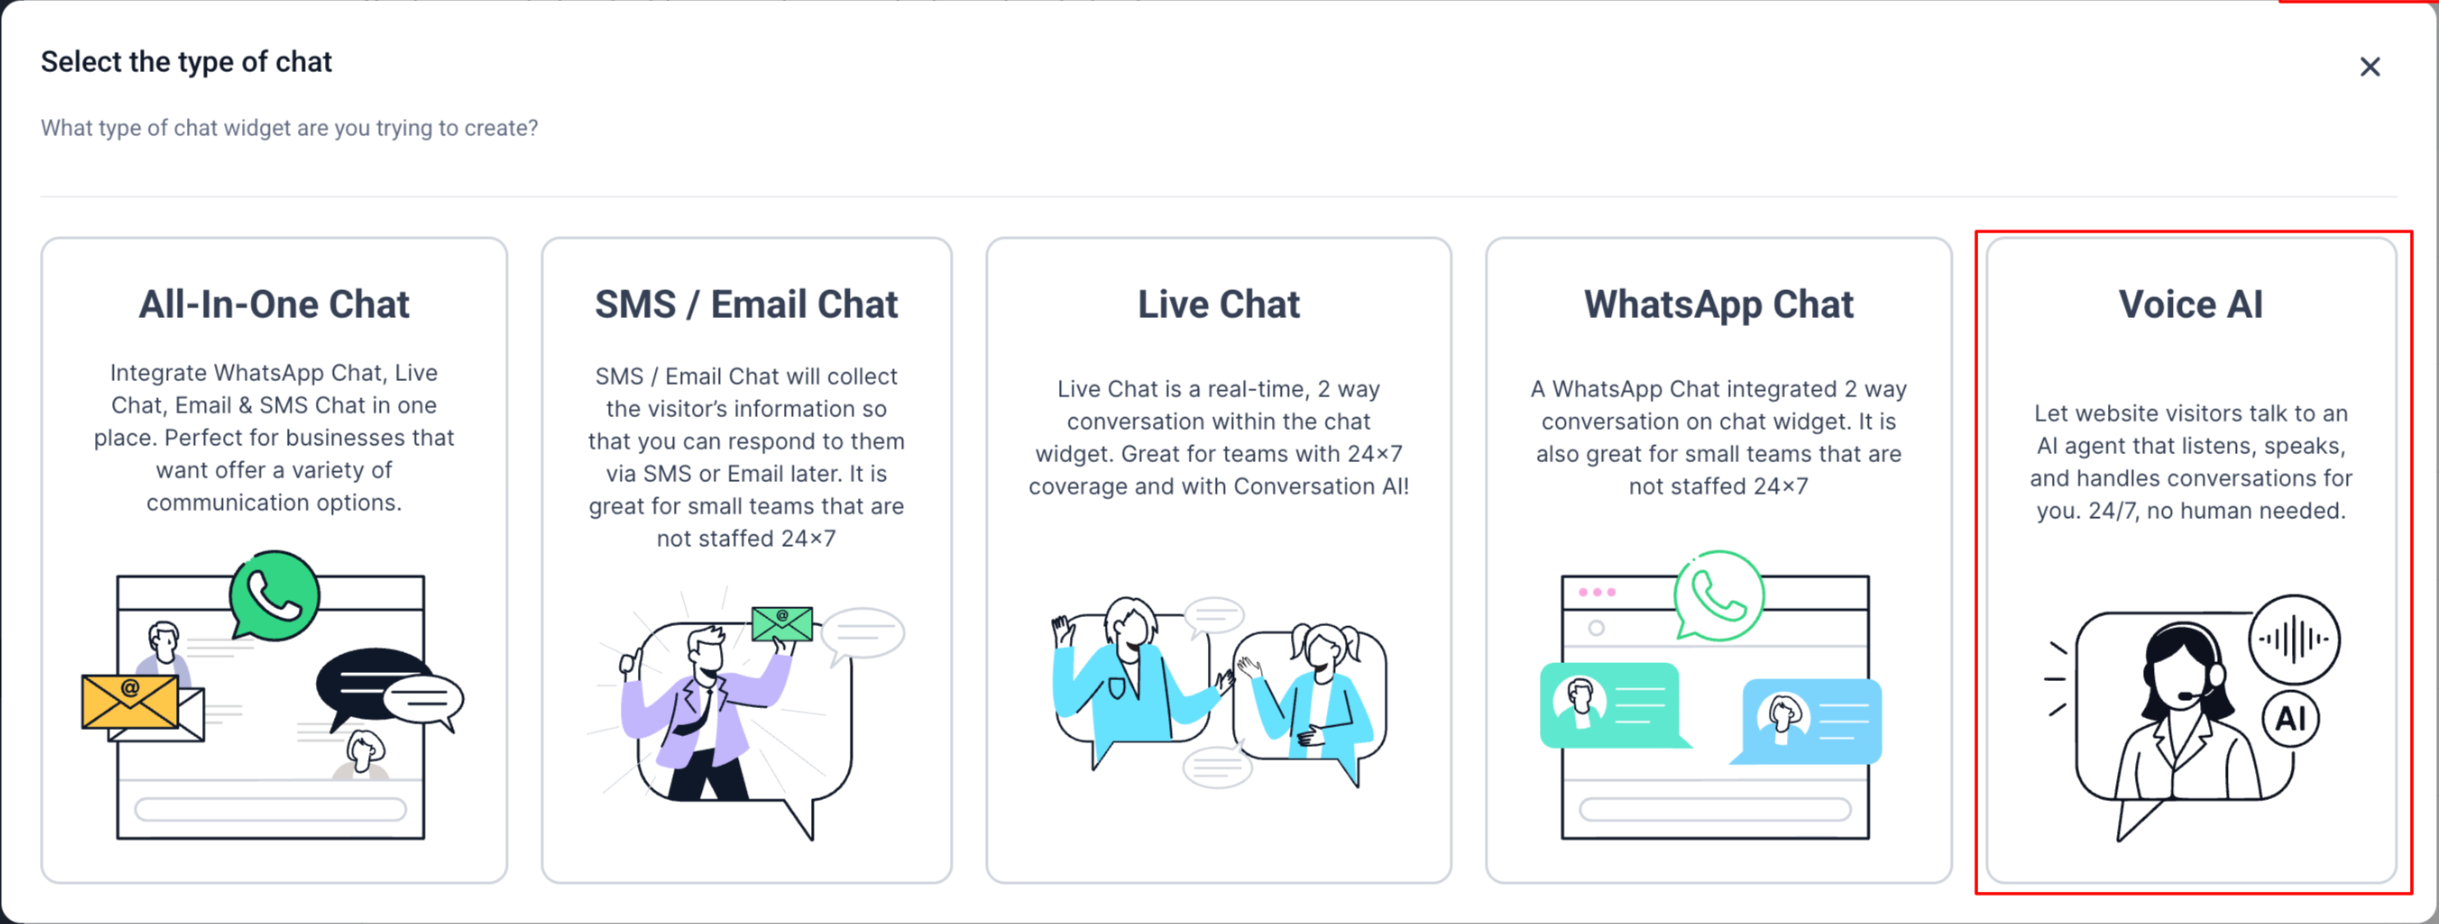
You can either open an existing widget or click + Create New Widget and select Voice AI as the type.
You'll see four tabs at the top: Style, Chat Window, Messaging, and Agent.
Step 2: Choose Embedded Placement
Click the Style tab.
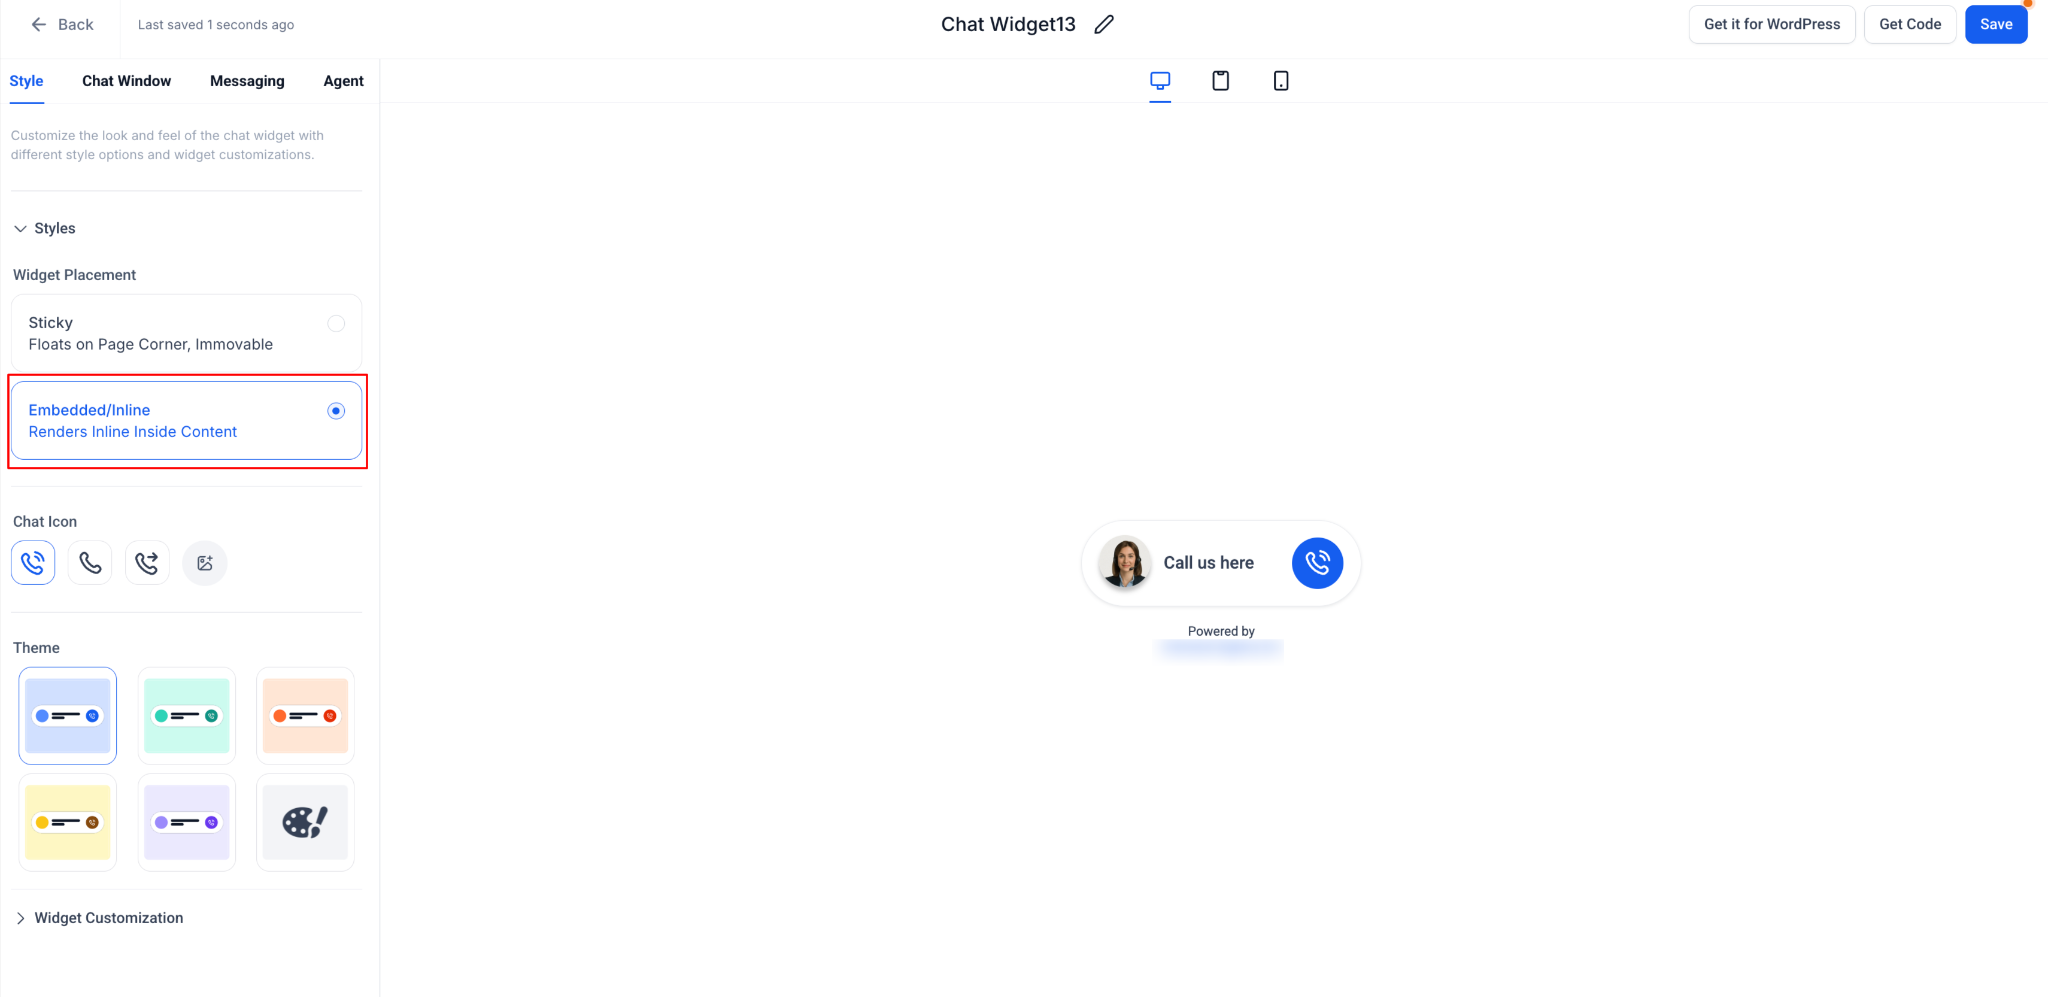
At the top, open the Widget Placement section. You'll see two options:
- Sticky: Floats in a corner (the default)
- Embedded/Inline: Appears inside your page content
Select Embedded/Inline.
The preview will update to show your widget as an inline element. Some options — like widget position and contact form toggle — will disappear since they don't apply to embedded widgets.
Step 3: Customize Your Widget
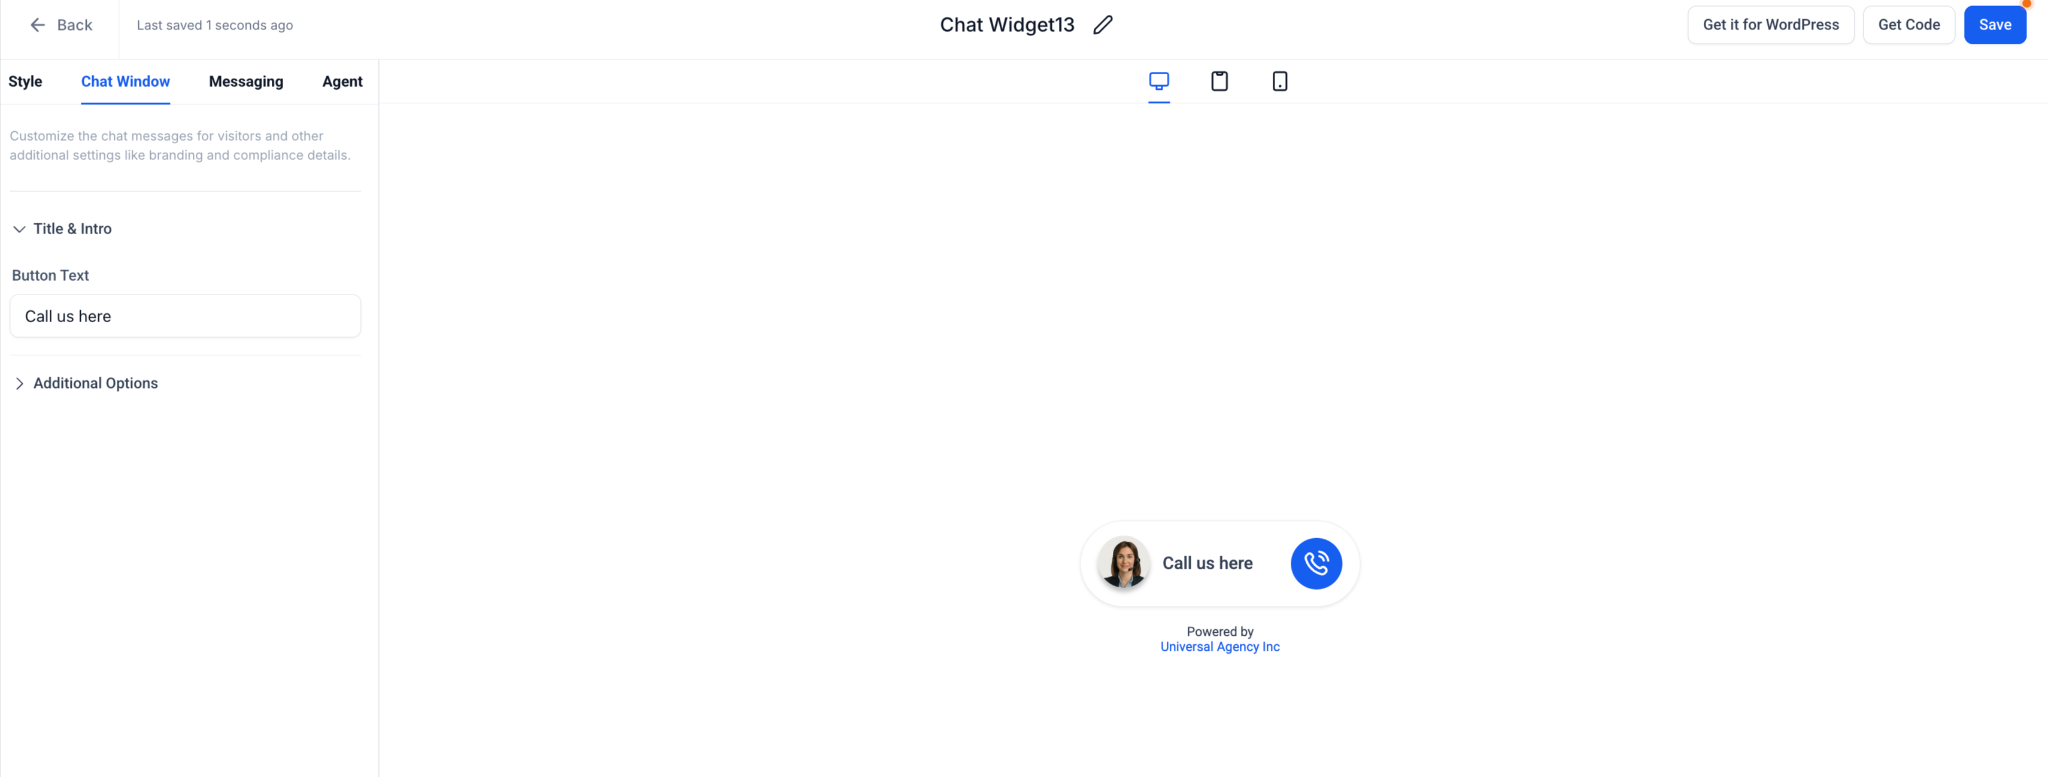
Switch to the Chat Window tab.
Edit the Button Text that appears below the avatar. Instead of "Call us here," you might use "Ask About Enrollment" or "Talk to Our Team."
You can also adjust branding elements like your center's name or add a compliance footer under Additional Options.
The preview updates in real time so you can see exactly how it'll look on your page.
Step 4: Copy the Embed Code
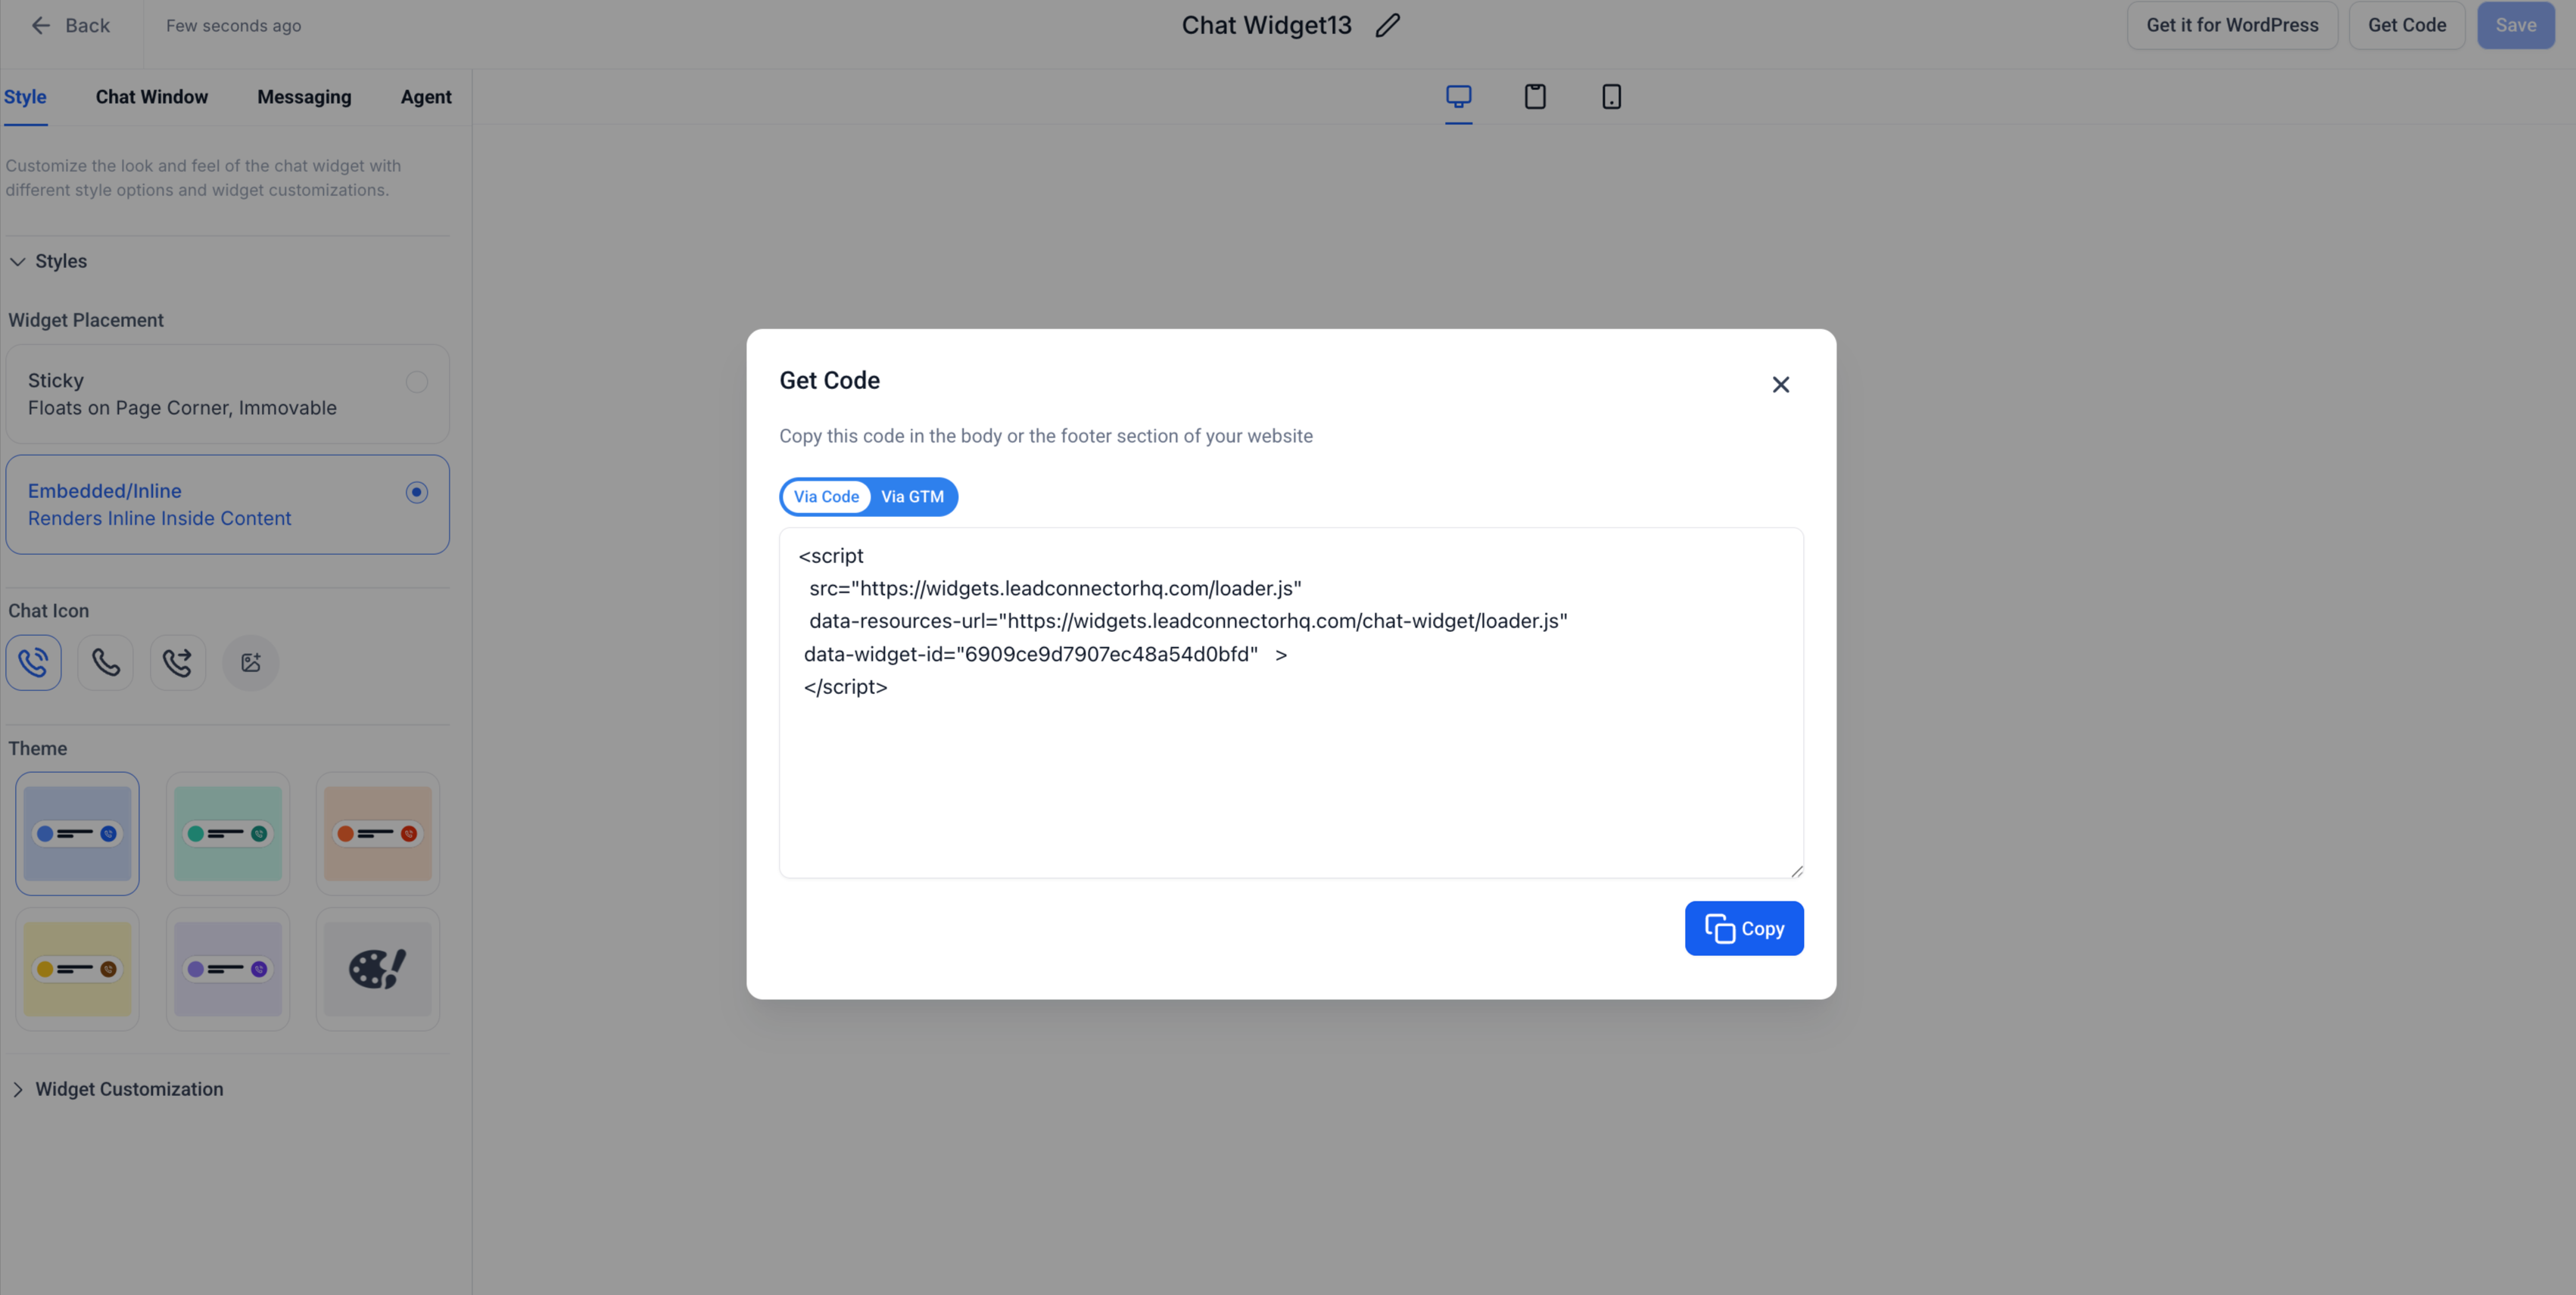
Once your widget looks good, click Get Code in the top right corner.
A window will pop up with your unique embed code. Click Copy to save it.
Step 5: Add It to Your Enrollment Page
Go to Sites > Funnels and open the page where you want the widget to appear.
Click Edit Page.
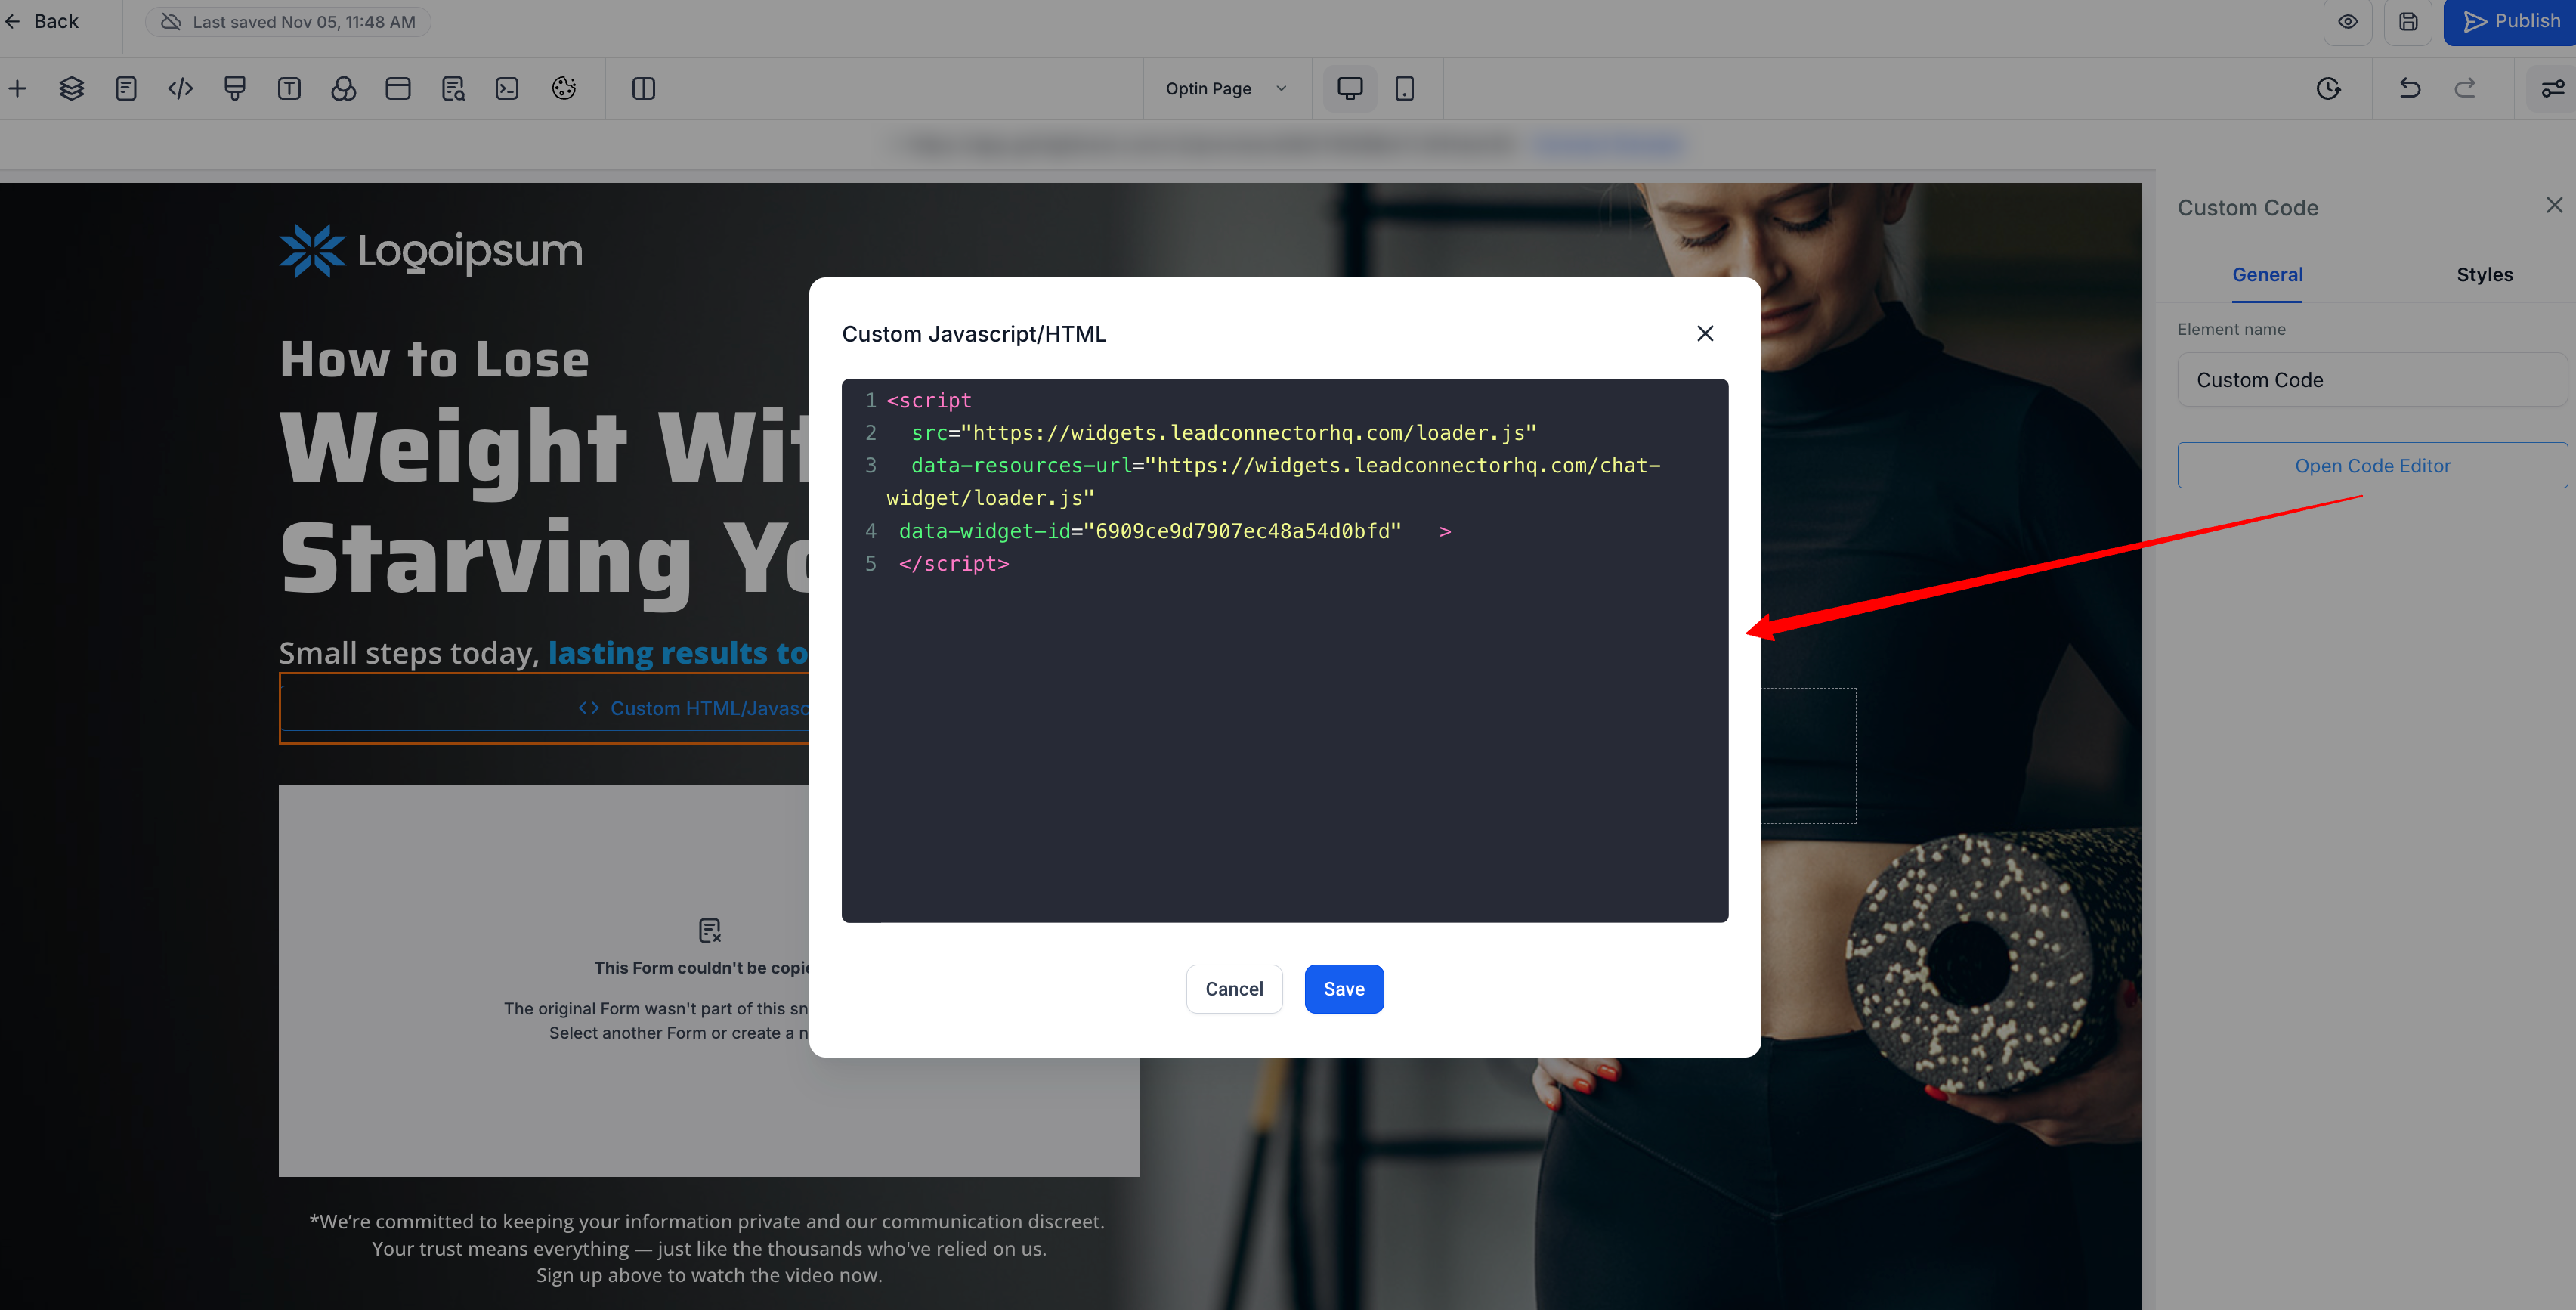
In the left sidebar, search for "Code" under Quick Add > Custom. Drag the Code Element onto your page wherever you want the widget to appear.
Click Open Code Editor, paste your embed code, and click Save.
Publish your page. The Voice AI widget will now appear right where you placed the code block.
💡 Pro Tips
- The embedded widget is fully mobile-responsive — it resizes automatically on phones and tablets
- You can use multiple embedded widgets on the same page, all connected to the same AI assistant
- Mix and match: use an embedded widget on your homepage and a sticky widget on your contact page for maximum reach
Why Use Embedded Widgets?
Embedded placement works best when you want the Voice AI to feel like a natural part of your content — not a pop-up or interruption.
It's perfect for:
- Program description pages where parents have questions about curriculum or schedule
- Tour booking pages where families need quick answers before committing
- Tuition or FAQ sections where the AI can provide personalized information
Instead of making parents hunt for help, you're placing it exactly where they need it.