
What's New?
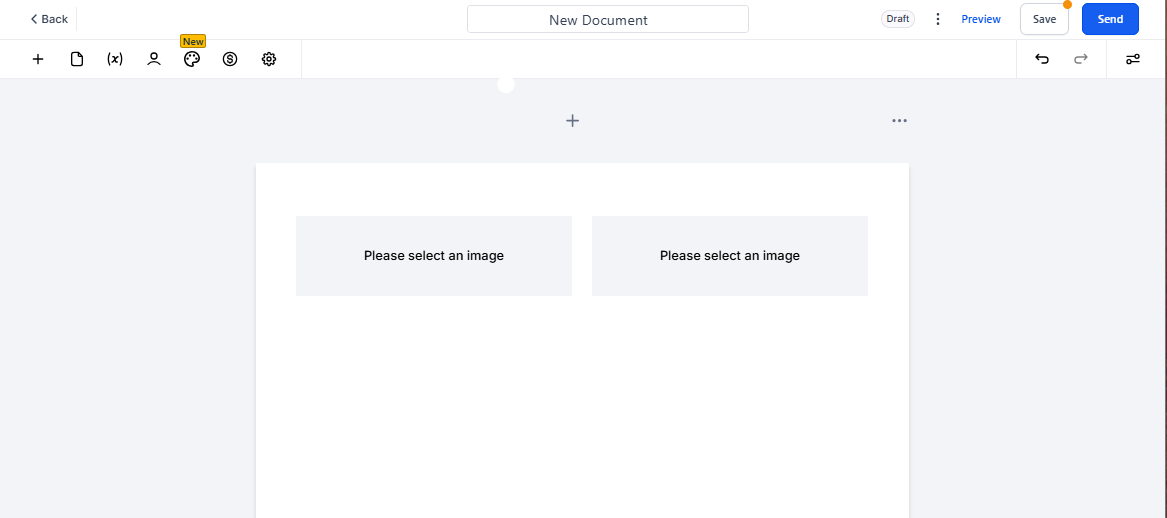
You can now create side-by-side columns in your documents and contracts. Simply drag and drop elements next to each other to automatically create a split column layout. This makes your enrollment agreements, parent contracts, and other documents look more professional and organized.
How to Use Split Columns
- Open your document or contract template in the editor
- Drag any element (text, image, or table) next to another element
- The platform automatically creates columns when you position elements side by side
- Adjust the width and spacing as needed
Why Use Split Columns?
Split columns help you create clearer, more scannable documents. This is especially useful for:
- Enrollment contracts — Compare program options or pricing tiers side by side
- Parent handbooks — Display policies and procedures in an easy-to-read format
- Registration forms — Organize information fields more efficiently
- Program descriptions — Show schedules, rates, or features in columns
Common Use Cases
Before/After Comparisons: Show tuition rates or program features in side-by-side columns so families can quickly compare options.
Contact Information: Display your center's contact details, hours, and location info in organized columns rather than long paragraphs.
Signature Blocks: Create professional signature areas with parent and guardian information in separate columns.