
Default dashboards help you streamline your team's workflow by showing the most important enrollment metrics first. When you set a default dashboard, it becomes the first thing your team sees when they open the dashboard section — no extra clicks needed.
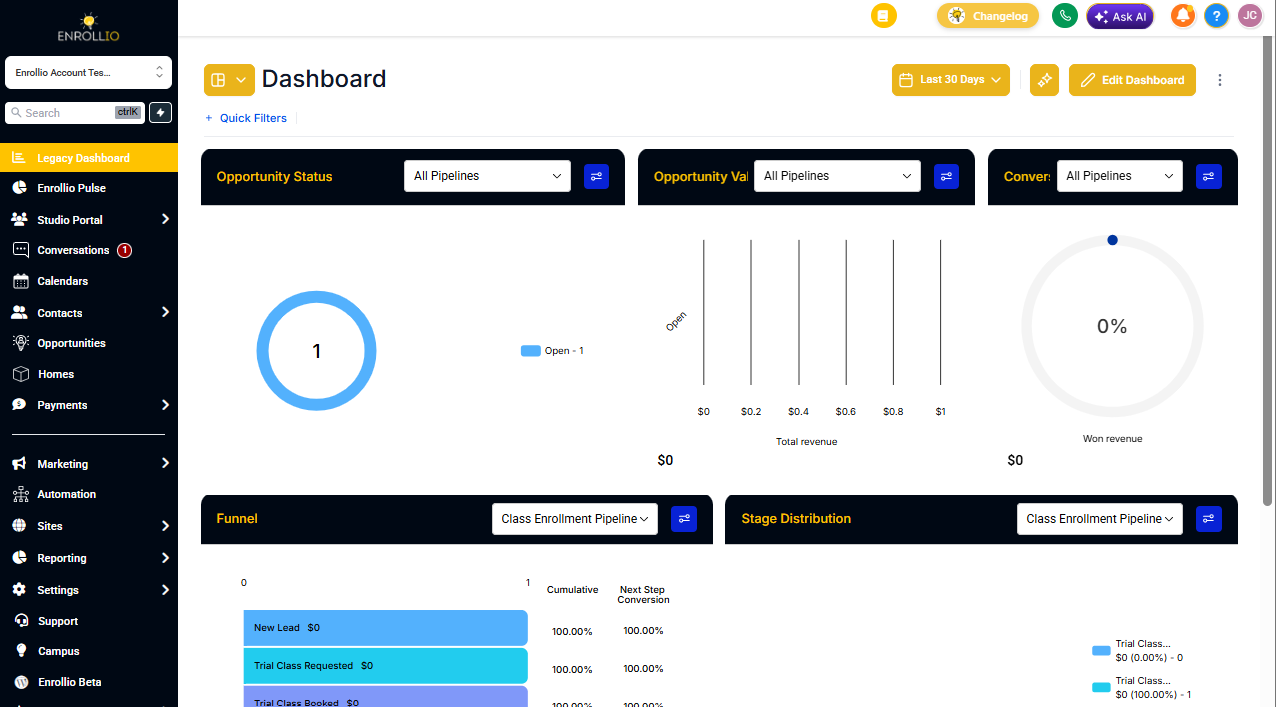
Step 1: Navigate to the Dashboard You Want to Set as Default
Go to the dashboard that contains your most critical metrics. This might be your main enrollment overview or a dashboard tracking tours and applications.
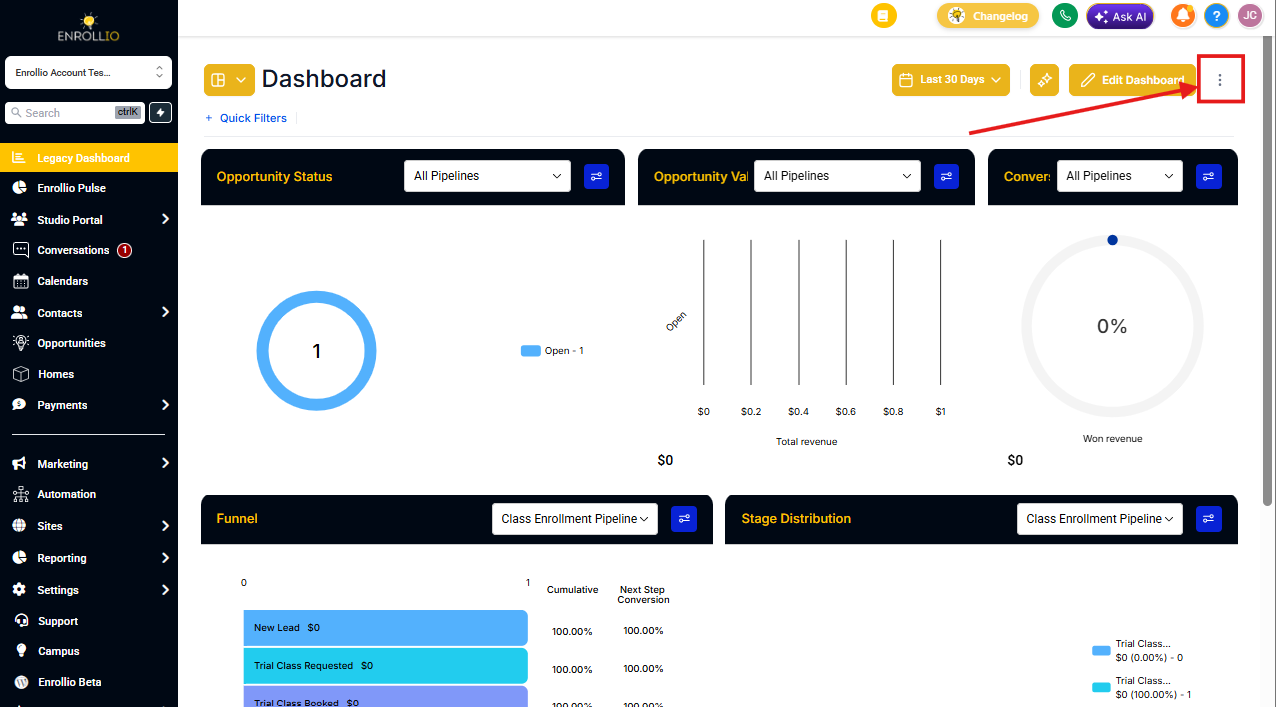
Step 2: Click the Three-Dot Menu
In the top right corner of the dashboard, click the three-dot menu icon.
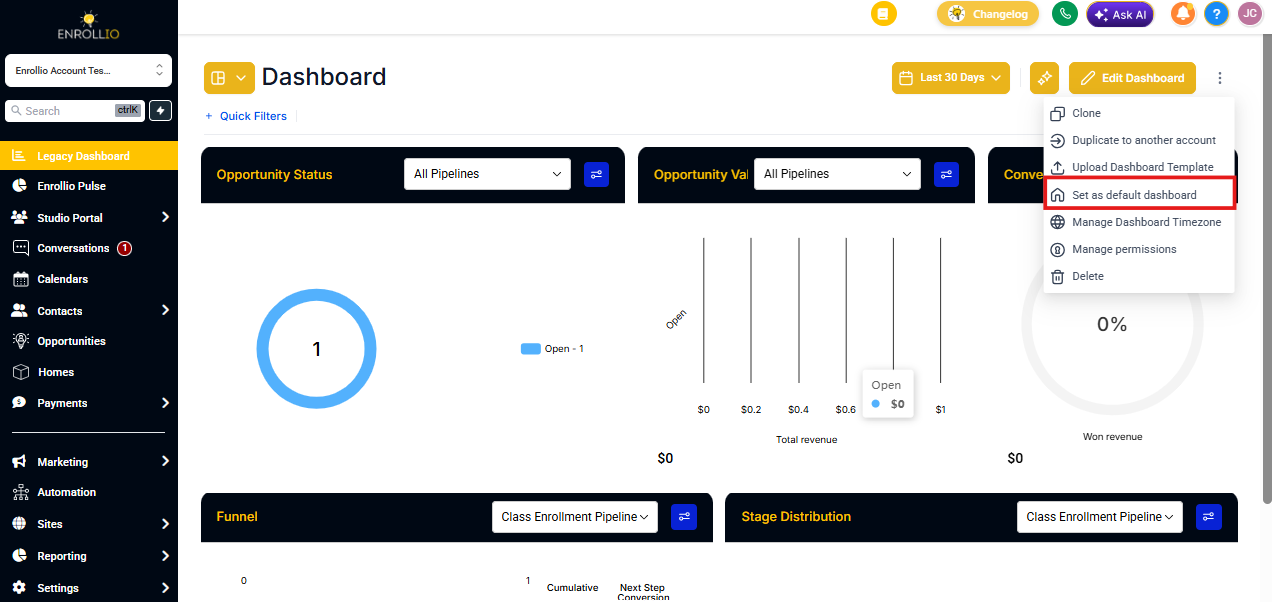
Step 3: Select "Set as Default Dashboard"
From the dropdown menu, click "Set as Default Dashboard."
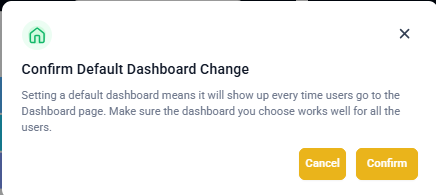
Step 4: Confirm Your Selection
Confirm that you want to make this your default dashboard. Your team will now see this dashboard first when they access the dashboards section.
Important Things to Know
Permissions Required
Only Account Admins or users with full dashboard access can set default dashboards. If you don't see this option, check your permissions or contact your account administrator.
Viewing Permissions
All team members must have at least VIEW permission for a dashboard before you can set it as default. This ensures everyone on your team can see it.
Can't Delete Default Dashboards
Once you set a dashboard as default, you can't delete it until you assign a different default dashboard first. This prevents your team from losing access to their landing page.
Default vs. Pinned Dashboards
Default dashboards are what everyone sees first. Pinned dashboards are personal favorites that individual users can quickly access from their own view. Think of default as team-wide and pinned as personal bookmarks.