
This article explains how to connect ChatGPT with Enrollio AI Studio.
Go to mcp.enrollio.ai
1. Introduction
You will learn the steps to set up the integration and configure necessary settings.
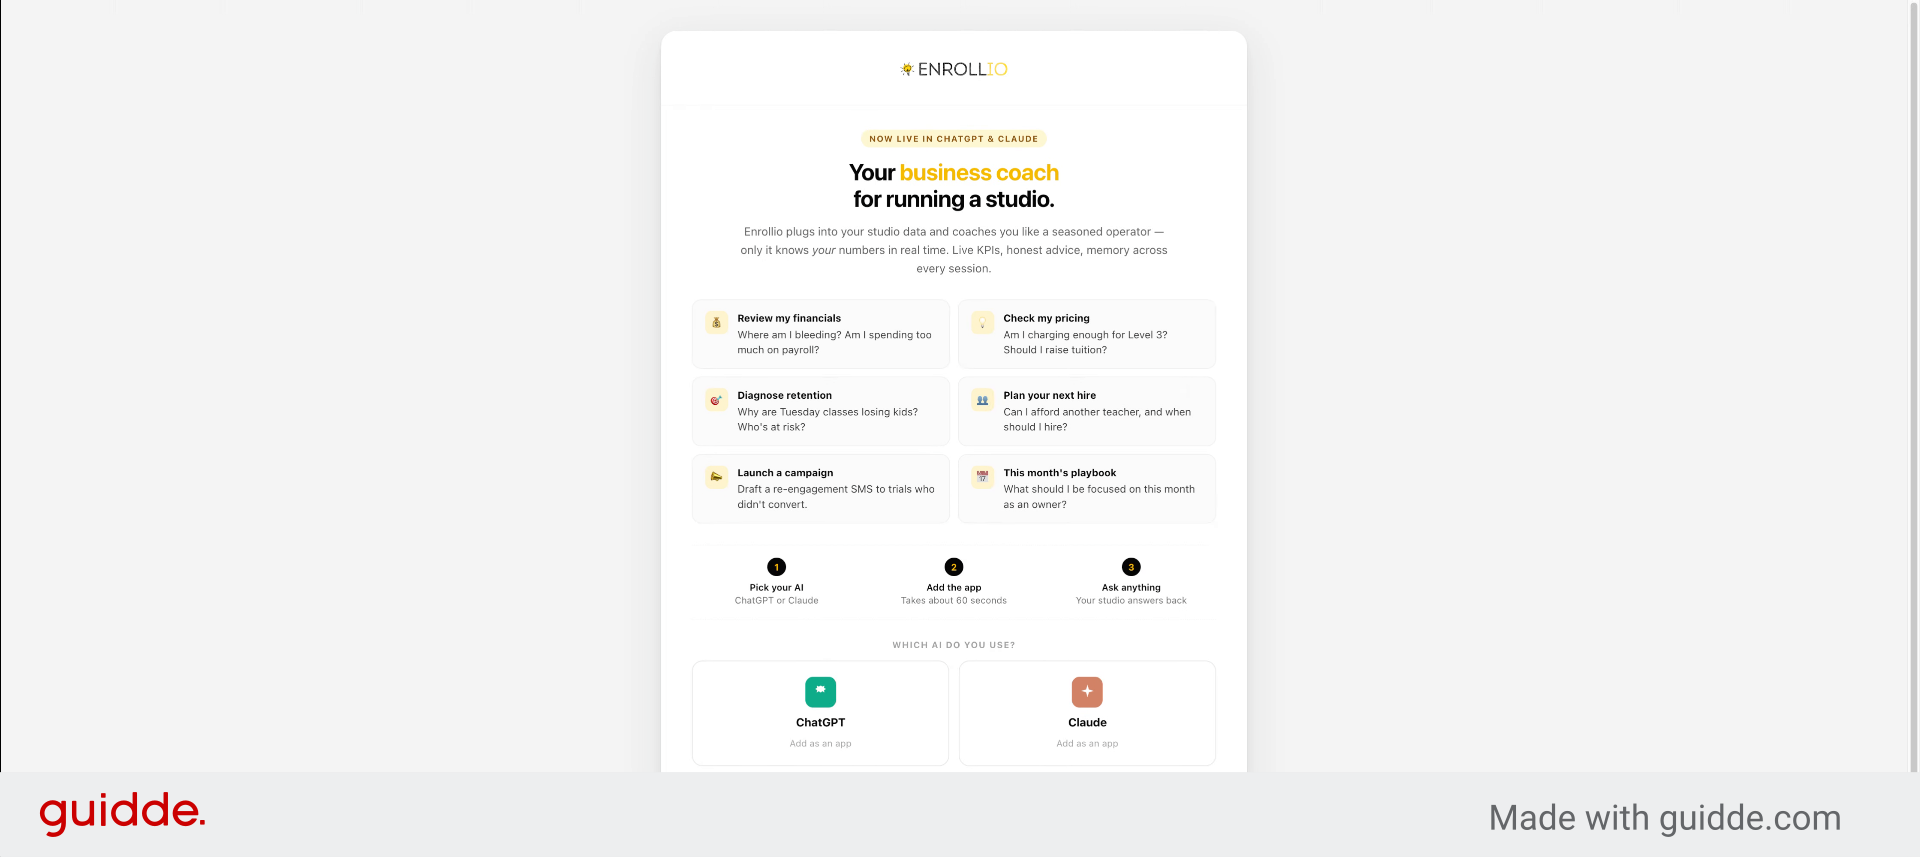
2. Access ChatGPT Add App
Click "ChatGPT Add as an app" in Enrollio to start the integration process.
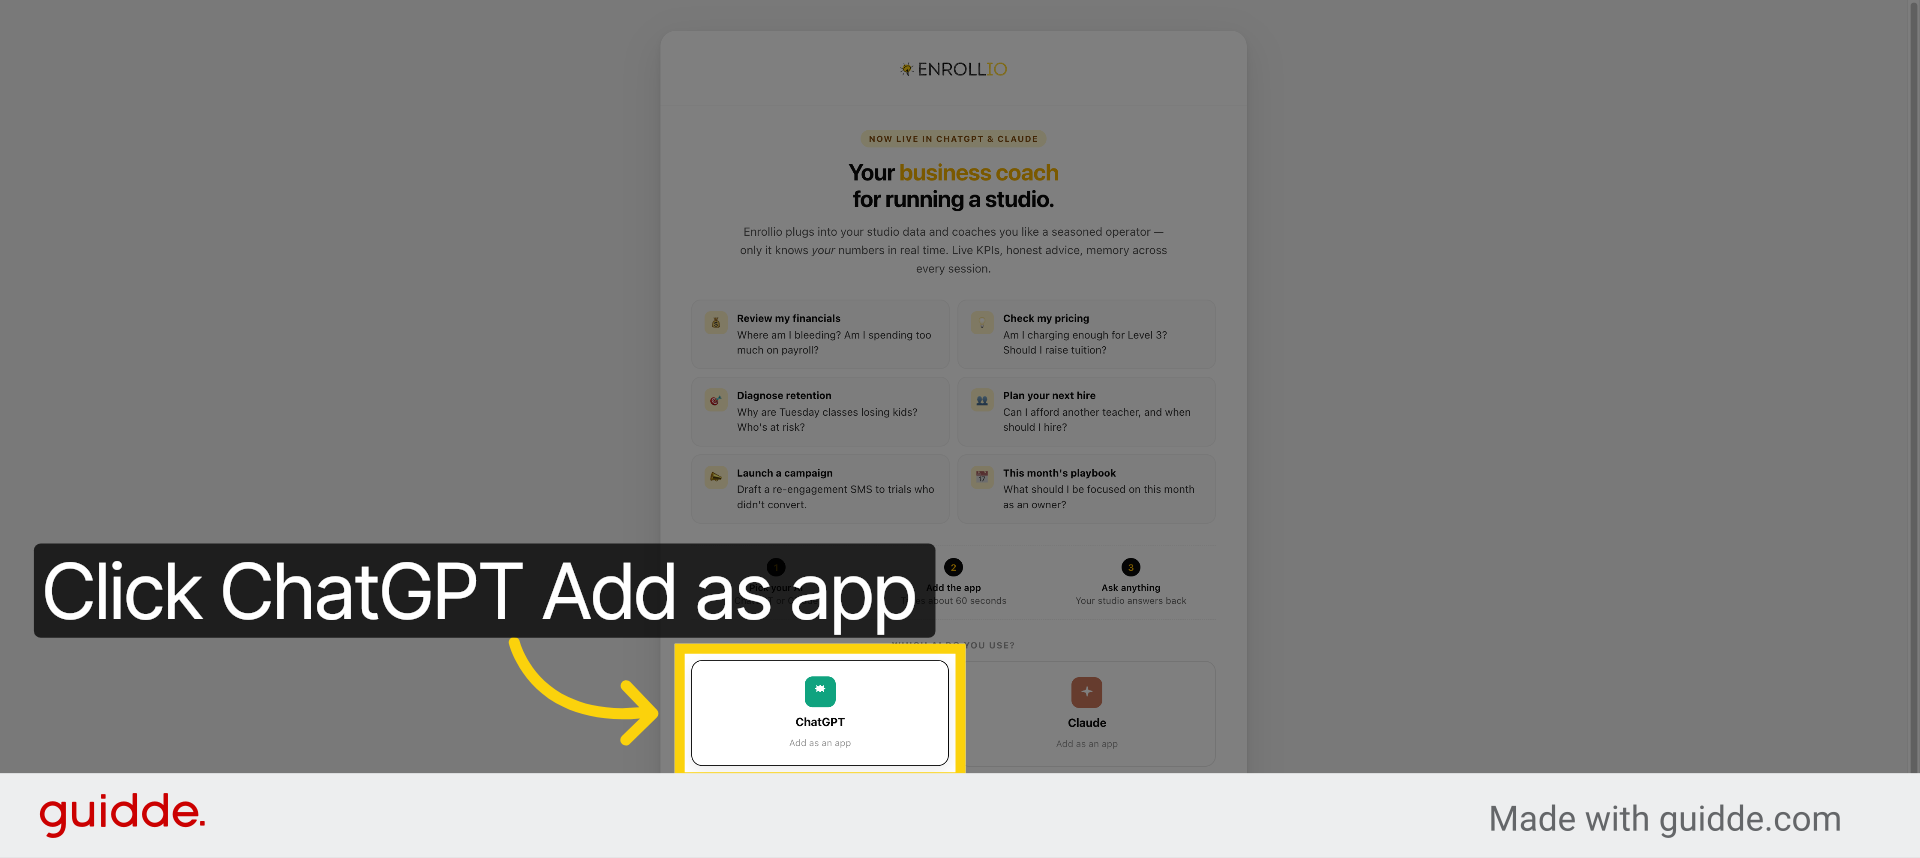
3. Copy Integration URL
Click "Copy" to copy the URL needed for the ChatGPT app setup.
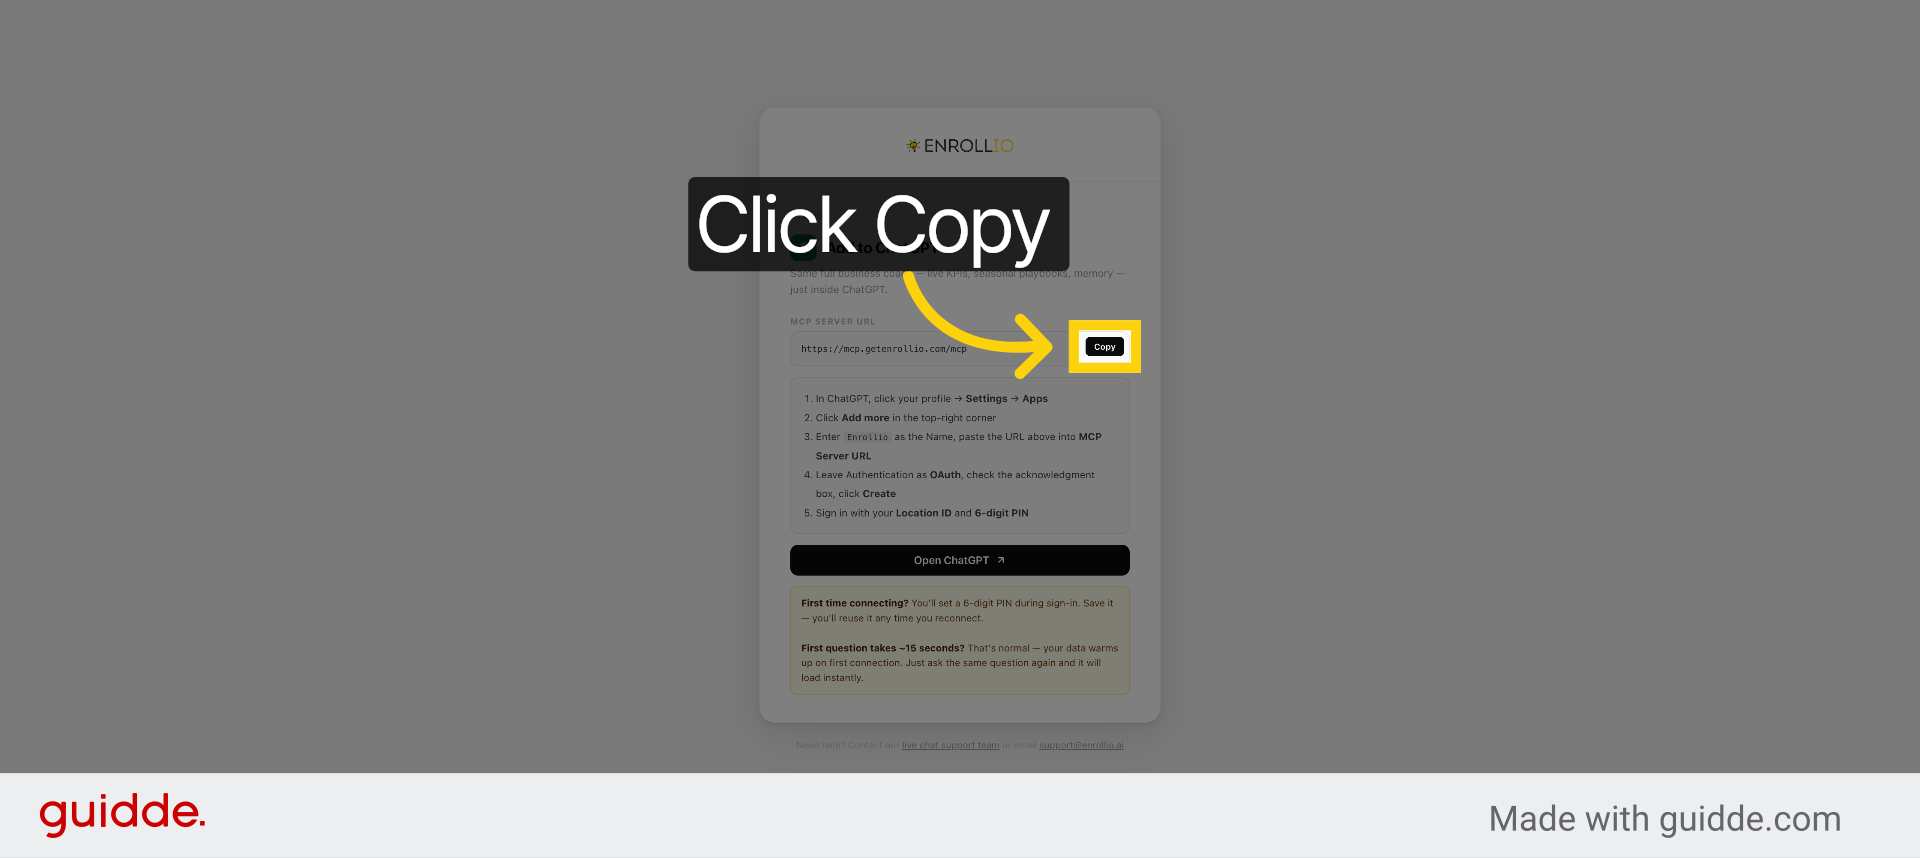
4. Open ChatGPT Website
Click "Open ChatGPT" to navigate to the ChatGPT platform for app creation.
5. Switch To ChatGPT Website
Switch to the "chatgpt.com" website to continue the app configuration.
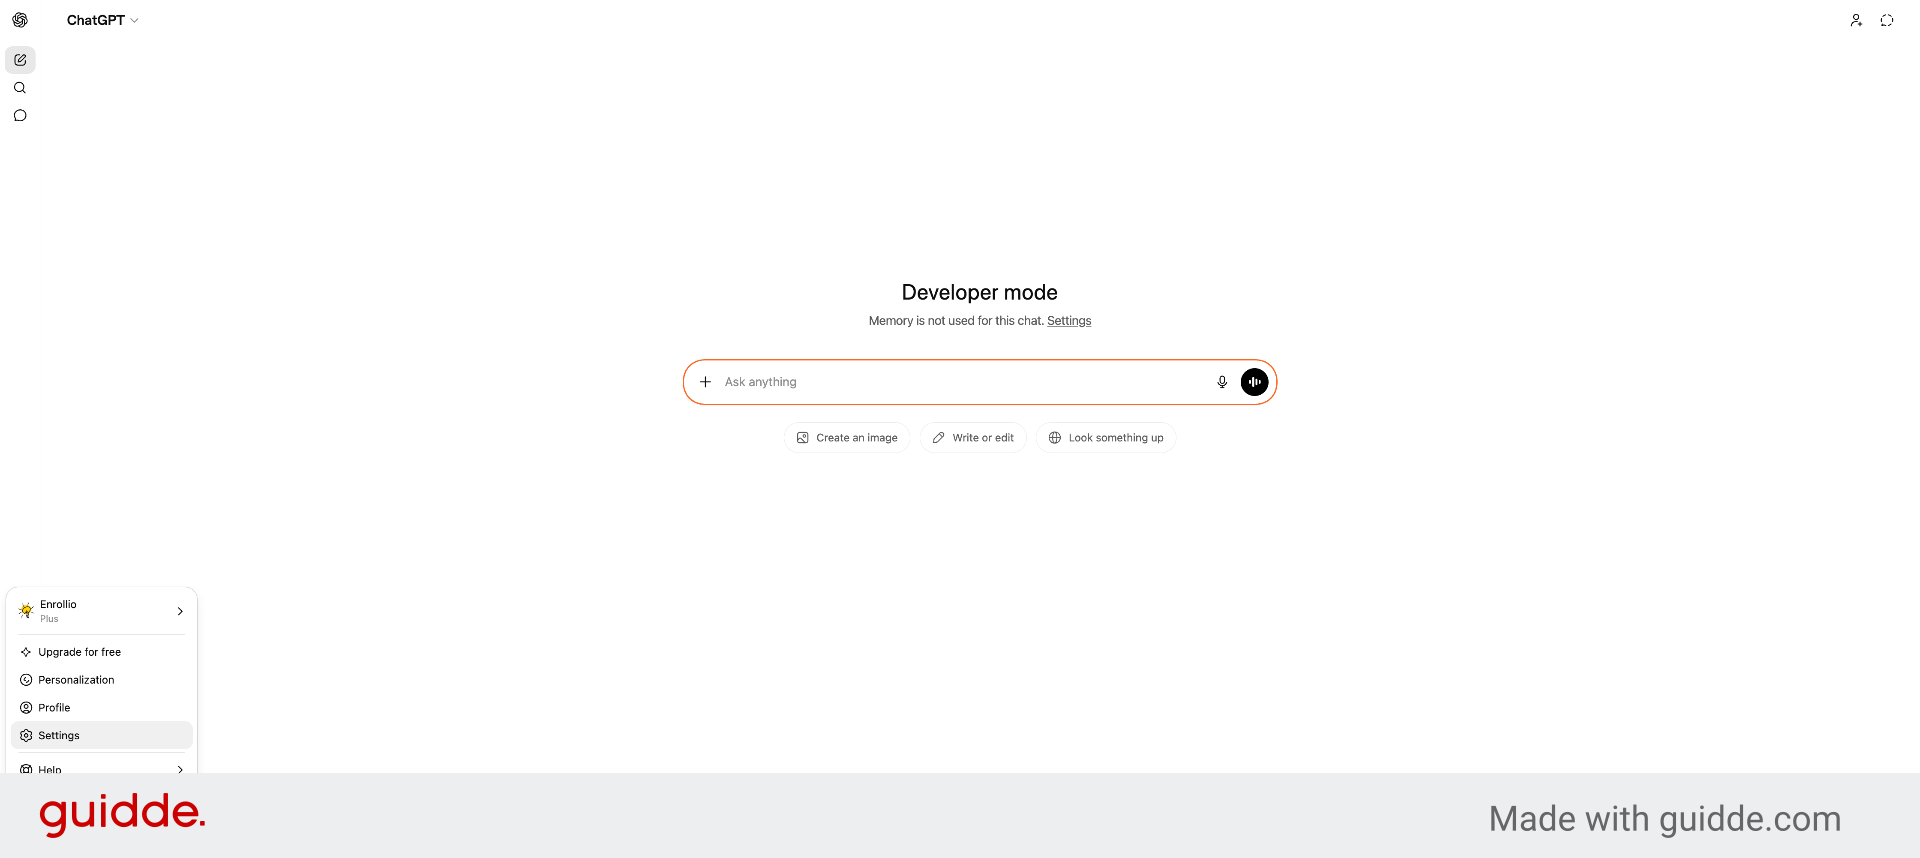
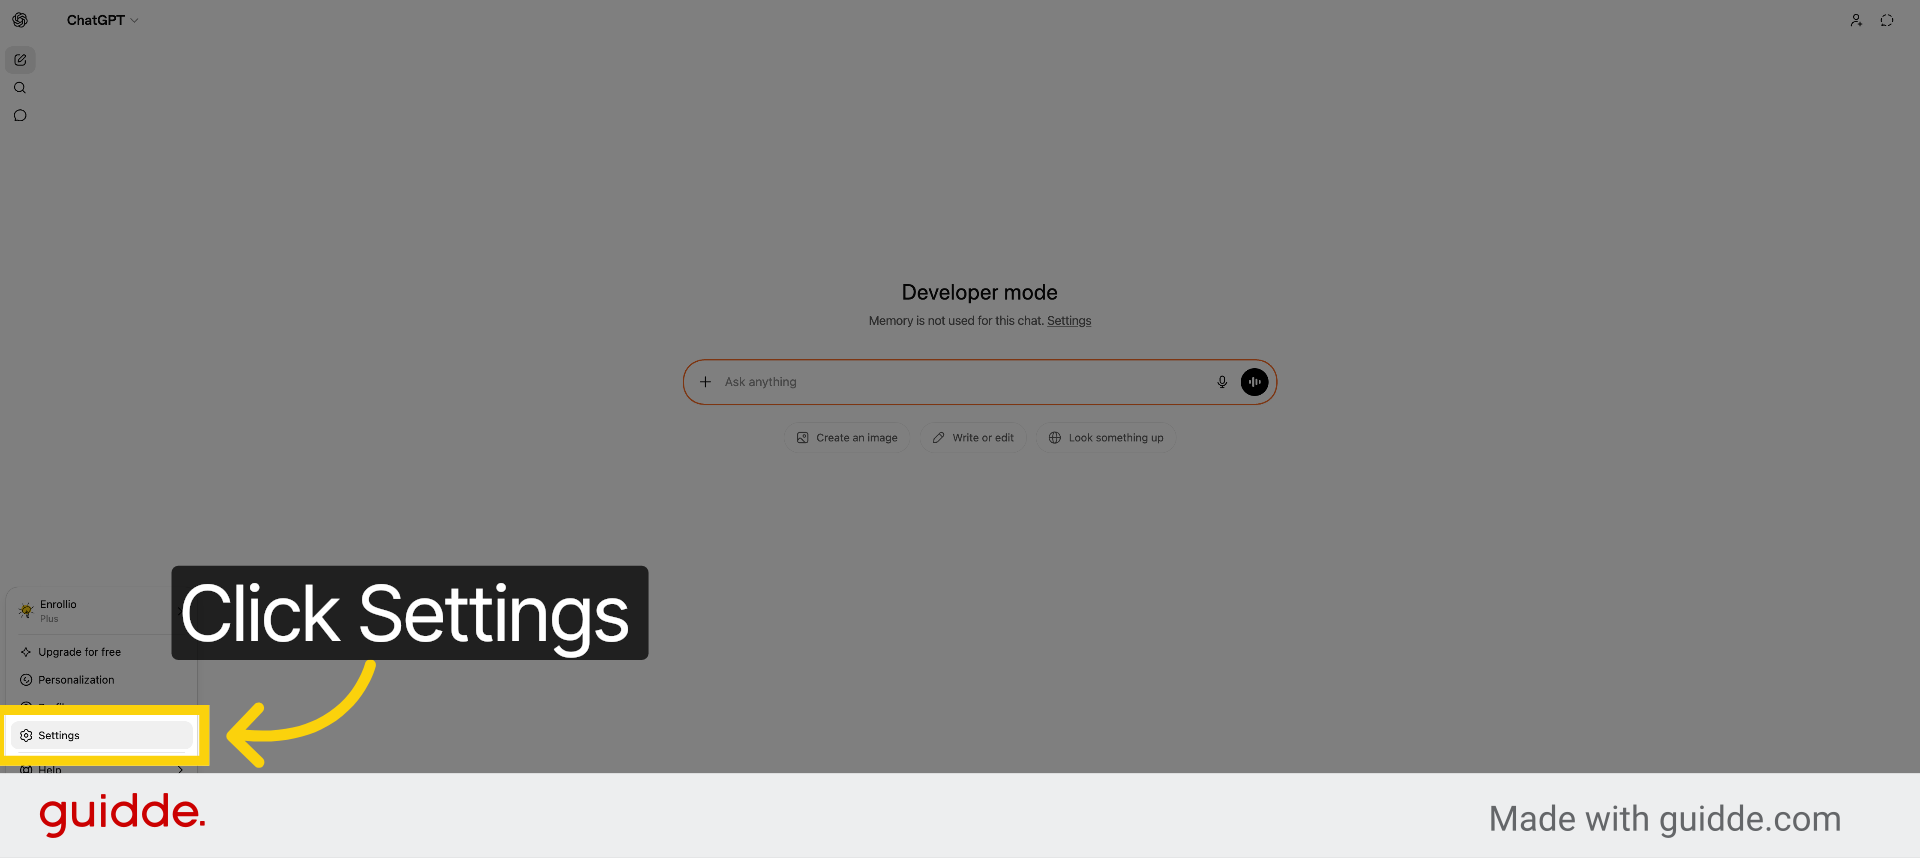
6. Open ChatGPT Settings
Click "Settings" in the bottom left corner of ChatGPT to access configuration options.
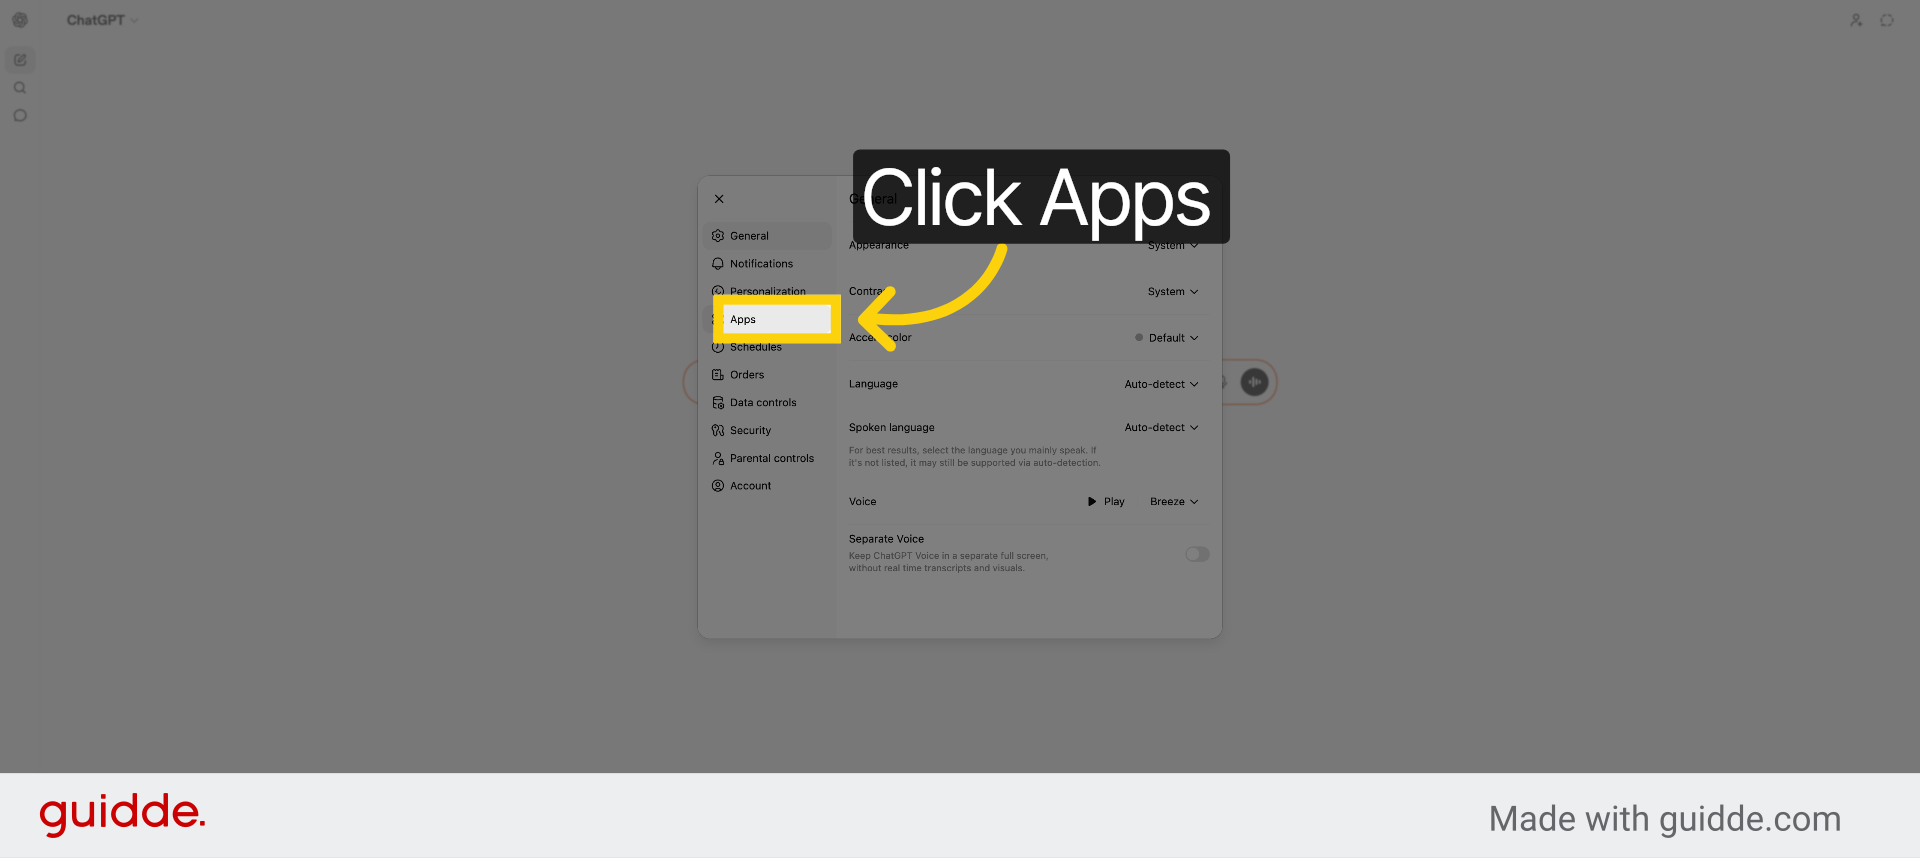
7. Access Apps Section
Click "Apps" within the settings menu to manage your ChatGPT applications.
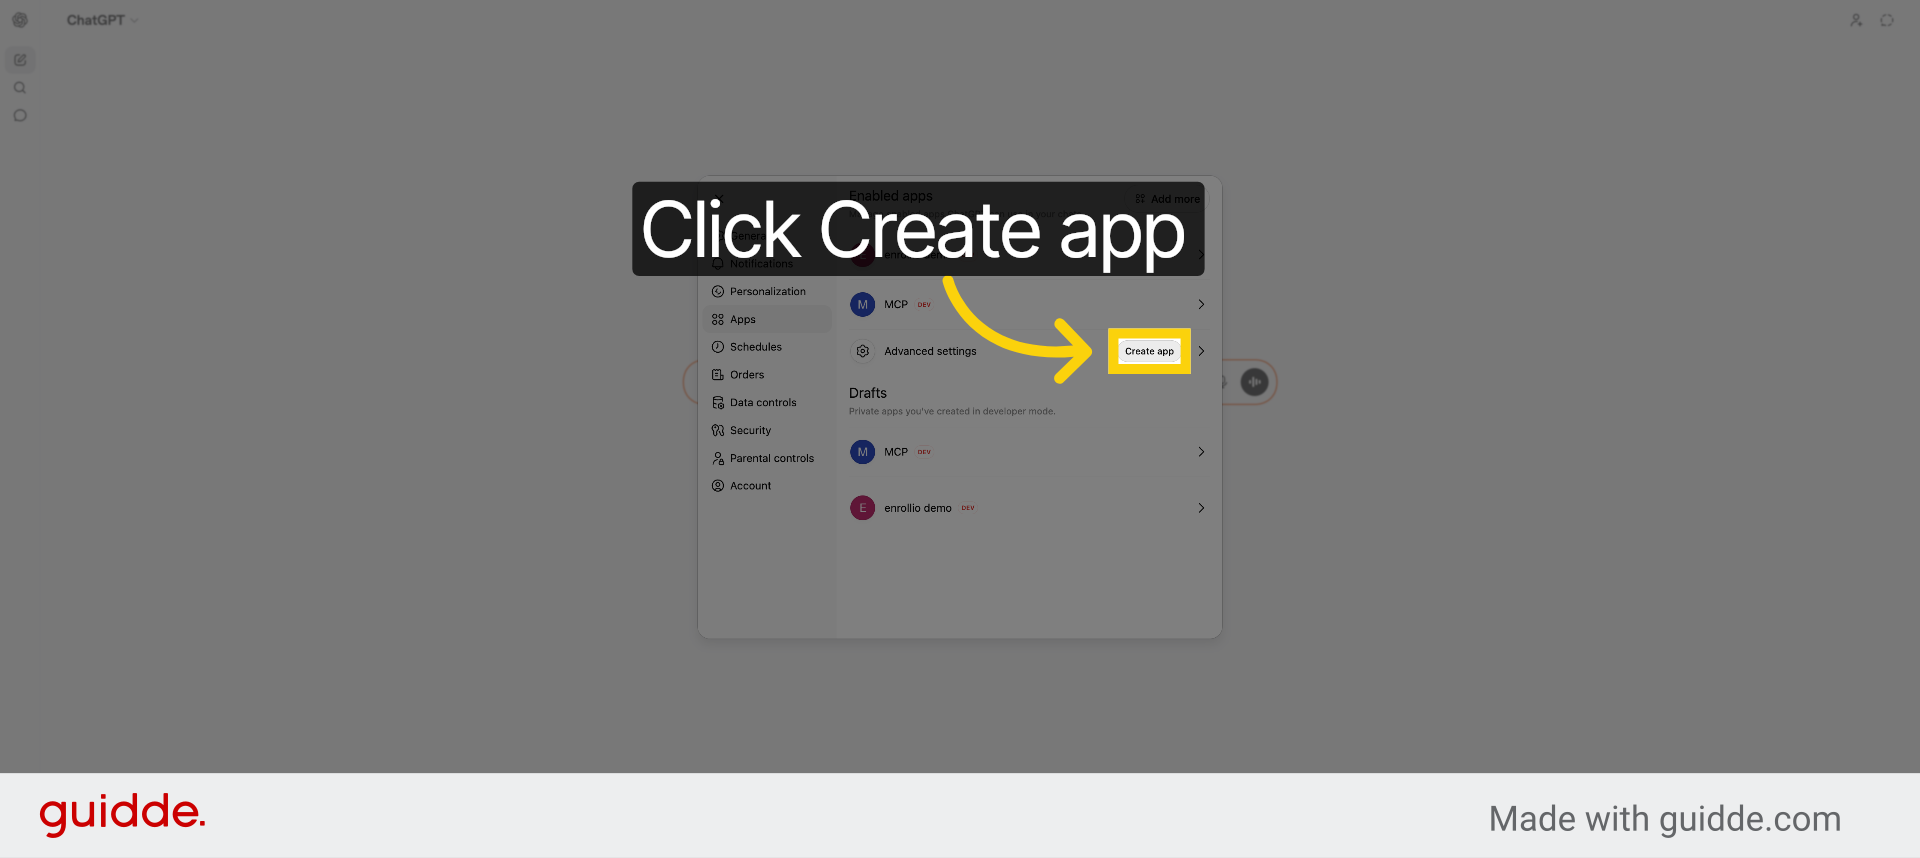
8. Create New App
Click "Create app" to start setting up a new ChatGPT integration.
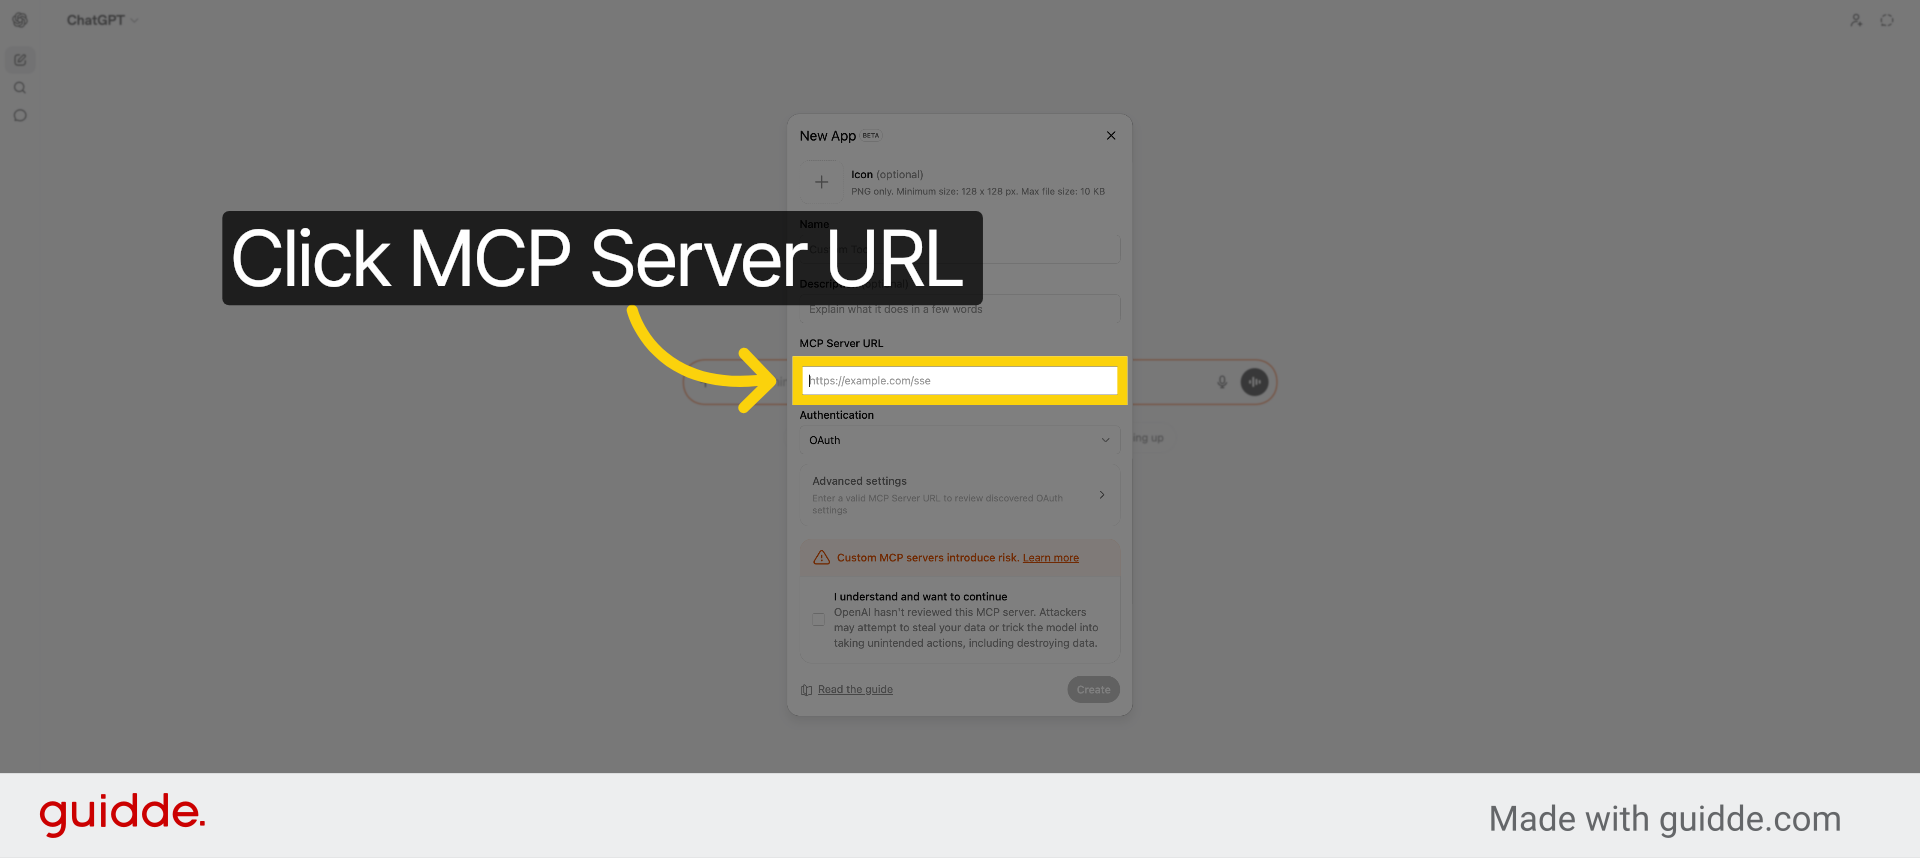
9. Select MCP Server URL Field
Click the "MCP Server URL" field to enter the Enrollio server address.
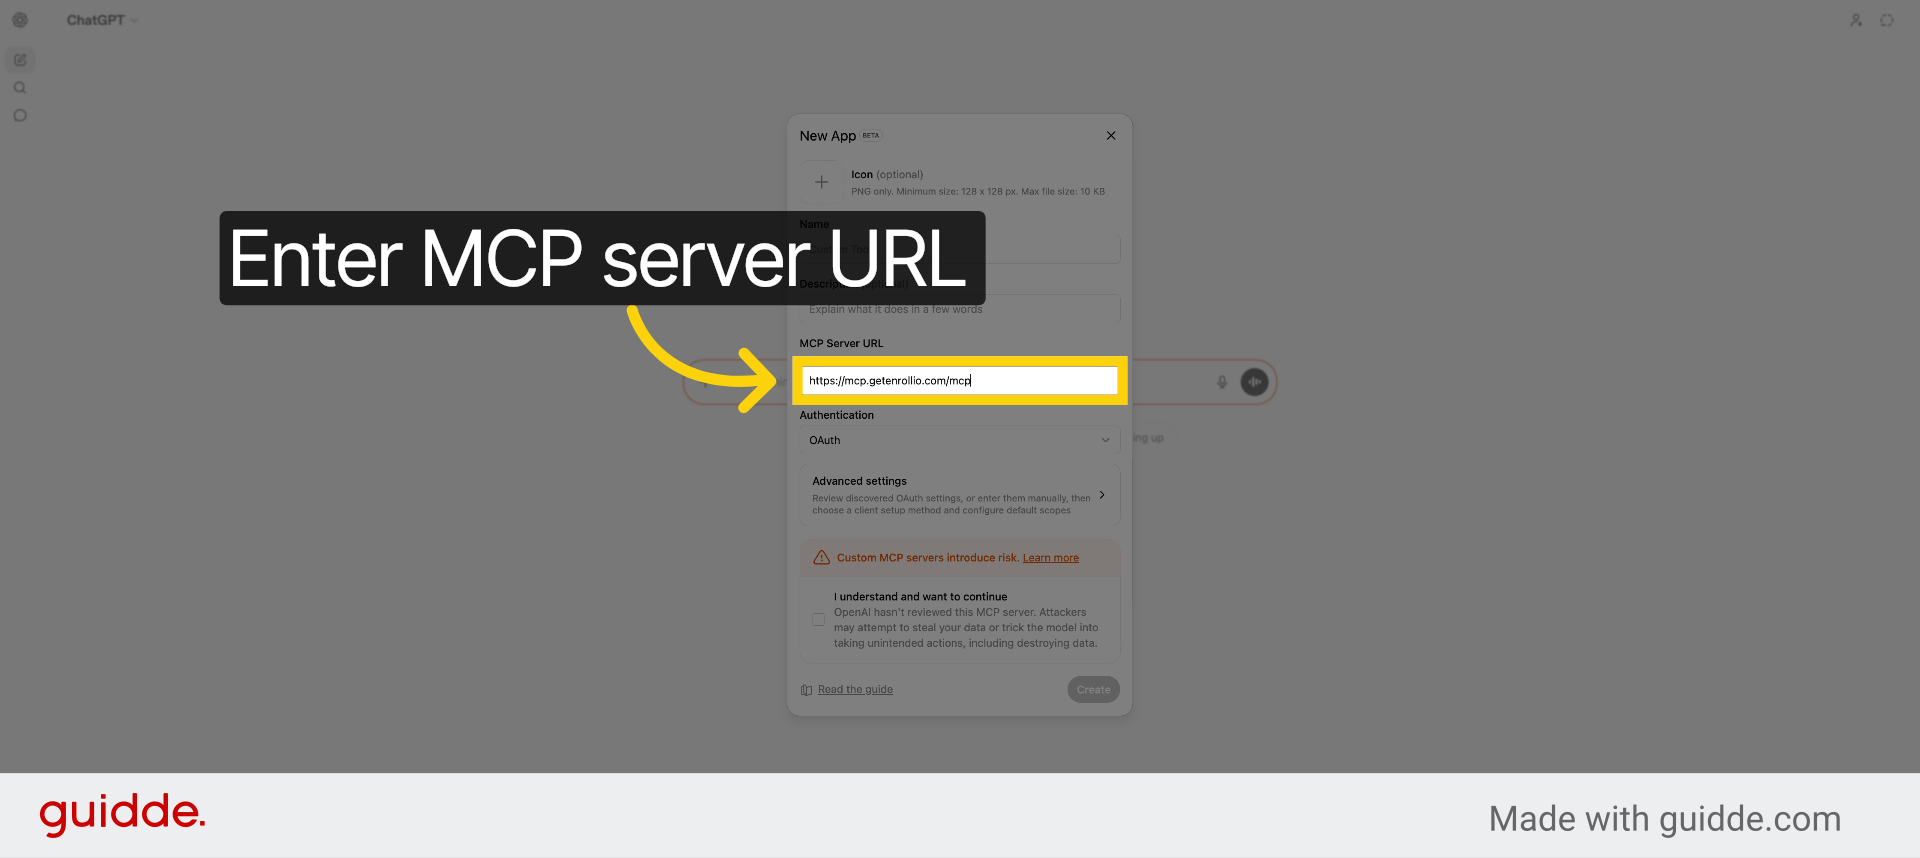
10. Enter MCP Server URL
Fill in "https://mcp.getenrollio.com/mcp" as the MCP server URL for the integration.
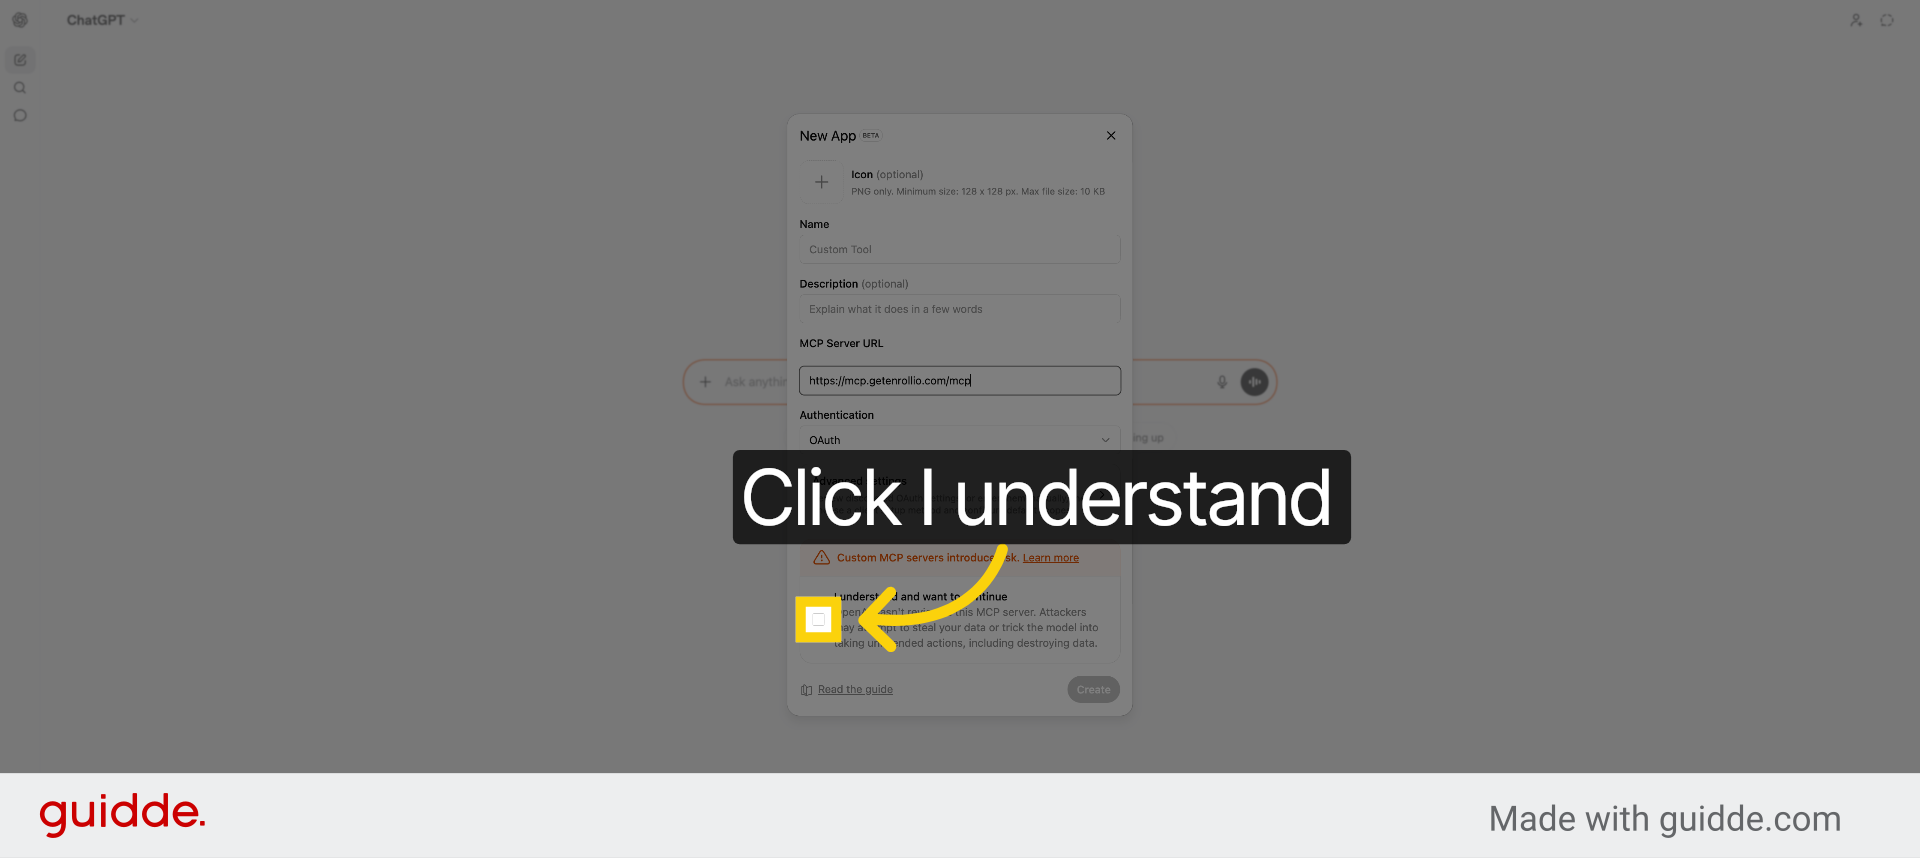
11. Acknowledge Security Warning
Click "I understand and want to continue" to accept the security warning about the MCP server.
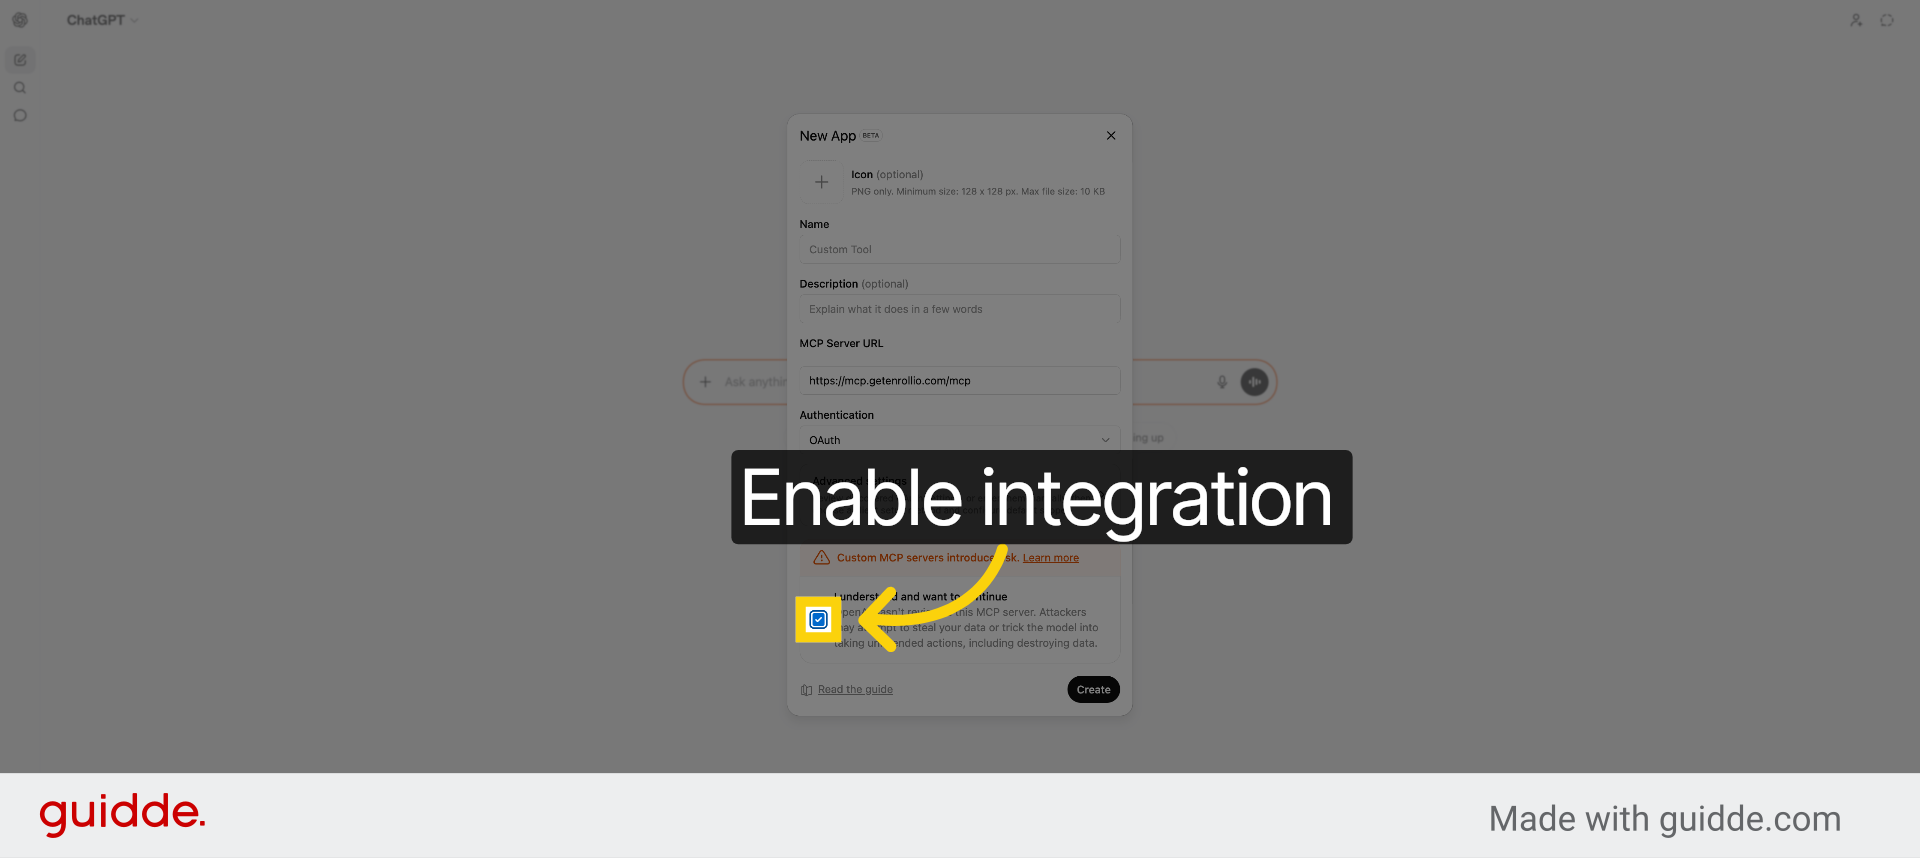
12. Enable Integration Option
Fill "on" to enable the integration setting for the app.
13. Select Name Field
Click the "Name" field to specify a name for your ChatGPT app.
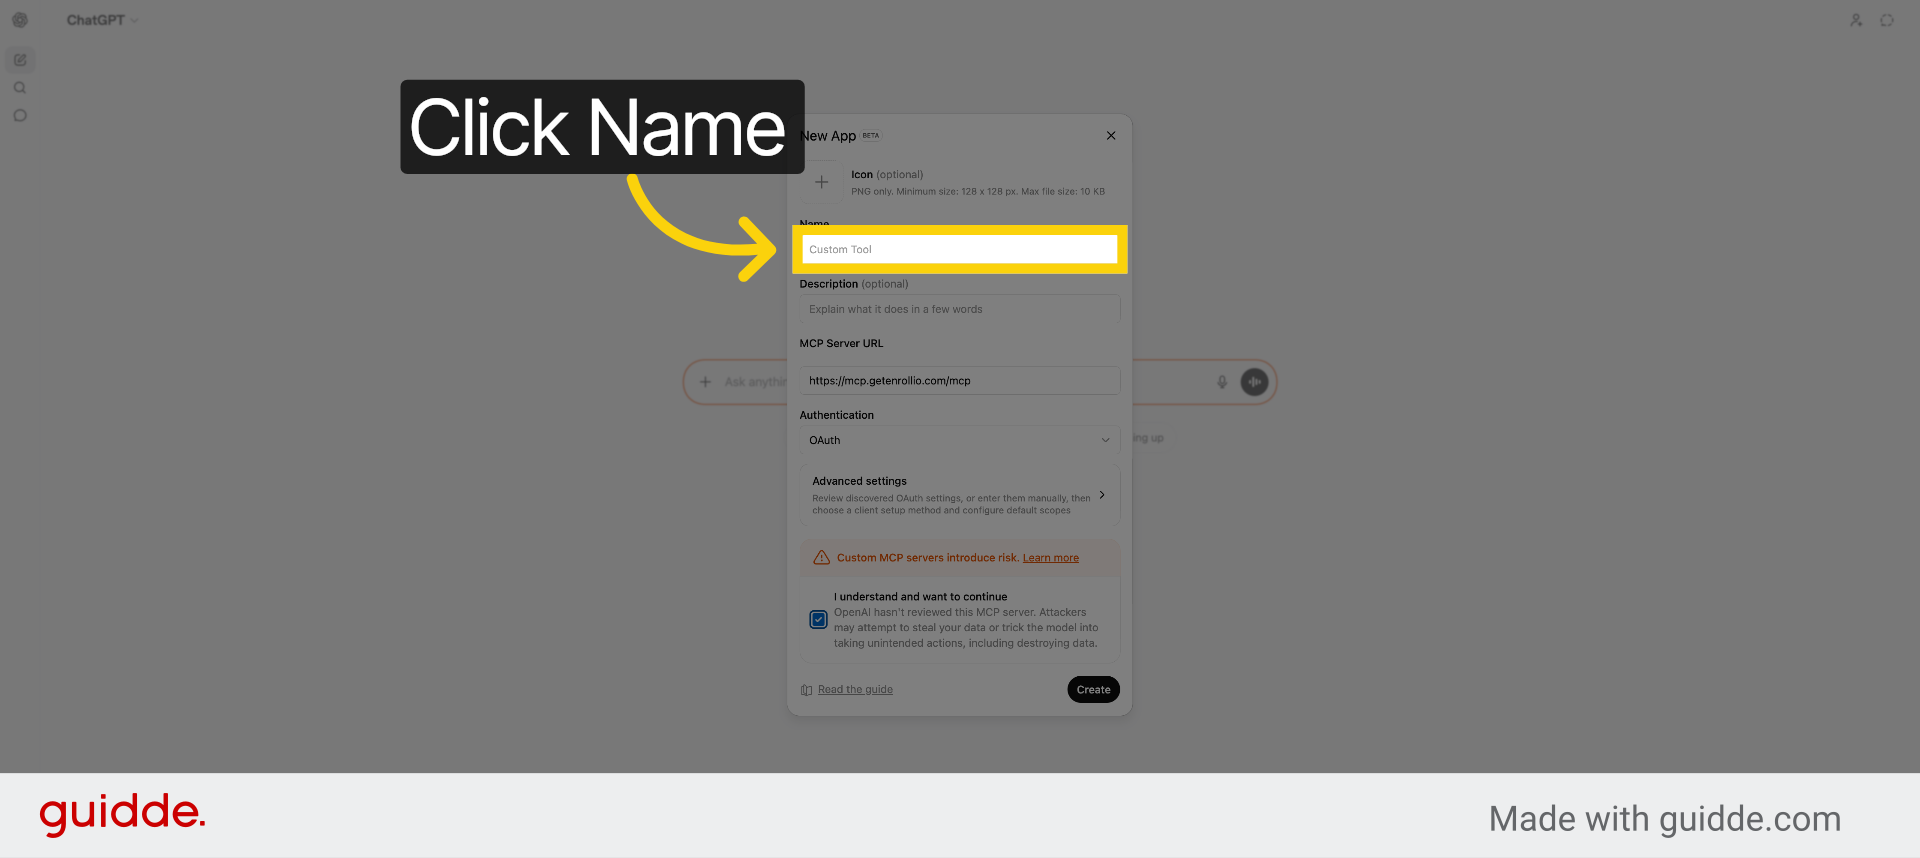
14. Select Name Field Again
Click "Name" again to ensure the field is active for input.
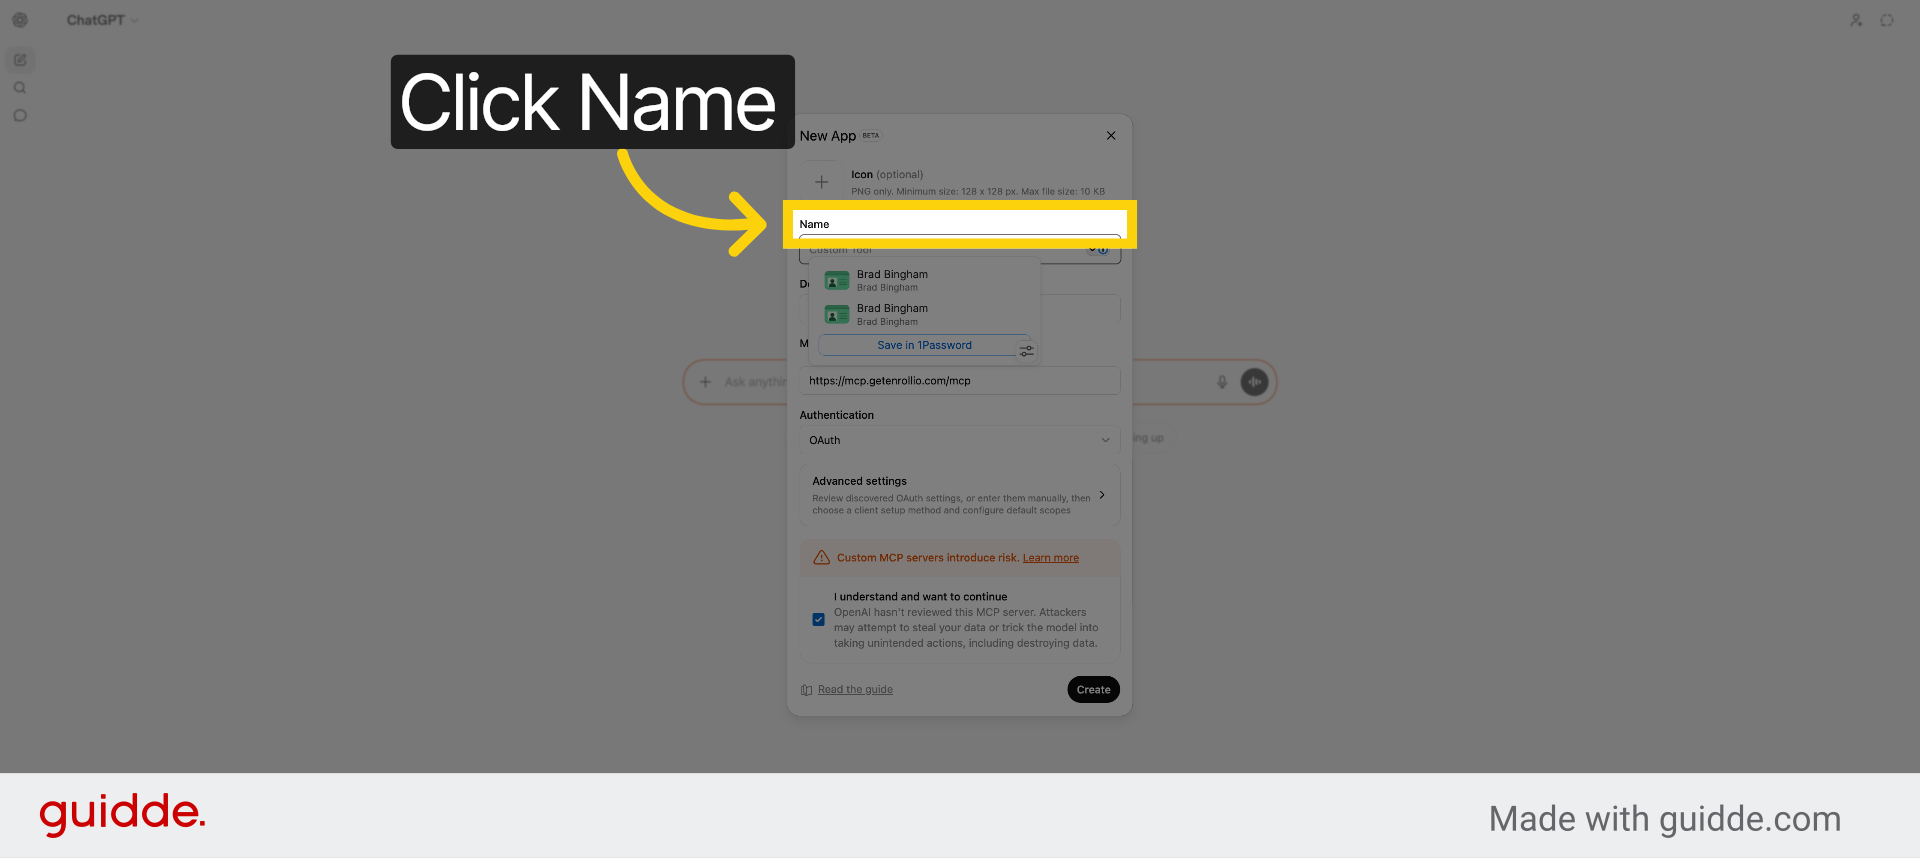
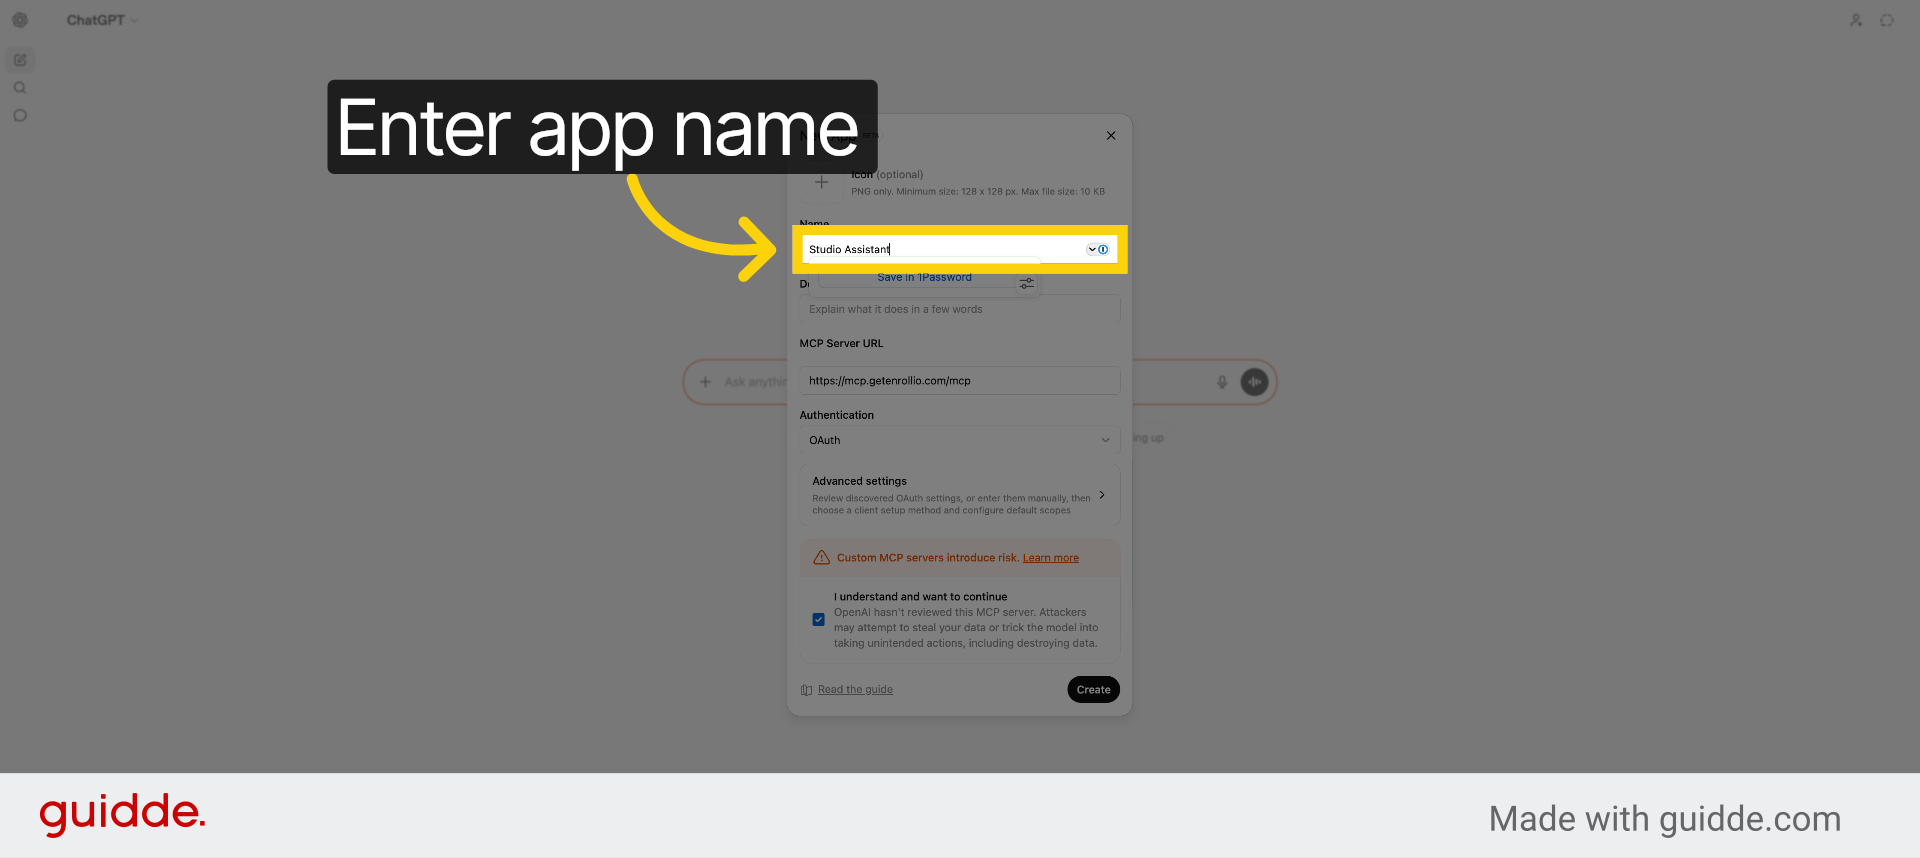
15. Name The App
Fill "Studio Assistant" as the name for your ChatGPT integration app.
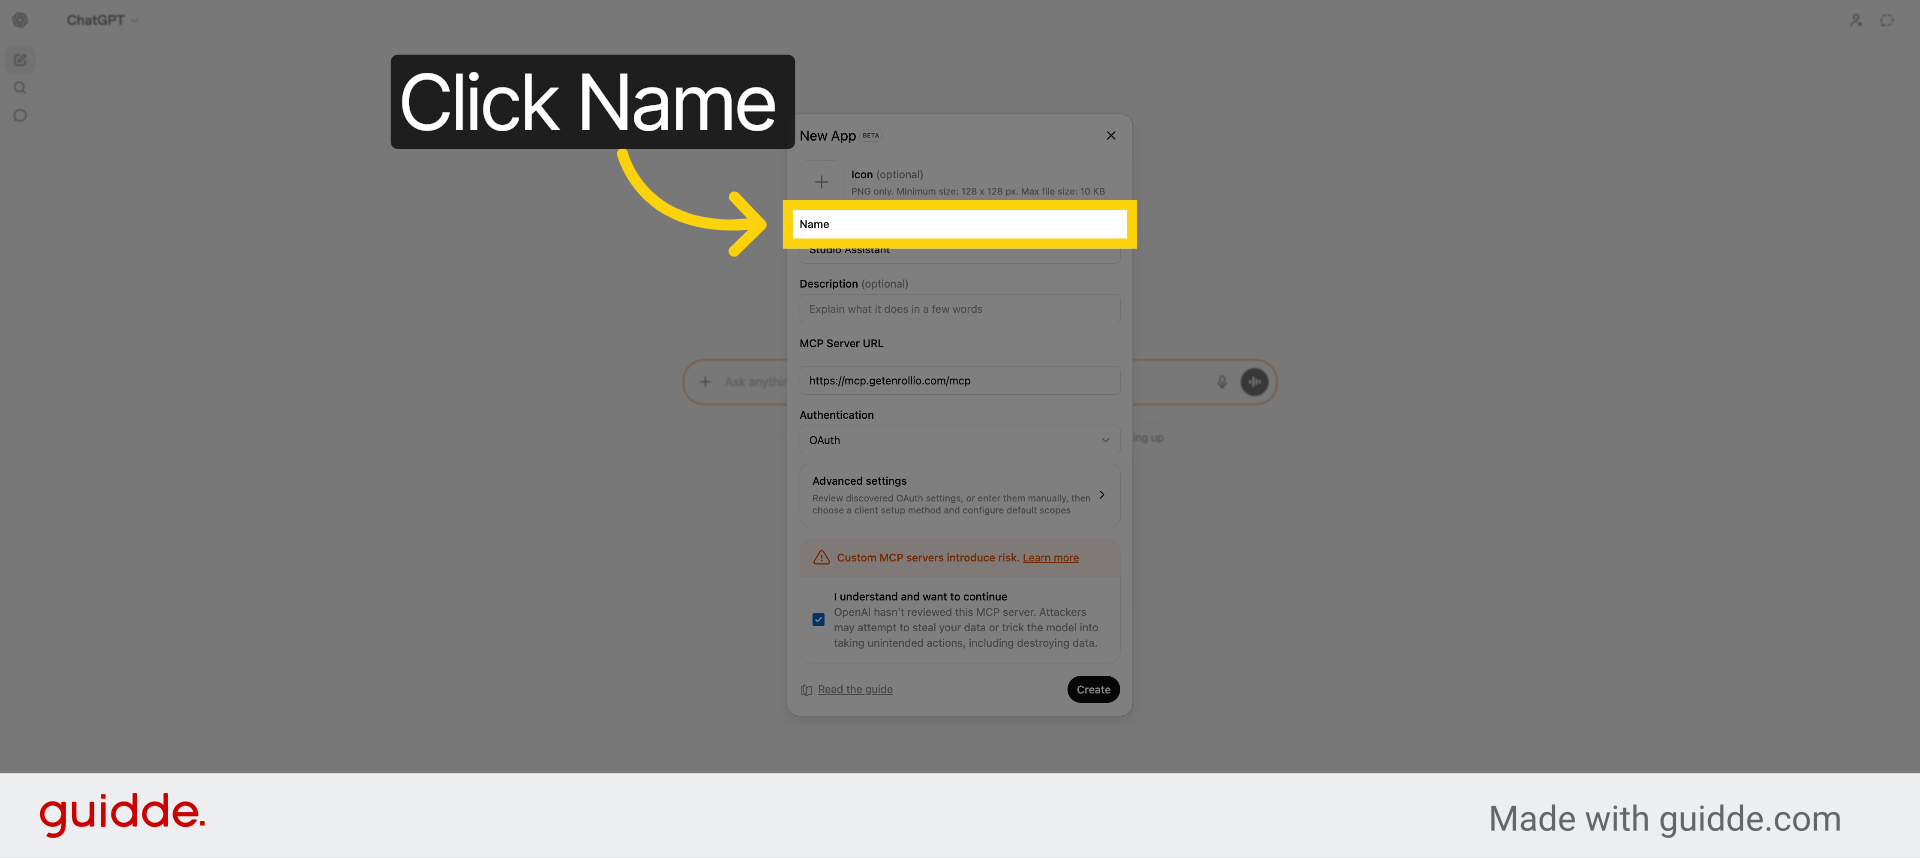
16. Select Name Field
Click "Name" to confirm the app name entry.
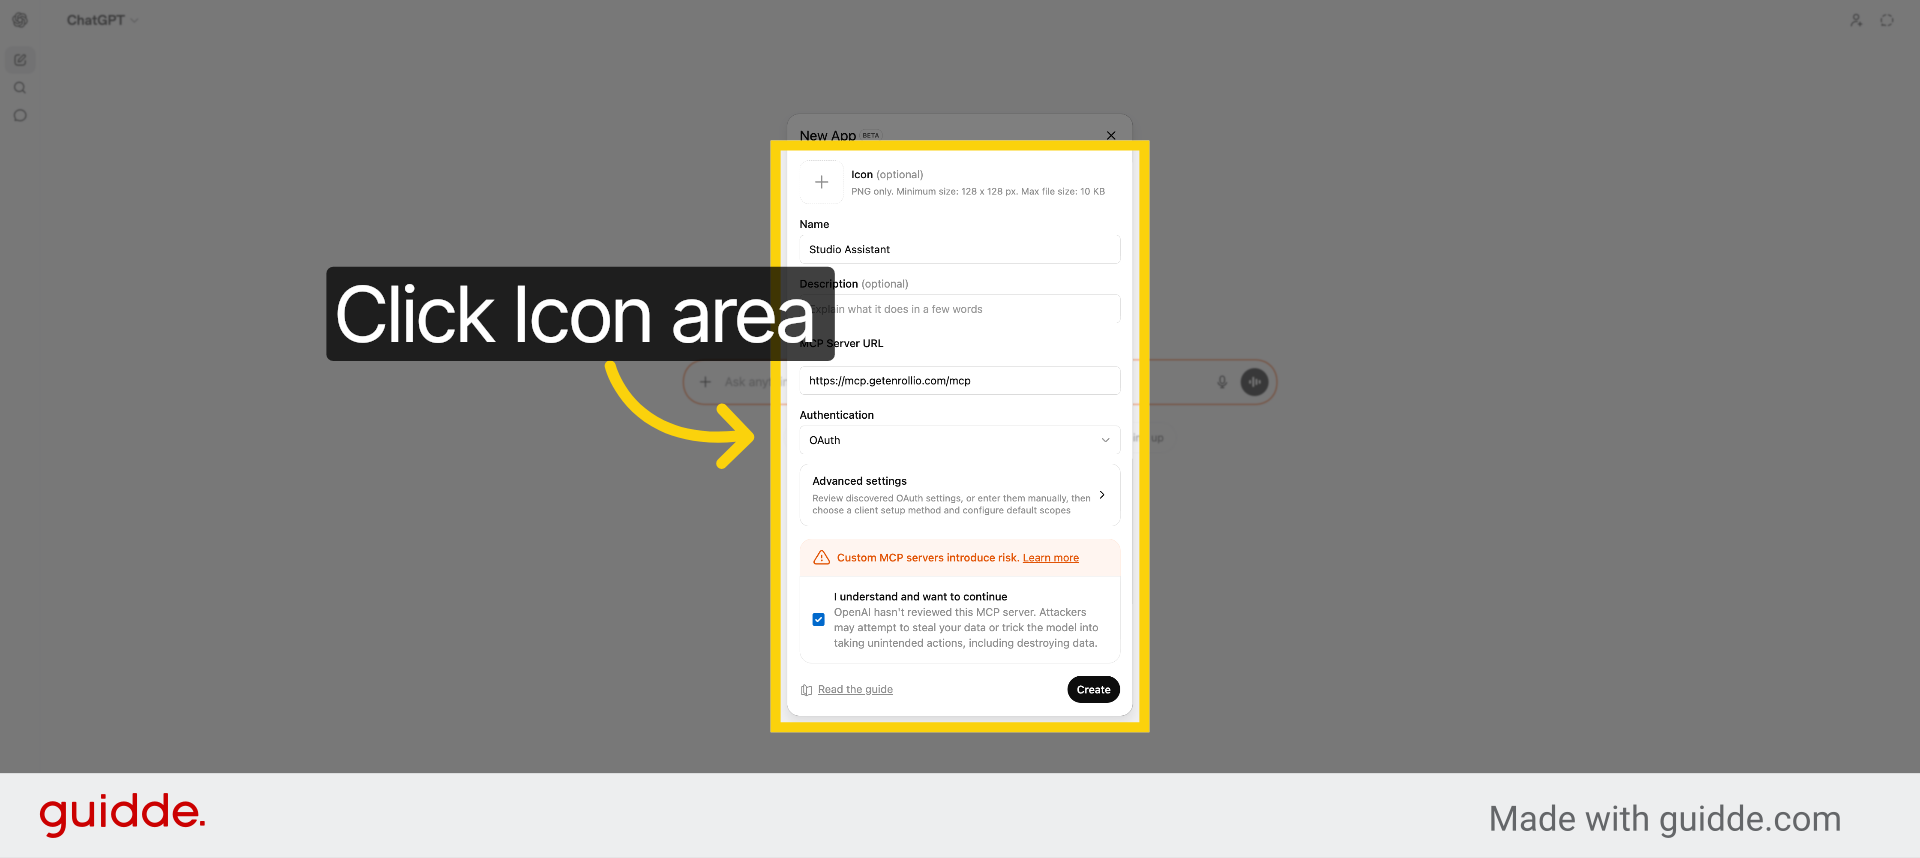
17. Access Icon And Settings
Click the icon area to optionally add a PNG icon for your studio or Enrollio app.
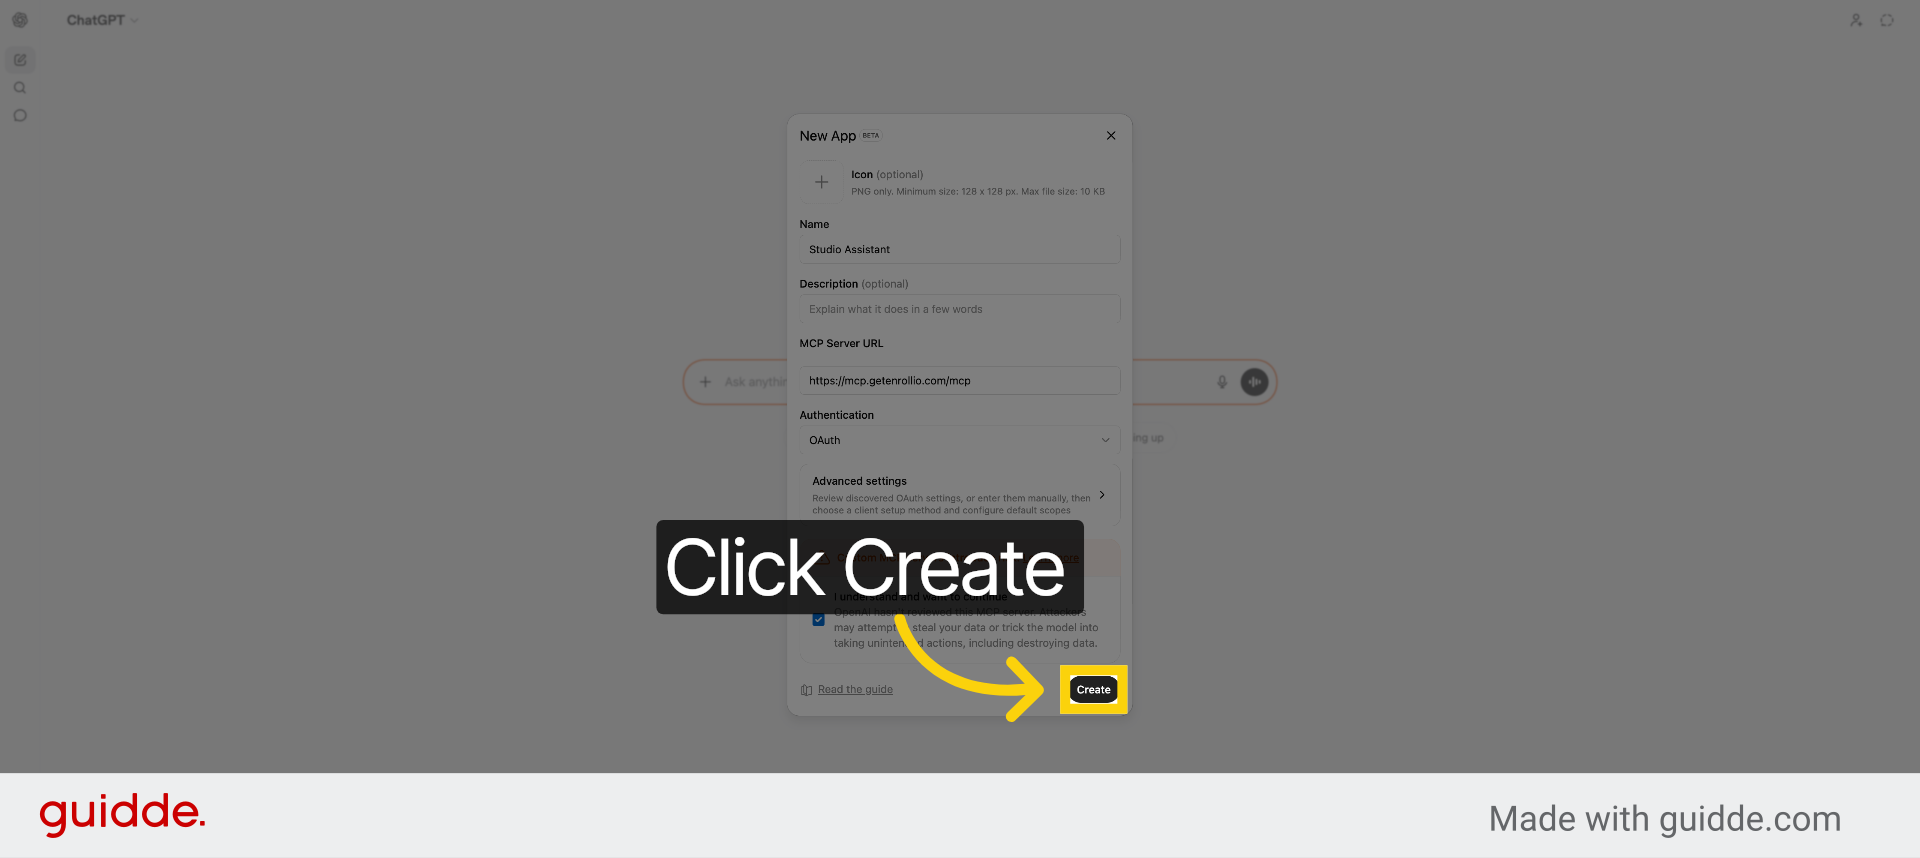
18. Create The App
Click "Create" to finalize the ChatGPT app creation with your settings.
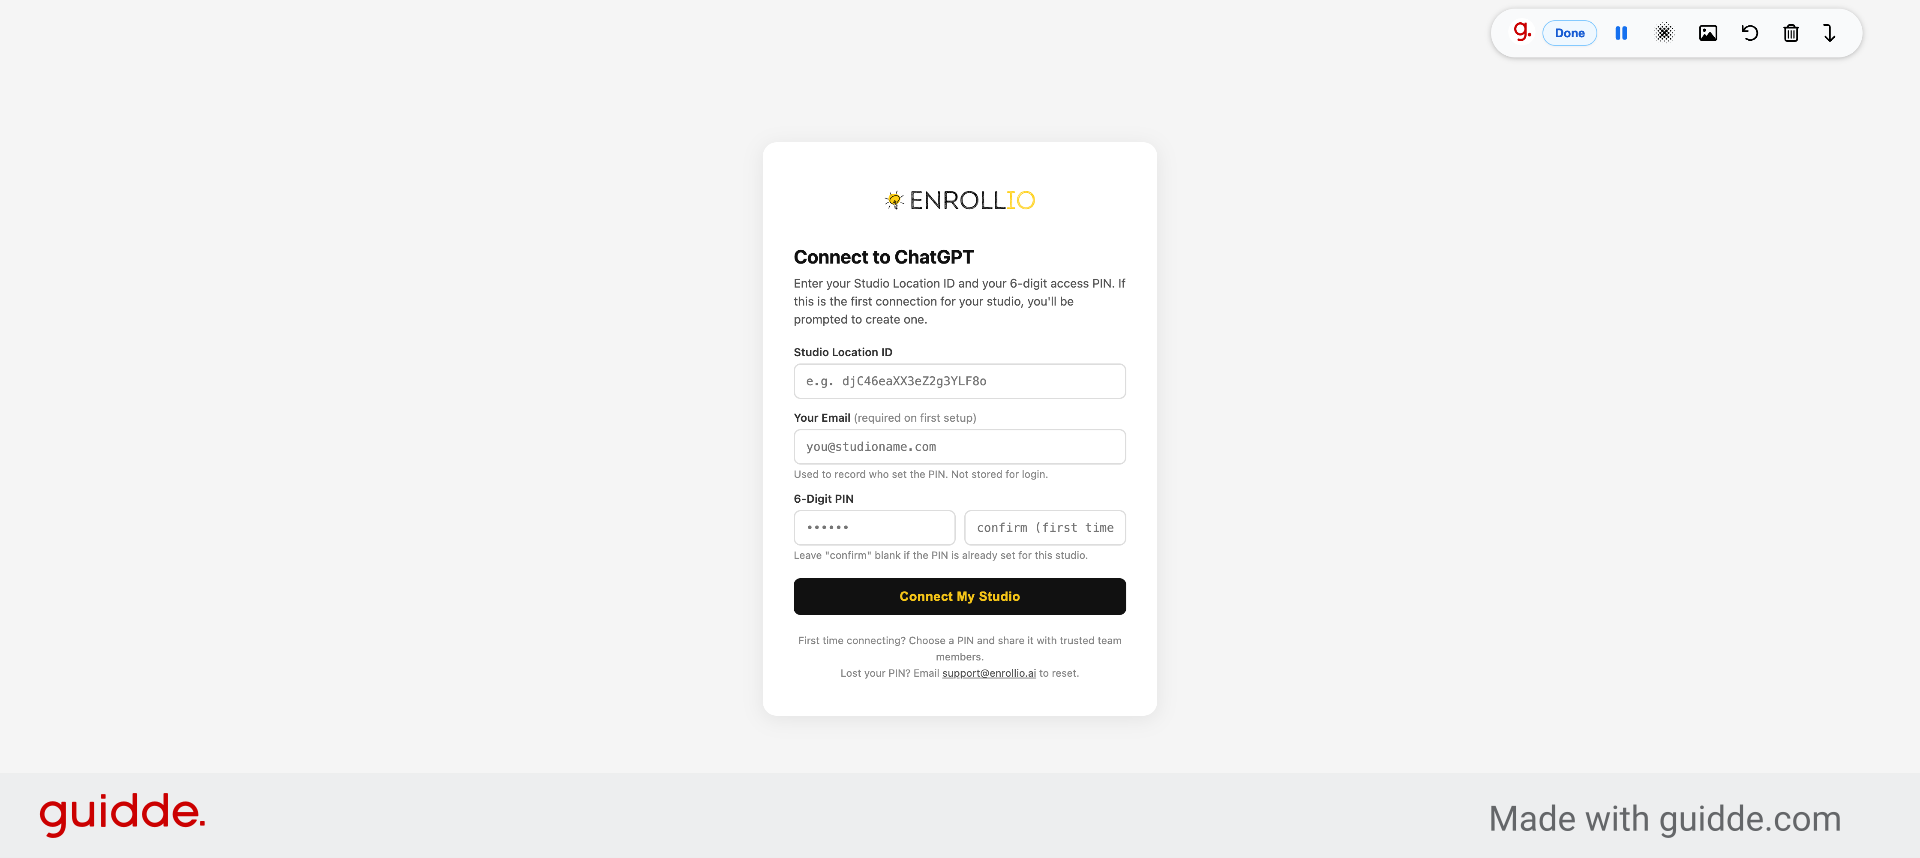
19. Switch To Enrollio MCP
Switch to "mcp.getenrollio.com" to continue the Enrollio ChatGPT connection setup.
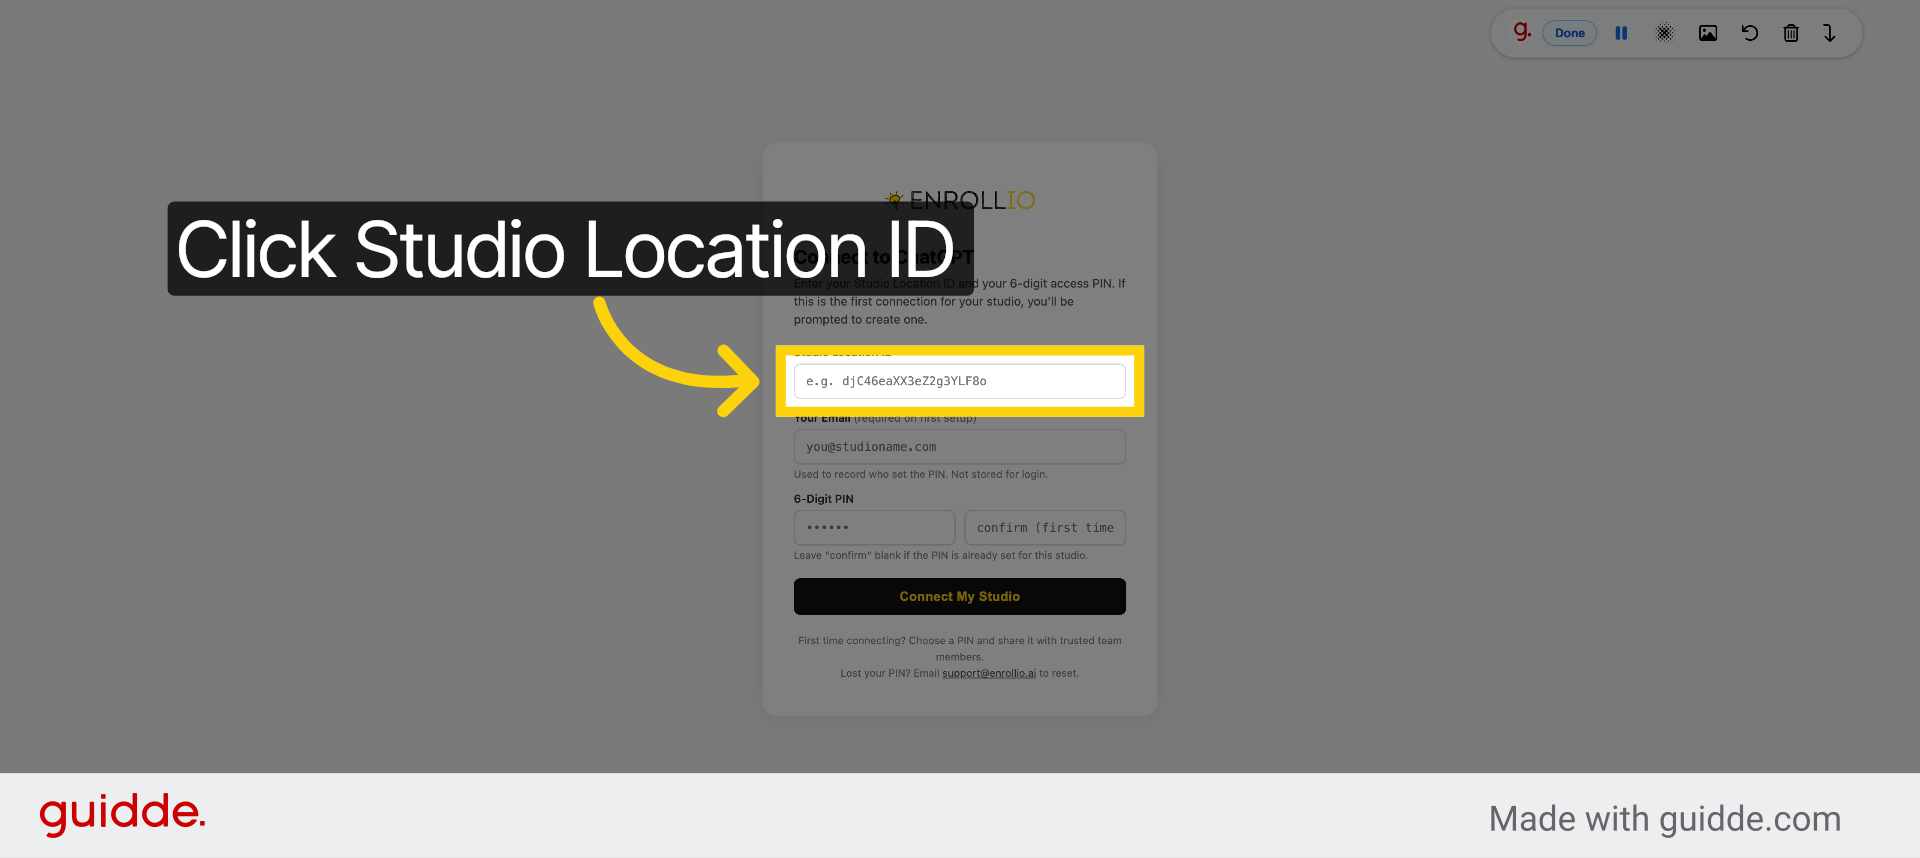
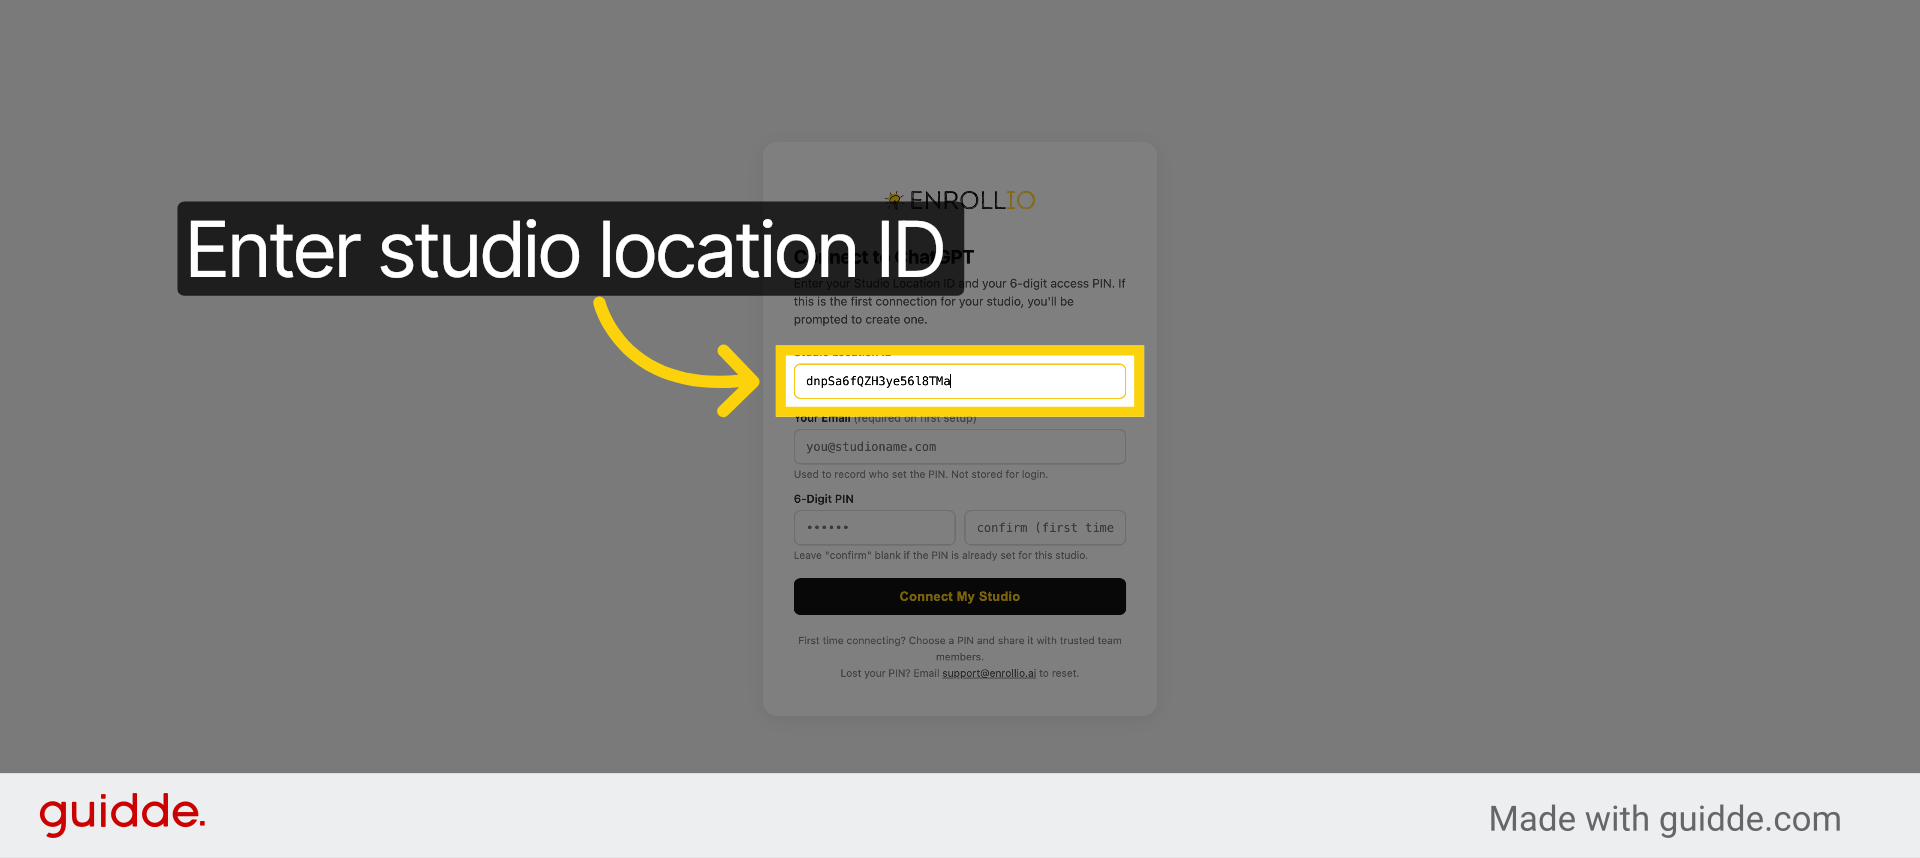
20. Select Studio Location ID
Click "Studio Location ID" to enter your unique studio identifier.
21. Enter Studio Location ID
Fill "dnpSa6fQZH3ye56l8TMa" as your studio location ID for the connection.
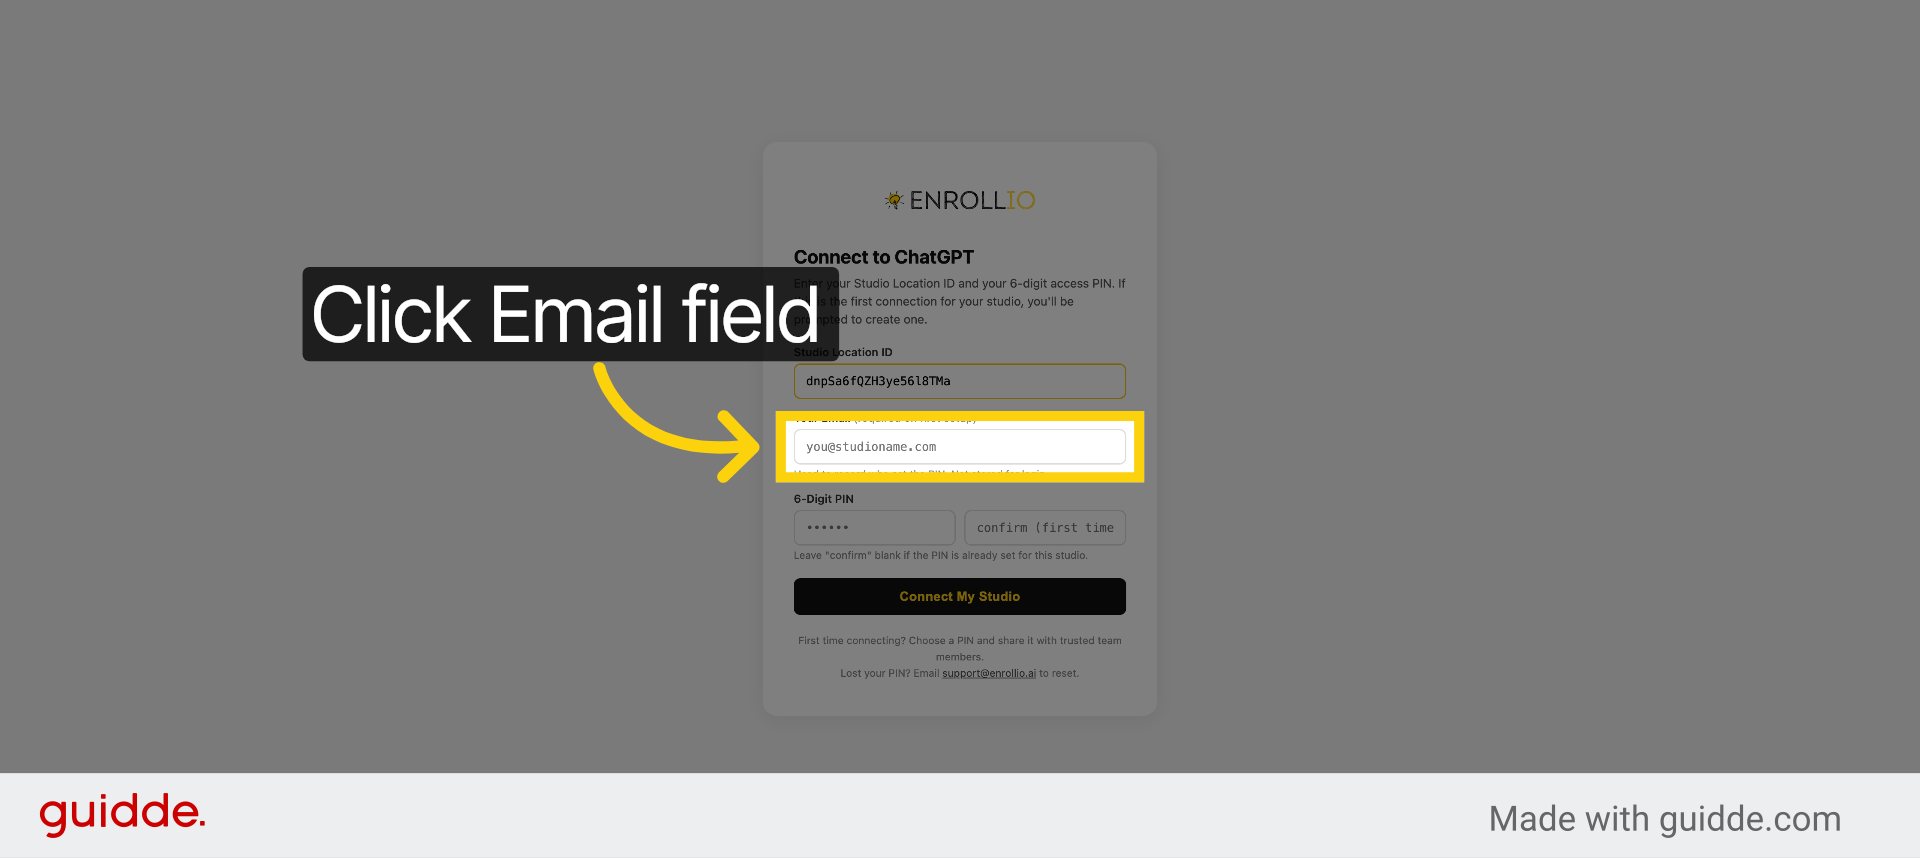
22. Select Email Field
Click "Your Email (required on first setup)" to input the primary user's email.
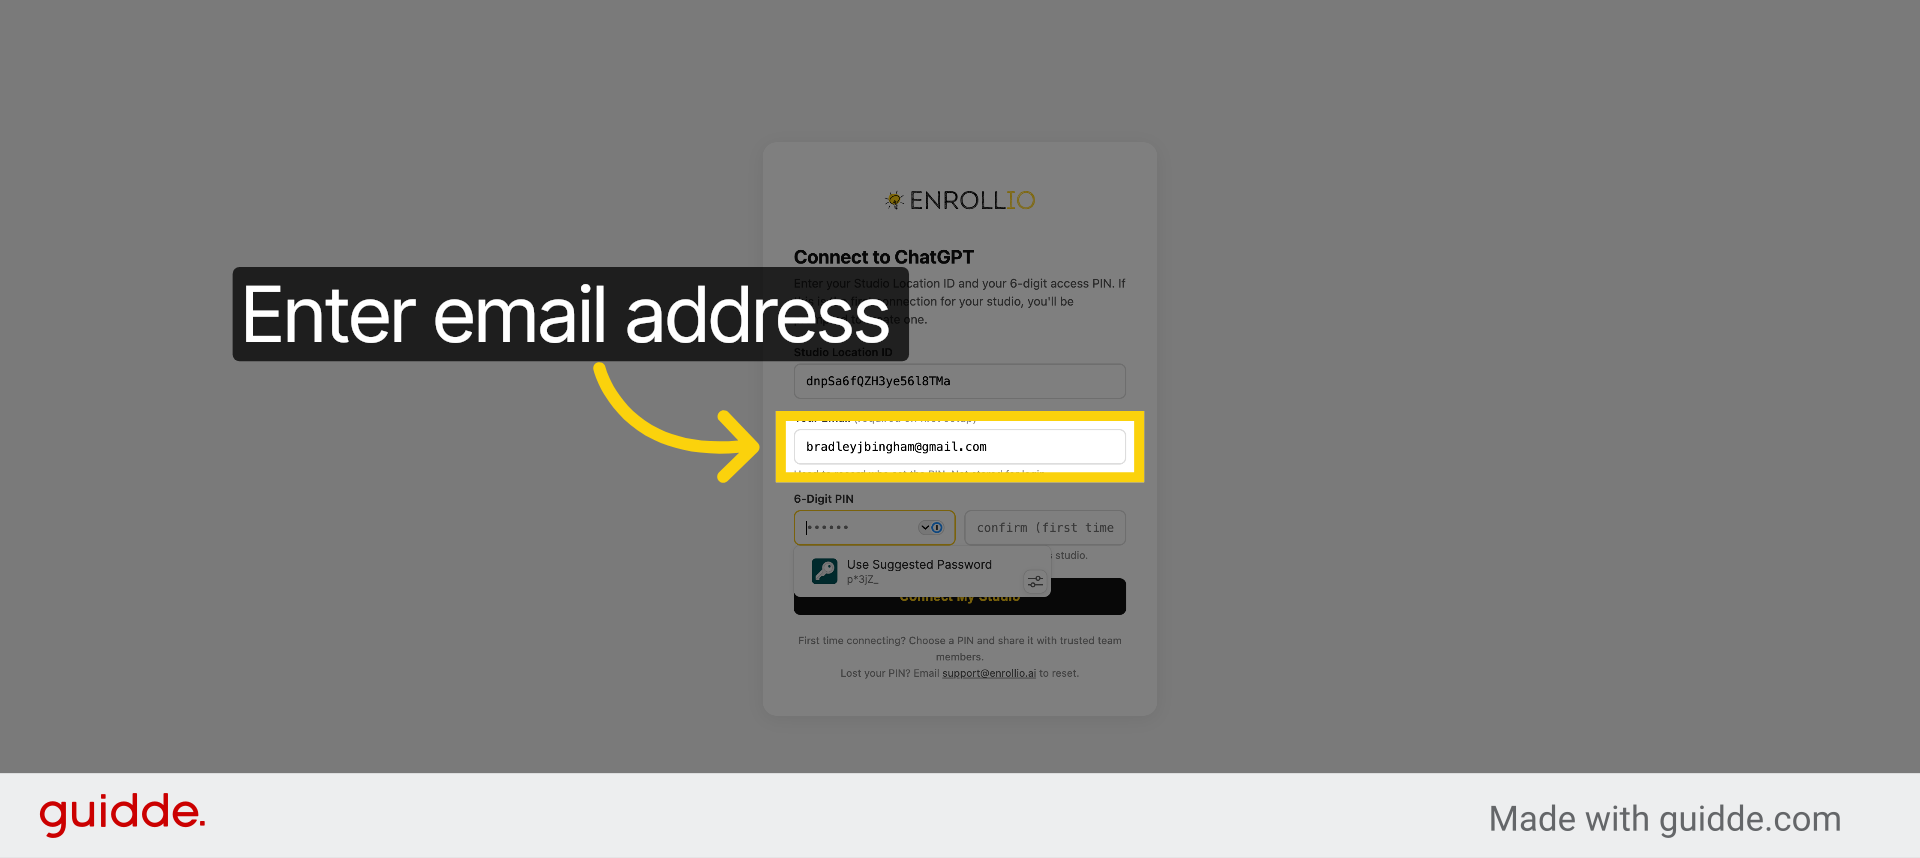
23. Enter Primary Email
Fill your email address to identify the primary person setting up the integration.
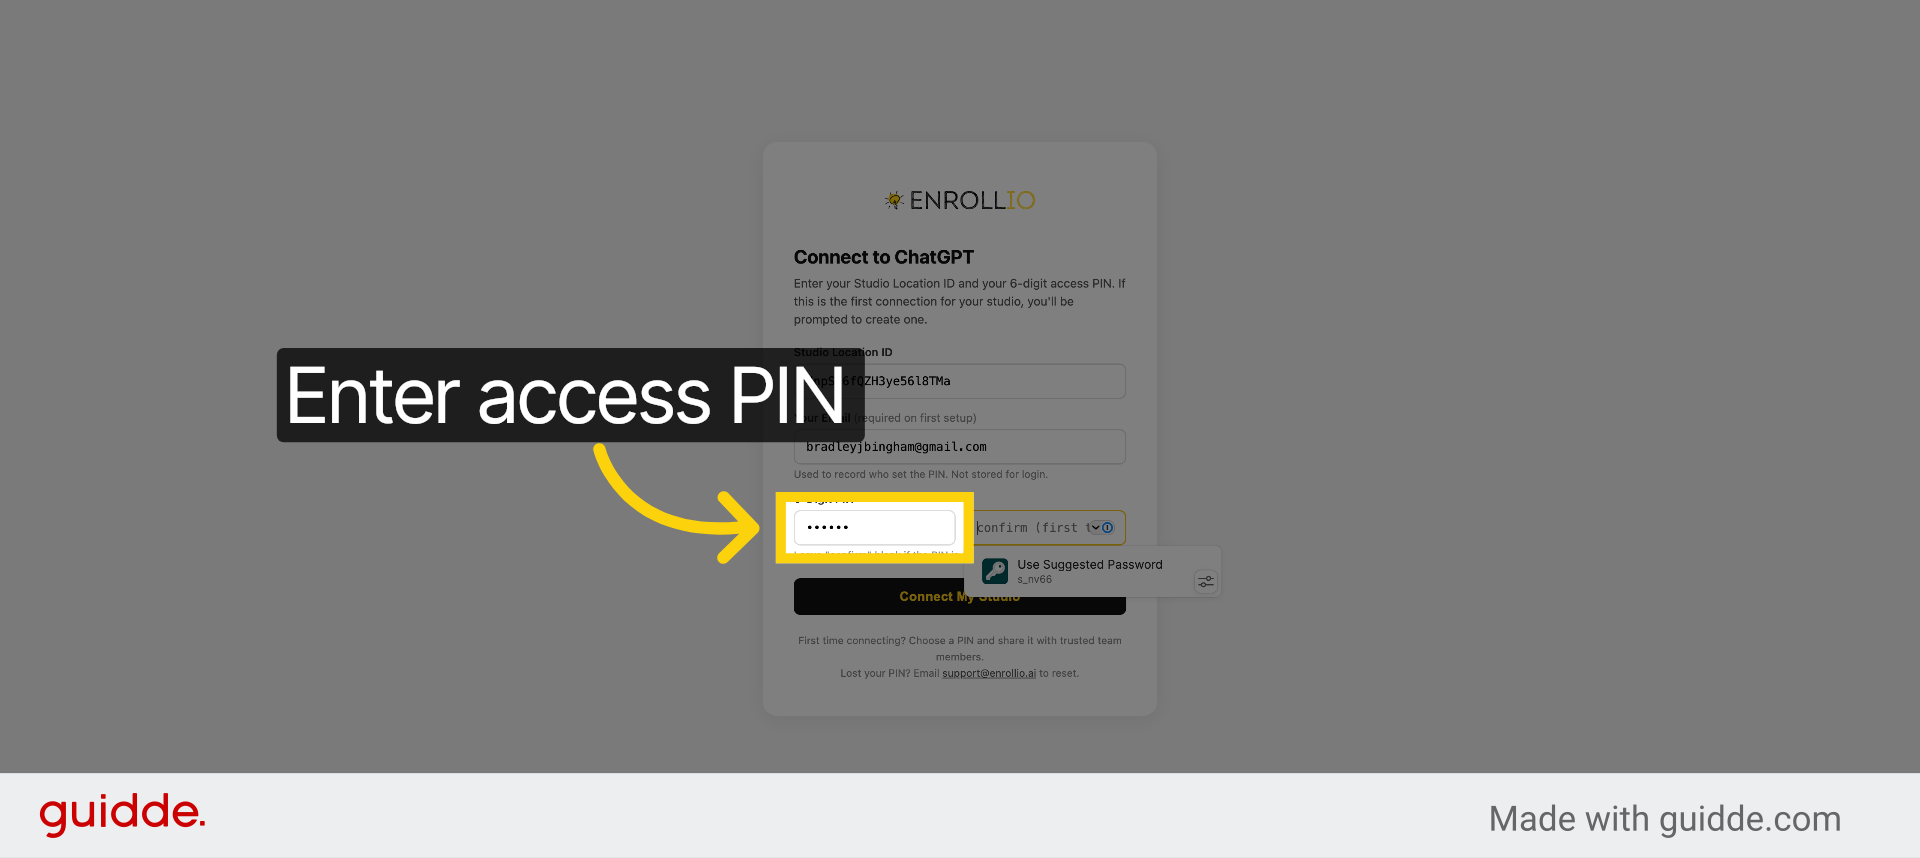
24. Enter Access PIN
Fill your 6-digit access PIN to secure the connection.
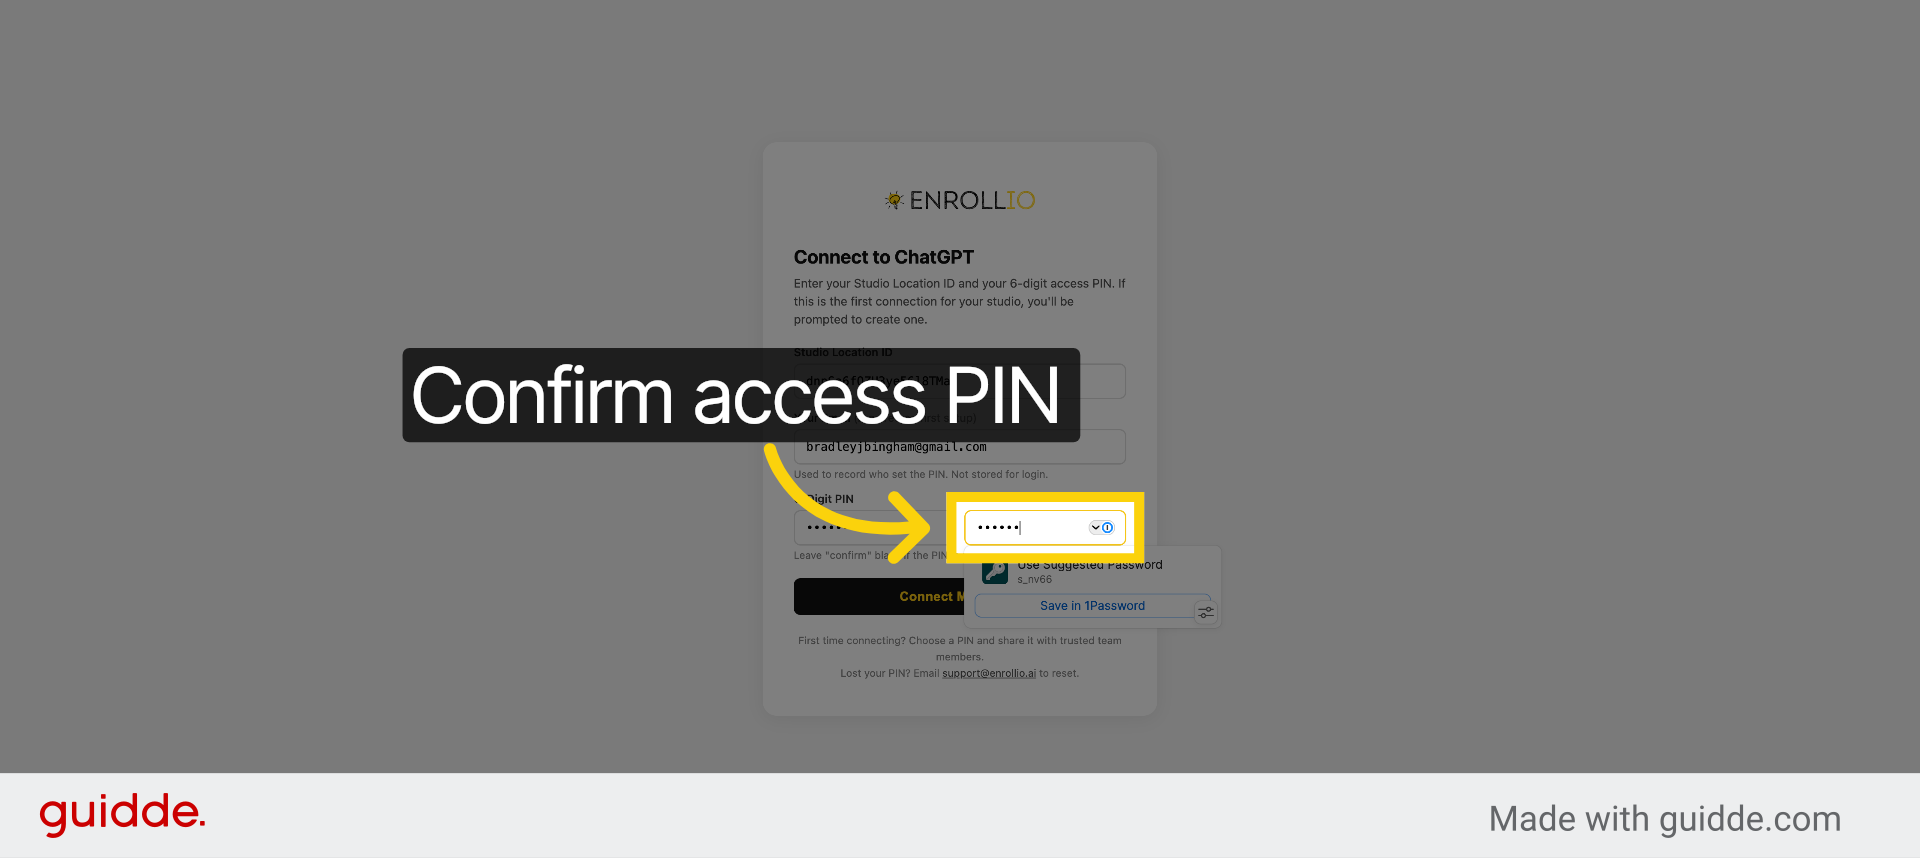
25. Confirm Access PIN
Fill the confirmation of your access PIN for verification during first-time setup.
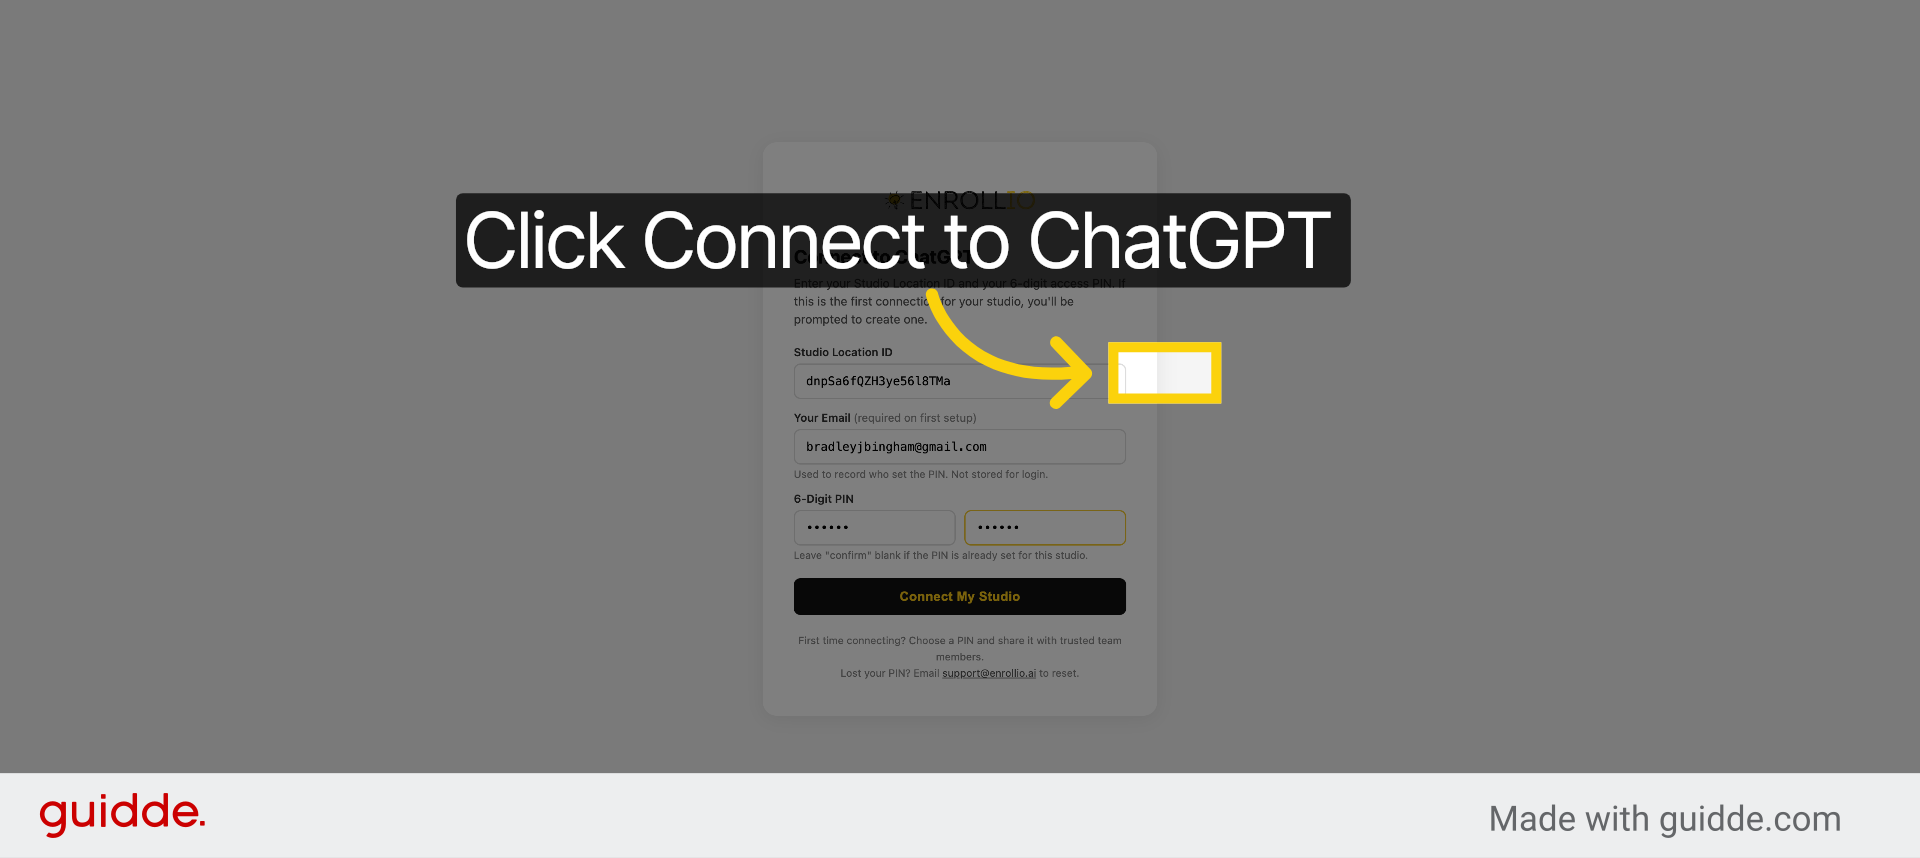
26. Connect To ChatGPT Studio
Click "Connect to ChatGPT" to complete the integration and connect your studio.
You have successfully connected ChatGPT with Enrollio AI Studio by creating a ChatGPT app, entering your studio location ID, and configuring access credentials. For more information, see related articles on Enrollio integrations and ChatGPT app management.