
Purpose
Setting up Mailgun in Enrollio ensures reliable email delivery and communication with your contacts. Follow the steps below to integrate Mailgun with your Enrollio account.
1. Sign Up for Mailgun here
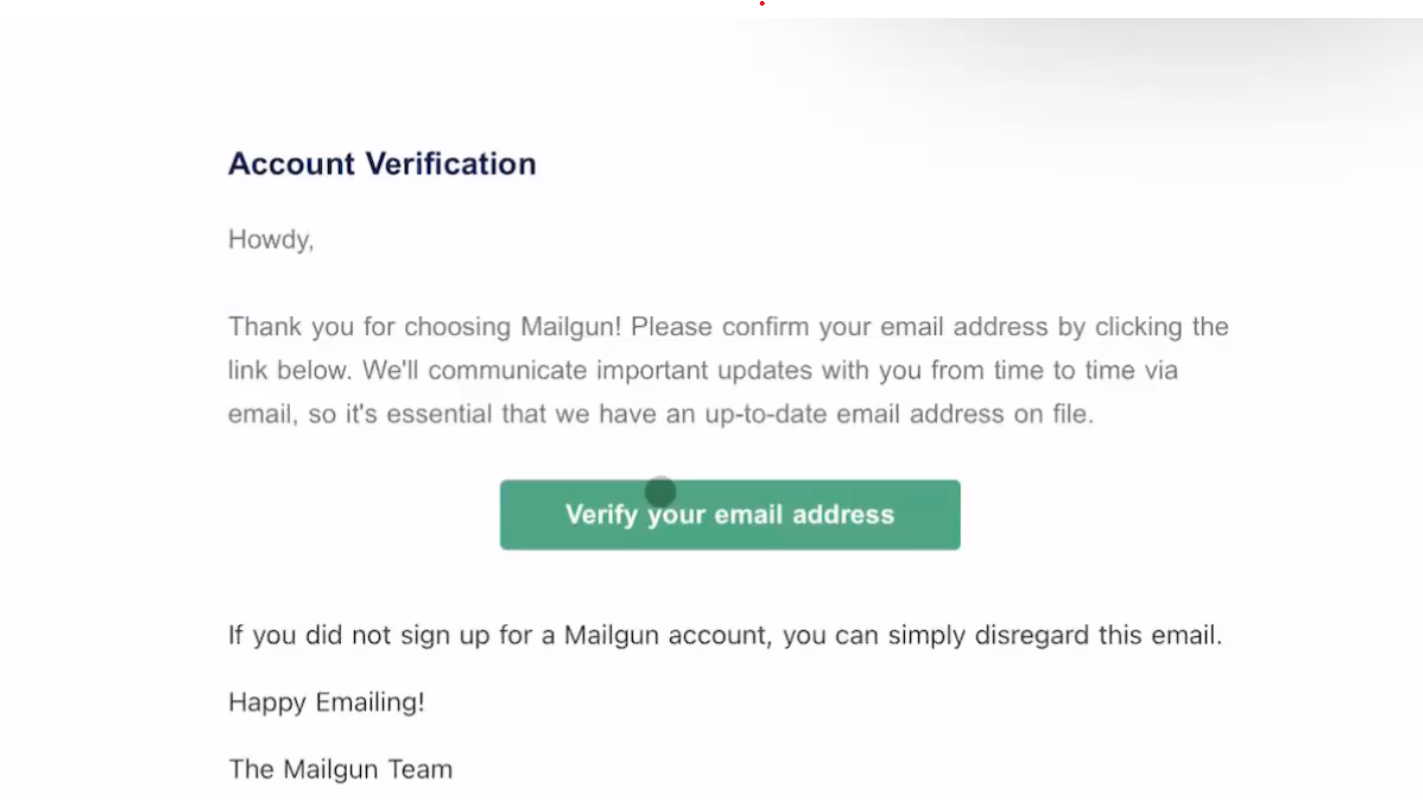
2. Verify Your Email Address
Check your inbox for Mailgun’s verification email and click the link to confirm.
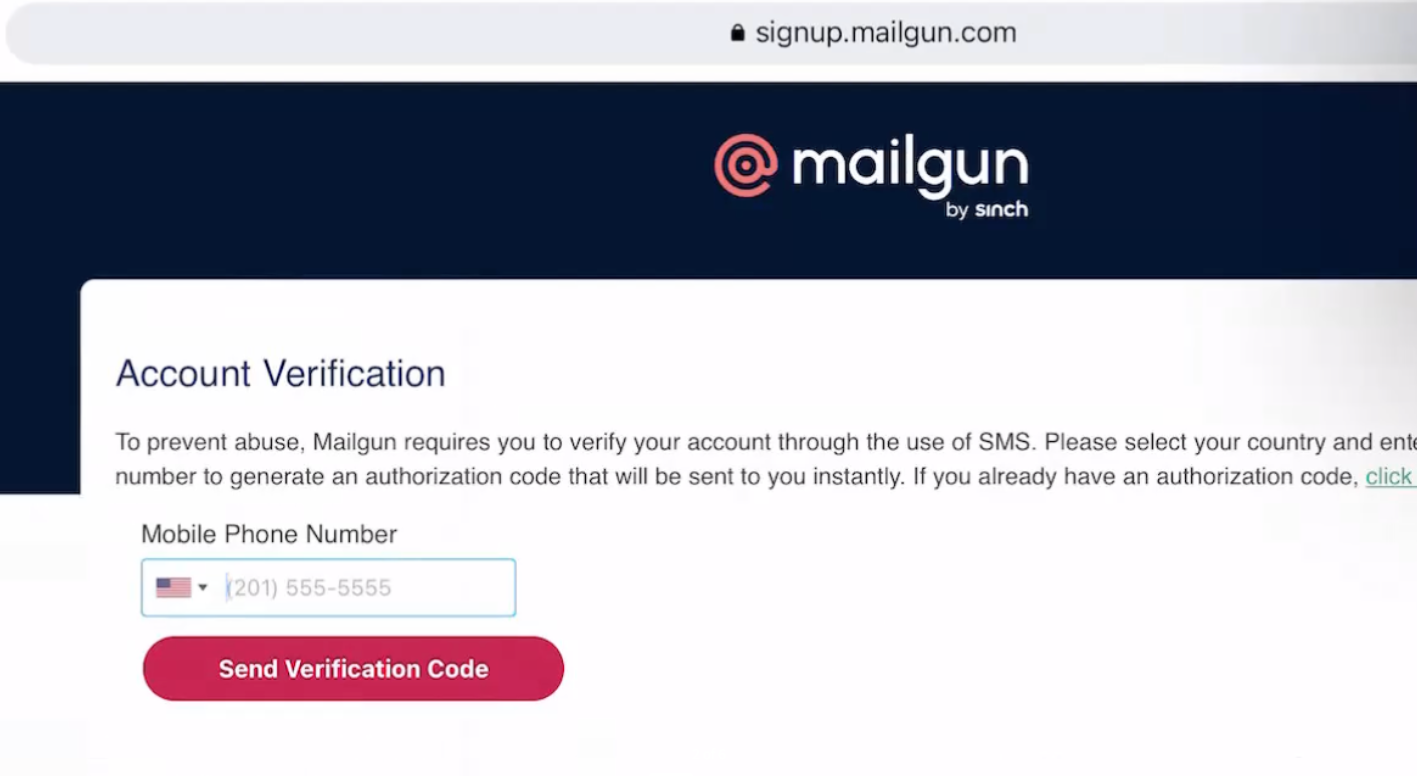
3. Add a New Domain in Mailgun
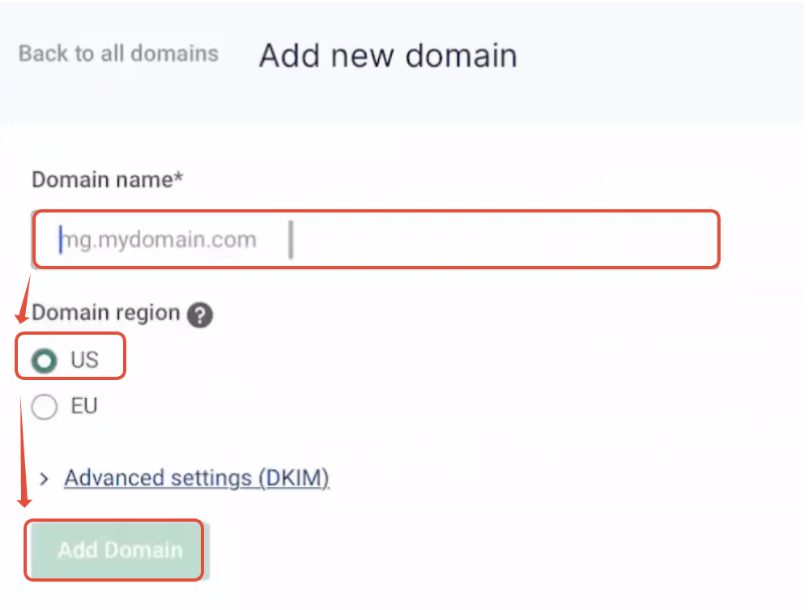
Navigate: Sending → Add New Domain
Main Domain: Use if your domain is not used elsewhere.
Subdomain: Use if your main domain is already in use (e.g., mg.companyname.com).
Ensure the domain is located under the US region and click 'Add Domain'.
4. Add DNS Records for Domain Verification
Add 5 DNS records (TXT, MX, CNAME) from Mailgun to your DNS provider.
Steps:
Identify your DNS provider using MXToolbox.
Log in to your DNS account.
Add the 5 required DNS records.
Allow a few hours for propagation.
5. Verify DNS Records in Mailgun
Return to Mailgun to verify the domain. Mailgun will notify once verified.
6. Retrieve Your Mailgun API Key
Locate the Private API Key: Settings → API Keys → Private API Key
7. Configure Mailgun in Enrollio
Log in to Enrollio: Settings → Integrations → Mailgun
Paste the API Key
Select a verified domain
Save changes
8. Send a Test Email in Enrollio
Go to Conversations → Test Email. Compose and send a test email to confirm everything works.
By following these steps, you’ll have successfully integrated Mailgun with Enrollio, ensuring reliable email delivery for your communications. This setup provides seamless email services for your contacts, improving your ability to engage with leads and clients efficiently.
To complete the setup, please get in touch with us via chat or email at support@enrollio.ai.