
This article explains how to use the payment dashboard to monitor and manage payments. You'll learn how to access the dashboard, review payment statuses, and use key features for payment processing.
1. Introduction to Payment Dashboard
In this video, we'll walk through how to use the payment dashboard.
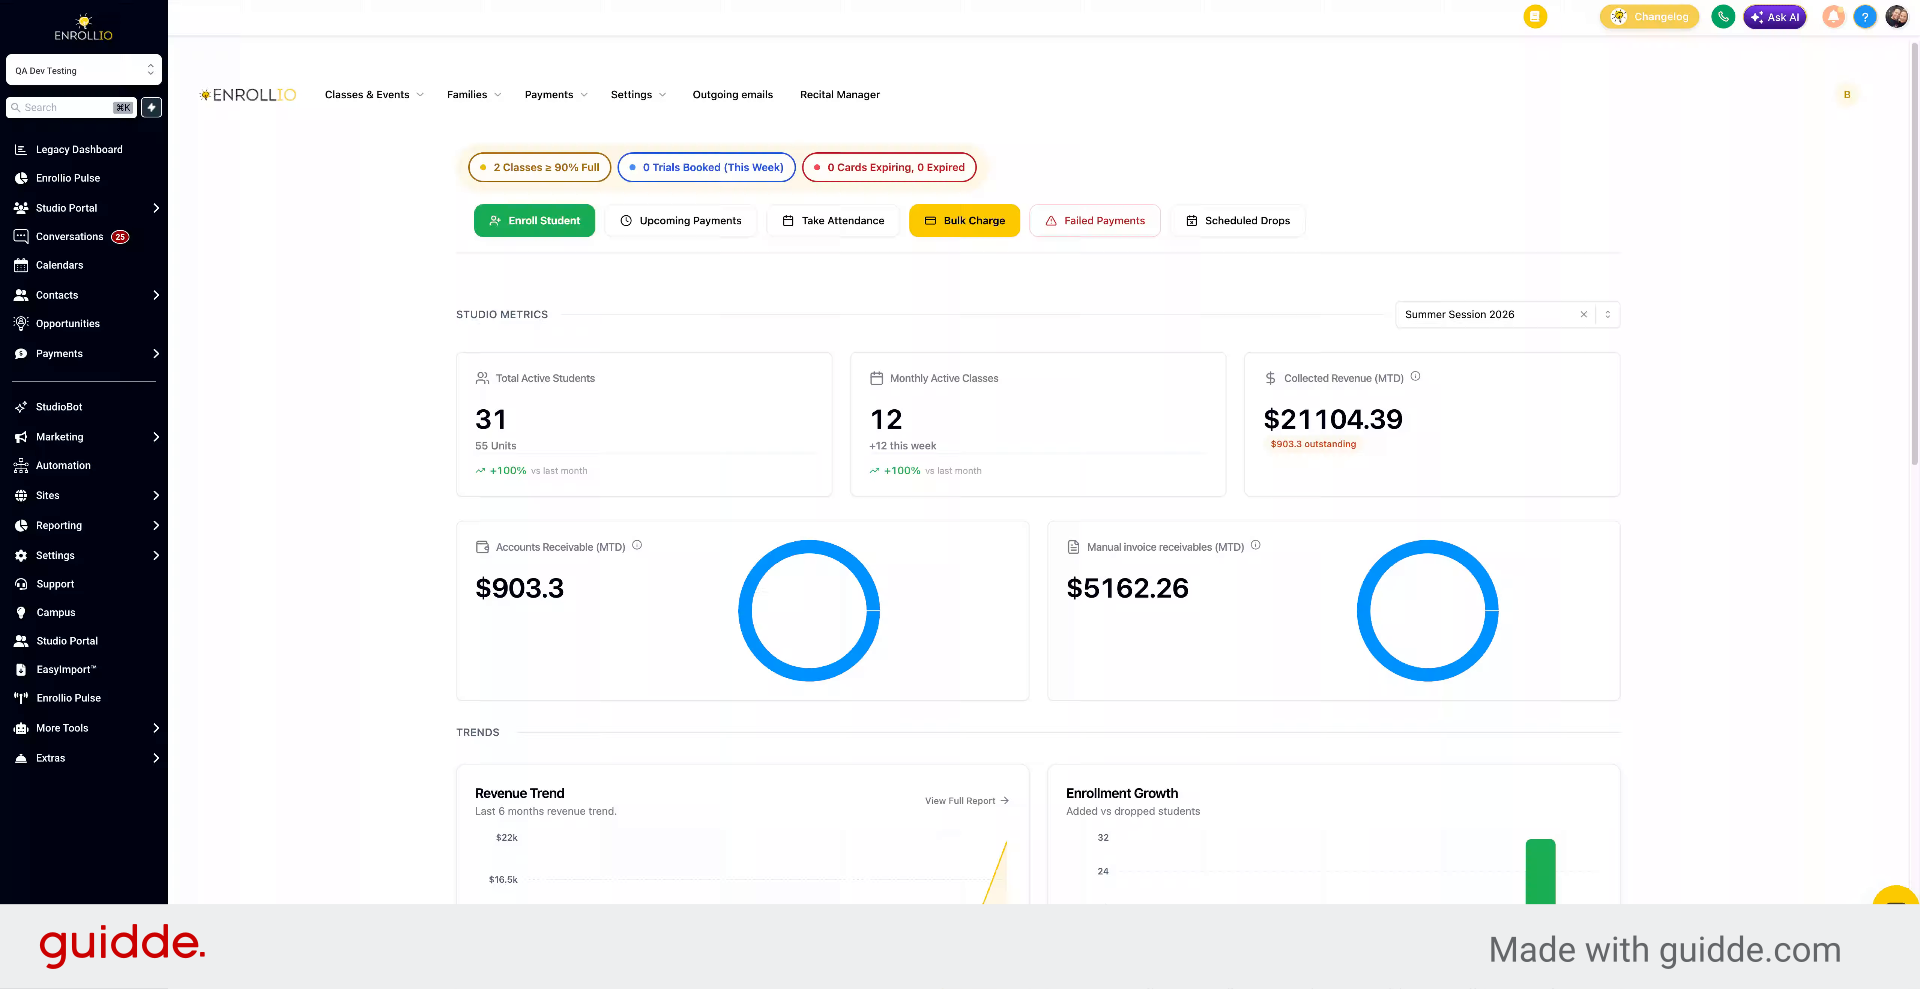
2. Navigate to Payment Dashboard
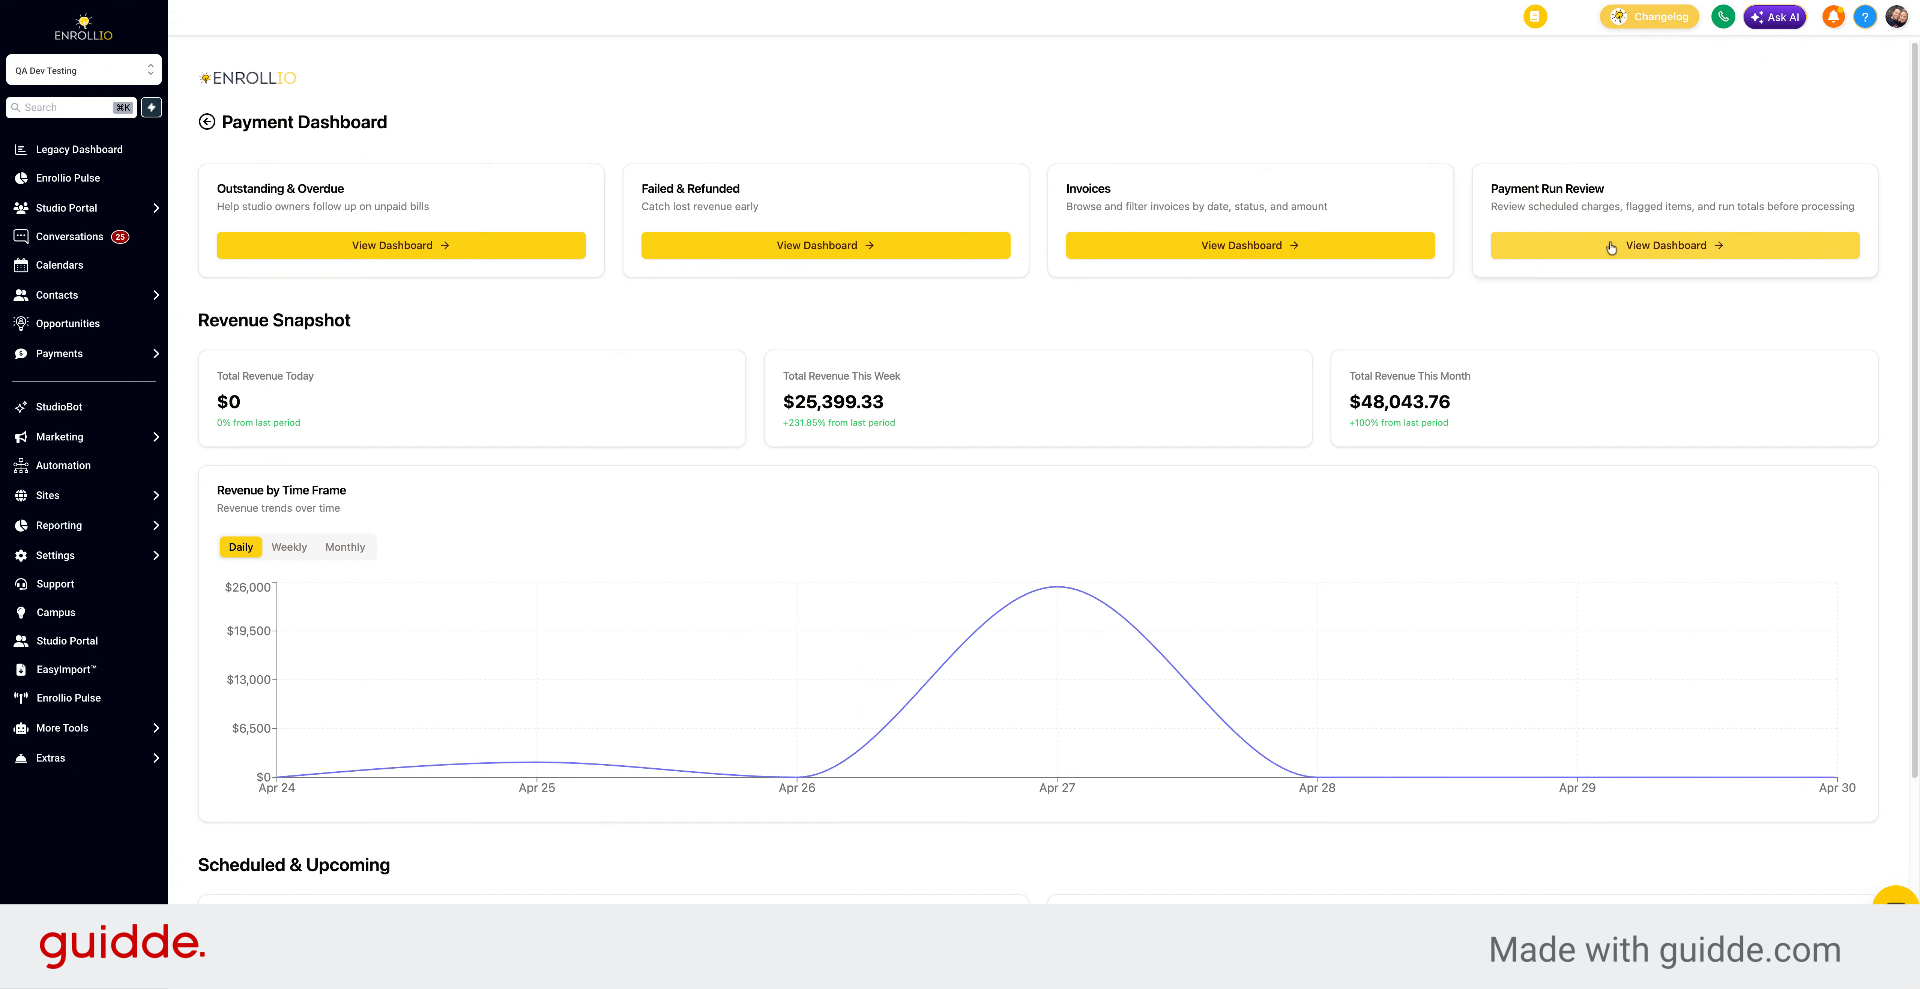
Go to Payments and then Payment Dashboard.
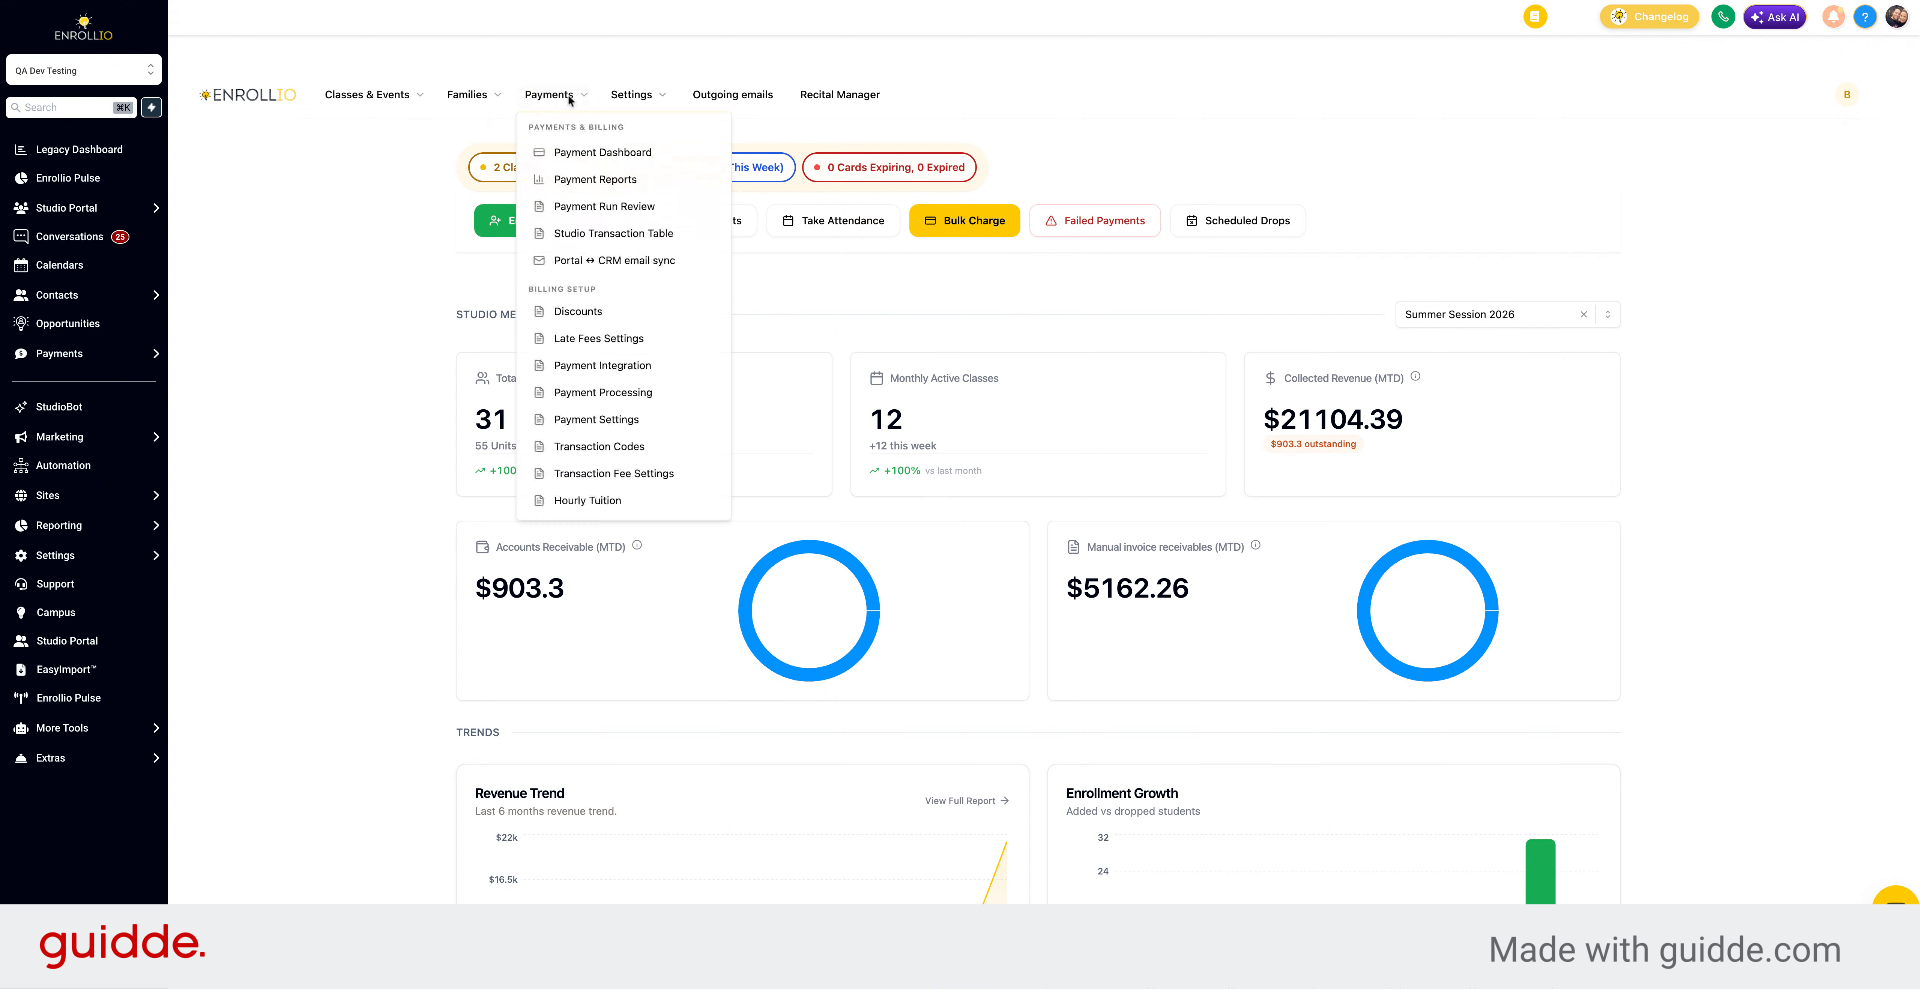
3. View Revenue Snapshot and Payment Data
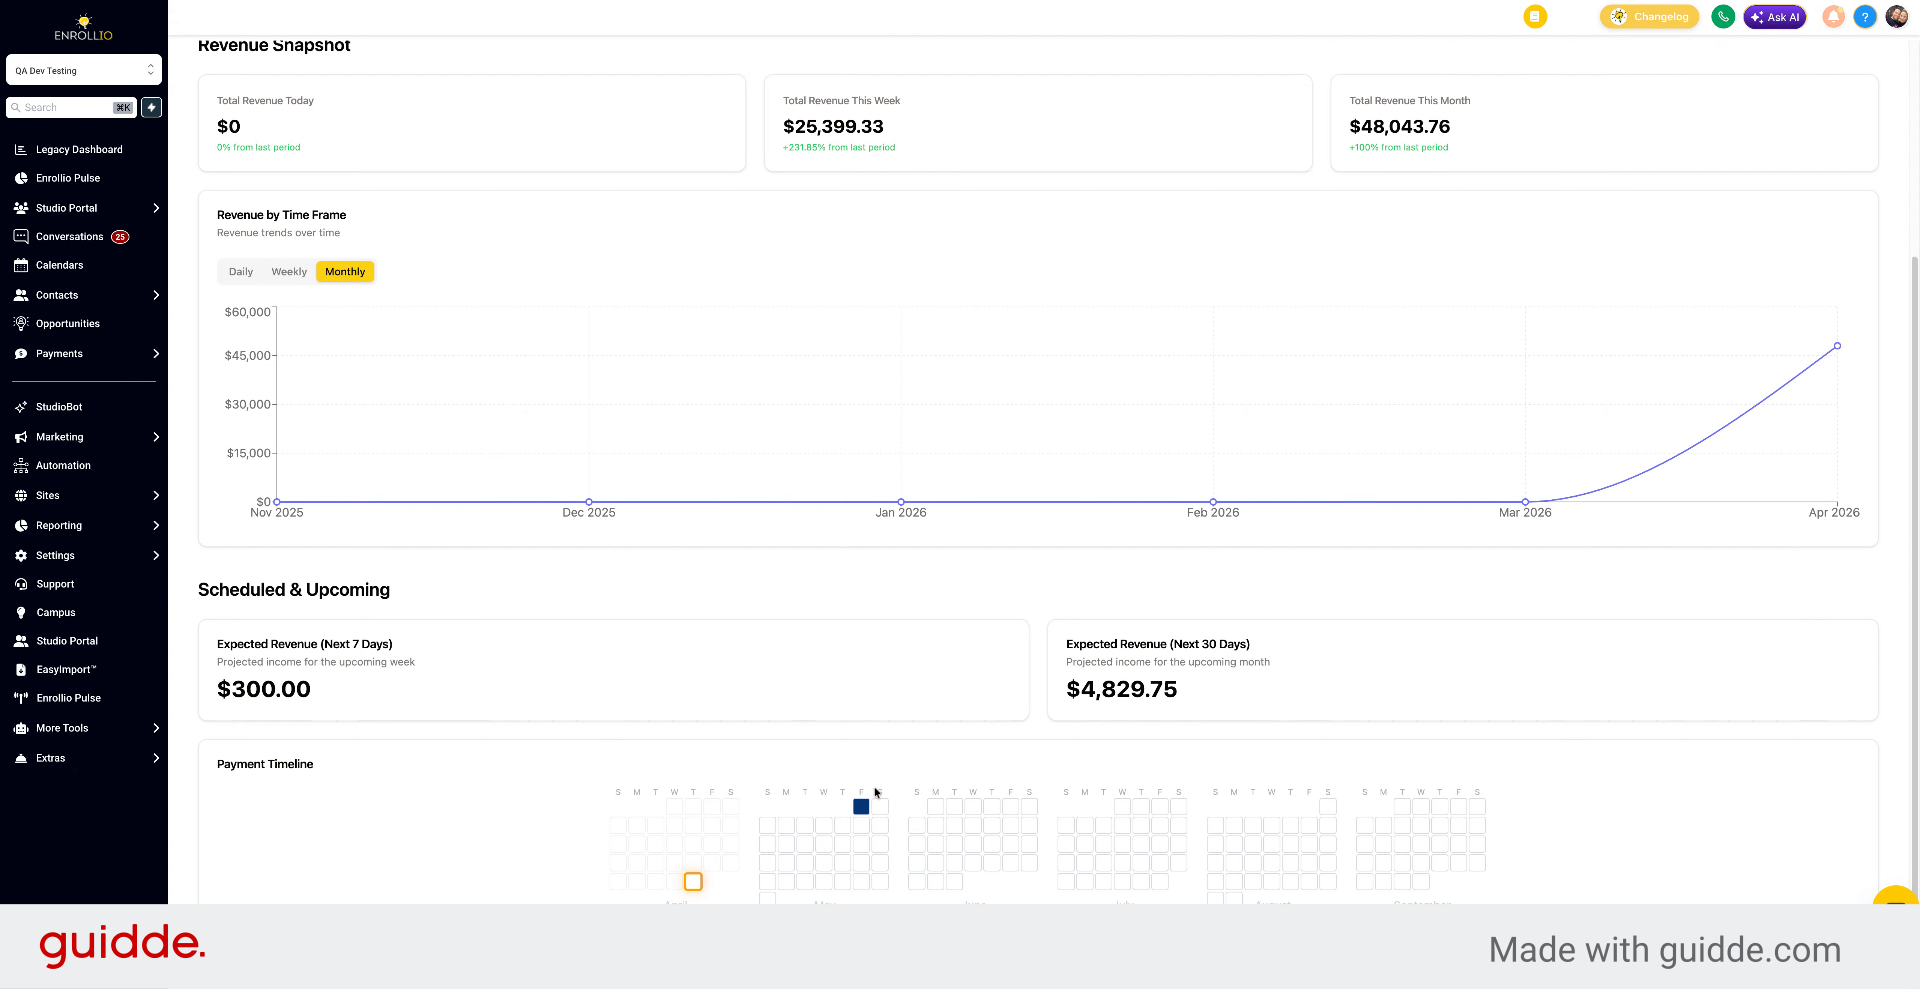
You'll see a revenue snapshot and data for scheduled and upcoming payments.
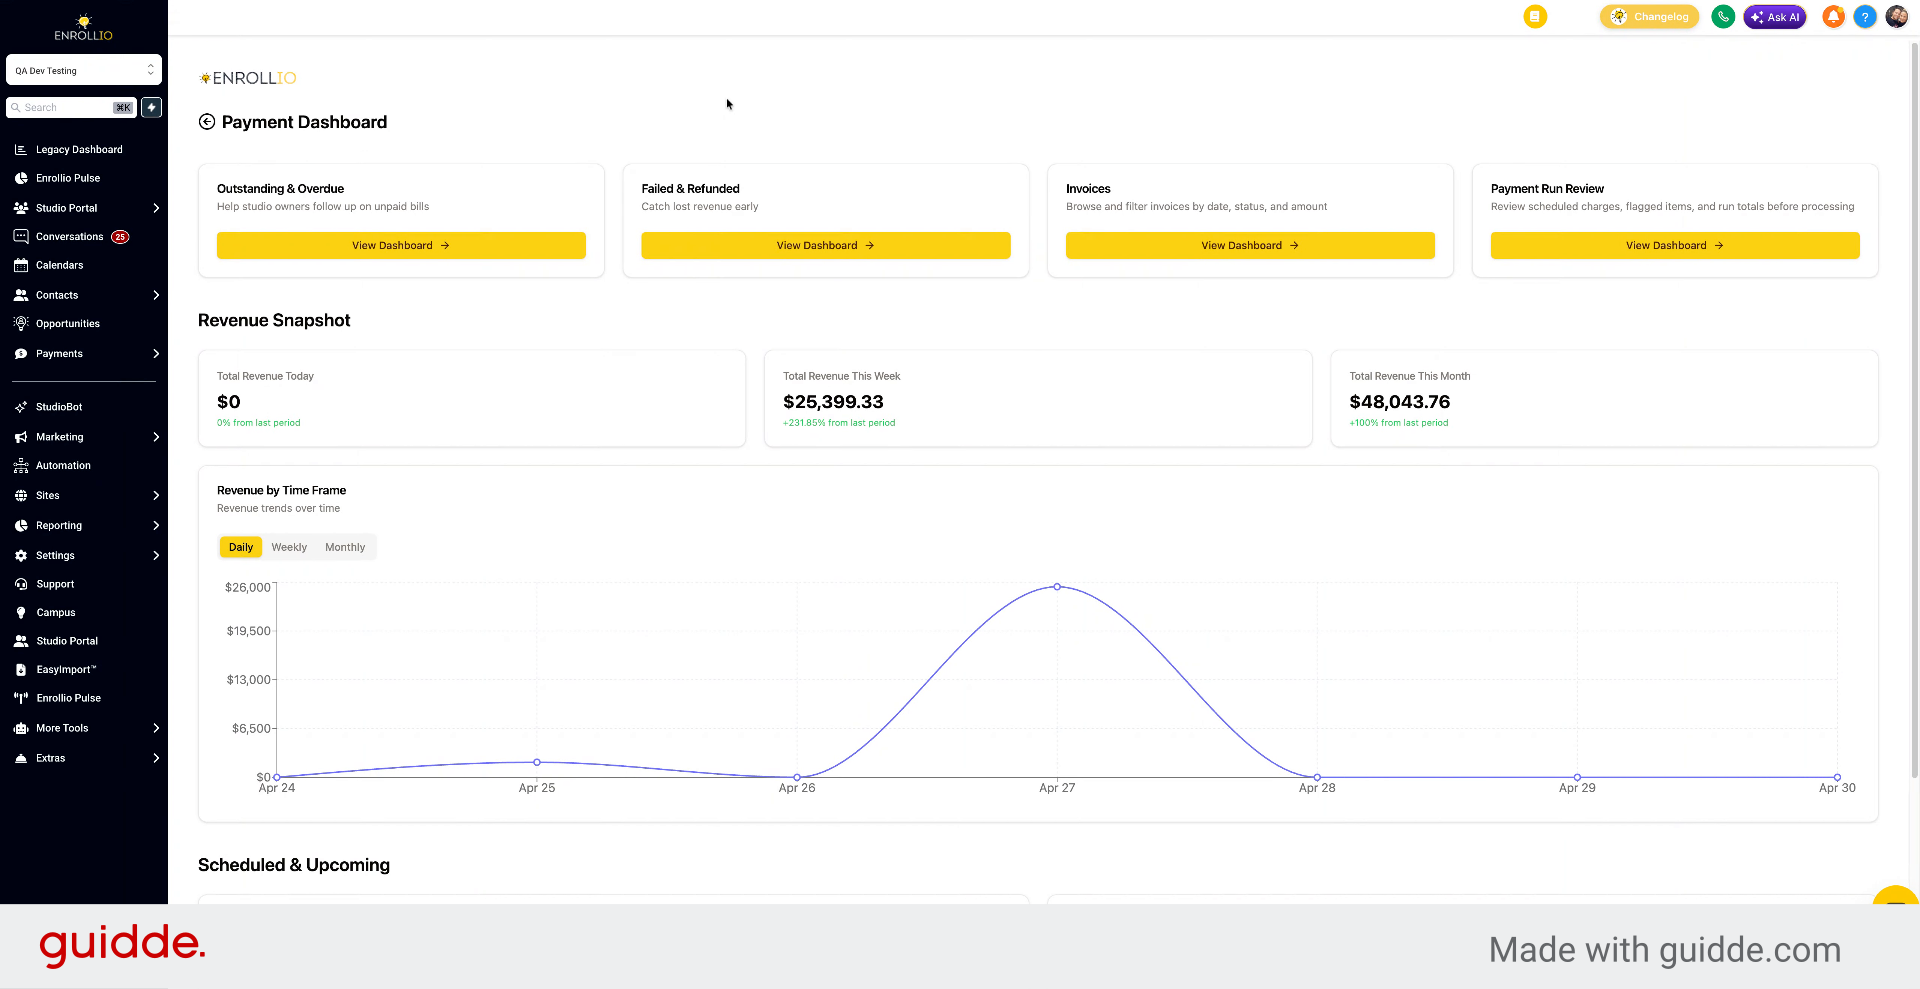
4. Explore Dashboard Views and Payment Run Review
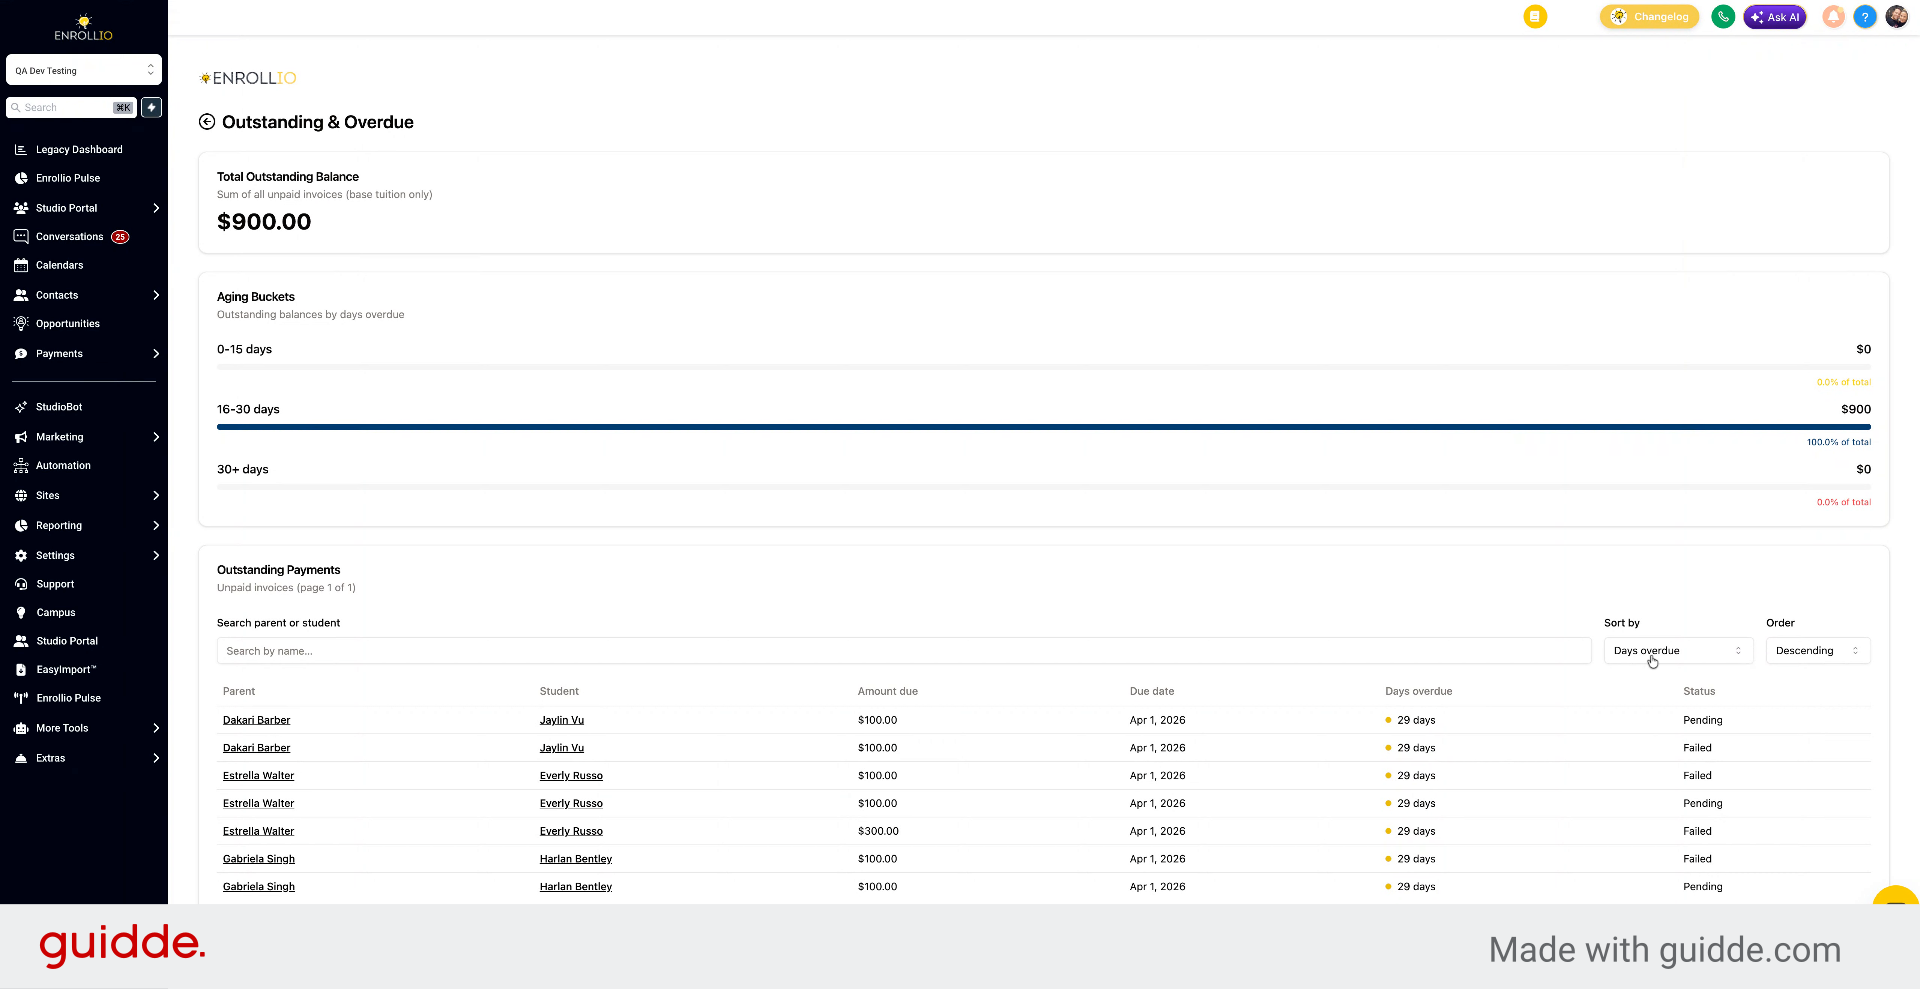
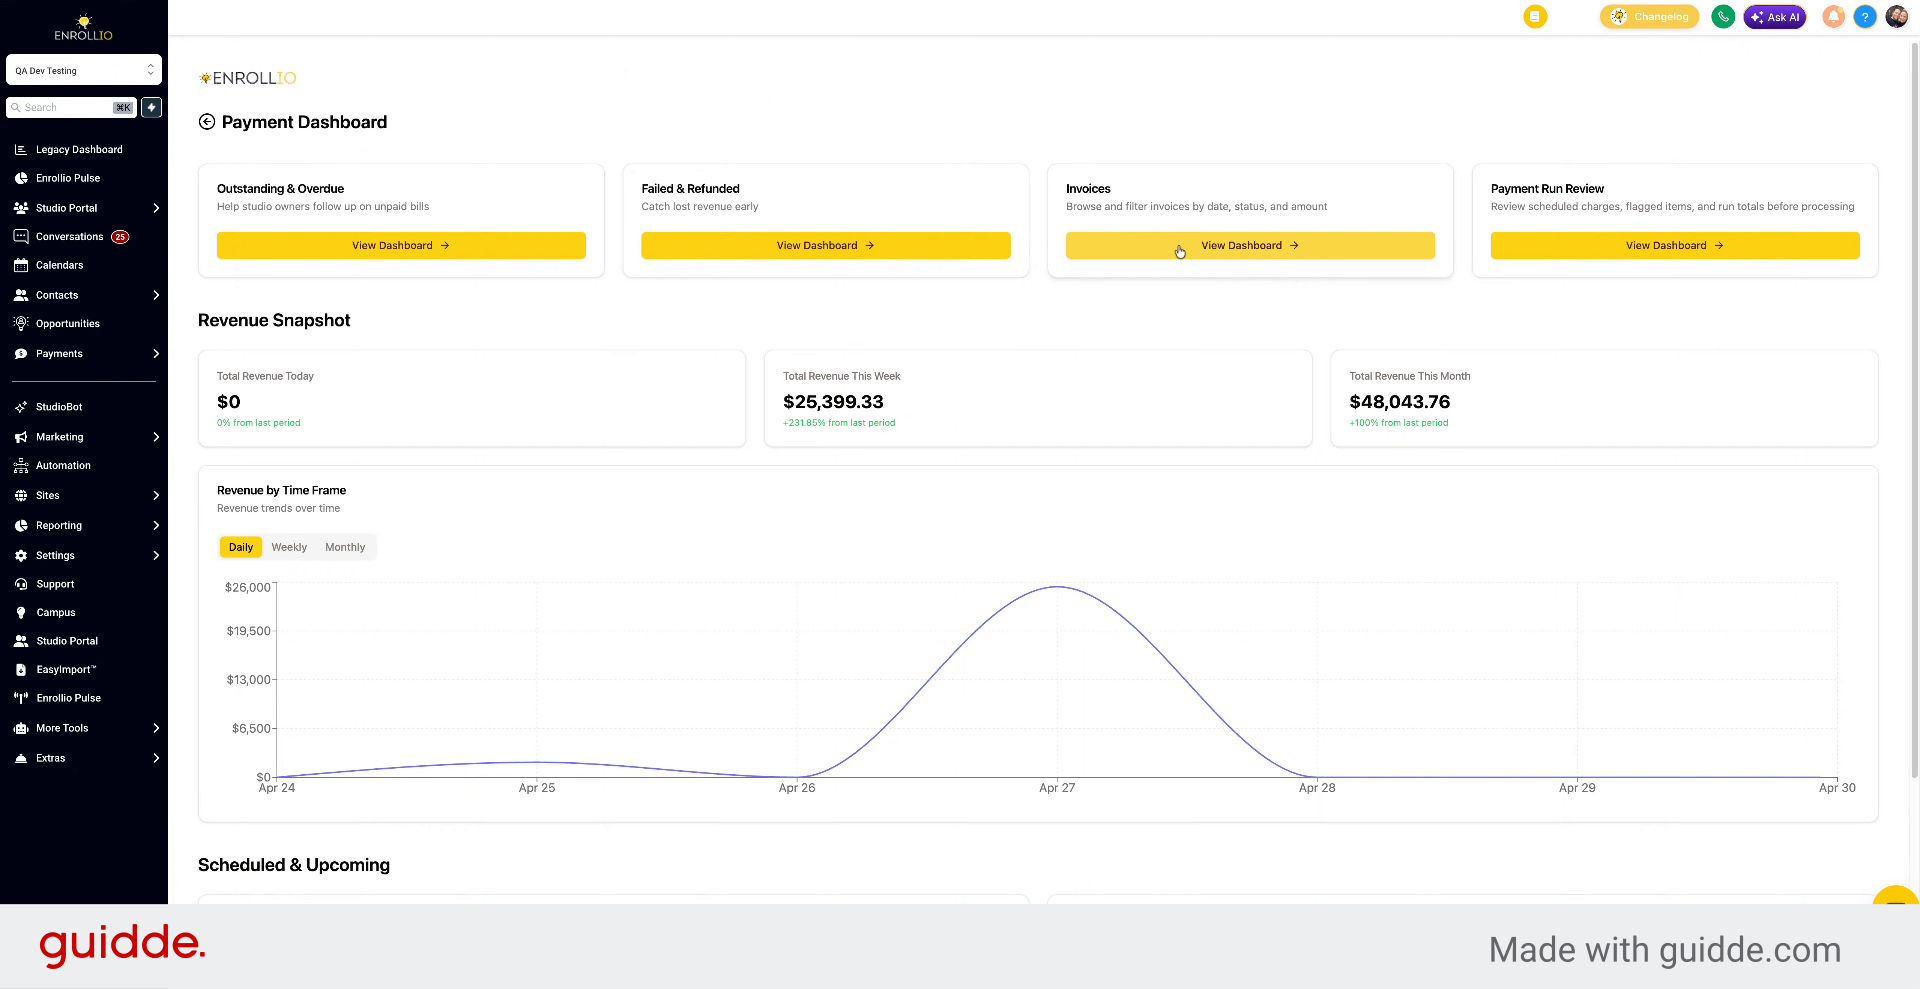
You can view individual dashboards for outstanding and overdue payments, failed and refunded payments, invoices, and the payment run review for manual processing. The revenue snapshot can be broken down by daily, weekly, or monthly.
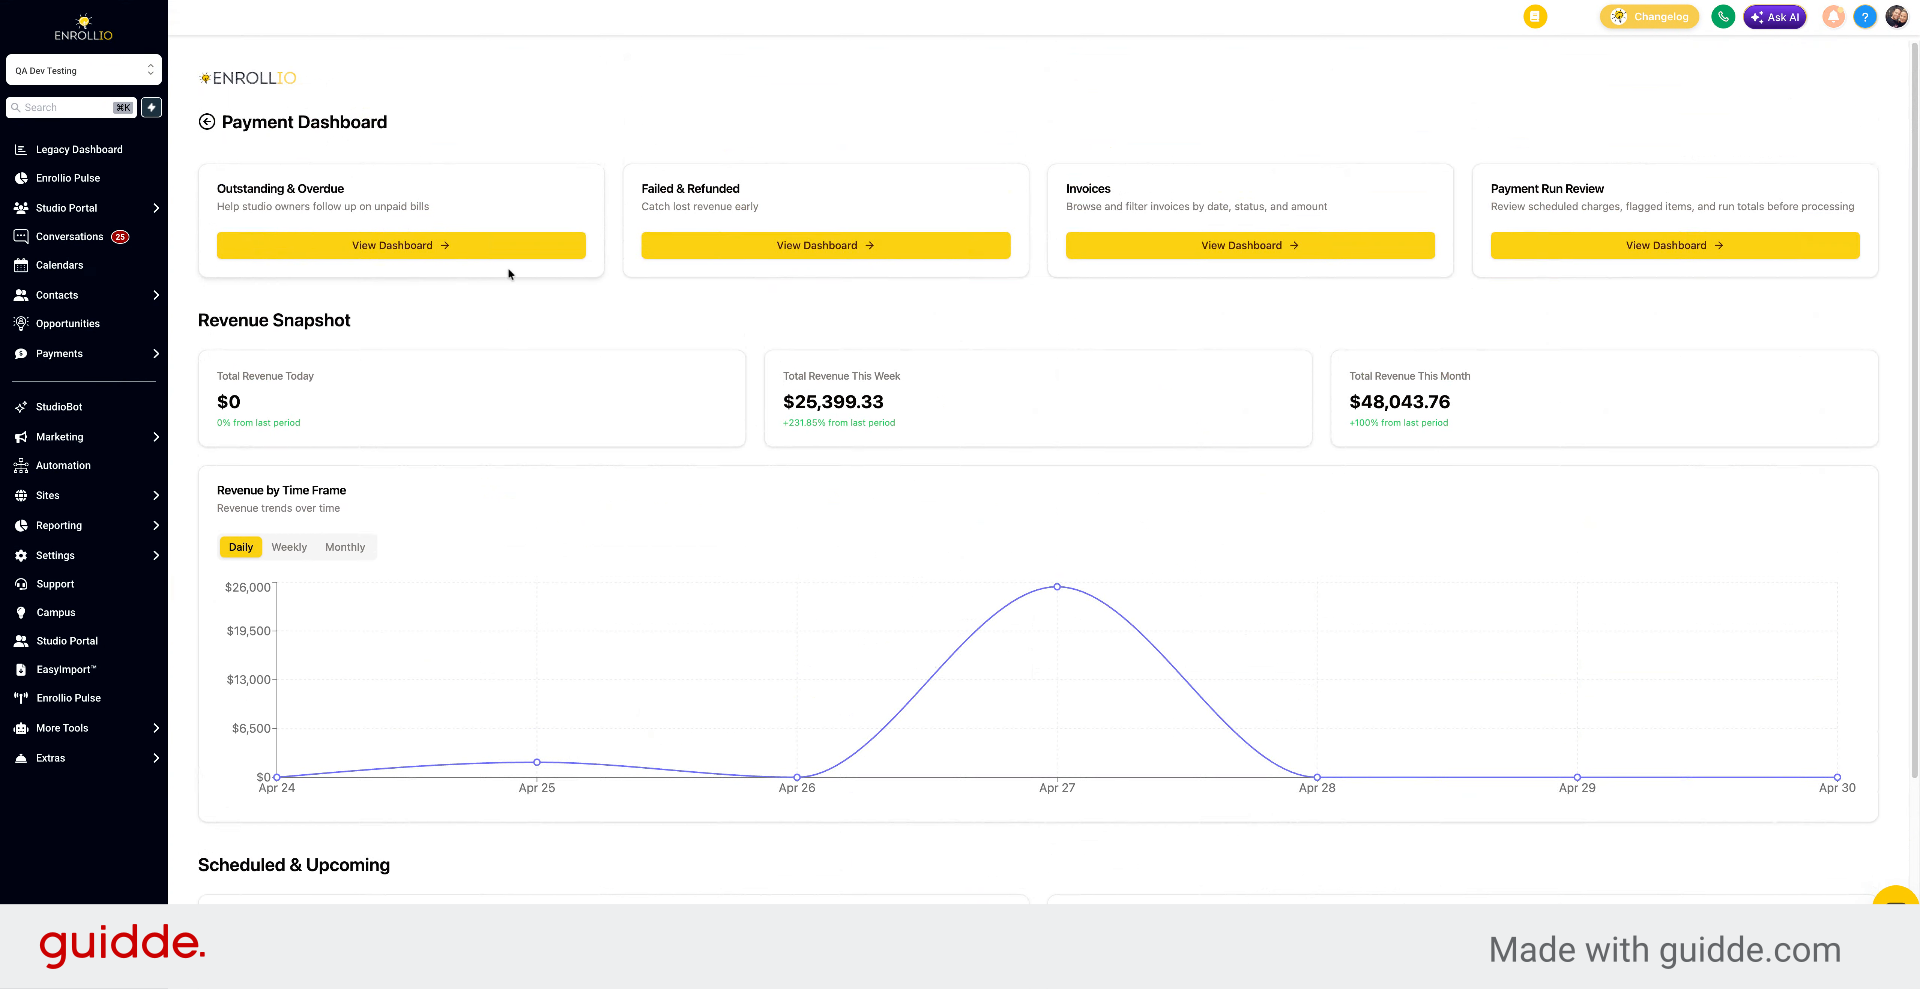
5. Review Payment Timeline
You can also see the payment timeline showing when payments are likely to process.
6. Access Outstanding and Overdue Dashboard
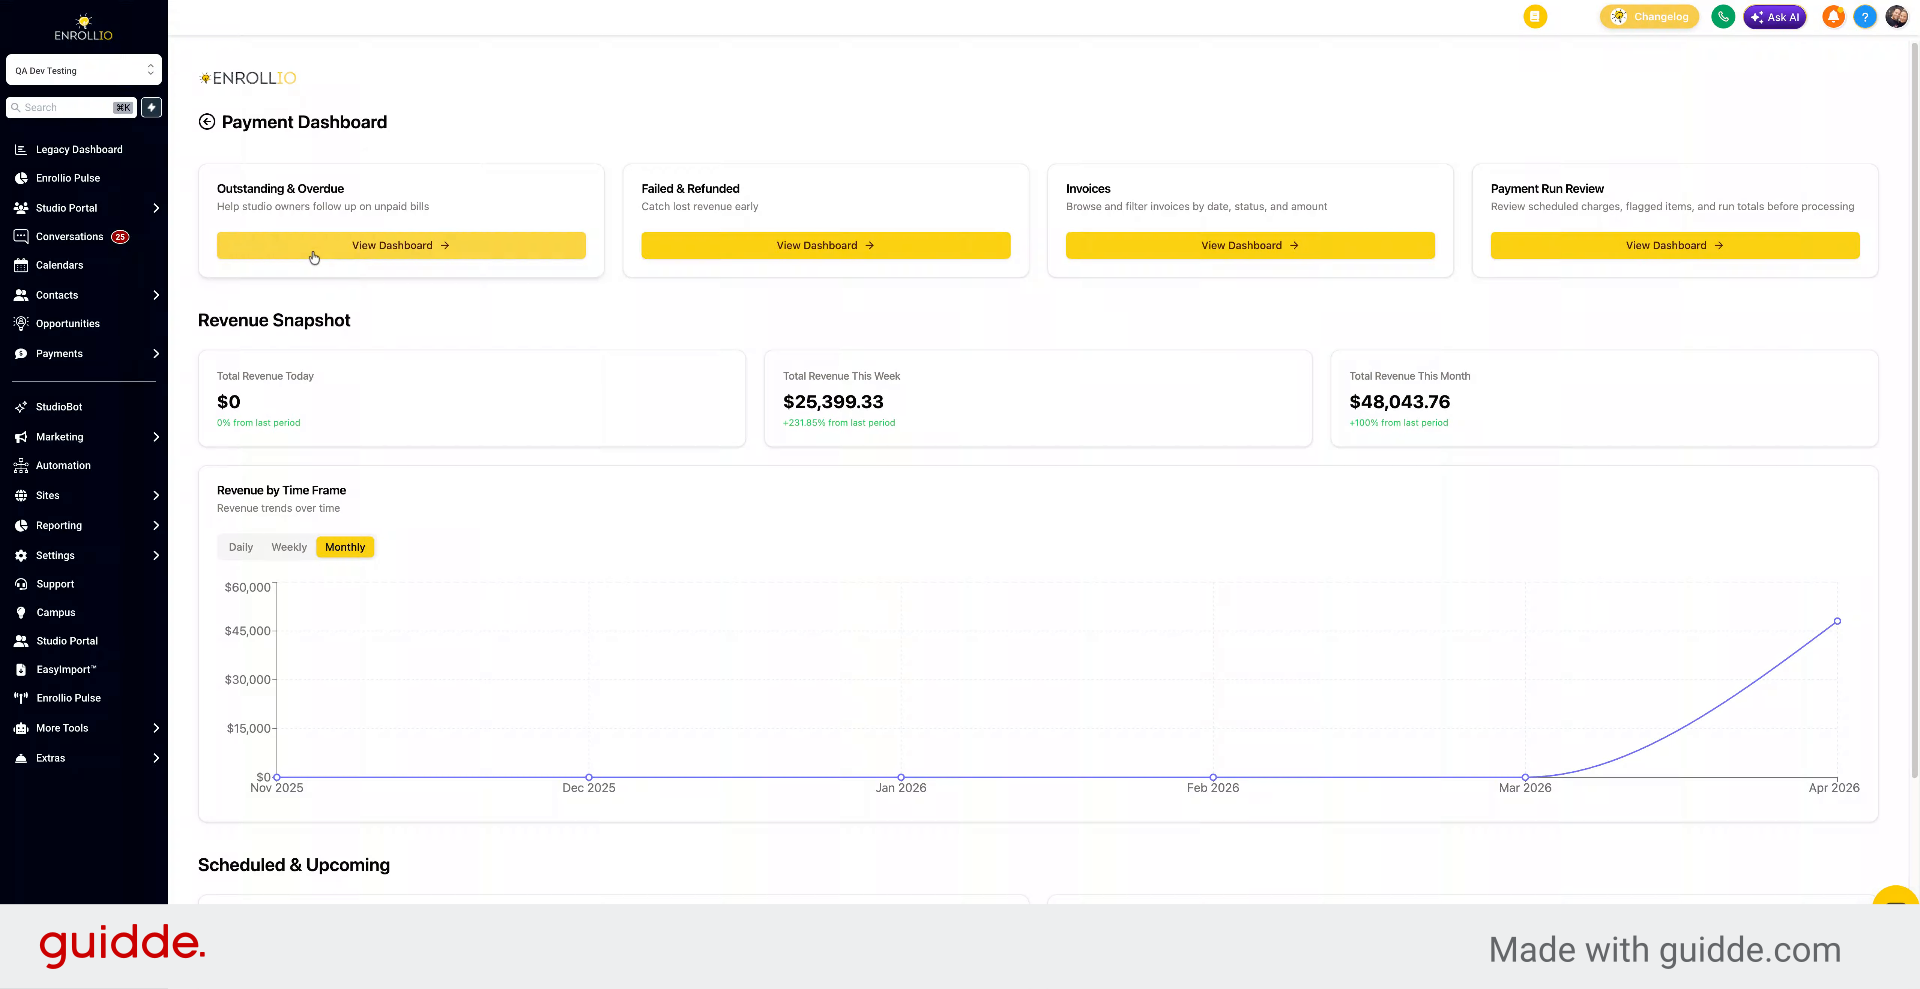
The outstanding and overdue dashboard shows outstanding balances, families, students, and amounts owed. Click on it to view these details.
7. Sort Outstanding Payments
You can sort by days overdue, parent name, student name, or due date in either ascending or descending order.
8. Overview of Failed and Refunded Payments
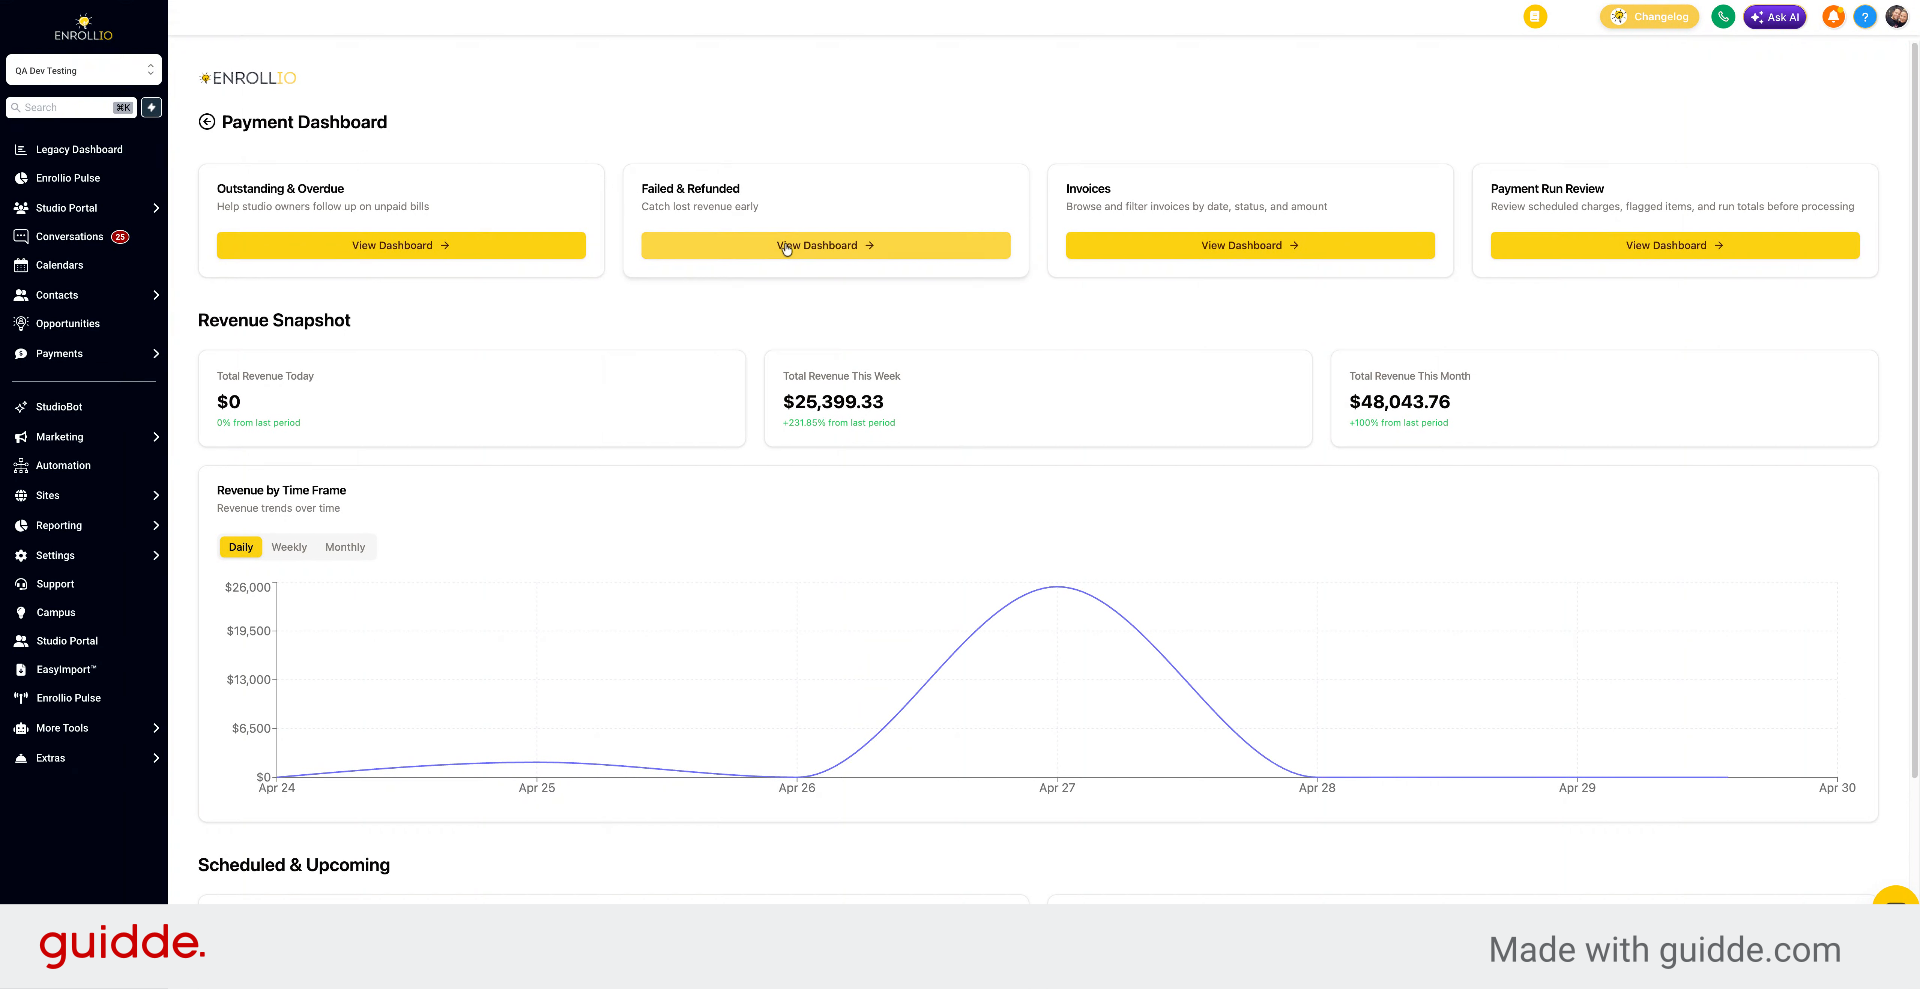
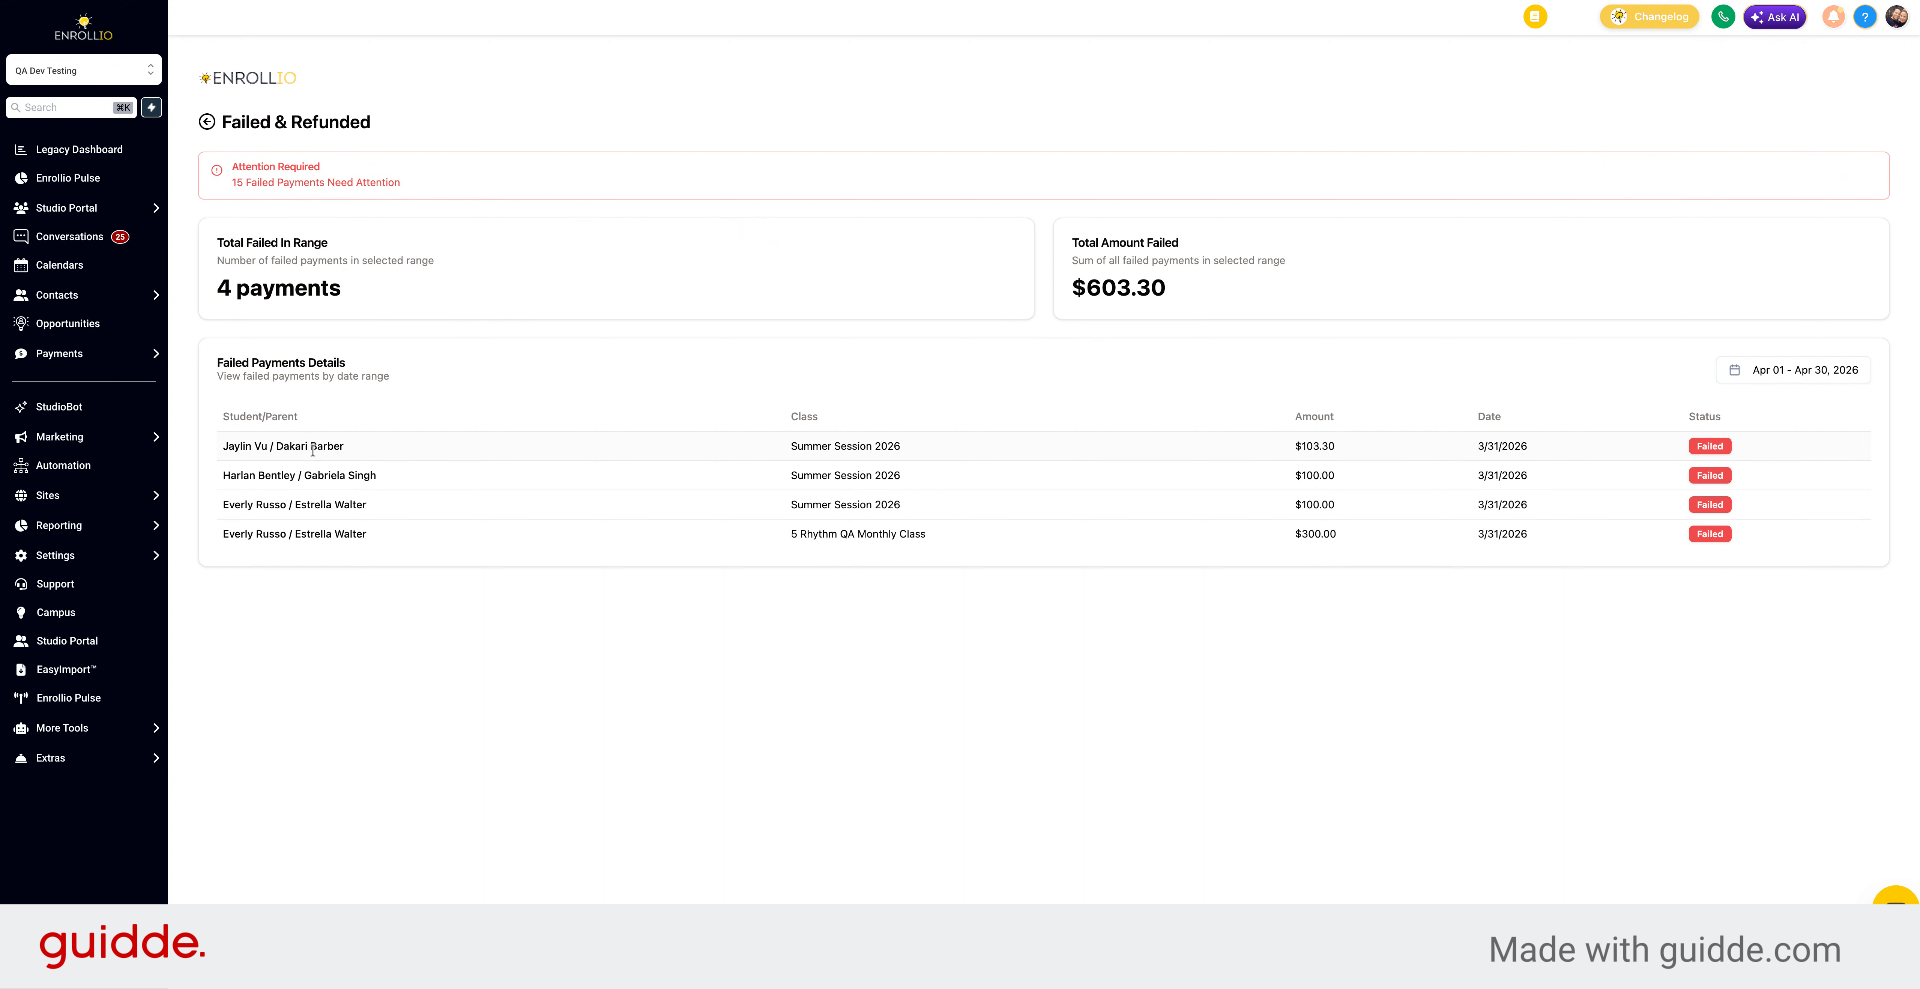
You also have a failed and refunded payments view.
9. Examine Failed Payments Details
Here you can see students and parents, their classes, amounts, whether a payment failed, and the total amount failed.
10. Change Date Range for Payments
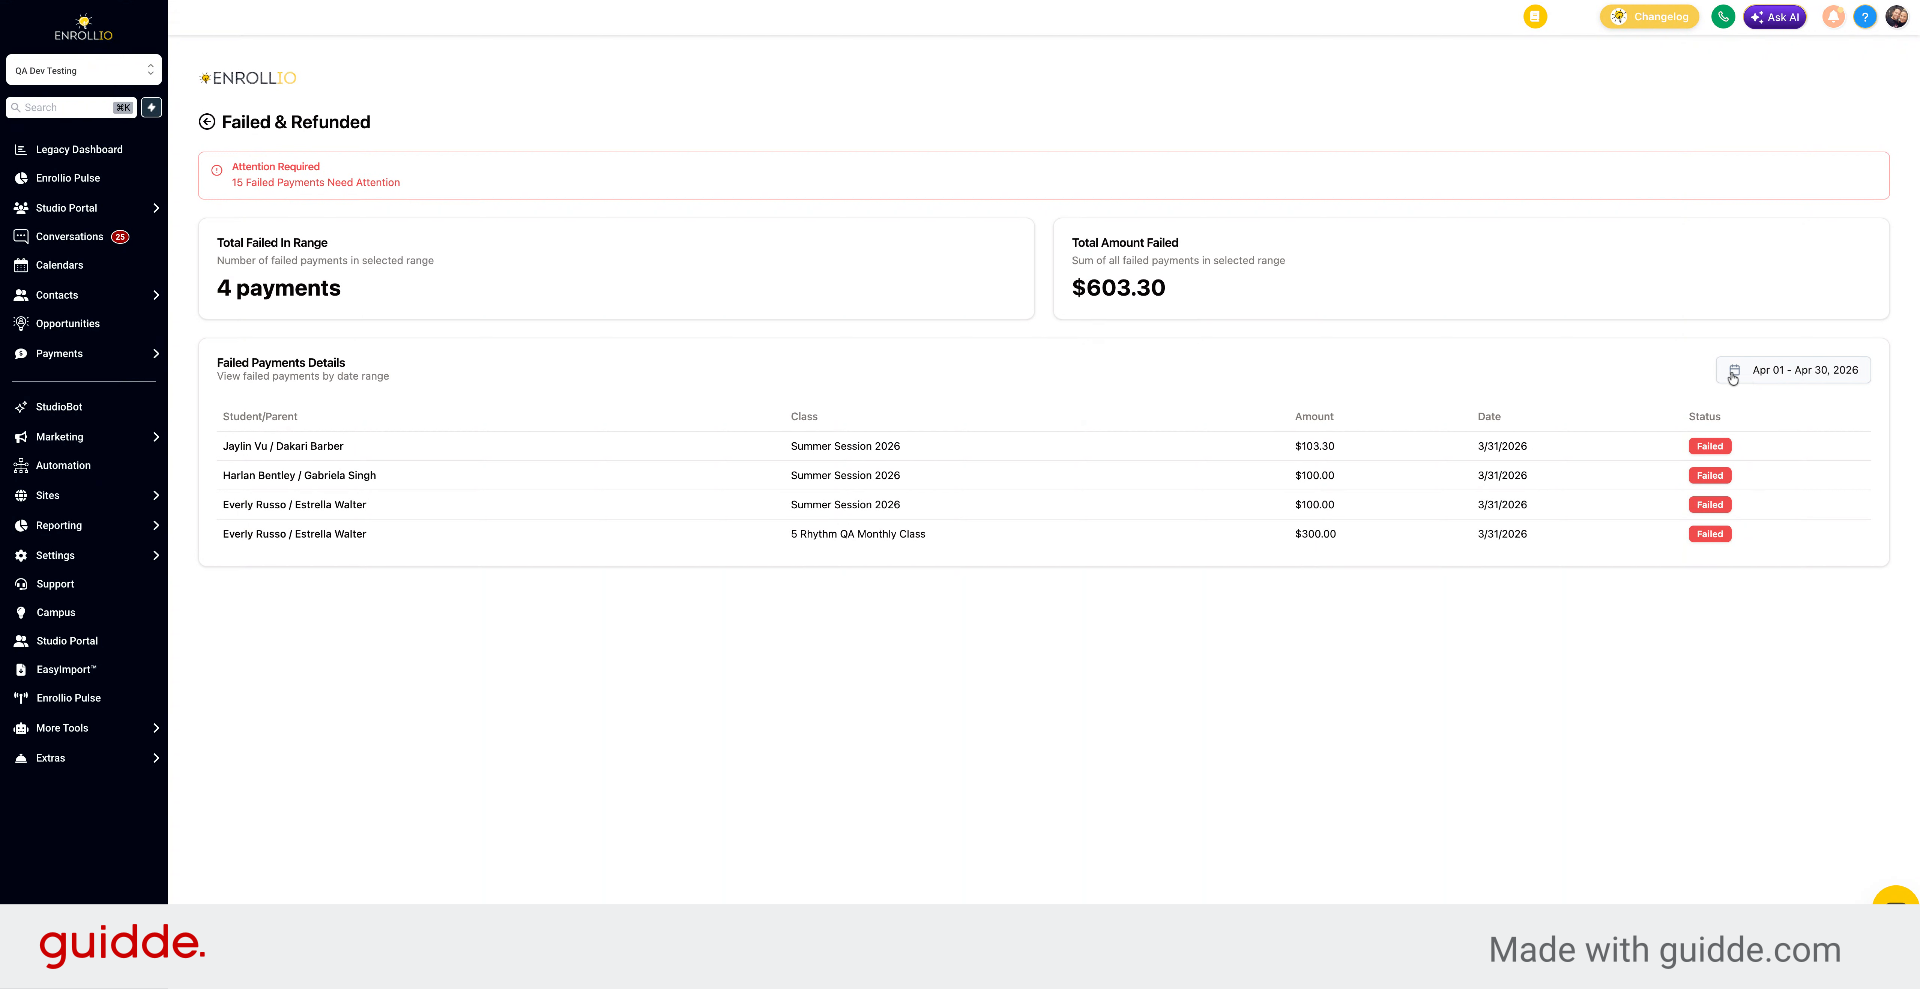
You can also change the date range to view different data.
11. View Invoice Dashboard
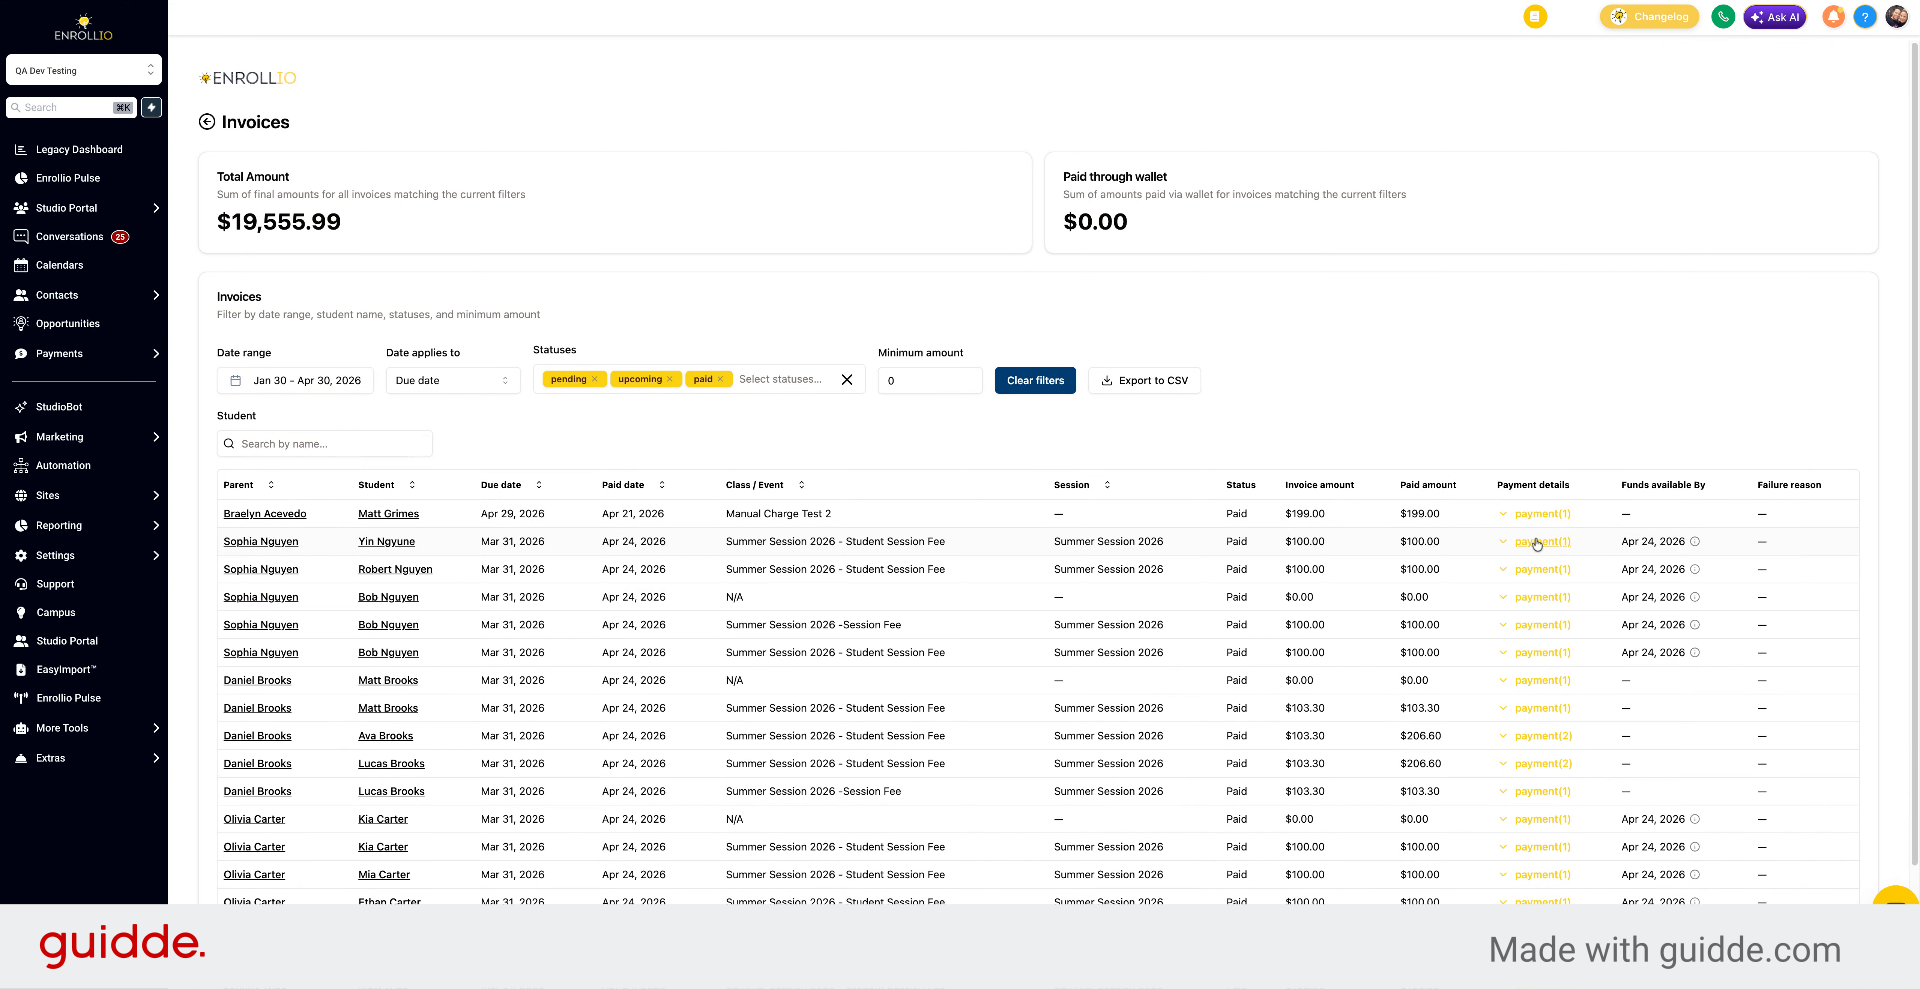
The invoice dashboard shows all invoices, including those paid through the wallet.
12. Filter Invoices by Date and Status
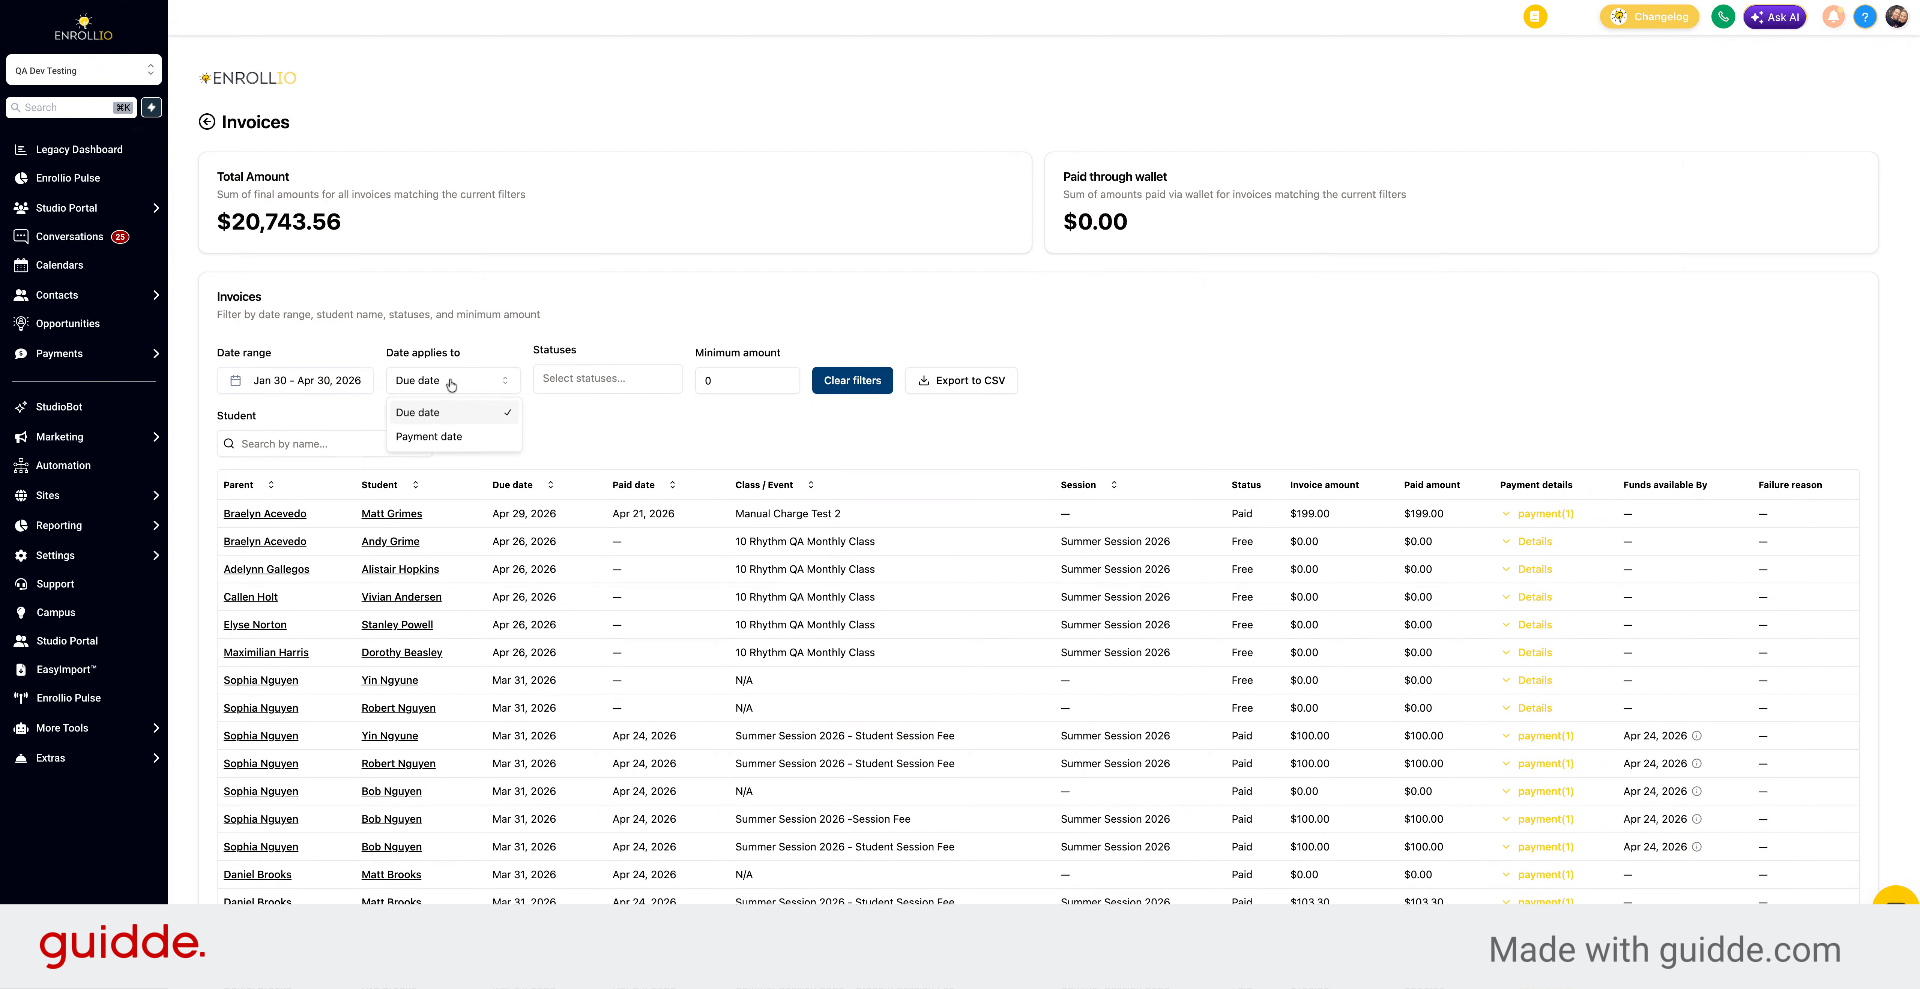
You can filter by due date or payment date, and also by specific statuses like upcoming, pending, or paid.
13. View Invoice Details and Payment Methods
Click to view the payment method, date, amount, wallet deductions, and invoice ID.
14. Export and Search Invoices
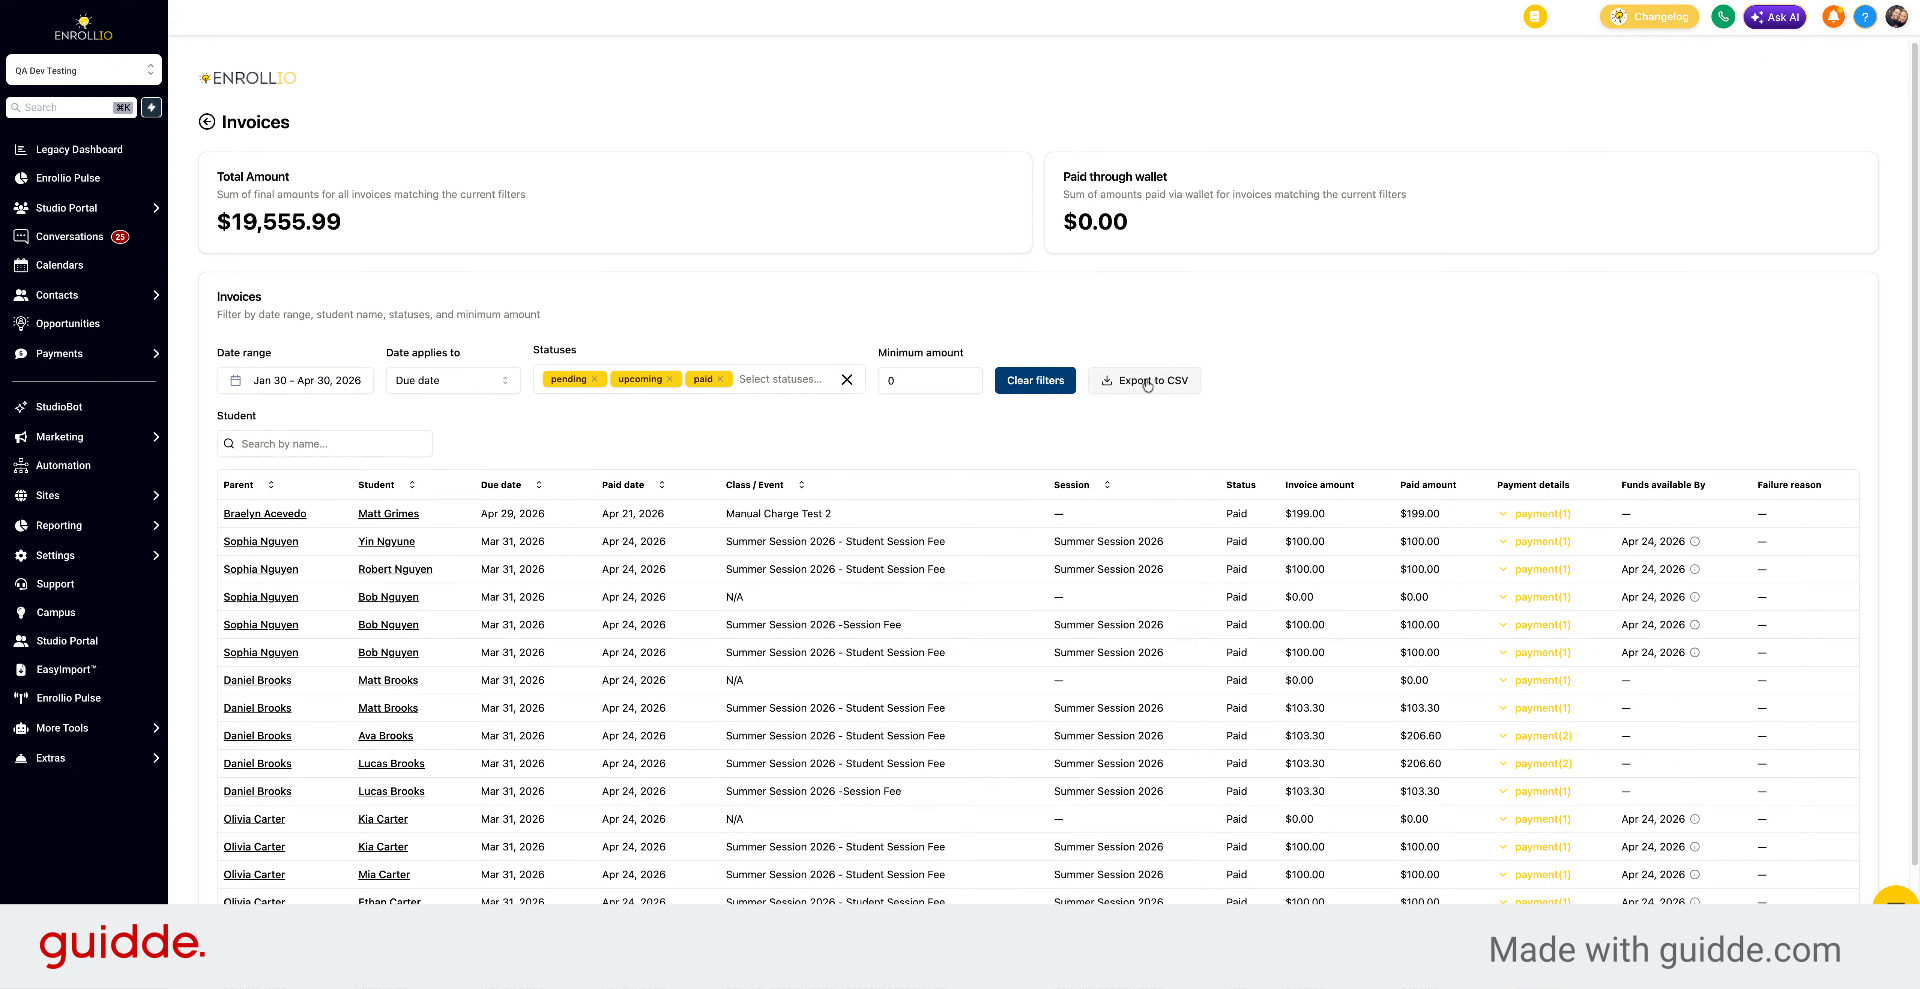
You can export to CSV, sort by minimum amount, search by name, and change the date range.
15. Introduction to Payment Run Review
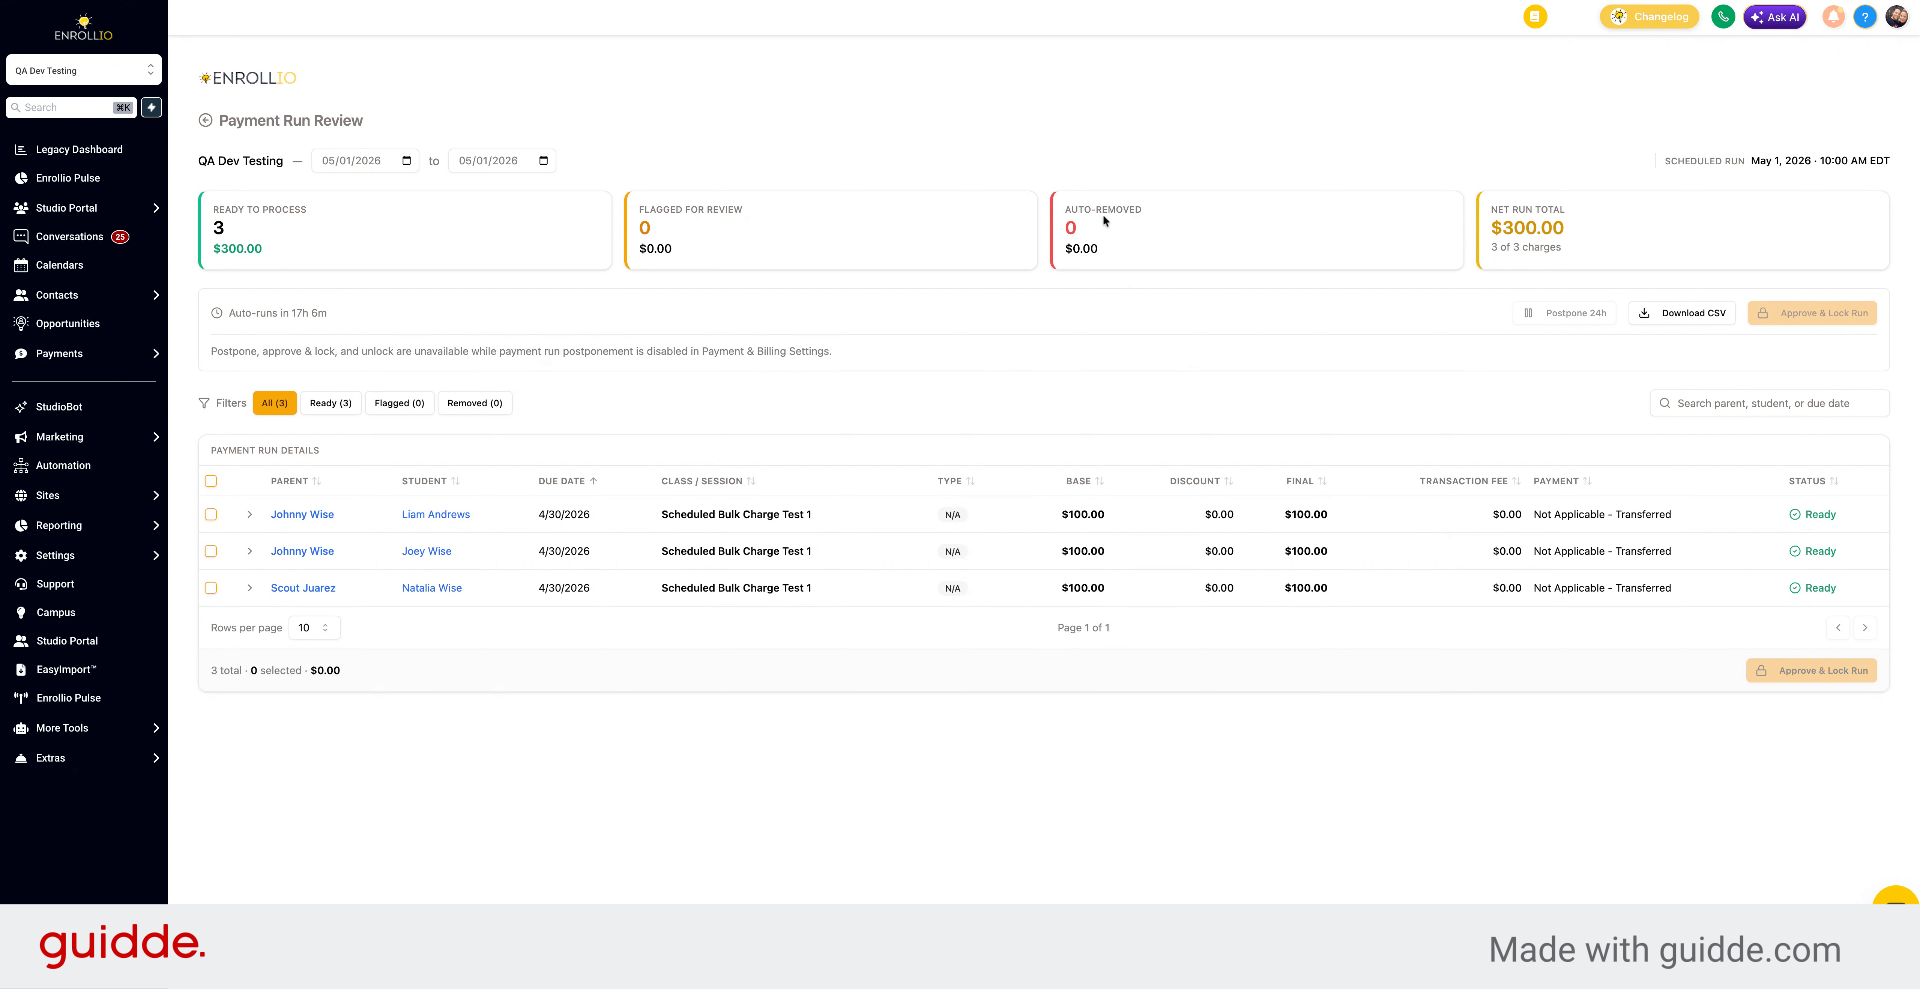
The payment run review dashboard is where you can review all upcoming payments if you manually process tuition.
16. Approve Manual Tuition Payments
If you want to approve payments before they're processed, this is where you go to do that.
You've now seen the key features of the payment dashboard, including how to navigate between views, filter and sort payments and invoices, and manage manual payment approvals.