
This article explains how to bulk import families into the Studio Portal.
1. Introduction
You'll learn how to prepare, upload, and onboard families using the bulk upload feature.
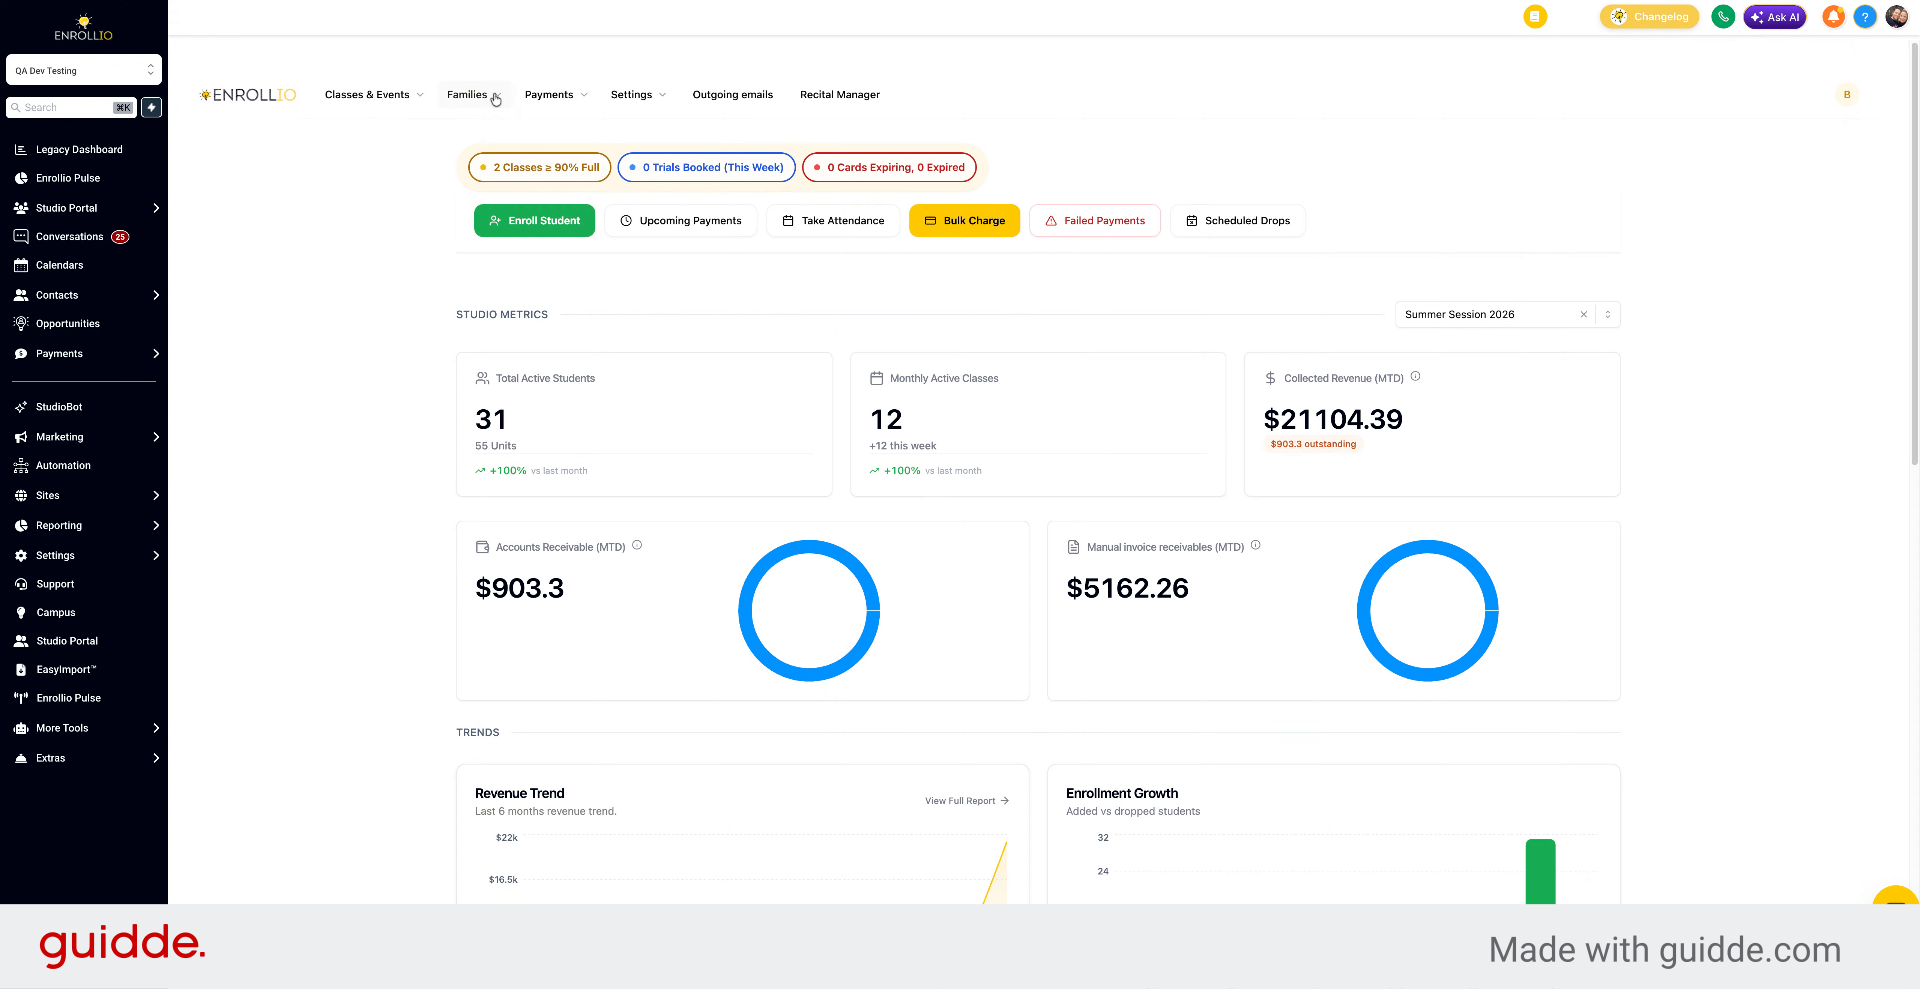
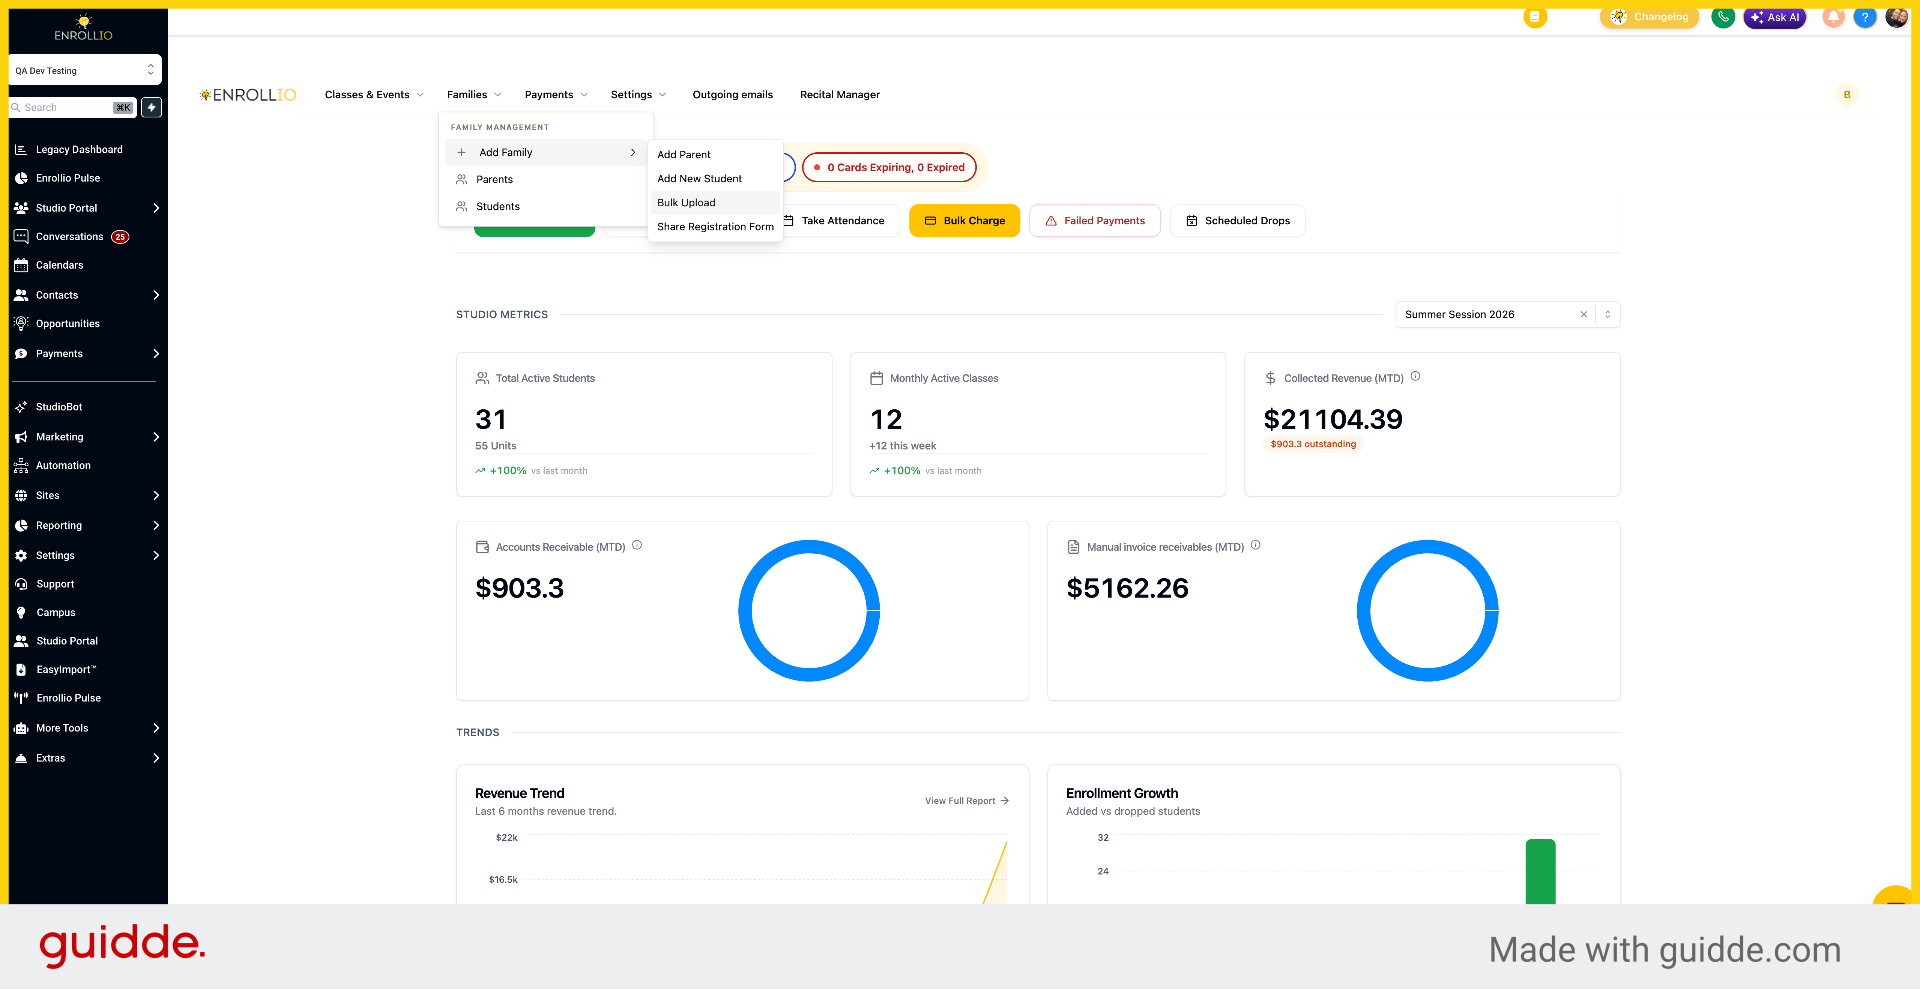
2. Access Bulk Upload Feature
Click "Bulk Upload" to start importing multiple families at once.
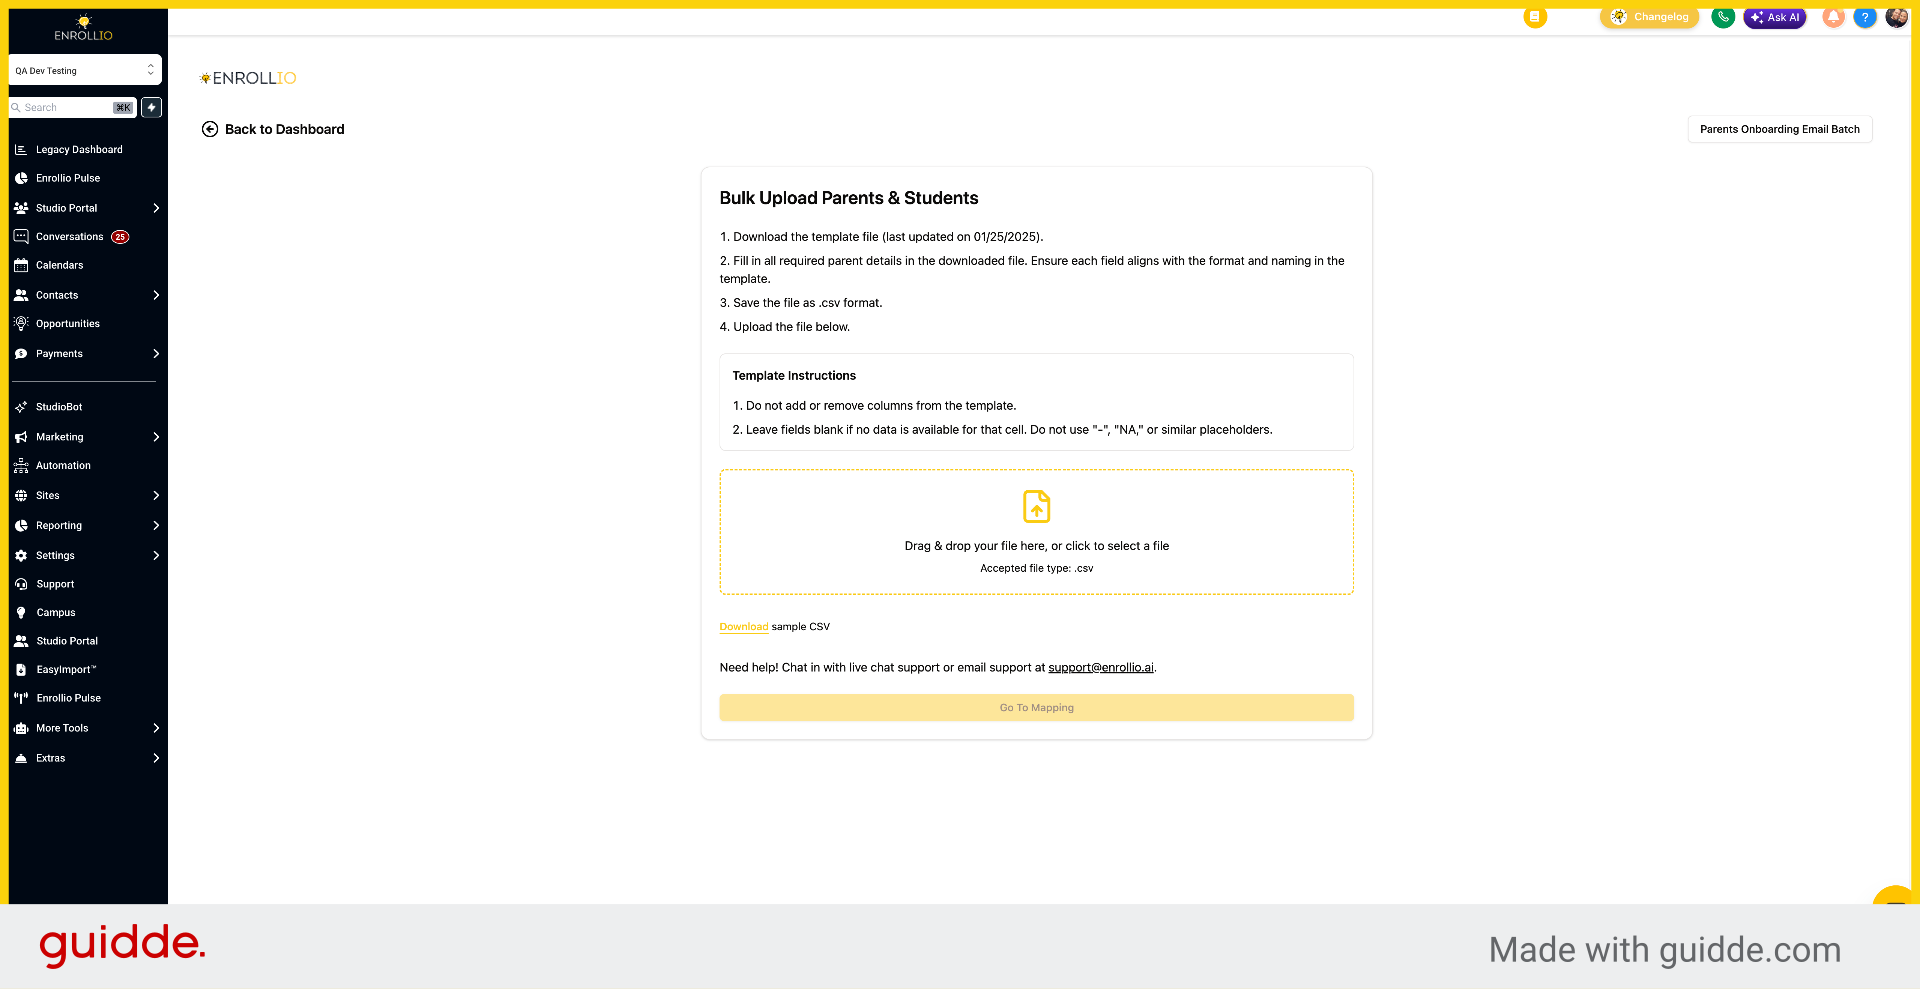
3. Download CSV Template
Click "Download" to get the sample CSV file for bulk uploading families.
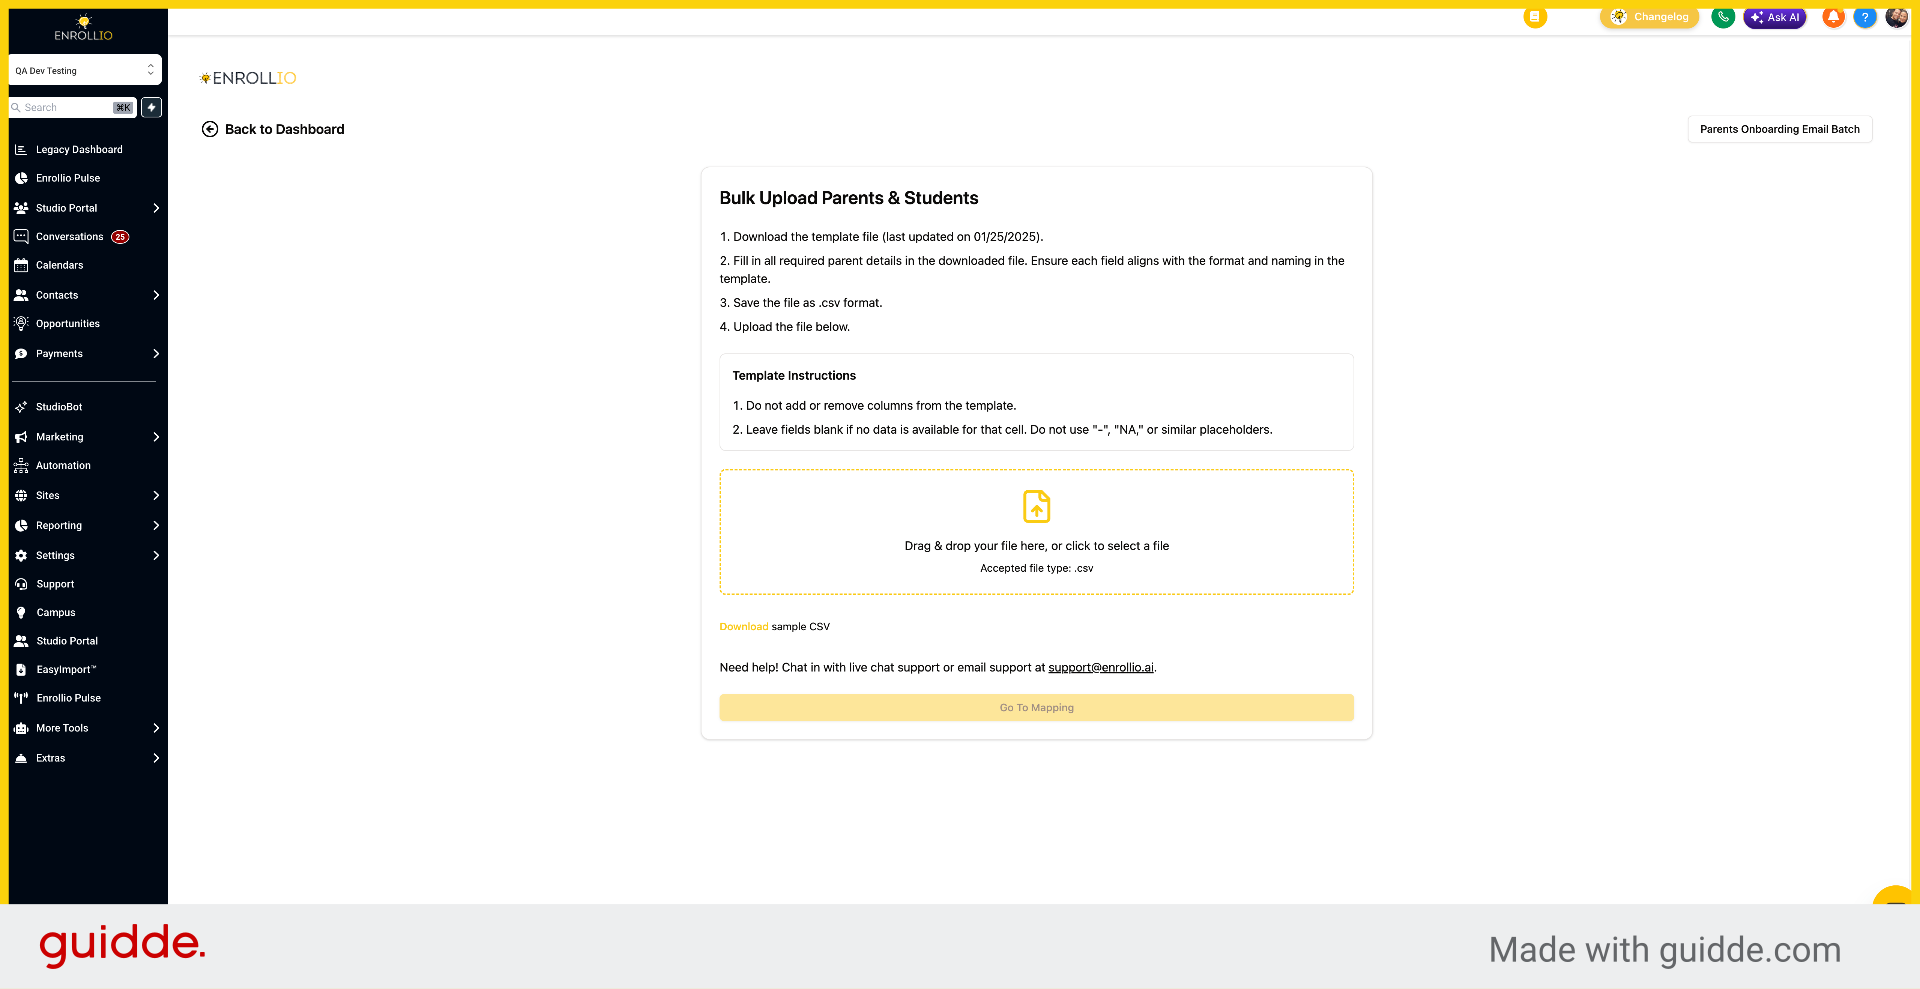
4. Review Template Instructions
Review the instructions about downloading the template file and filling in all required parent details.
5. Open Template in Google Sheets
Go to docs.google.com to open the downloaded CSV template in Google Sheets.
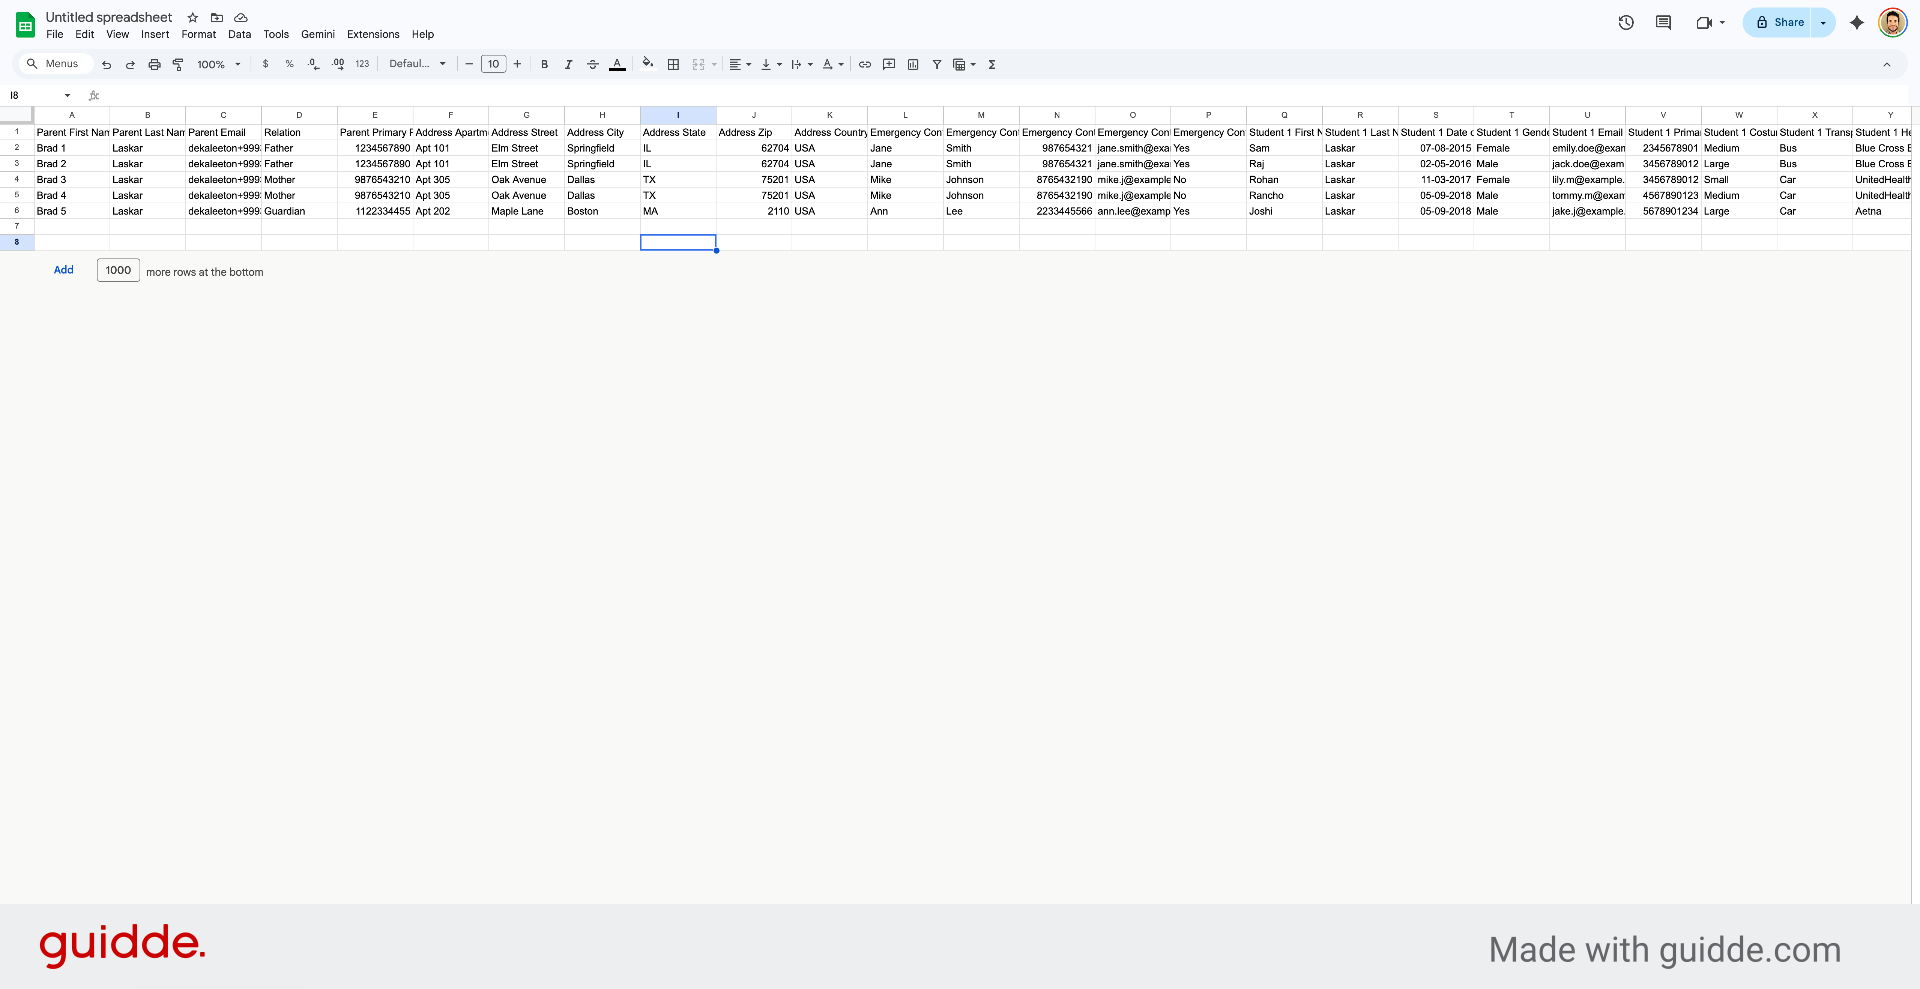
6. Select Data Range
Click to select the data range in the spreadsheet for conversion.
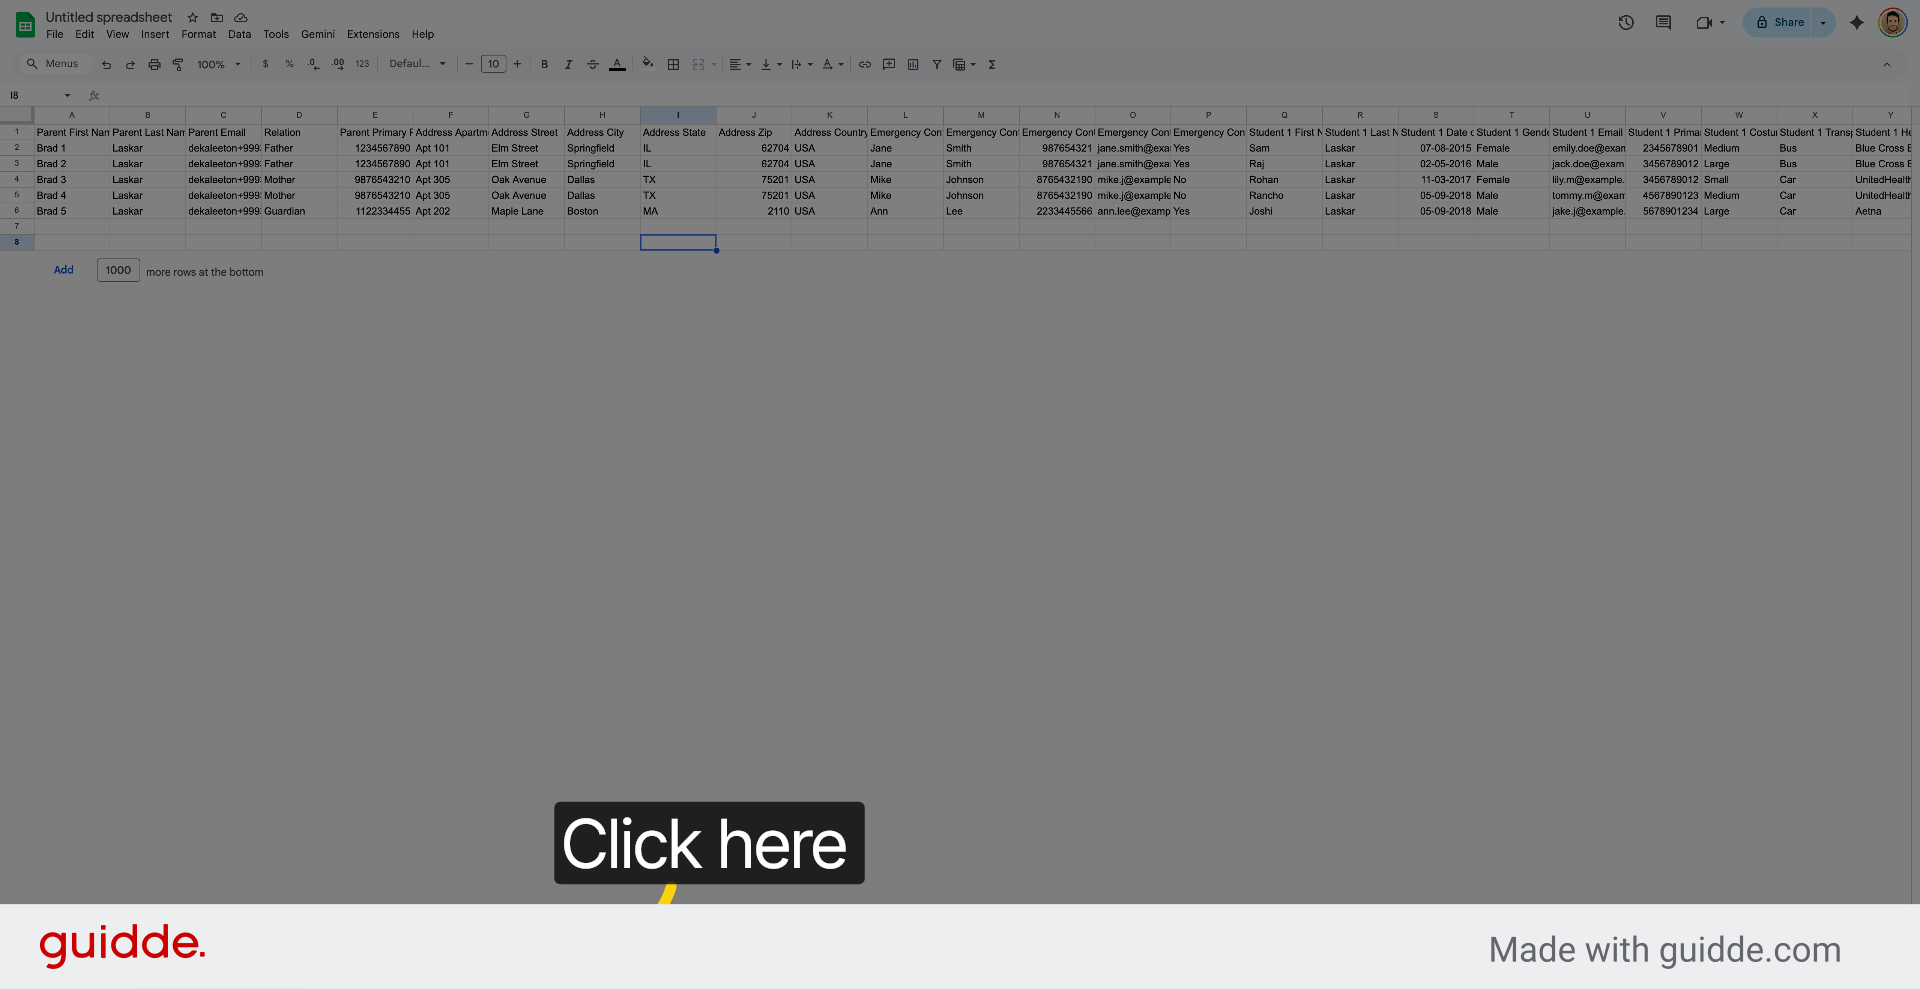
7. Convert Data to Table
Click "Convert to table" to format the selected data as a table.
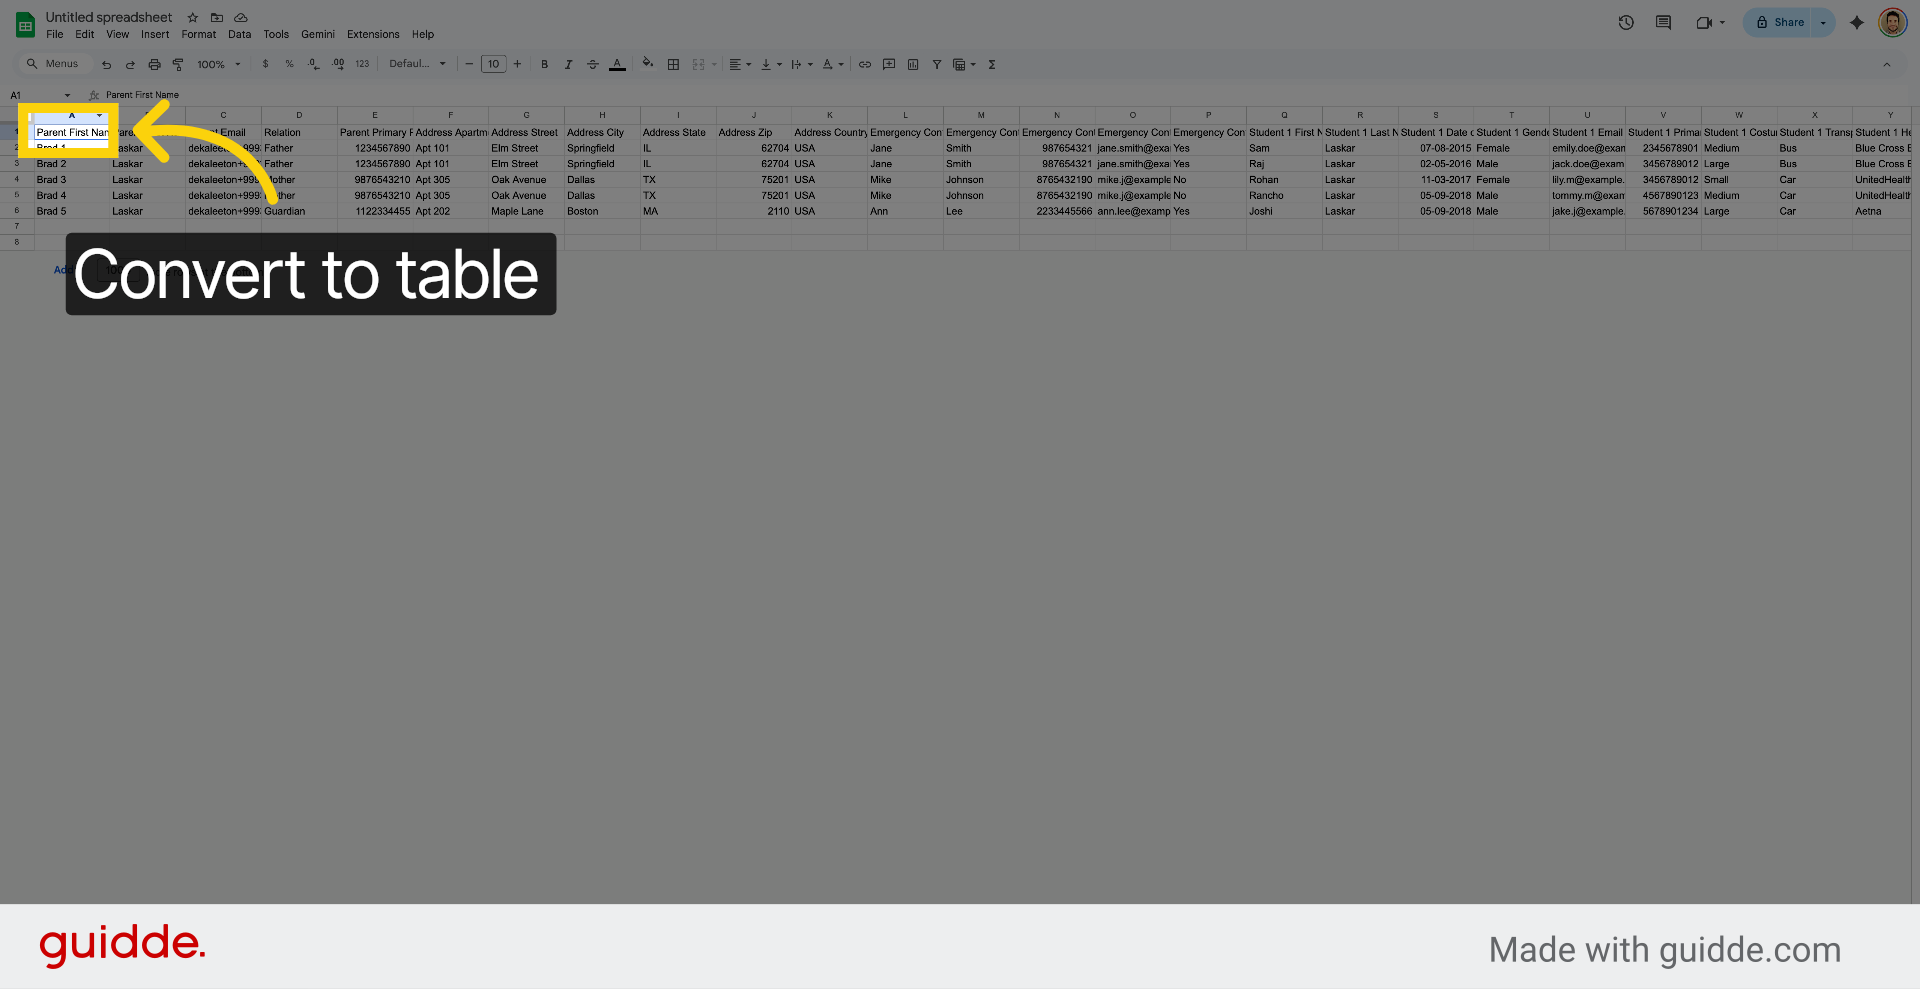
8. Select Data Range
Click to select the relevant data for export.
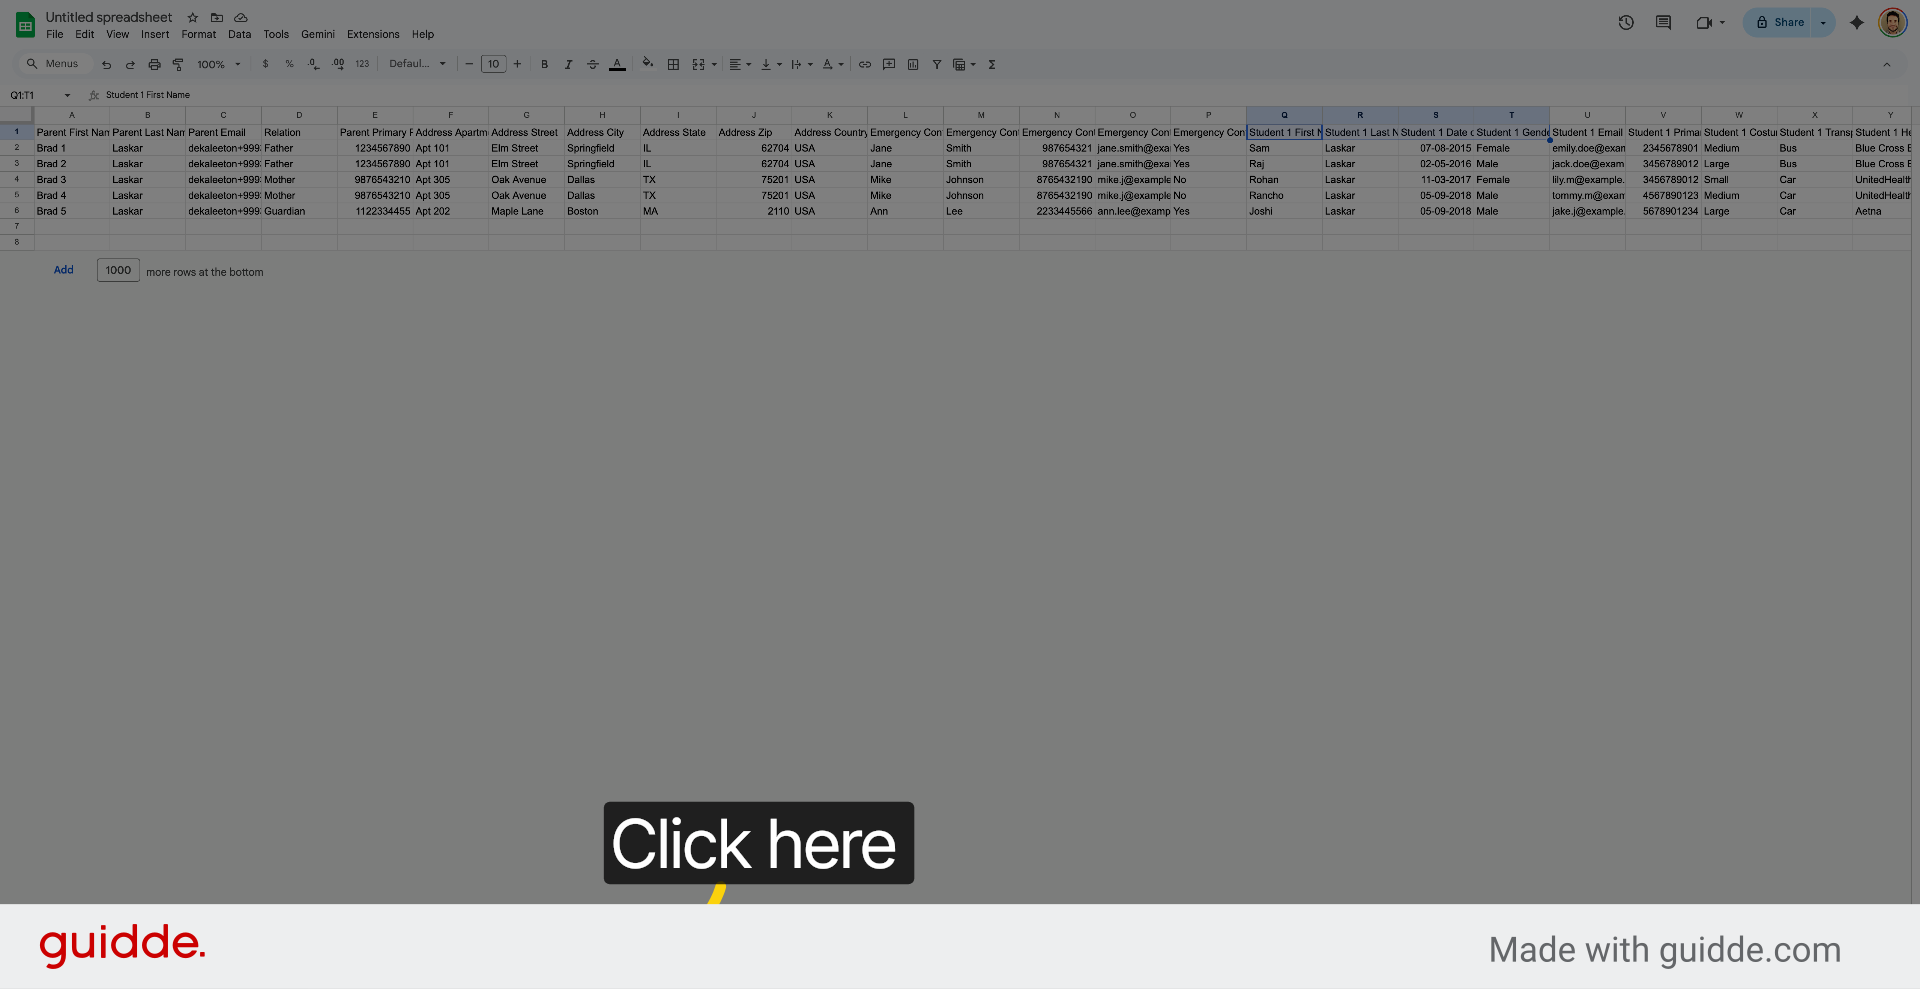
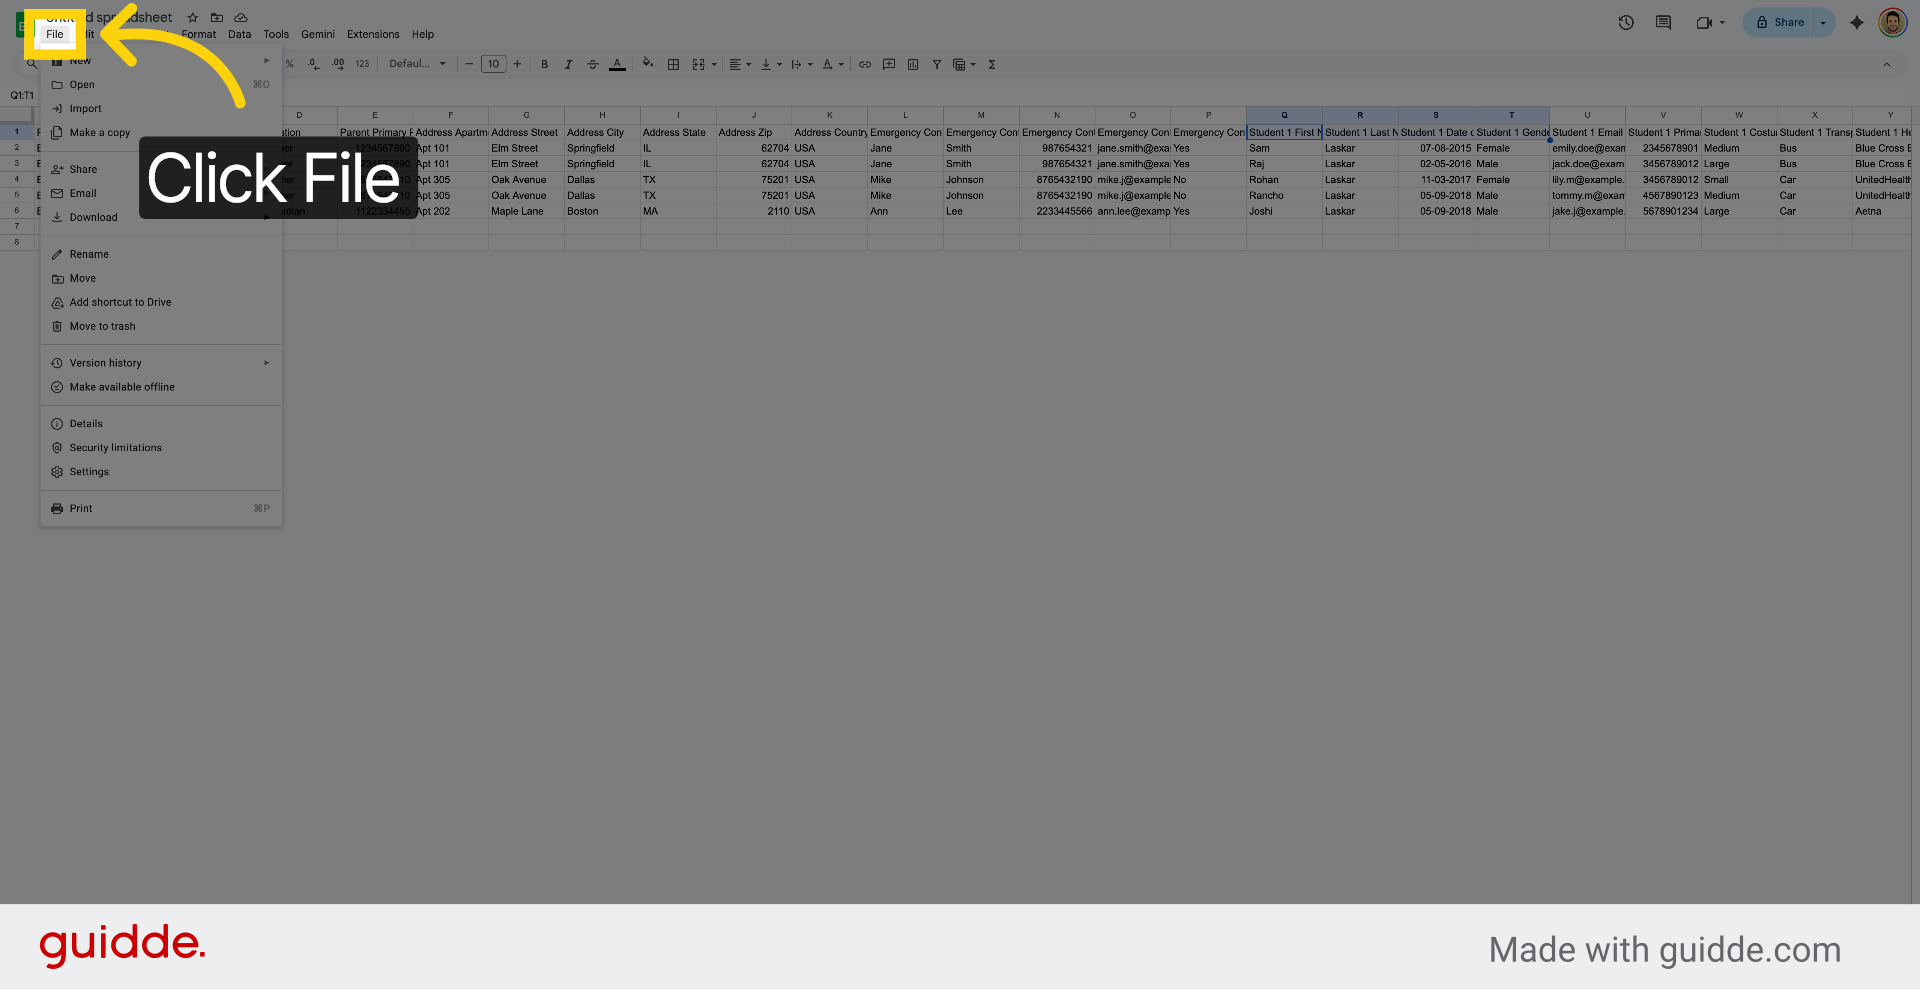
9. Open File Menu
Click "File" to access export options in Google Sheets.
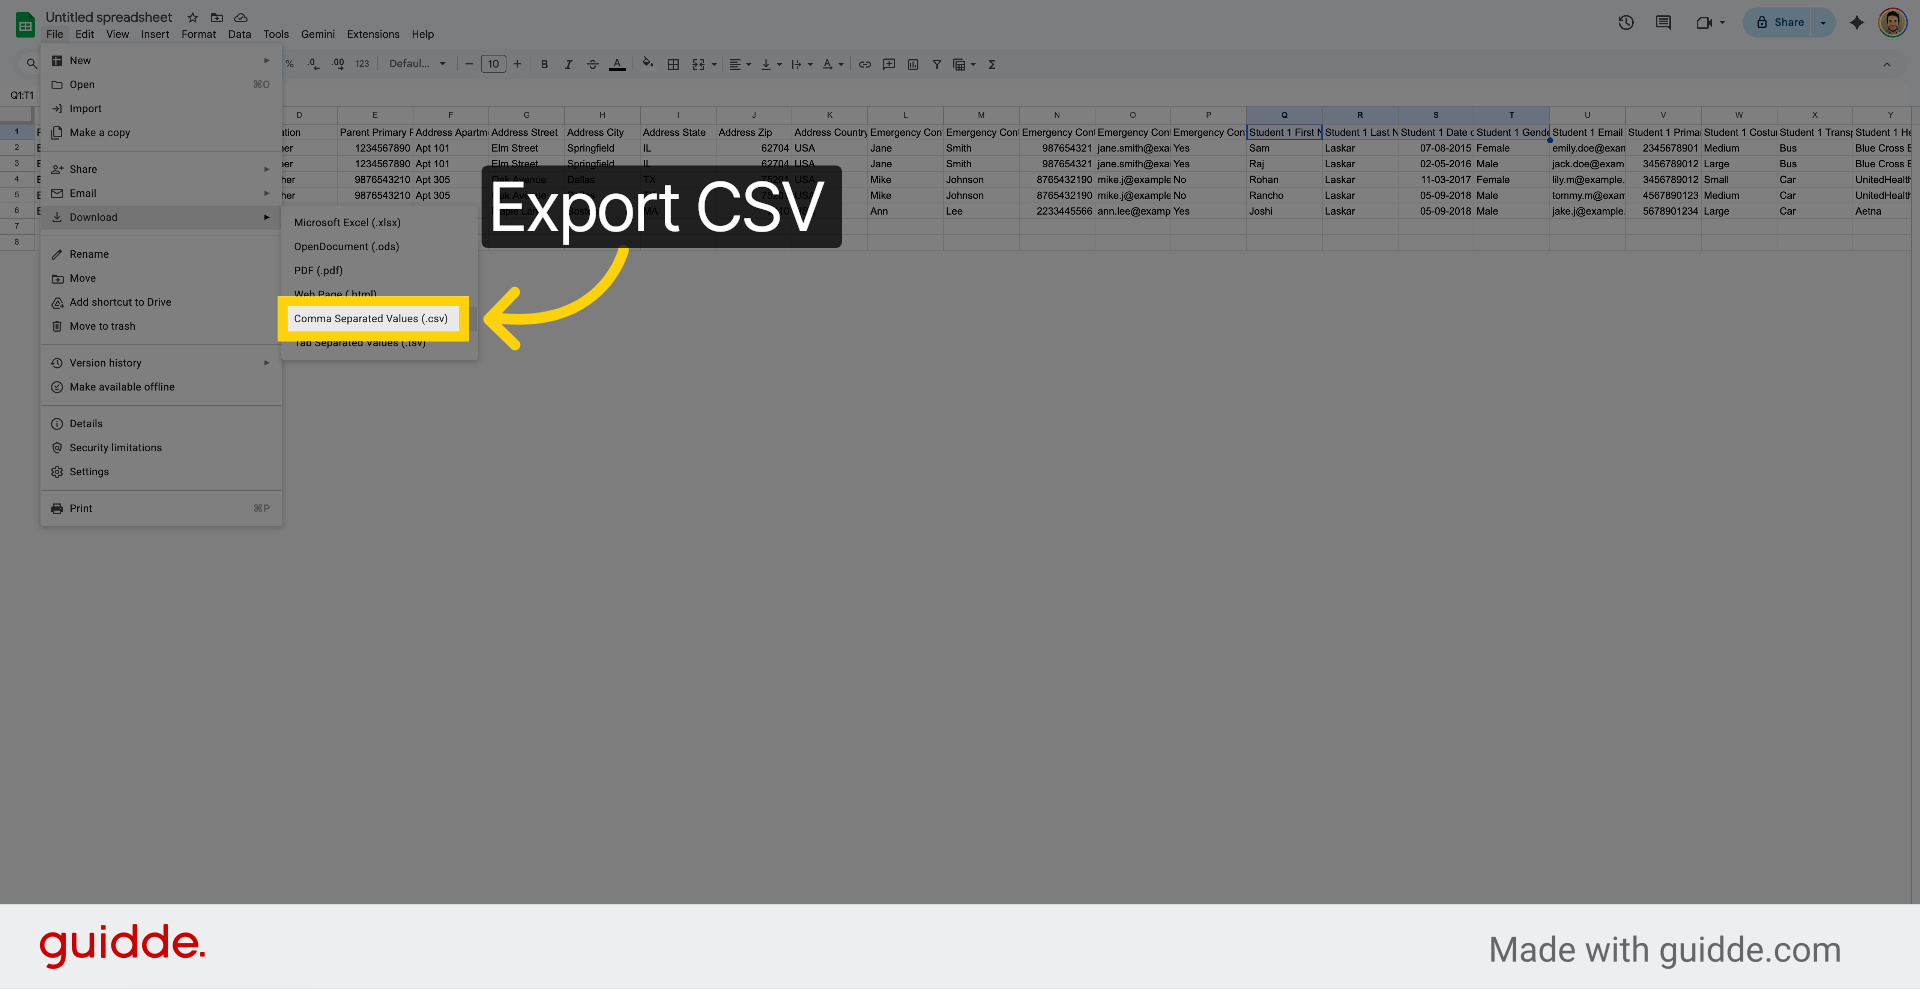
10. Choose CSV Export
Click "Comma Separated Values (.csv)" to export the spreadsheet as a CSV file.
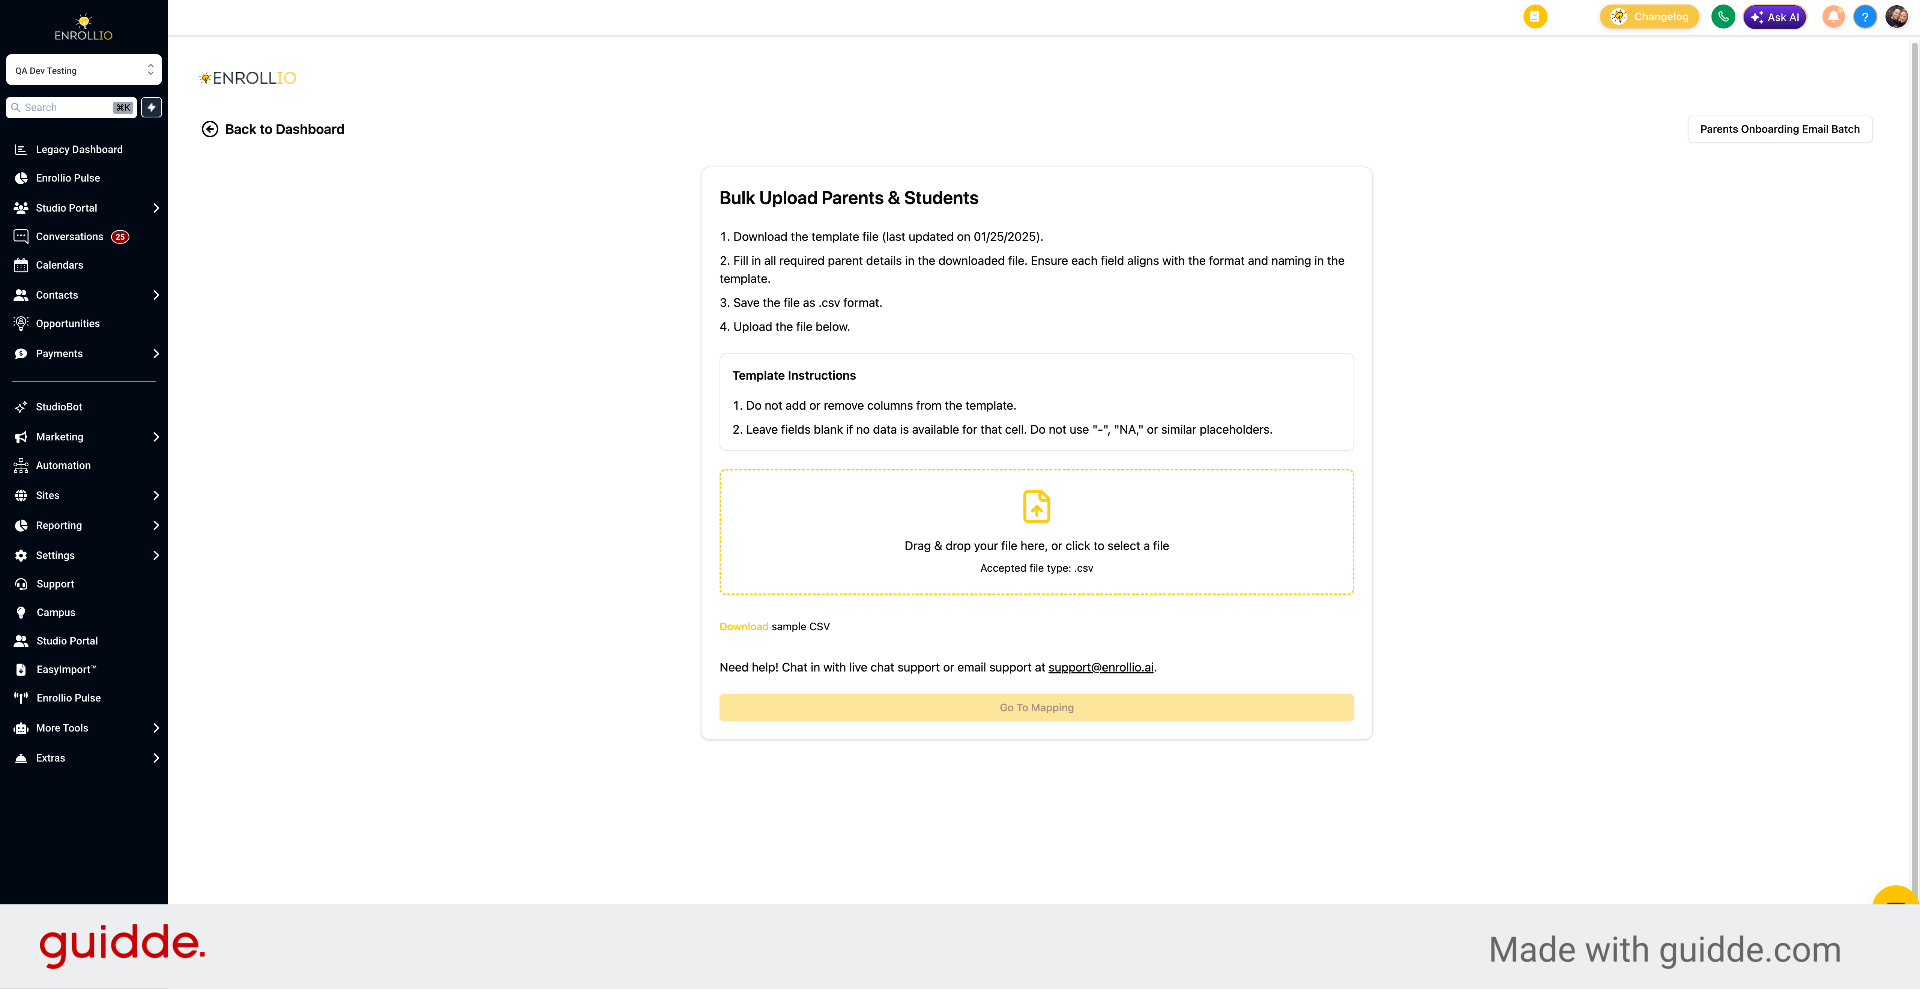
11. Return to Enrollio Portal
Go to app.enrollio.ai to continue the bulk upload process.
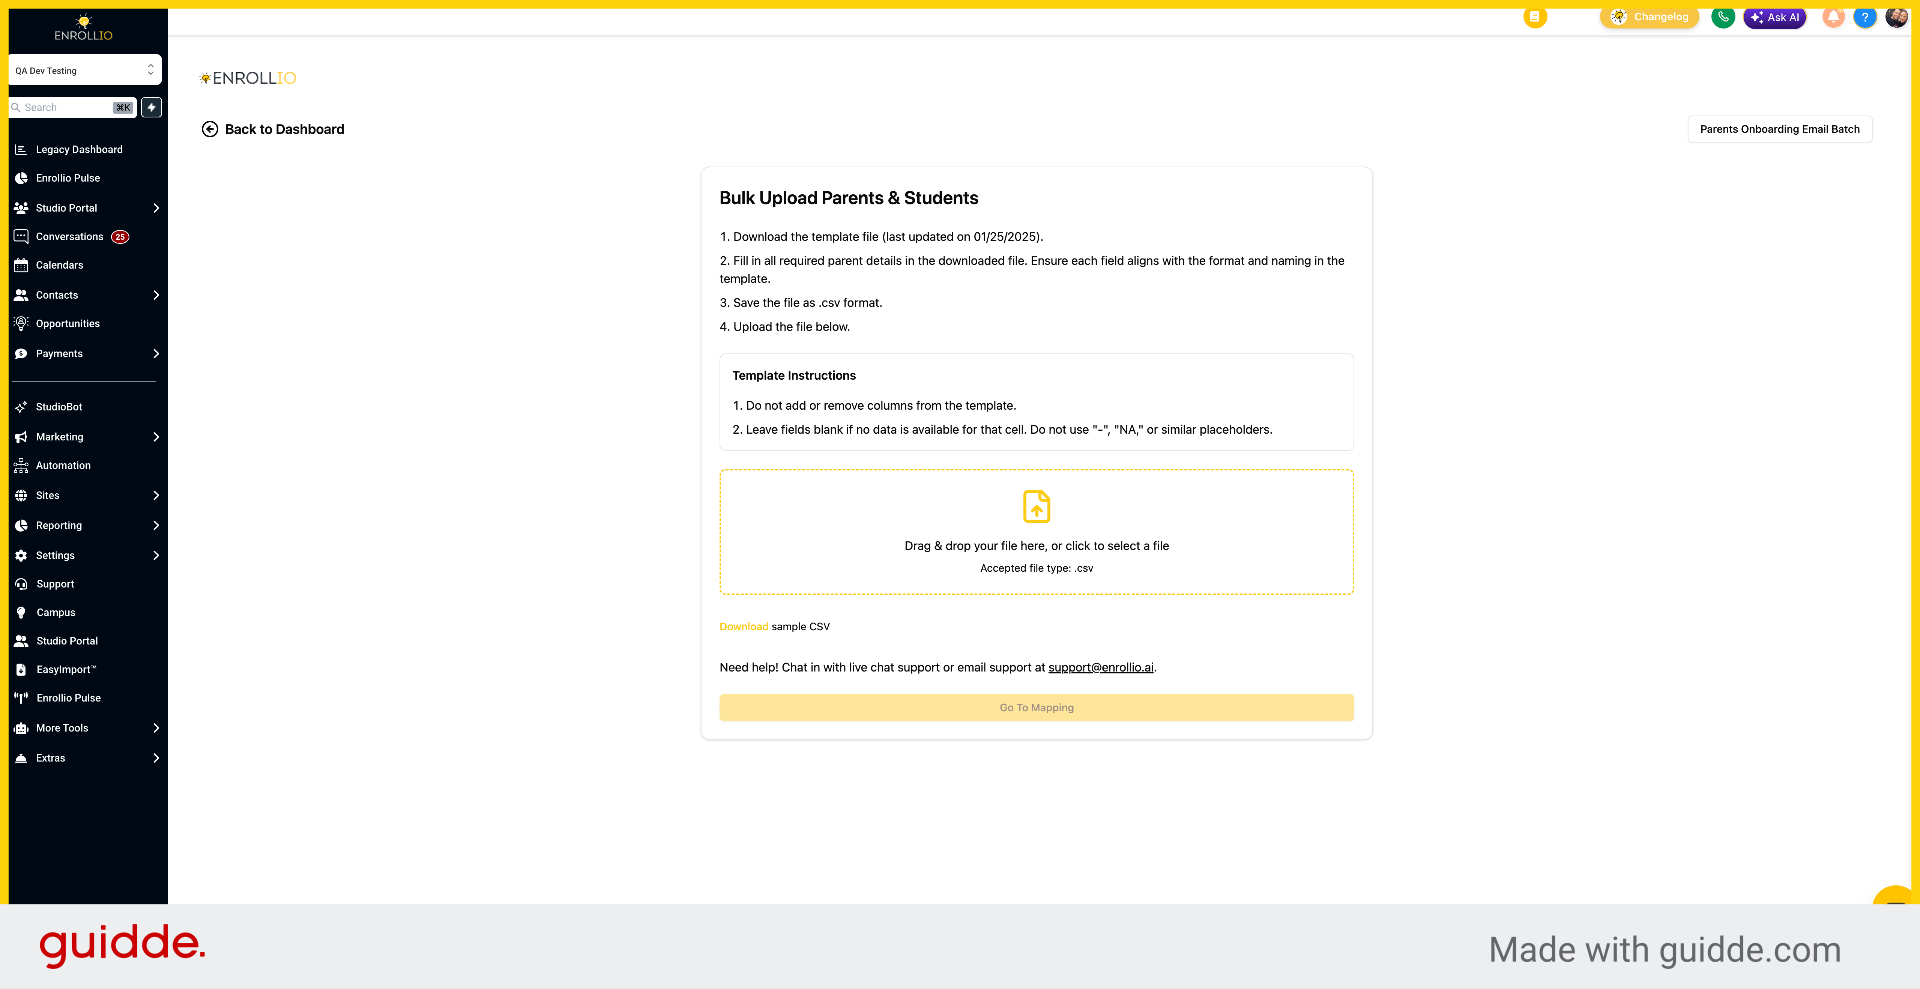
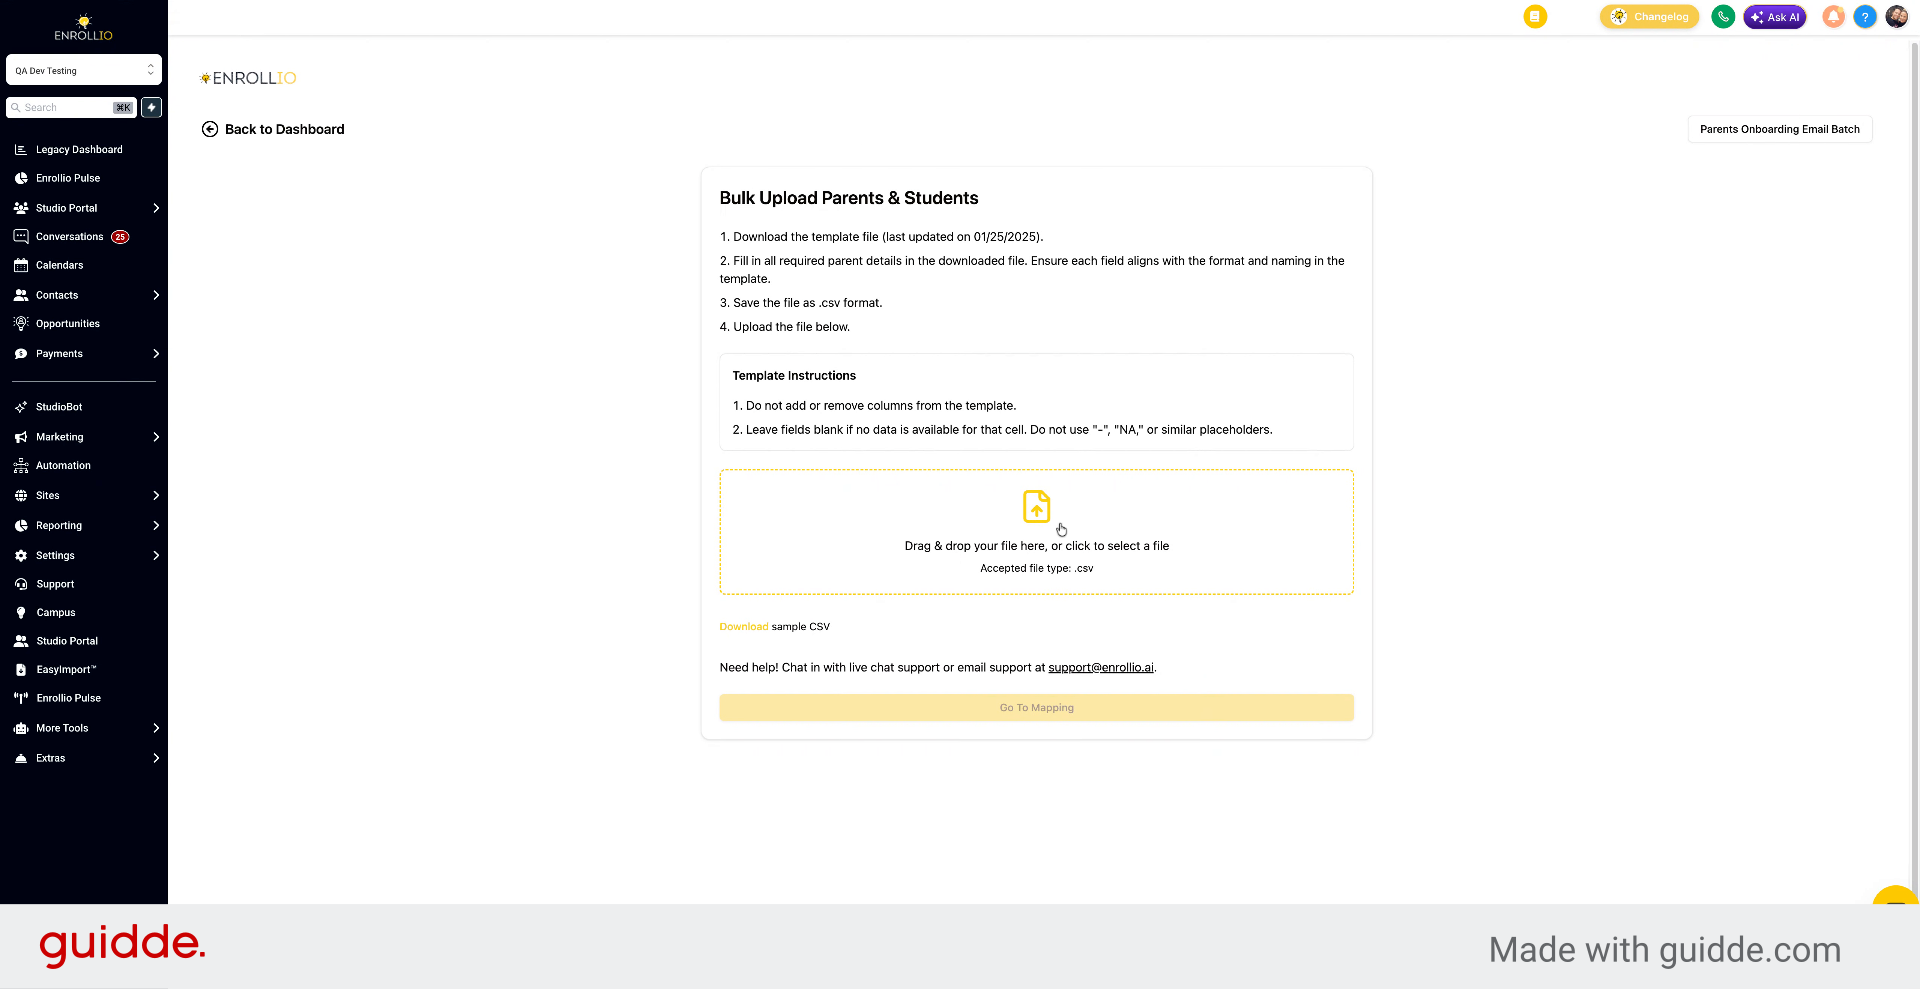
12. Select CSV File Upload
Click "Drag & drop your file here, or click to select a file" to upload your CSV file. Accepted file type: .csv
13. Upload CSV File
Select your CSV file to upload it for processing.
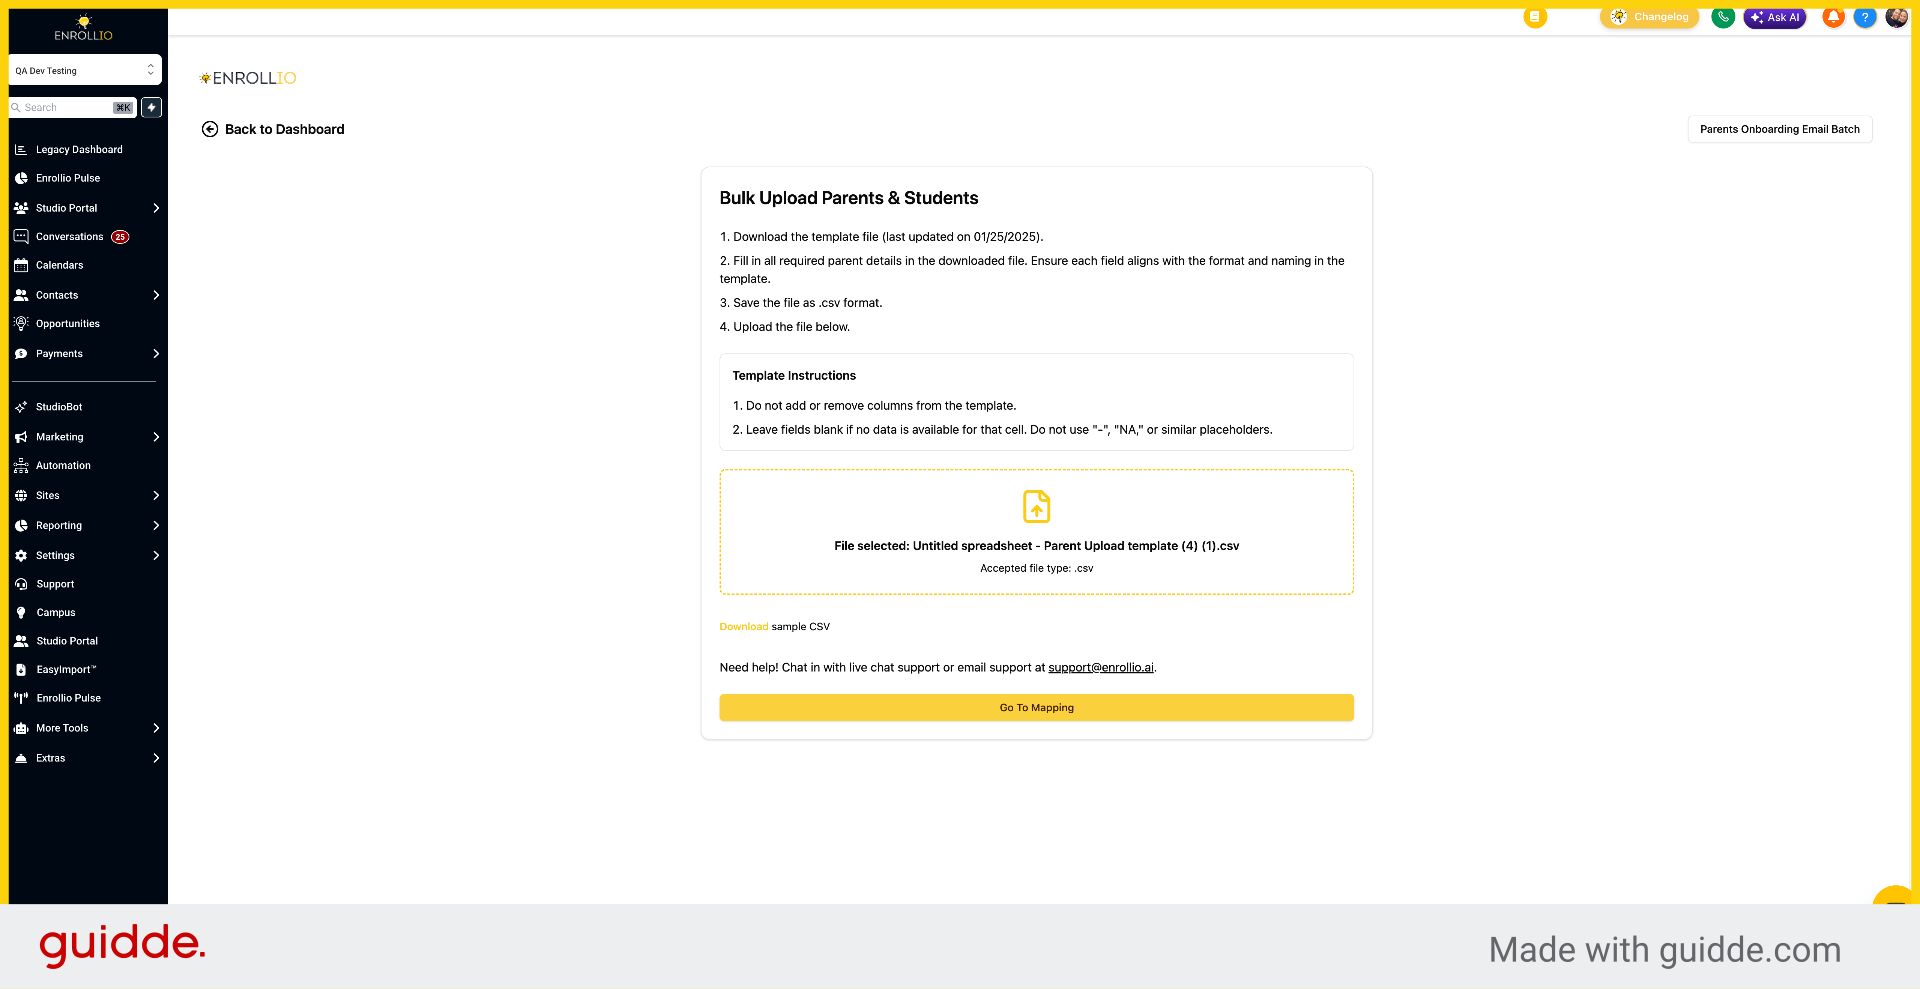
14. Proceed to Mapping
Click "Go To Mapping" to map CSV columns to system fields.
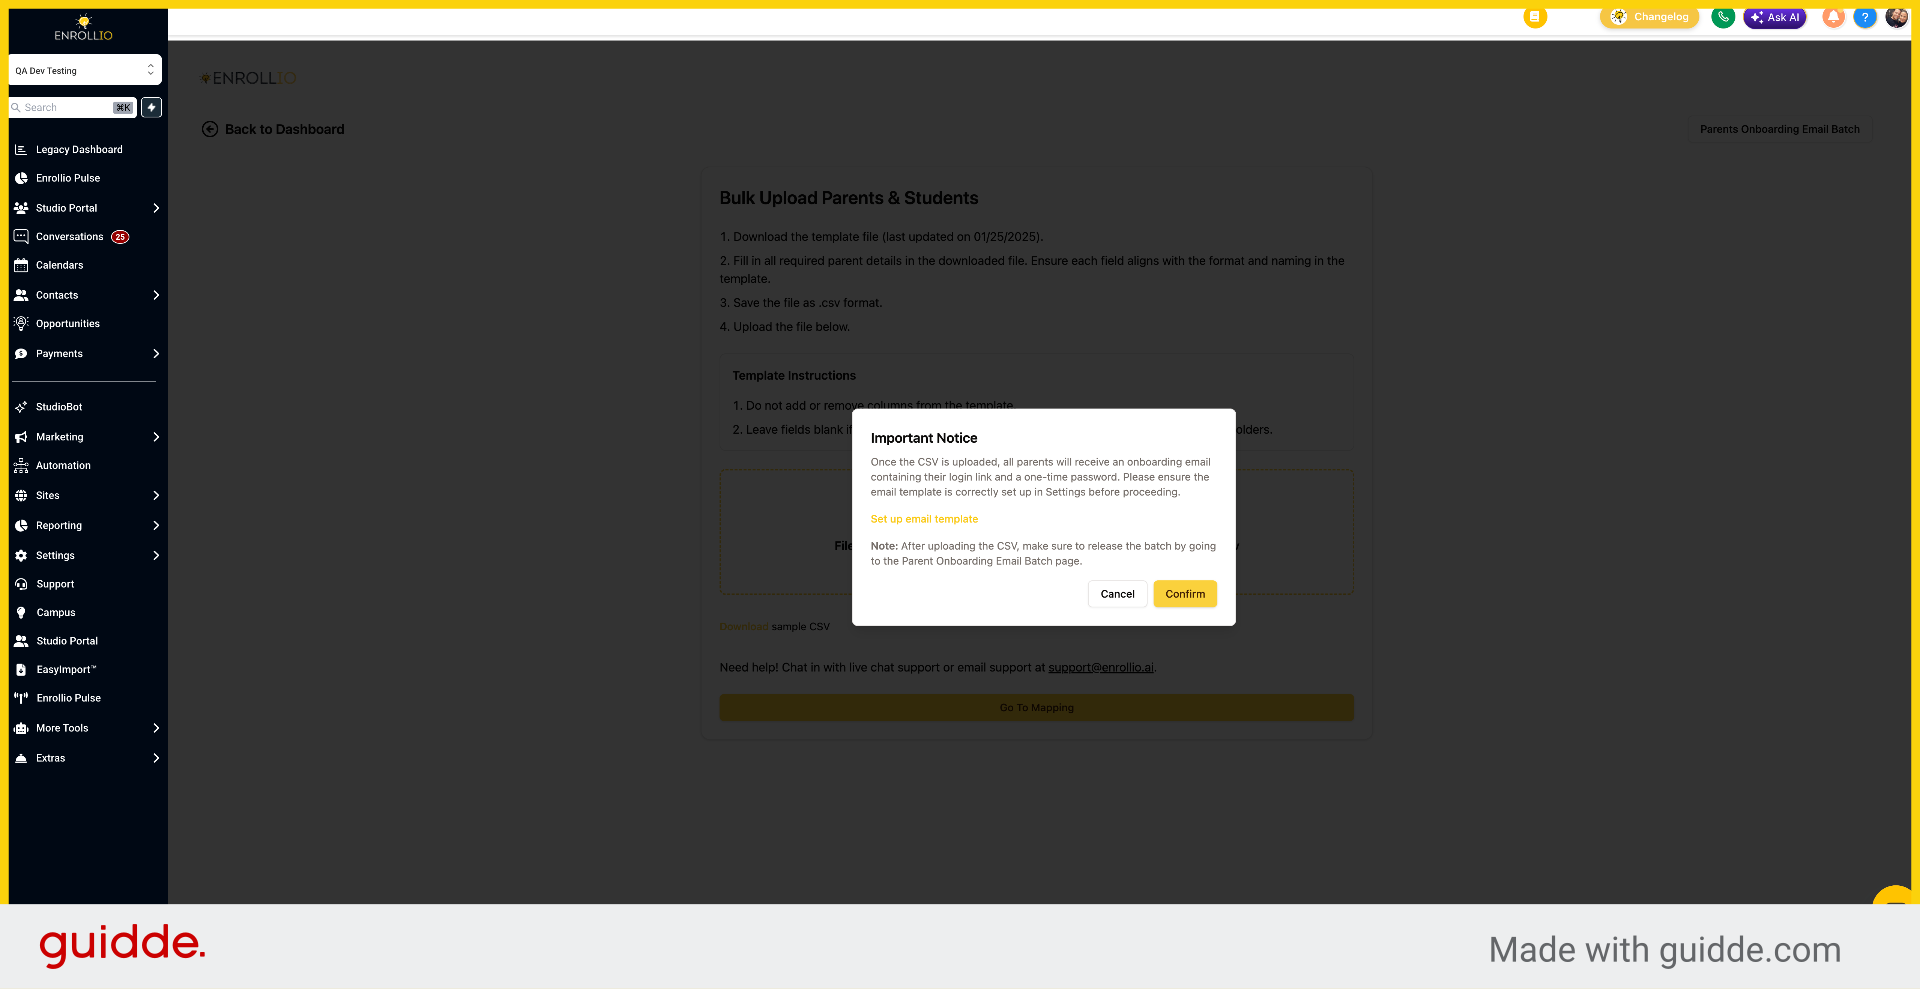
15. Confirm Mapping Setup
Click "Confirm" to finalize your field mappings.
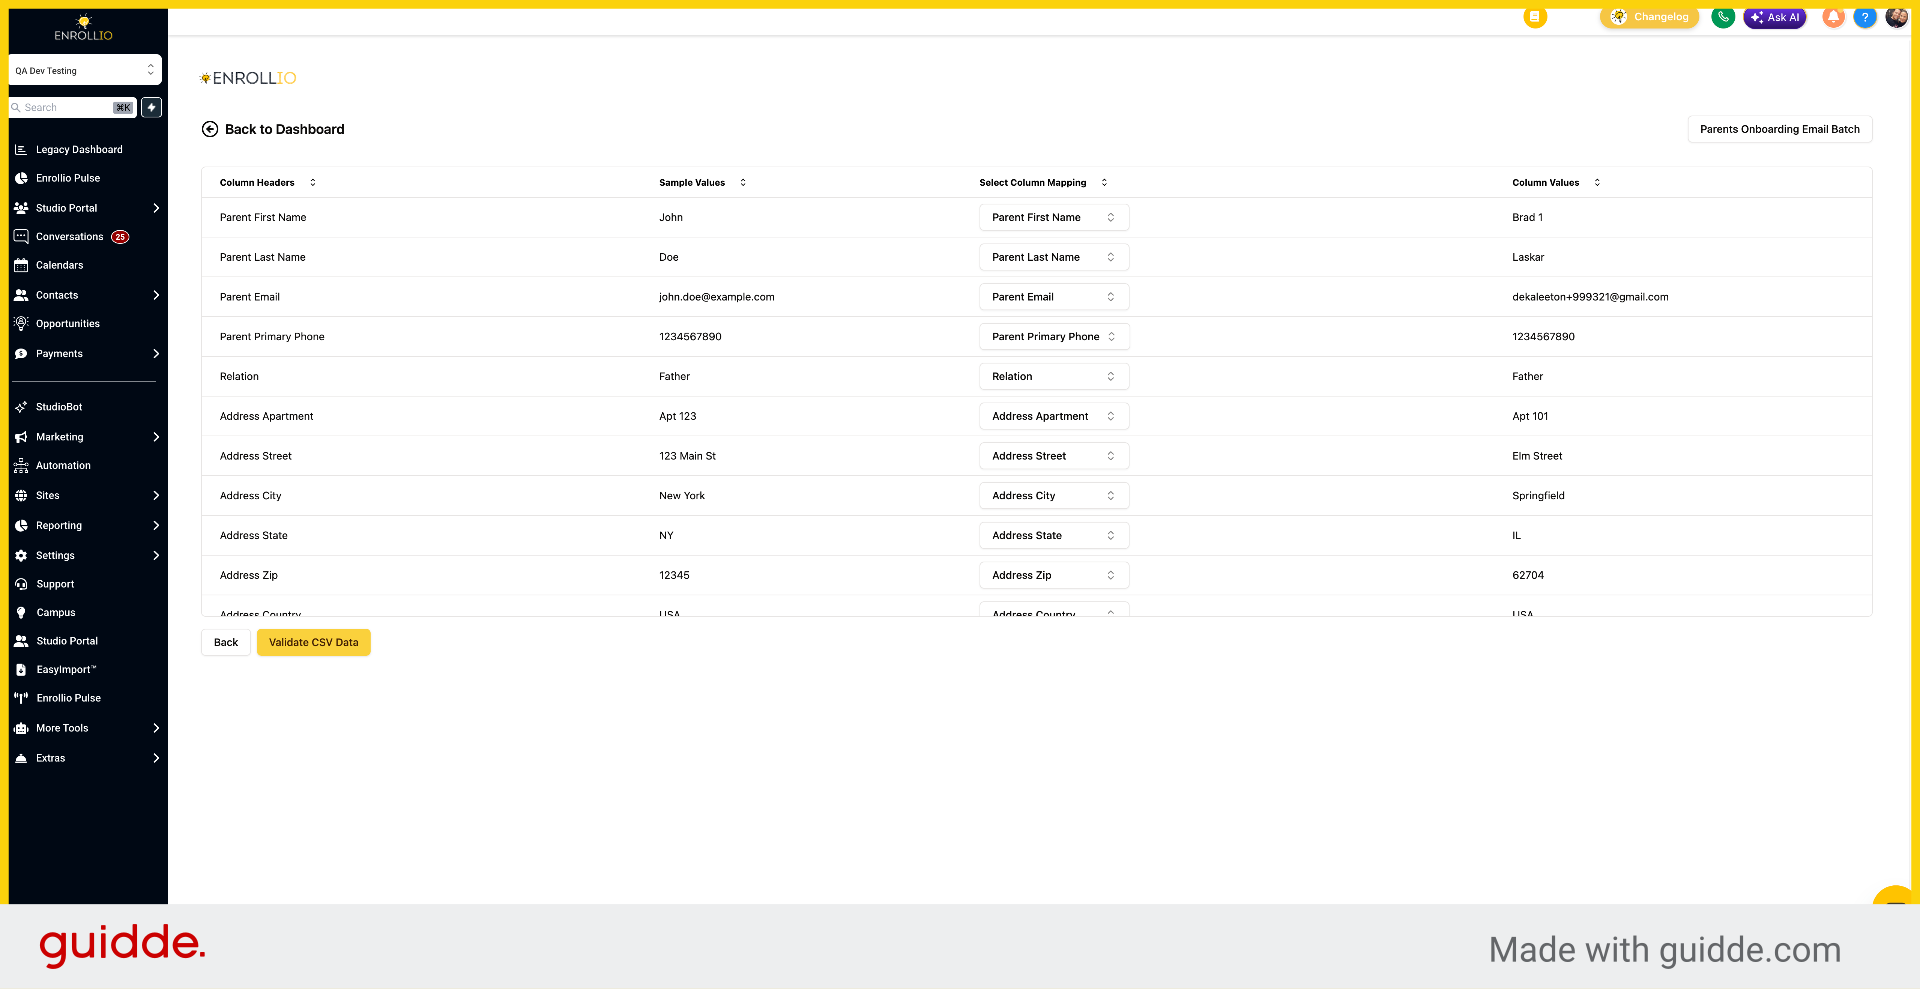
16. Validate CSV Data
Click "Validate CSV Data" to check for errors before uploading.
17. Upload Validated Data
Click "Upload" to import the validated family data into the system.
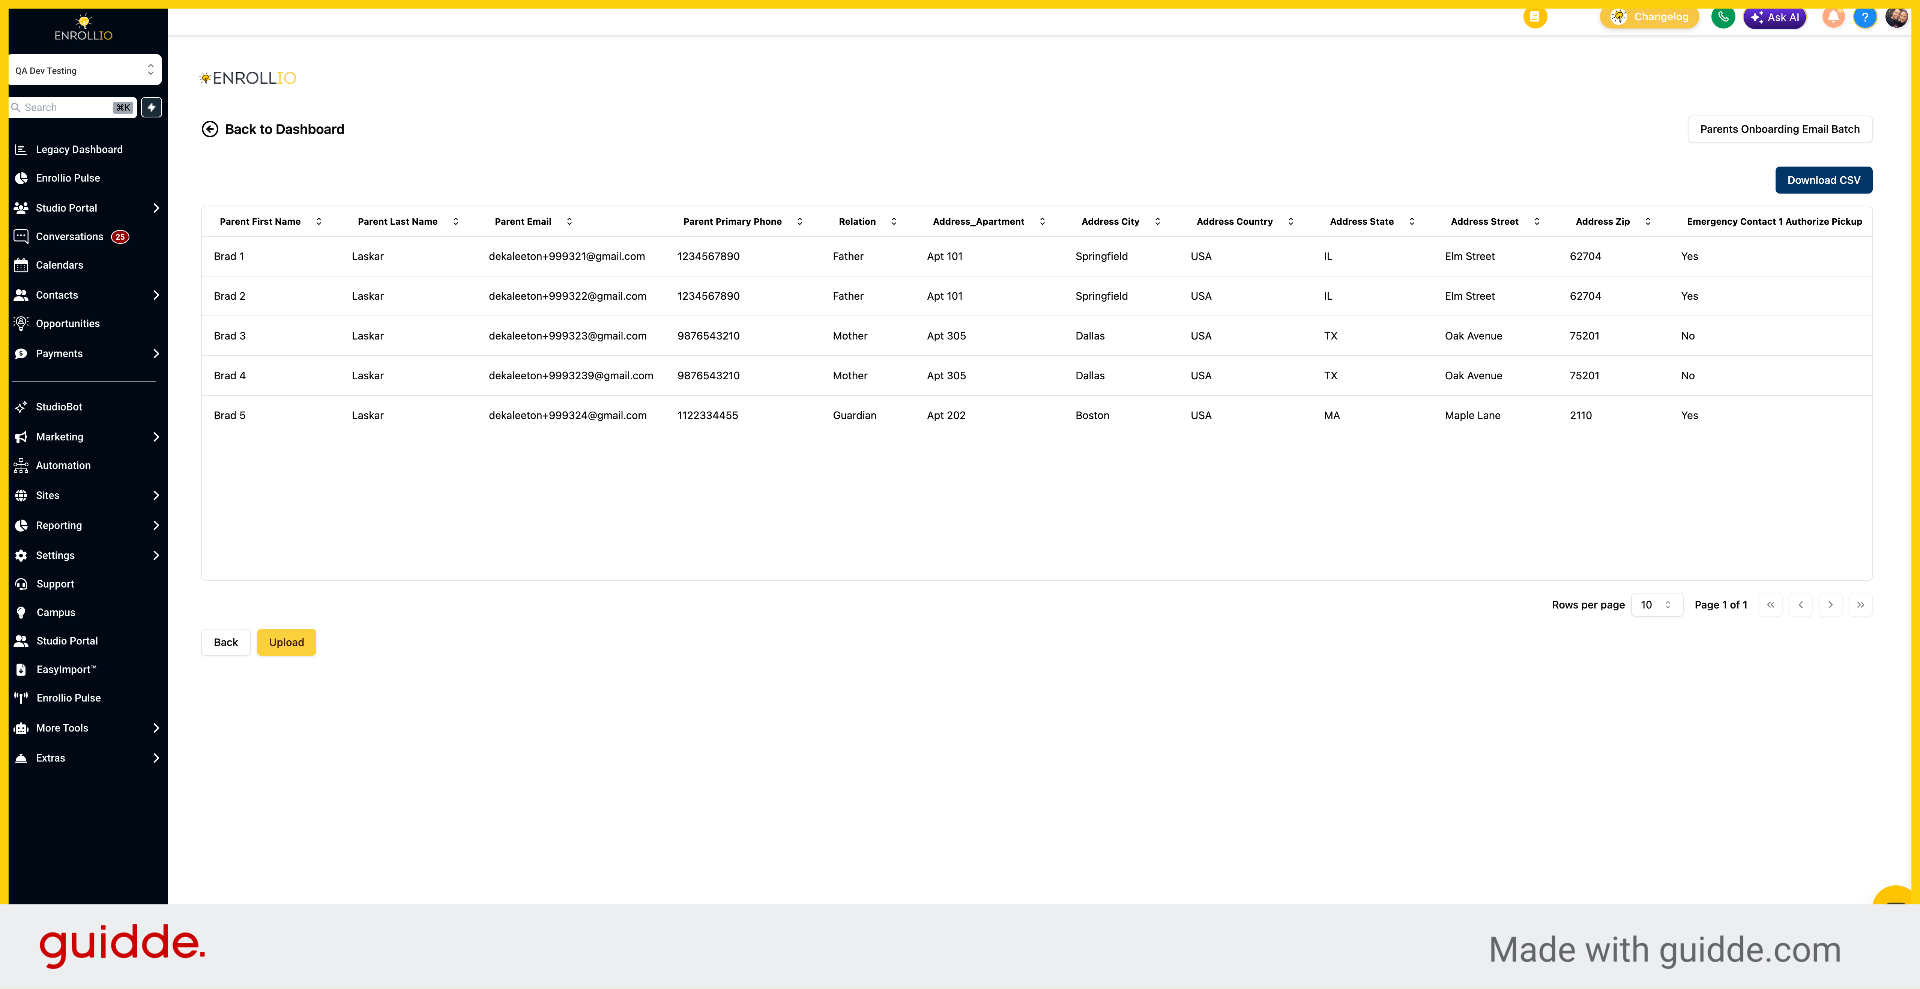
18. Acknowledge Upload Completion
Click to acknowledge that the upload process has completed.
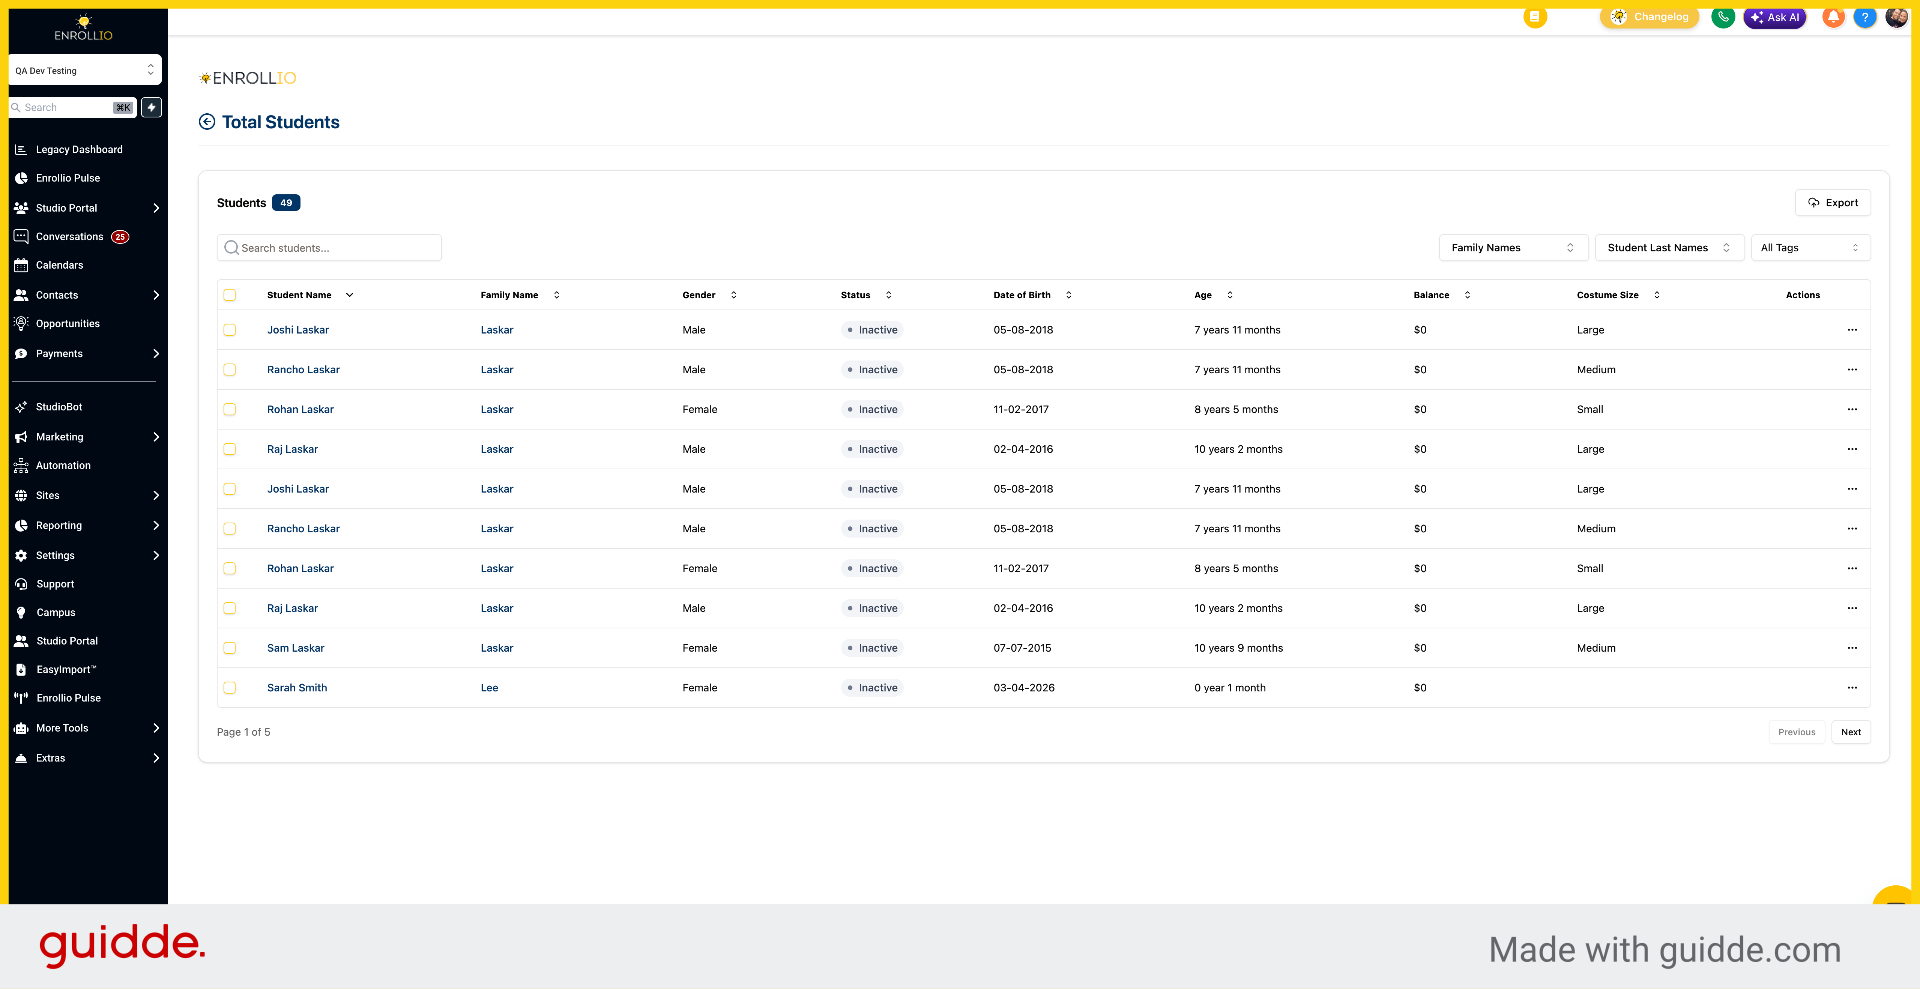
19. Return to Dashboard
Click "Back to Dashboard" to return to the main portal view.
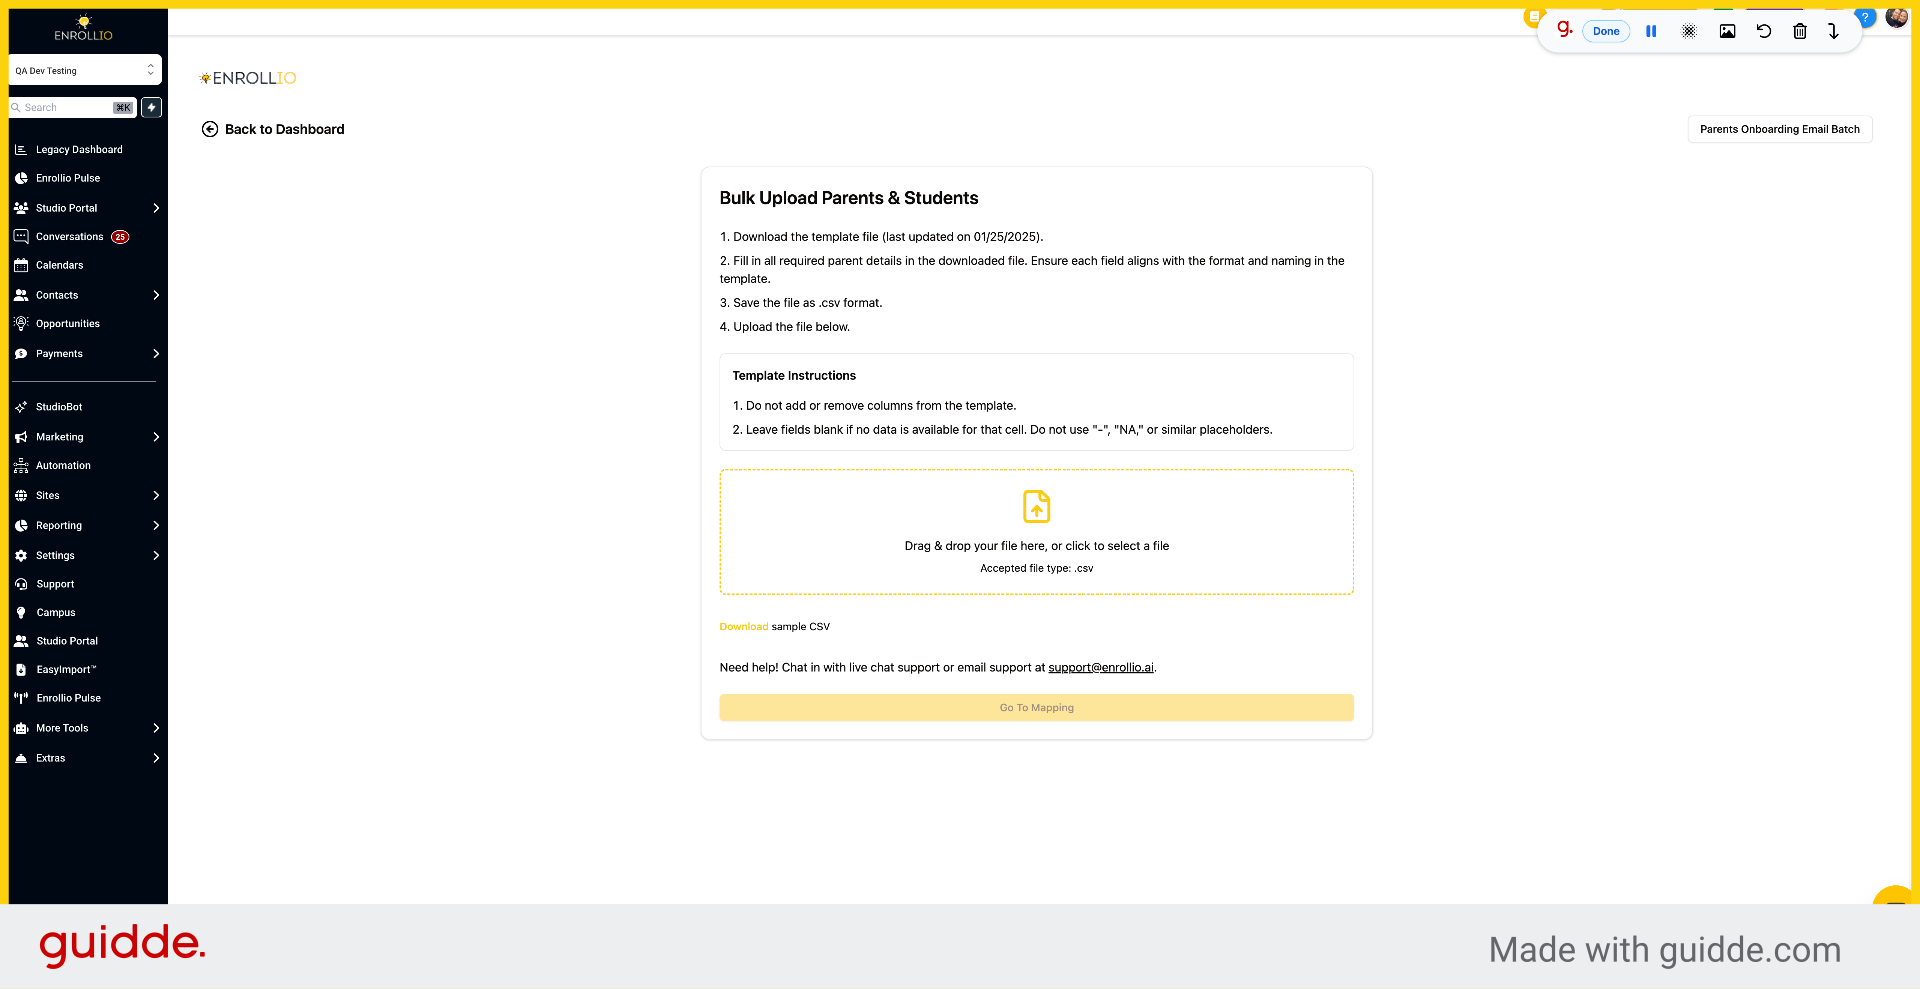
20. Open Email Batch Section
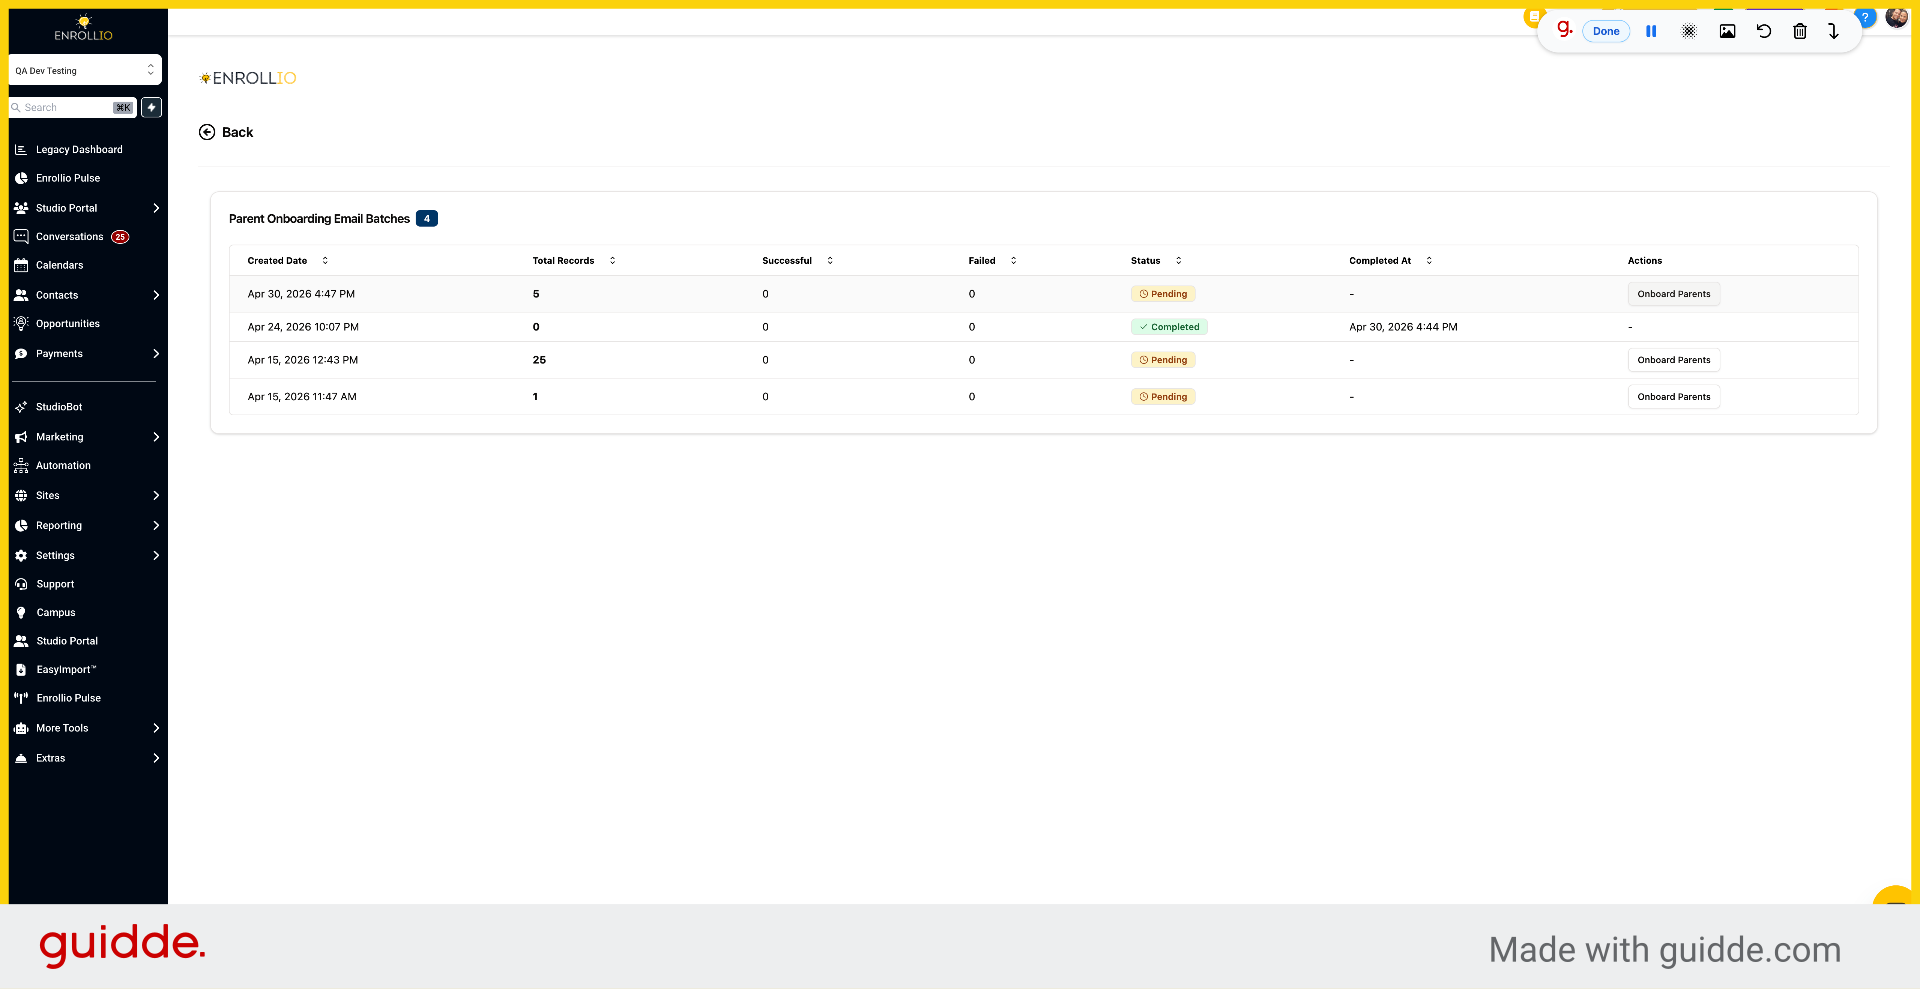
Click "Parents Onboarding Email Batch" to manage onboarding emails.
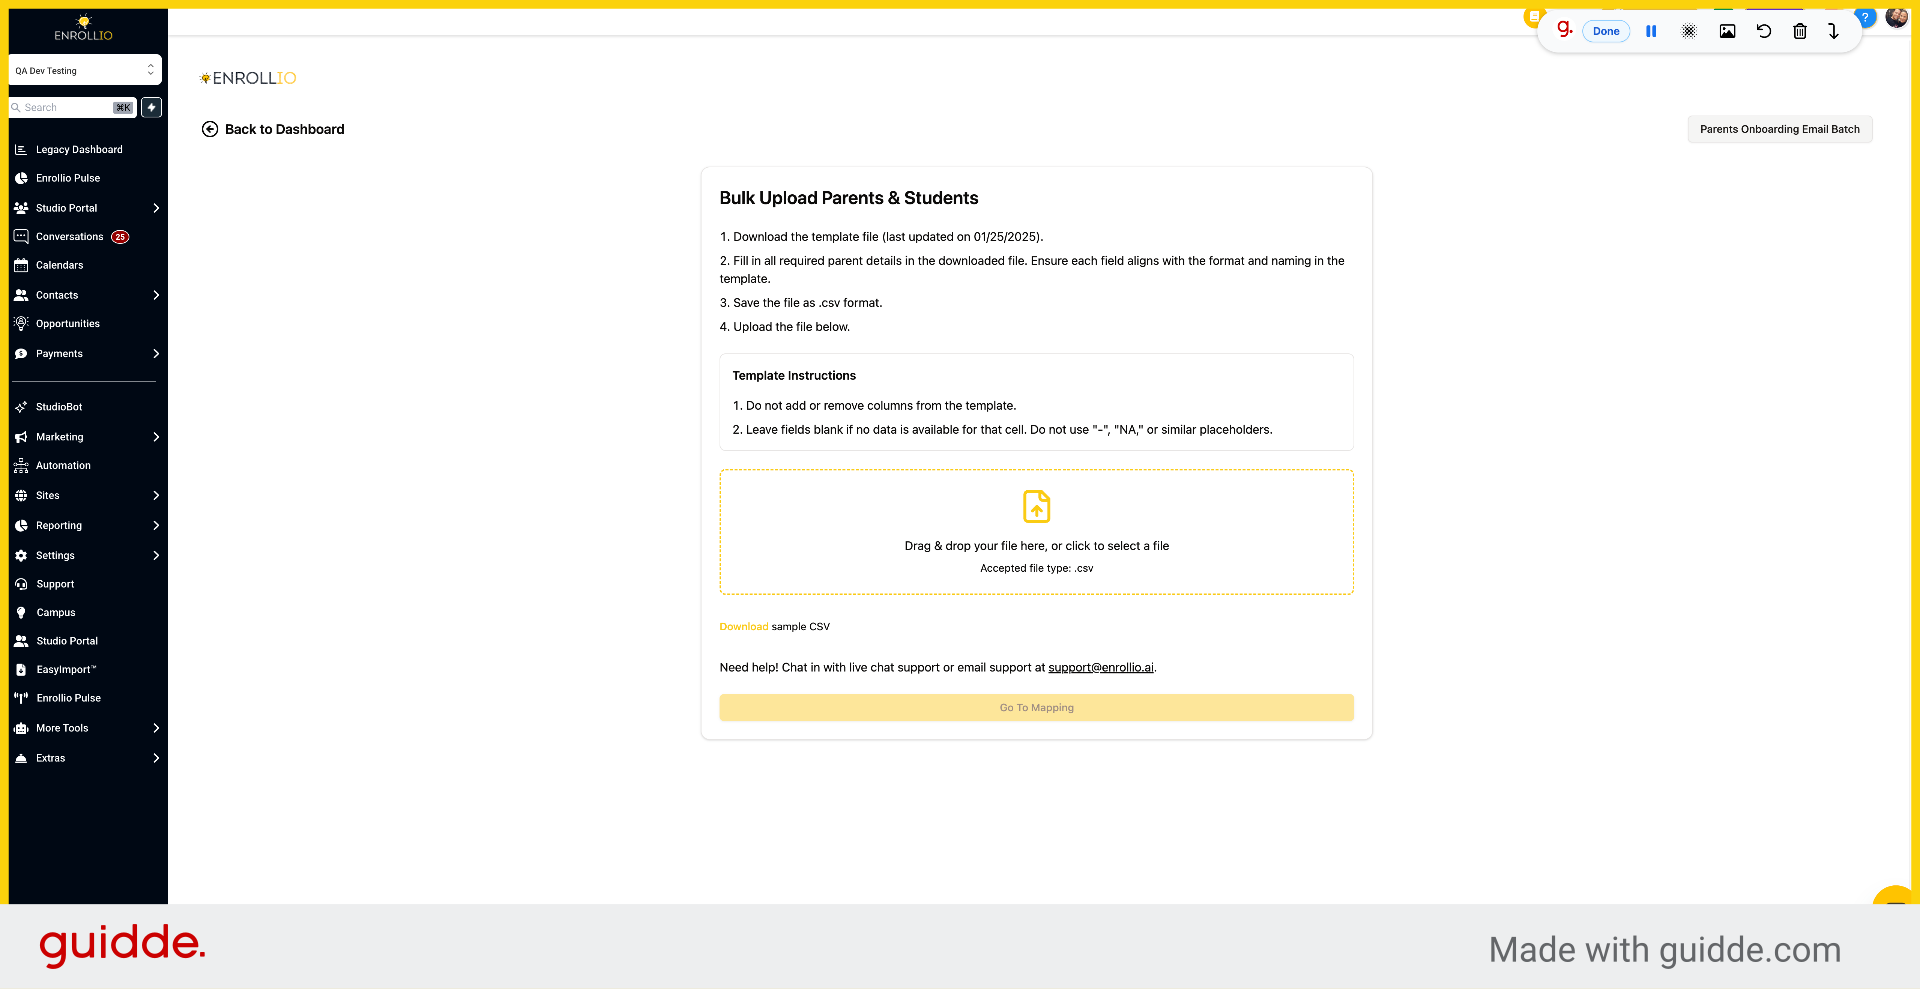
21. Send Onboarding Emails
Click "Onboard Parents" to send email invites to families for portal access.
This article demonstrated how to efficiently bulk import families into the Studio Portal, including preparing the CSV template, uploading data, validating entries, and sending onboarding emails.