
This article gives you a detailed look at the Parent Portal in Enrollio. You'll learn how to manage your child's classes, events, attendance, and payments.
1. Introduce Parent Portal
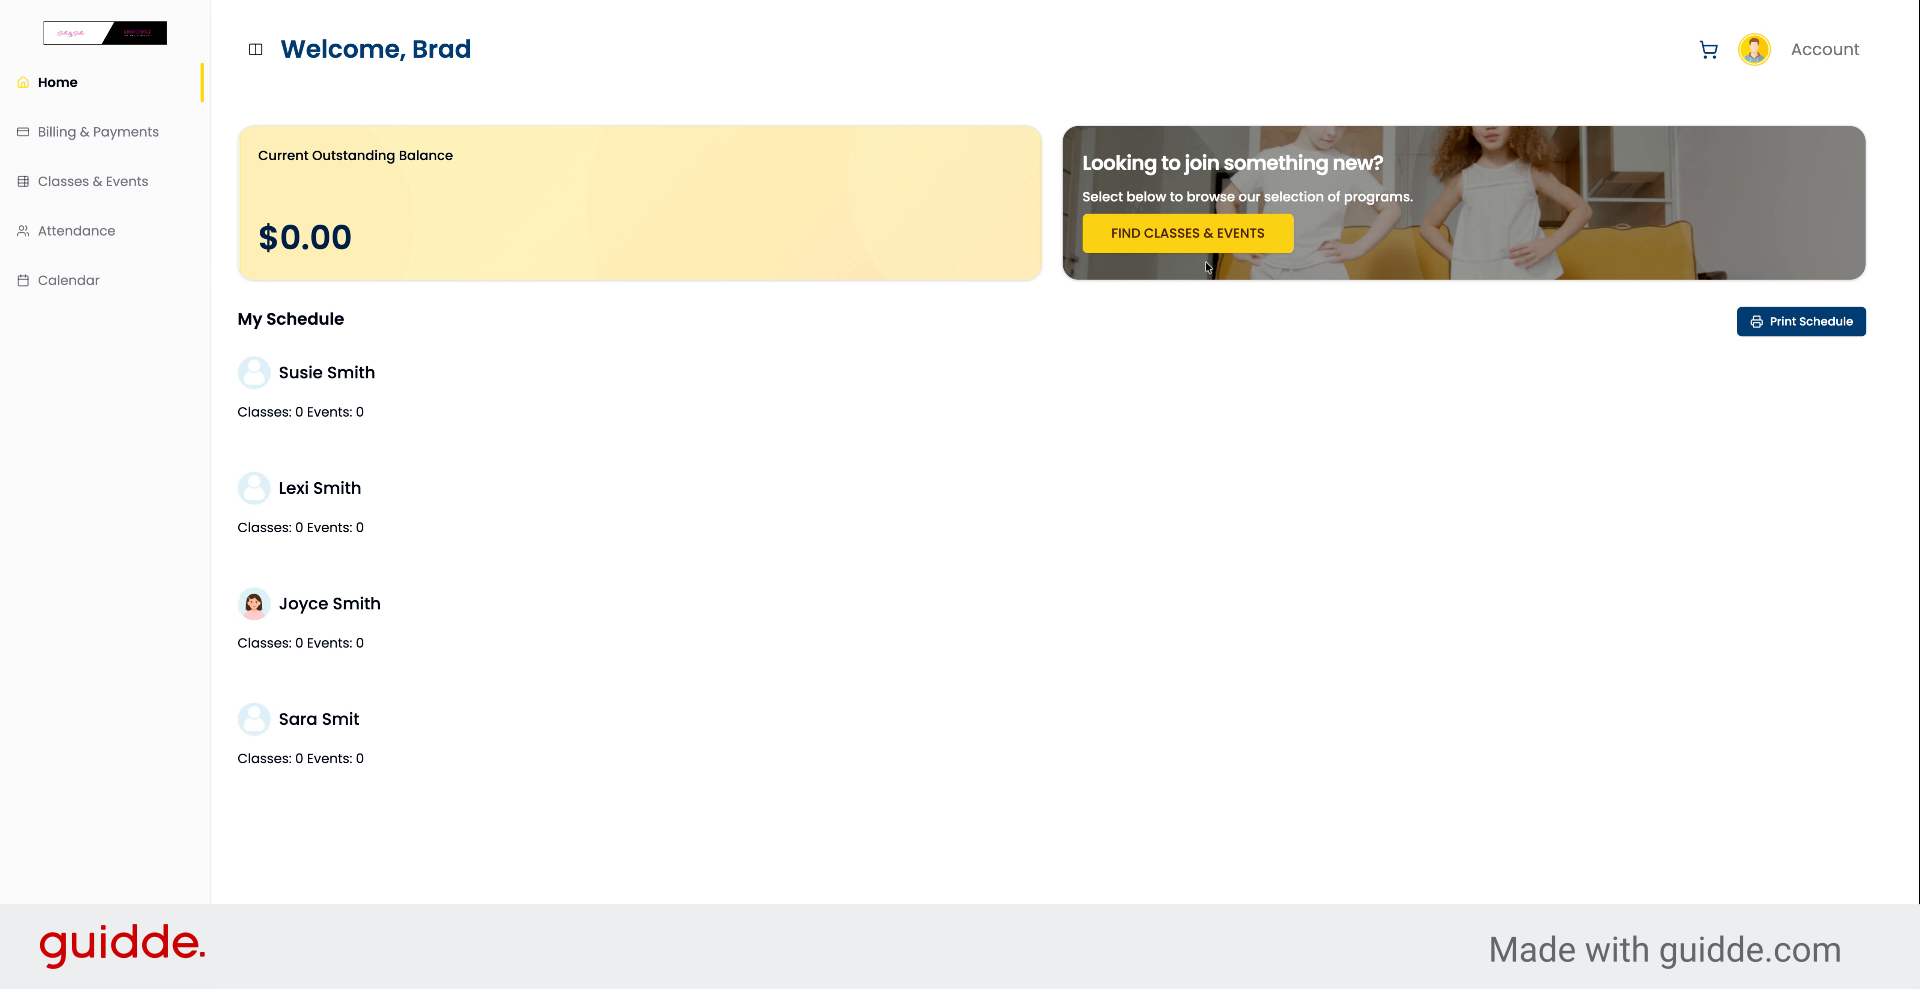
This is a quick tour of the parent portal from the parent's perspective.
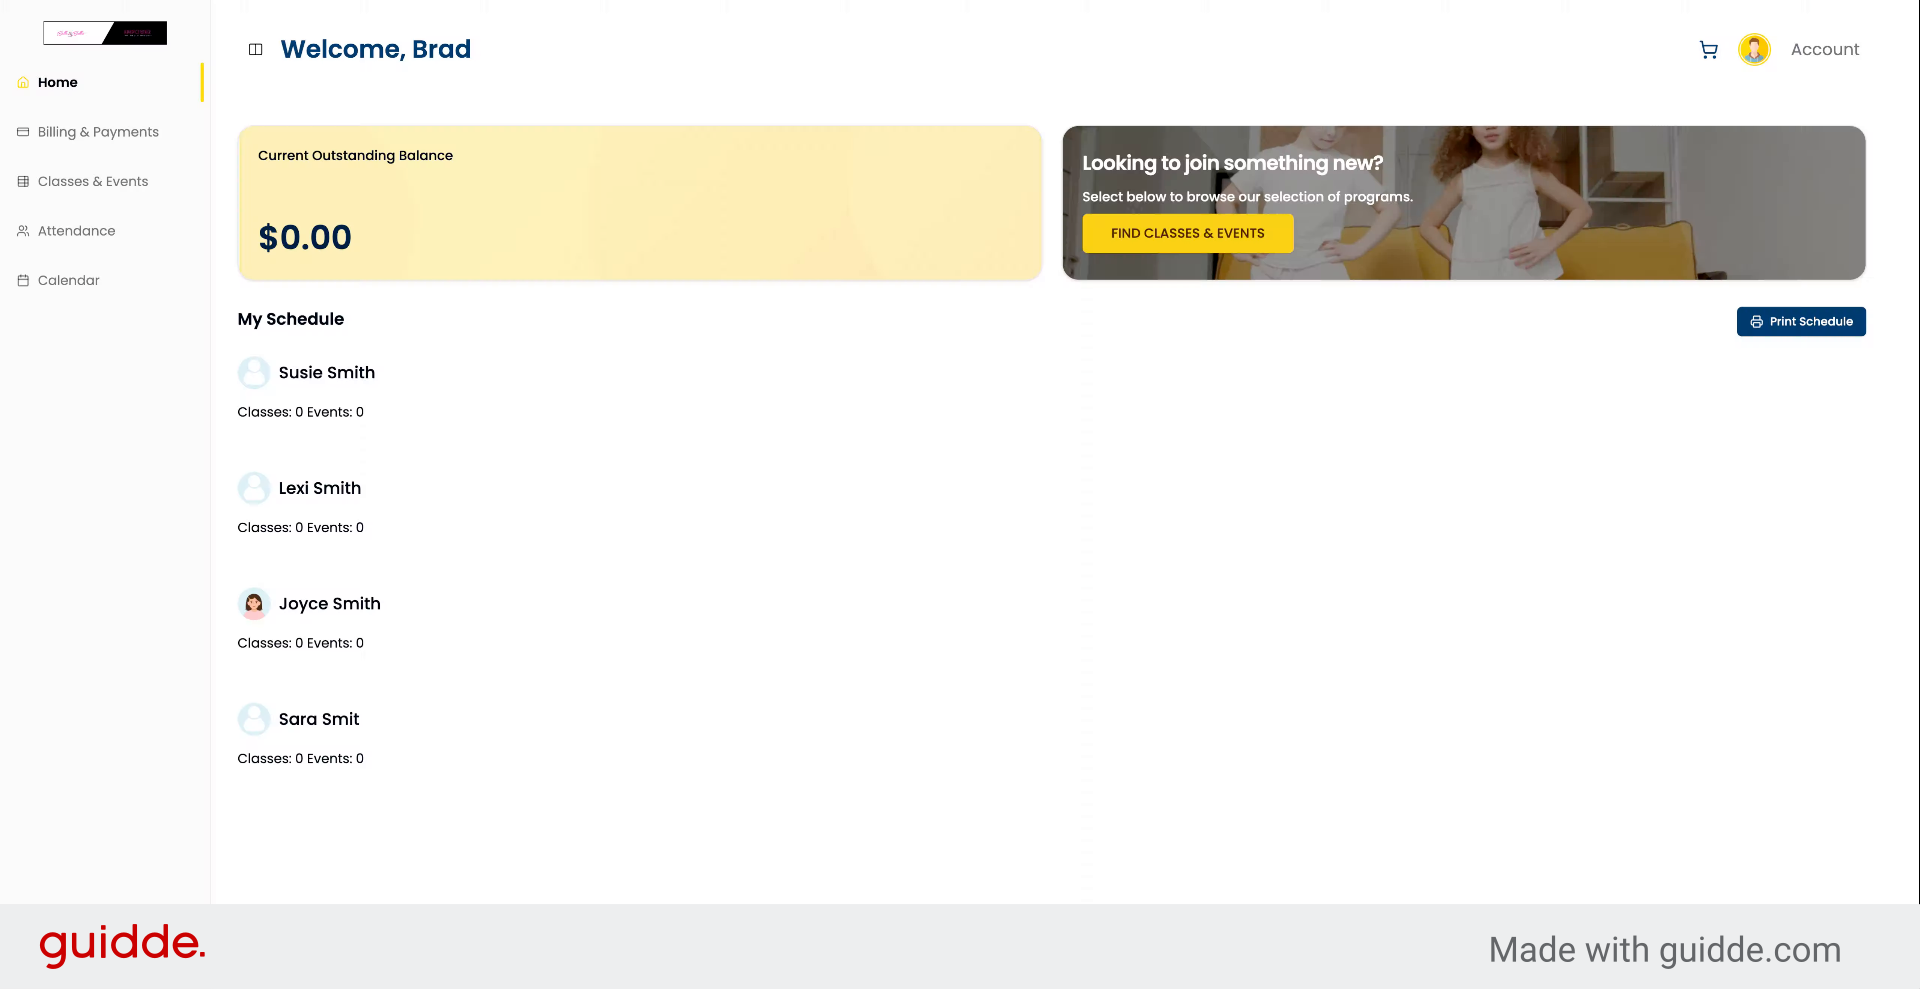
2. View Outstanding Balance And Schedule
When you log in, you'll see your outstanding balance at the top if you have one, plus your child's schedule for classes and events. You can also print the schedule.
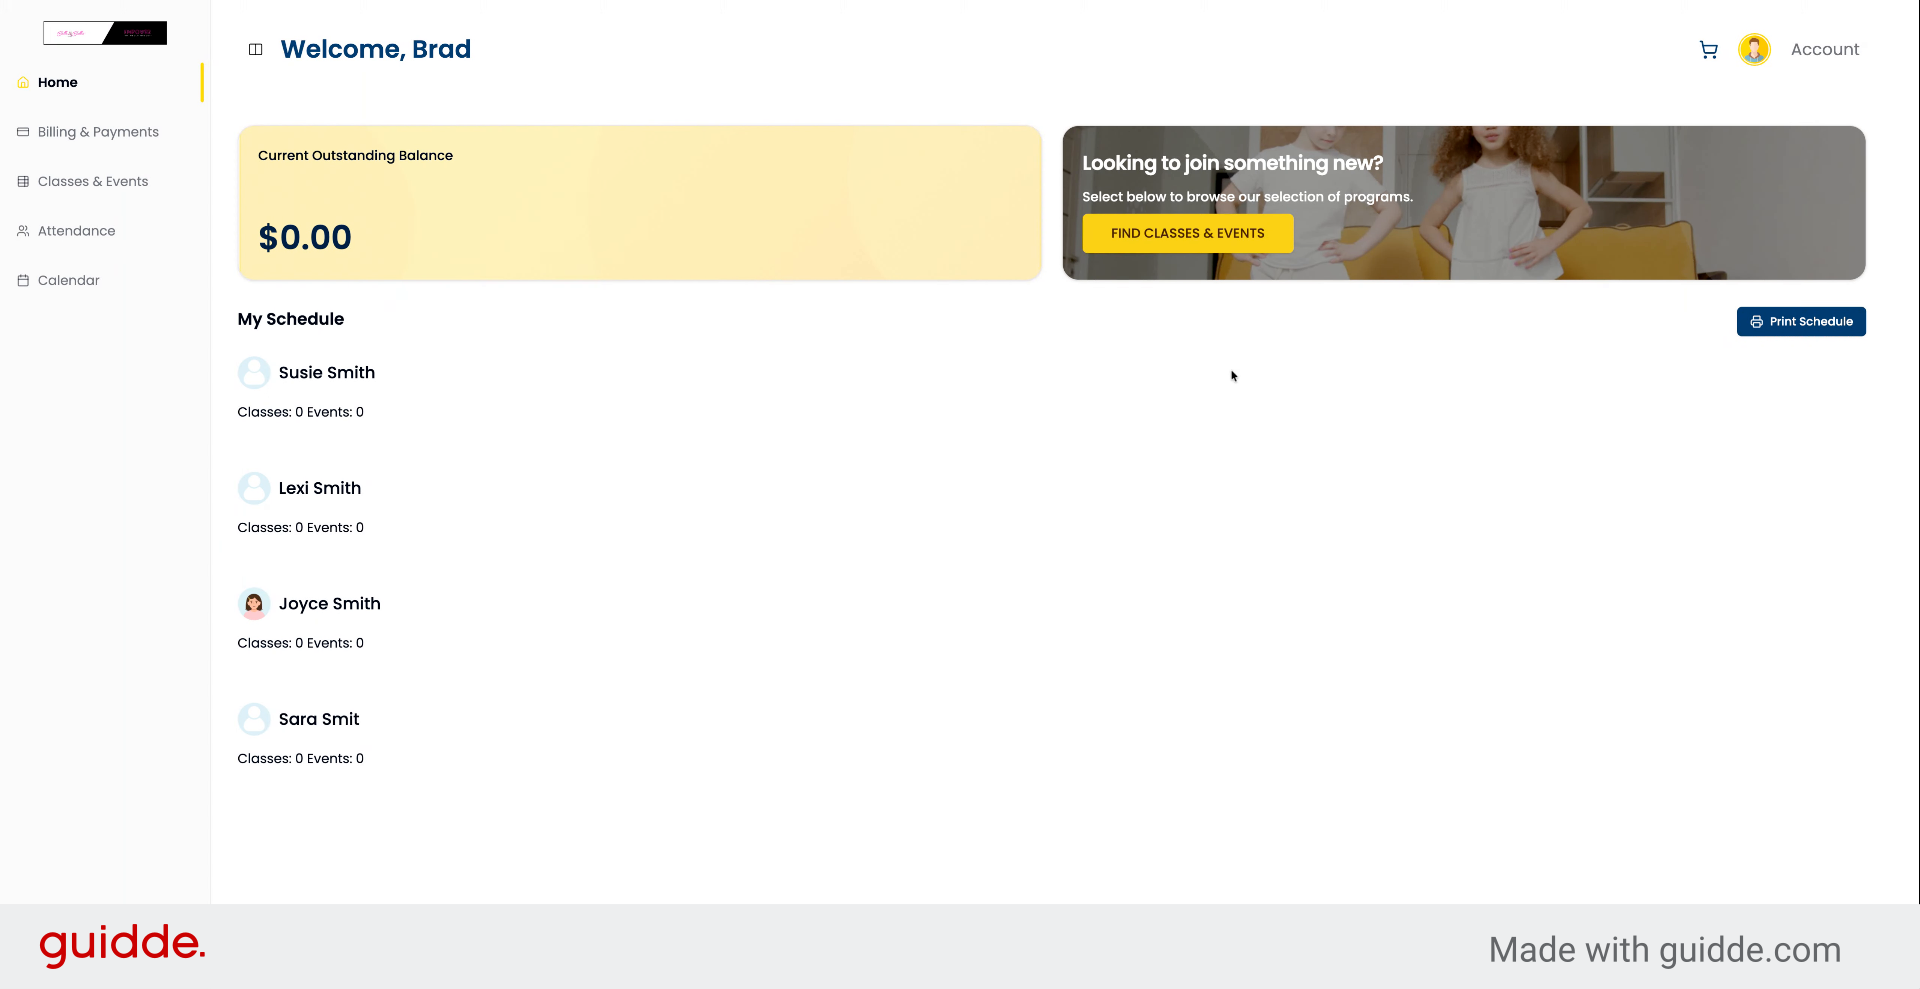
3. Access Classes And Events
Click to find classes and events. On the left side you'll find several options.
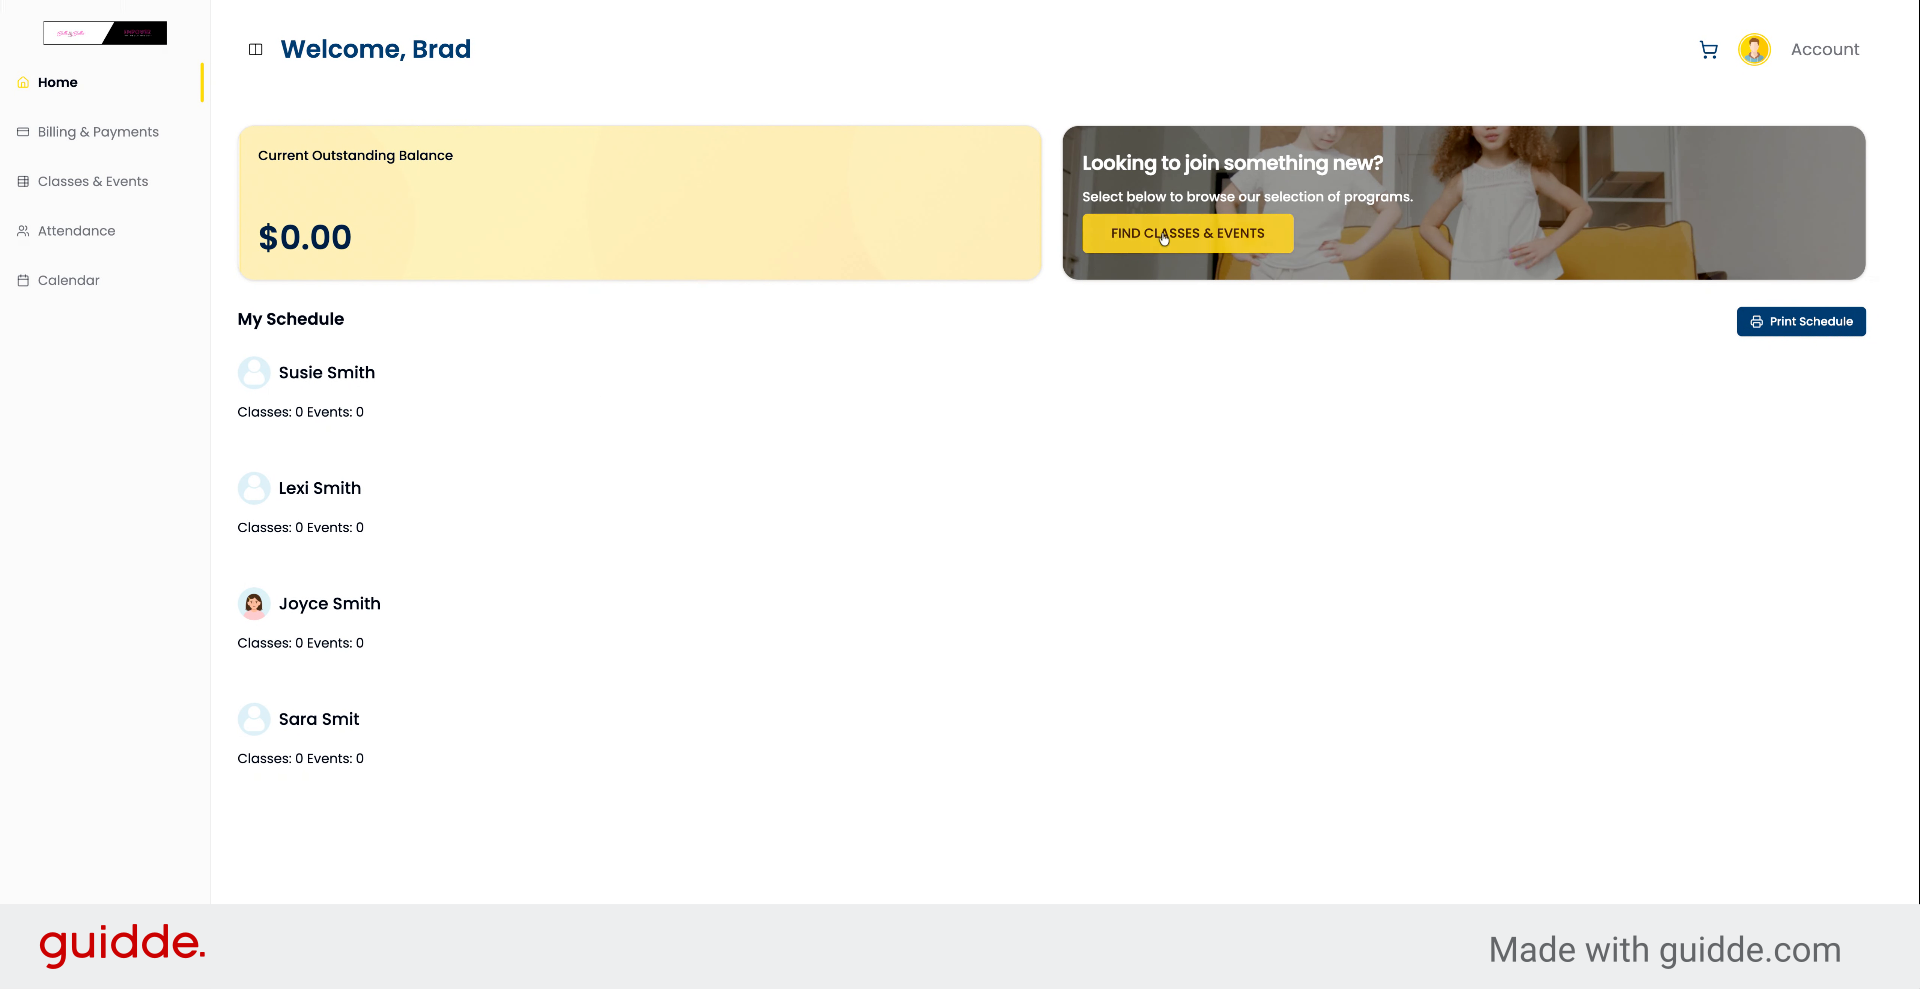
4. Explore Navigation Menu Options
The menu includes billing and payments, classes and events, attendance tracking, and your calendar.
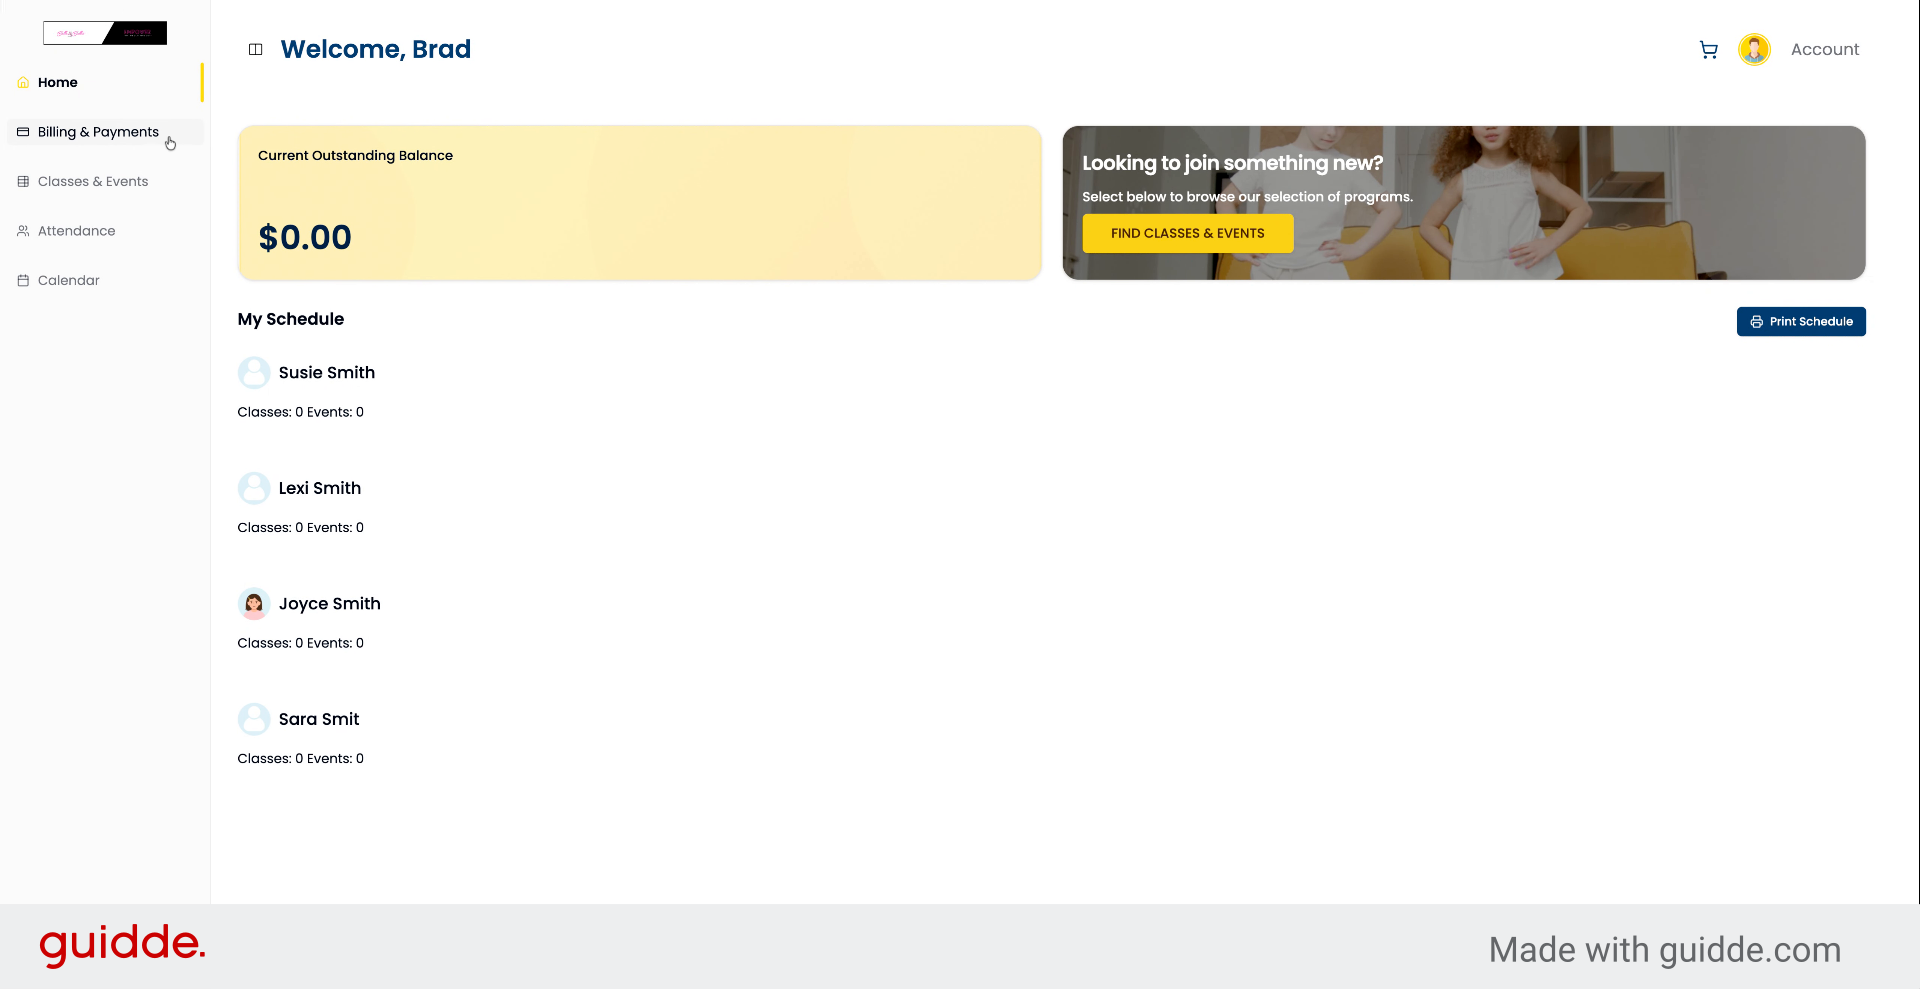
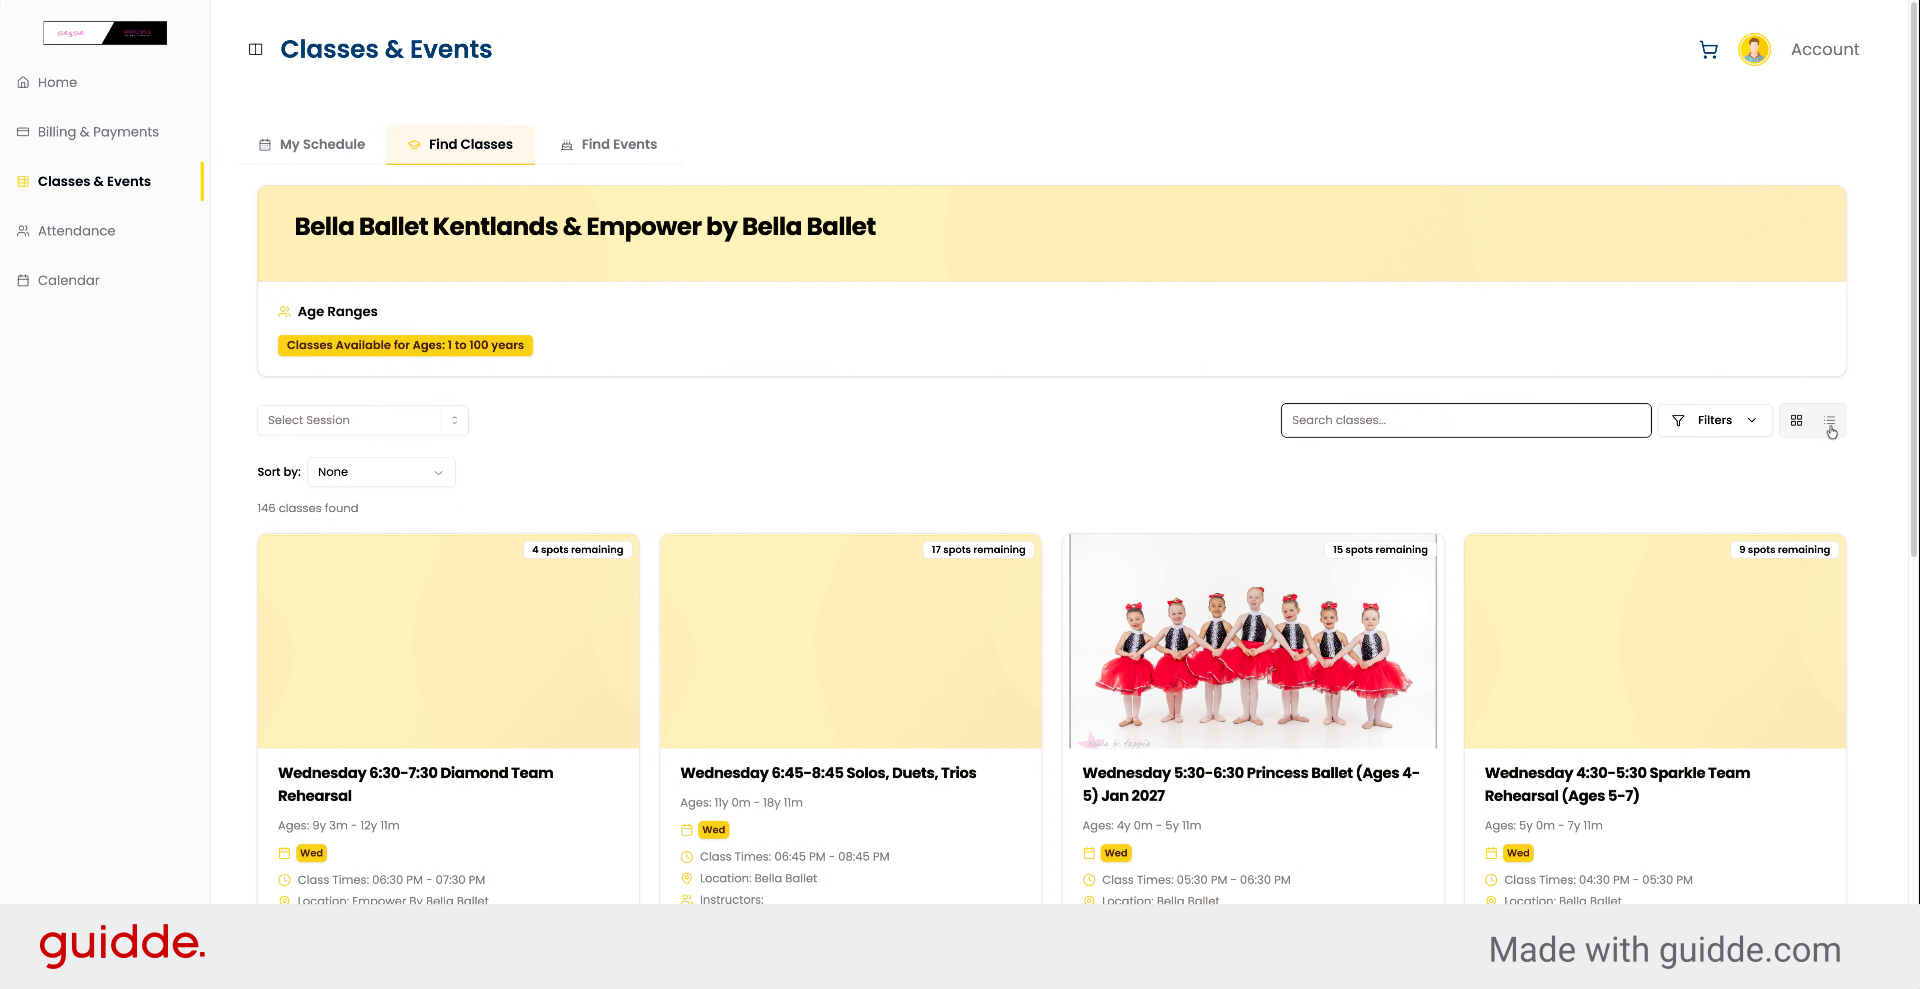
5. Sort And Search Classes
In the find classes and events section, you can sort by session and search for specific classes.
6. Switch Between List And Grid Views
You can switch between list view and grid view.
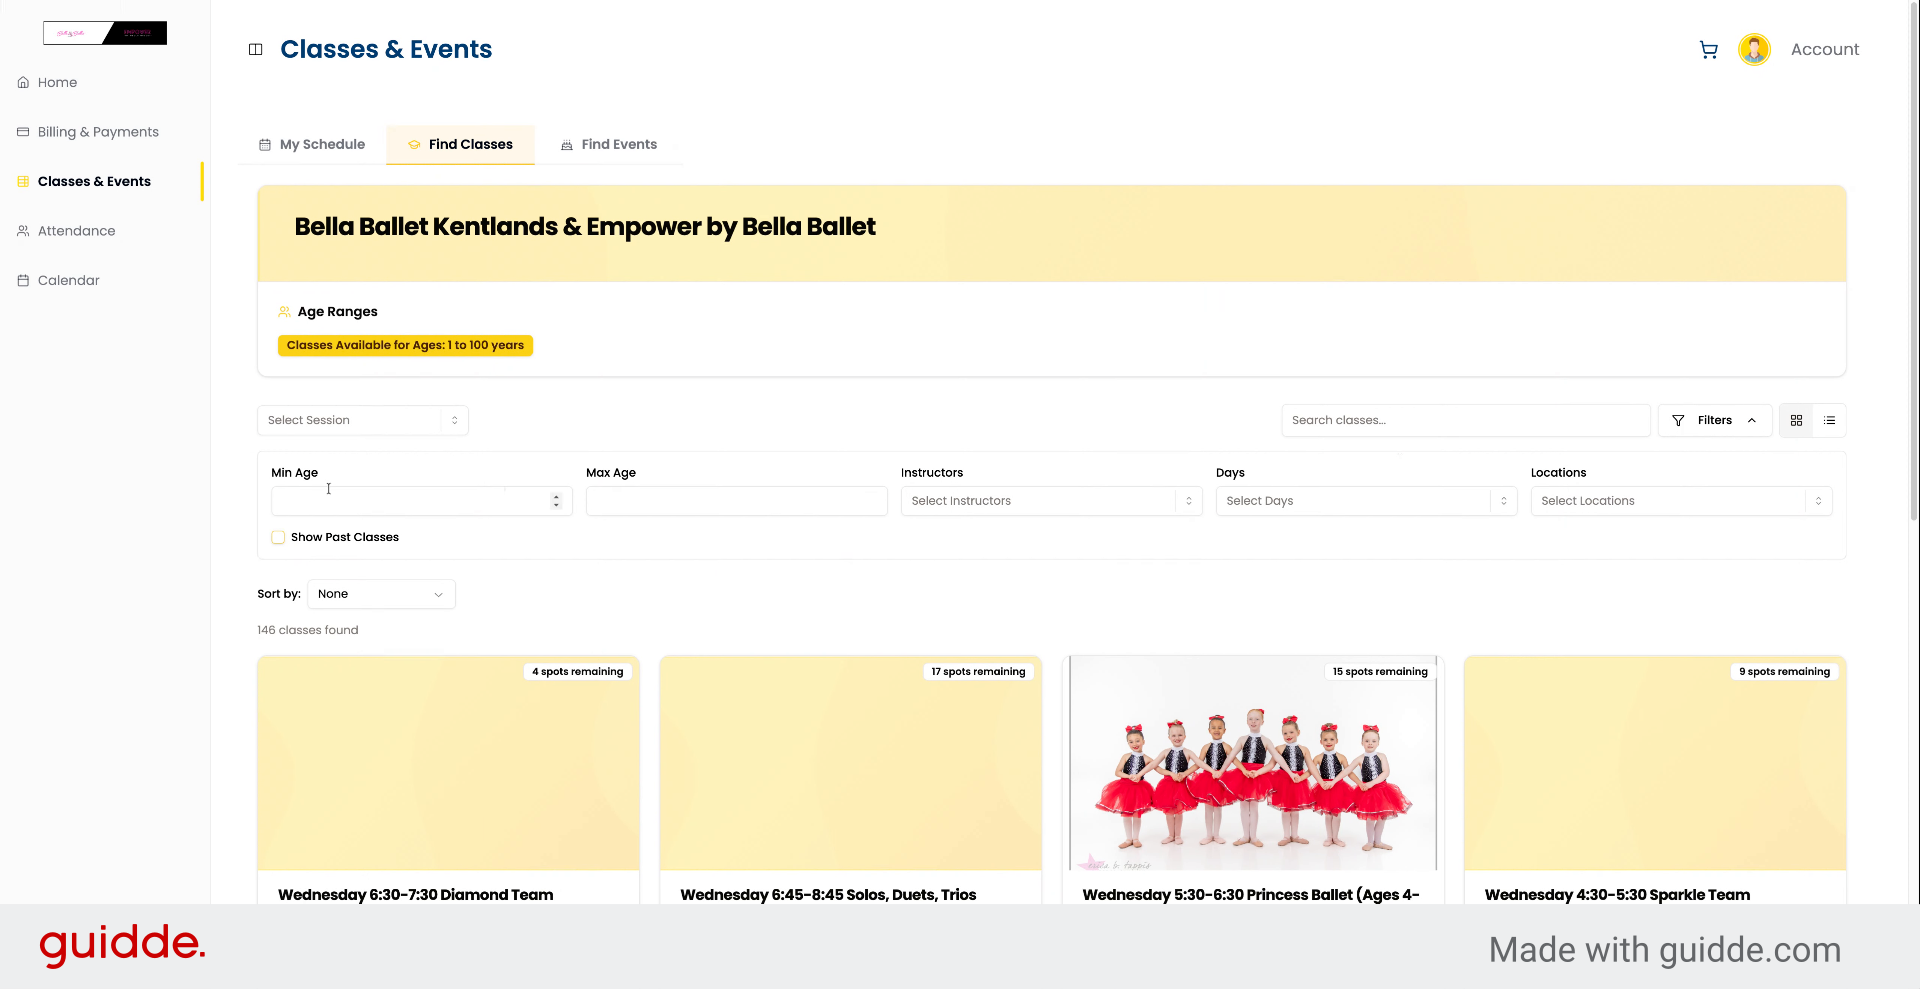
7. Apply Class Filters And View Past Classes
You can filter by minimum age, maximum age, instructors, days, and locations. You can also show past classes to see what's available.
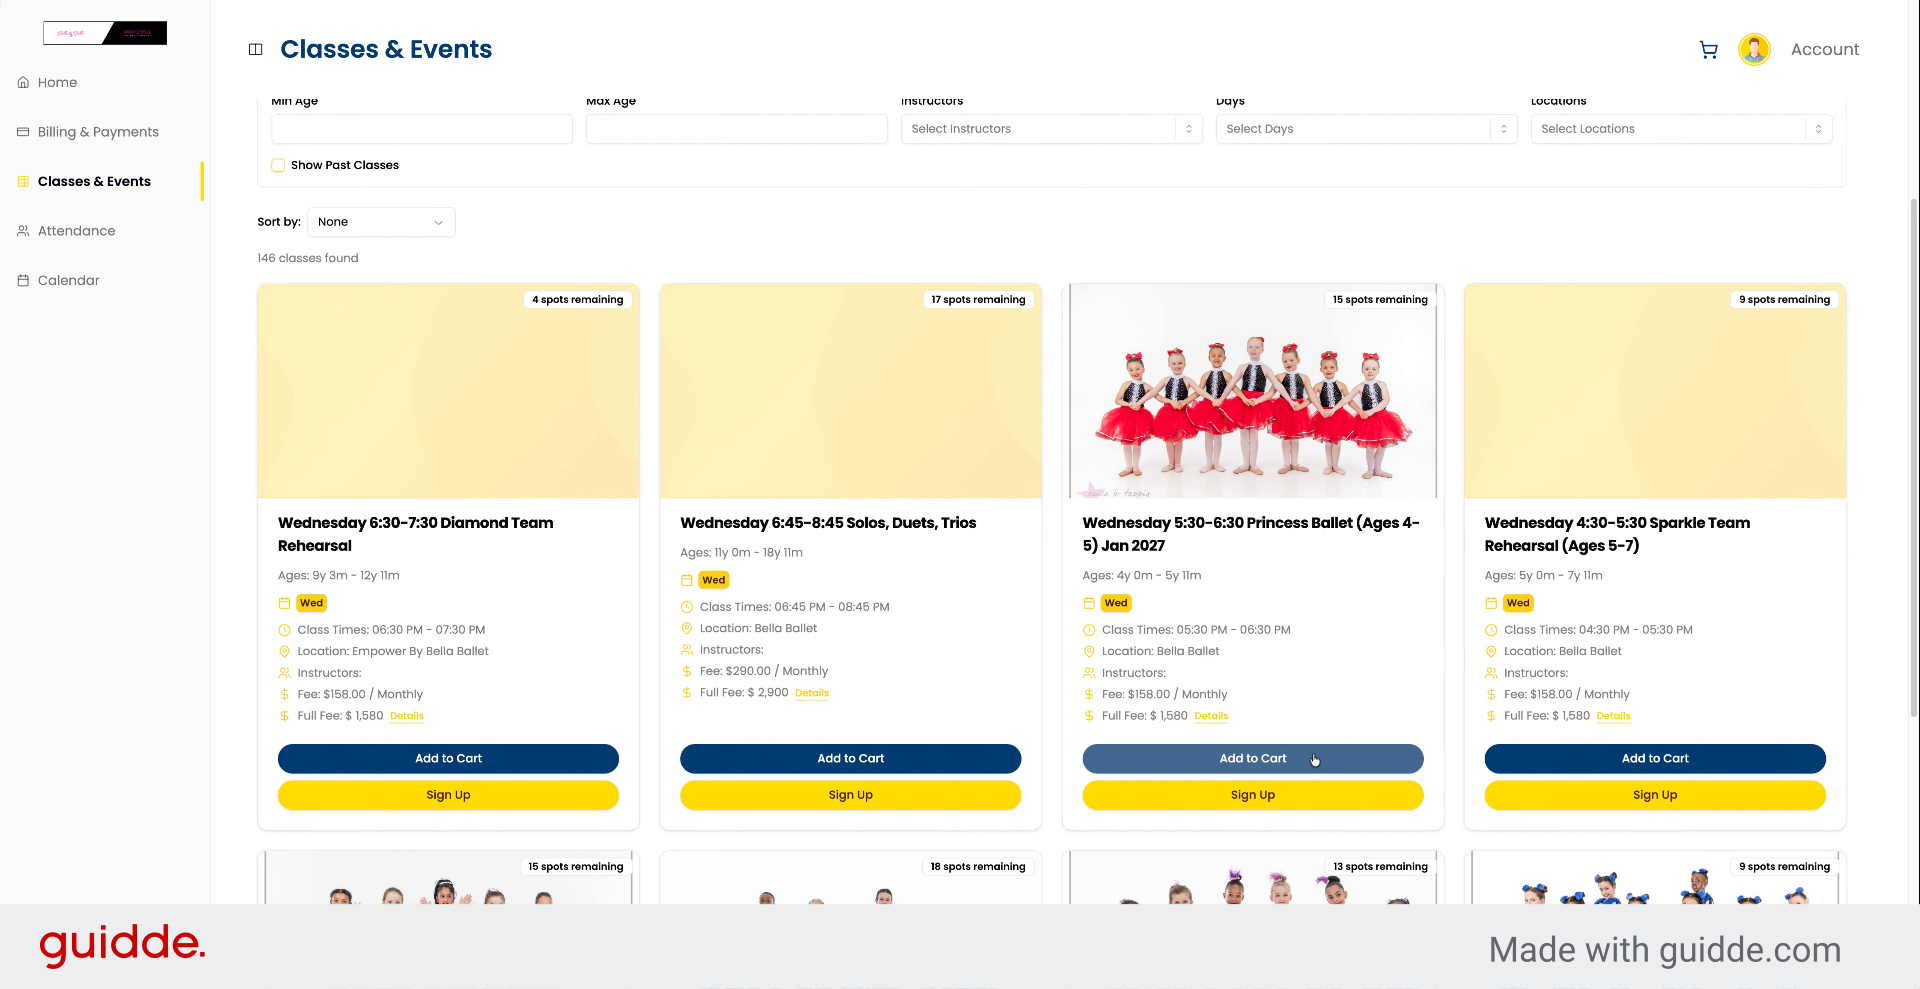
8. Add Classes To Cart With Restrictions
You can add multiple classes to the cart by selecting a student. If that student falls outside the class's age range, you won't be able to add it to the cart.
9. View Class Details And Fee Breakdown
Click "Details" to see a complete breakdown of fees. You can navigate through each page to review all information.
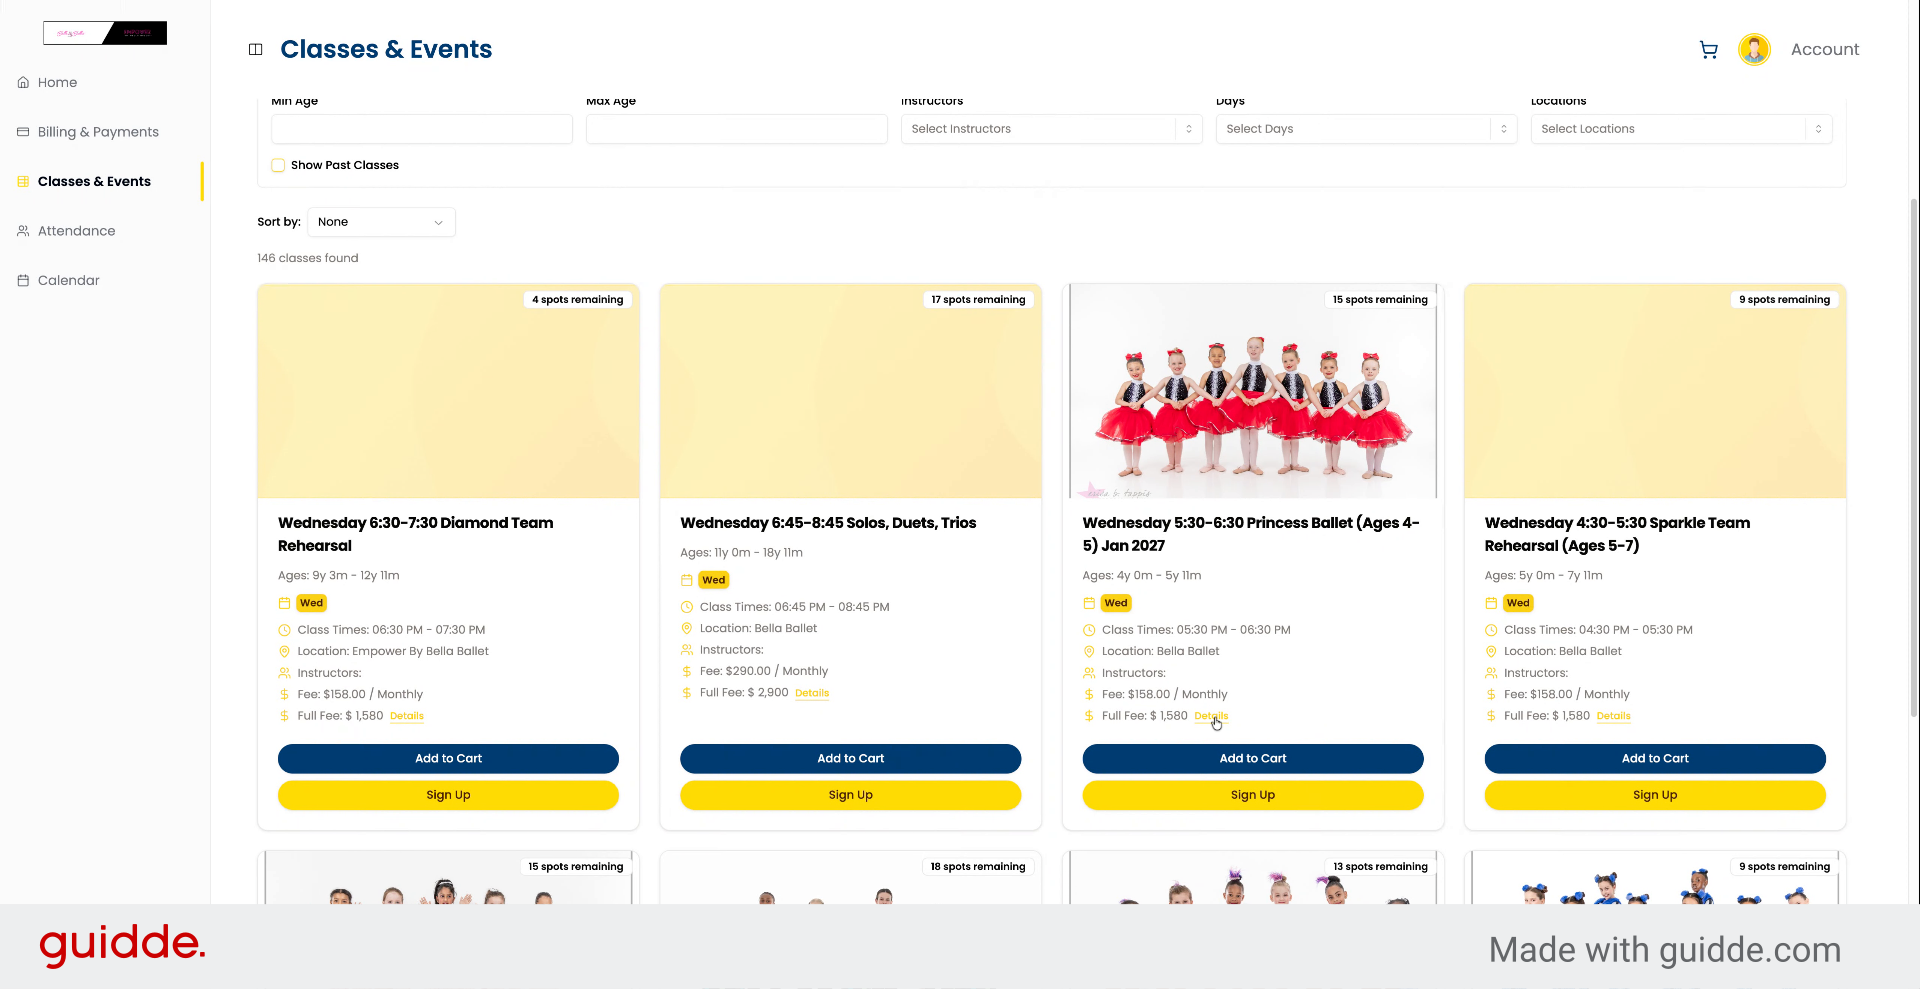
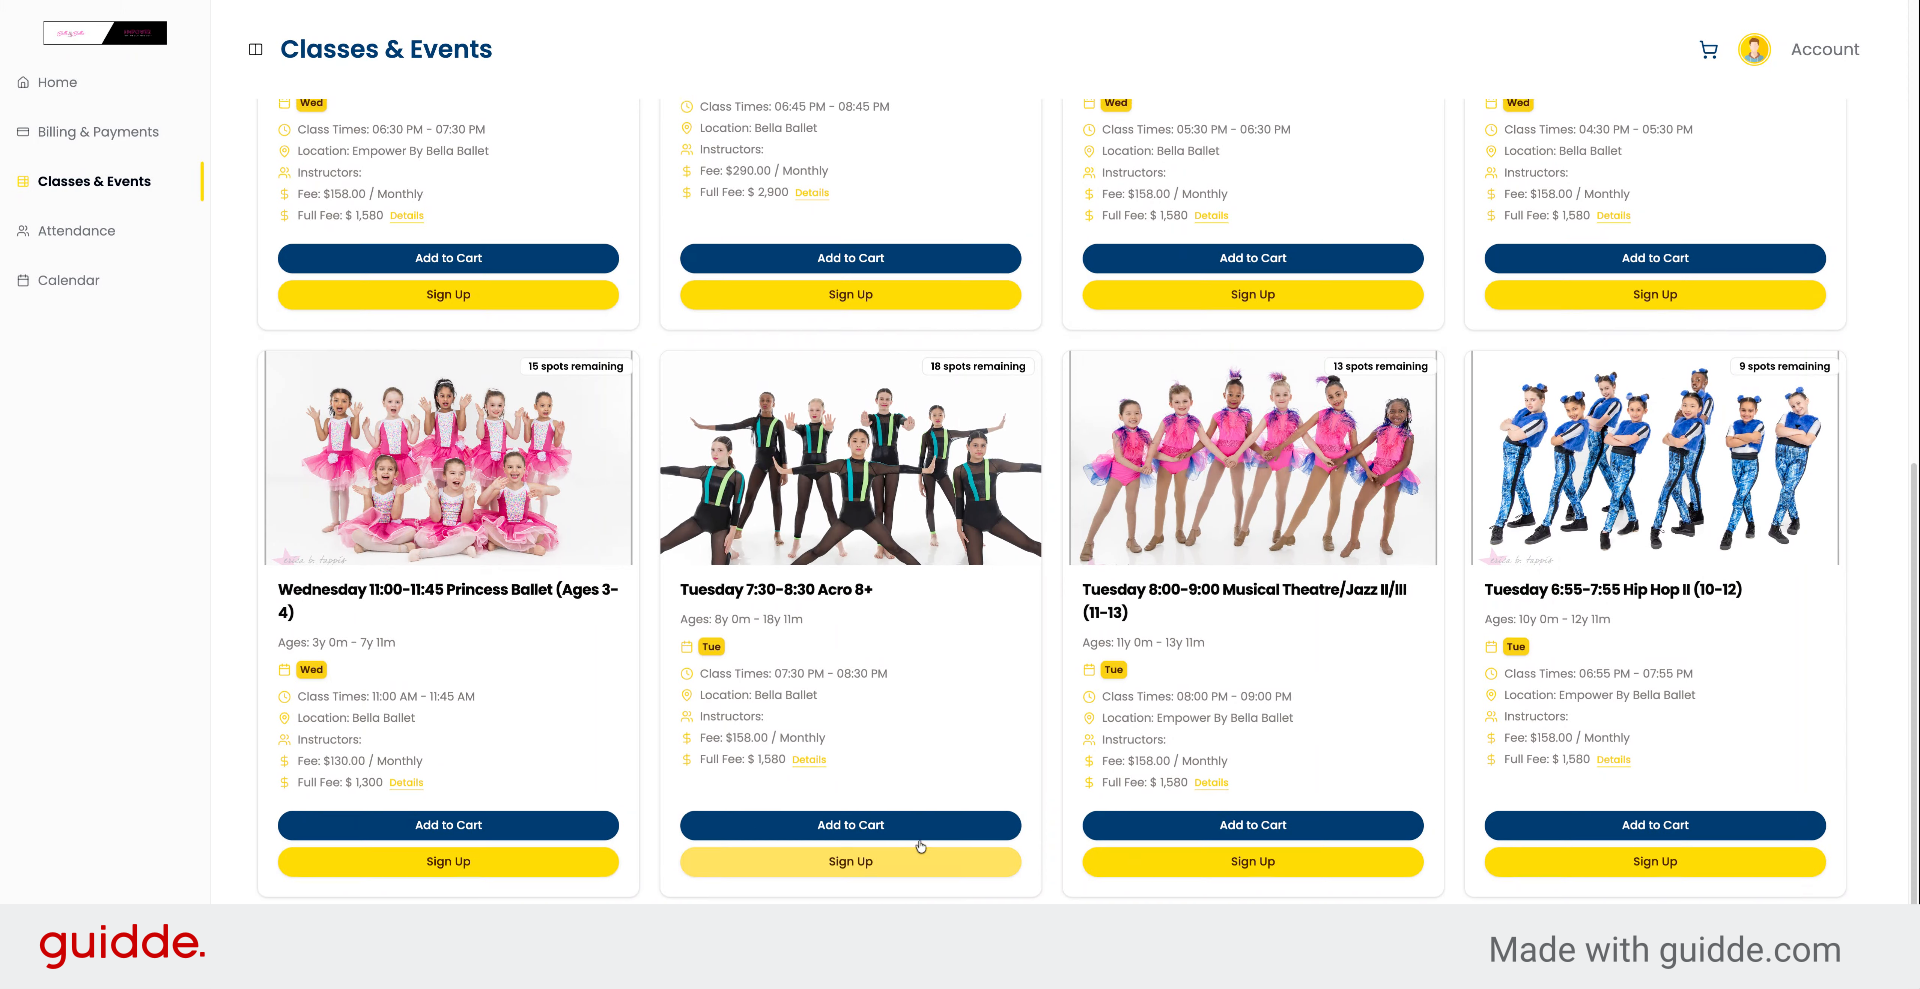
10. Sign Up Or Join Waitlist
You can sign up for a class. If the class is full and waitlist functionality is turned on in your studio settings, the sign up button will change to a join waitlist button instead.
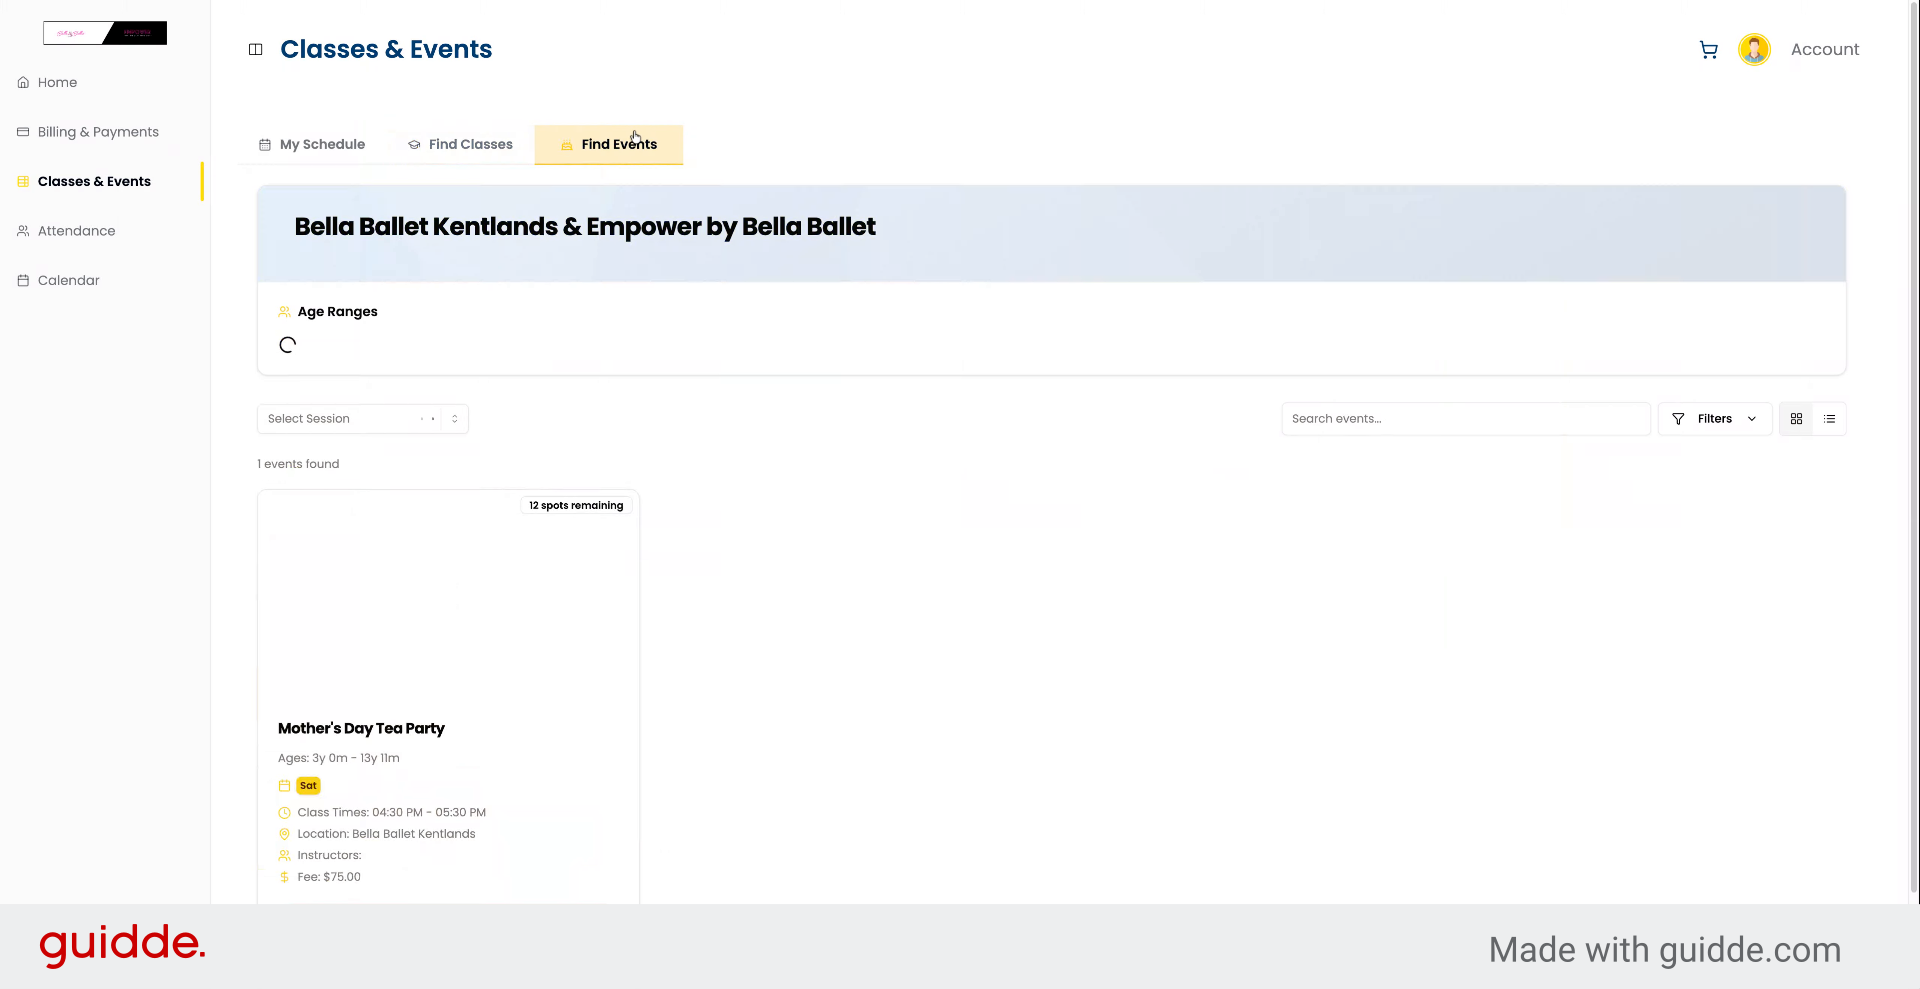
11. Sign Up Or Add Events To Cart
You can also go to find events where you can sign up for an event or add it to your cart.
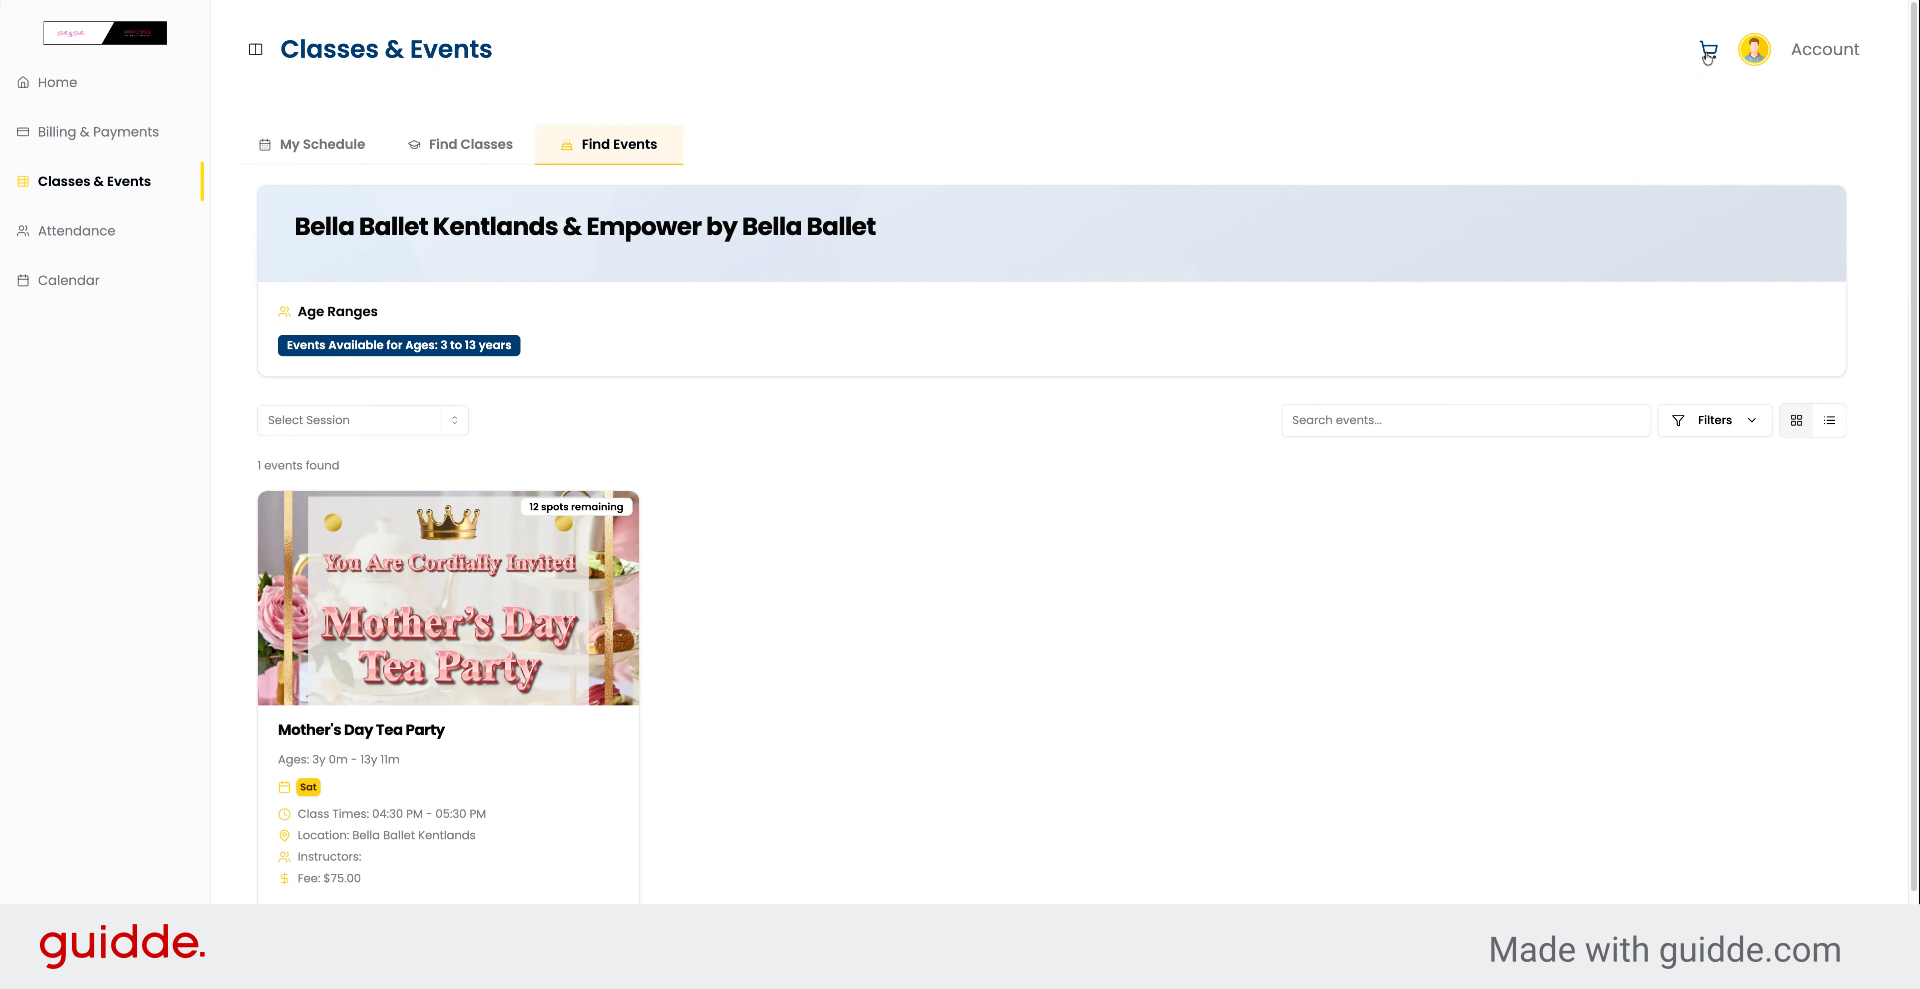
12. View Cart Contents
You can view your cart at the top if you've added any classes or events.
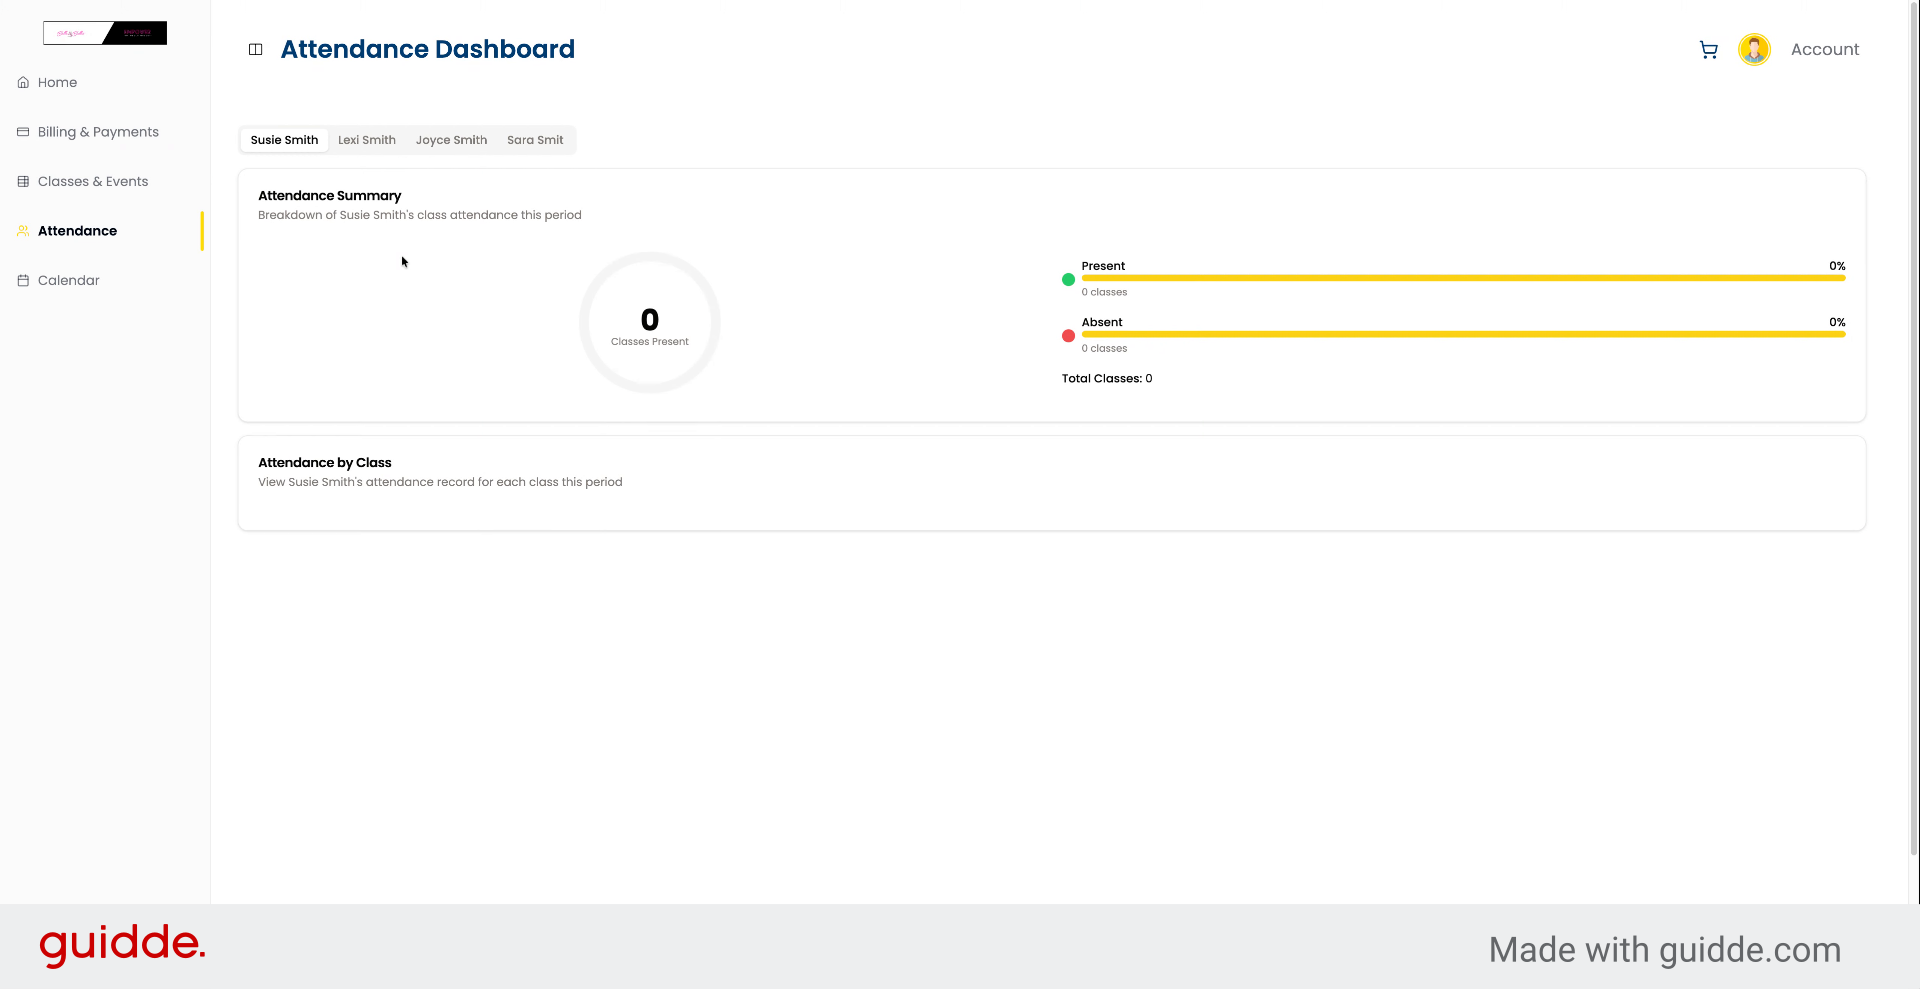
13. Review Attendance And Calendar Views
You can see attendance for each child, view the attendance summary, and see a calendar view of all their classes.
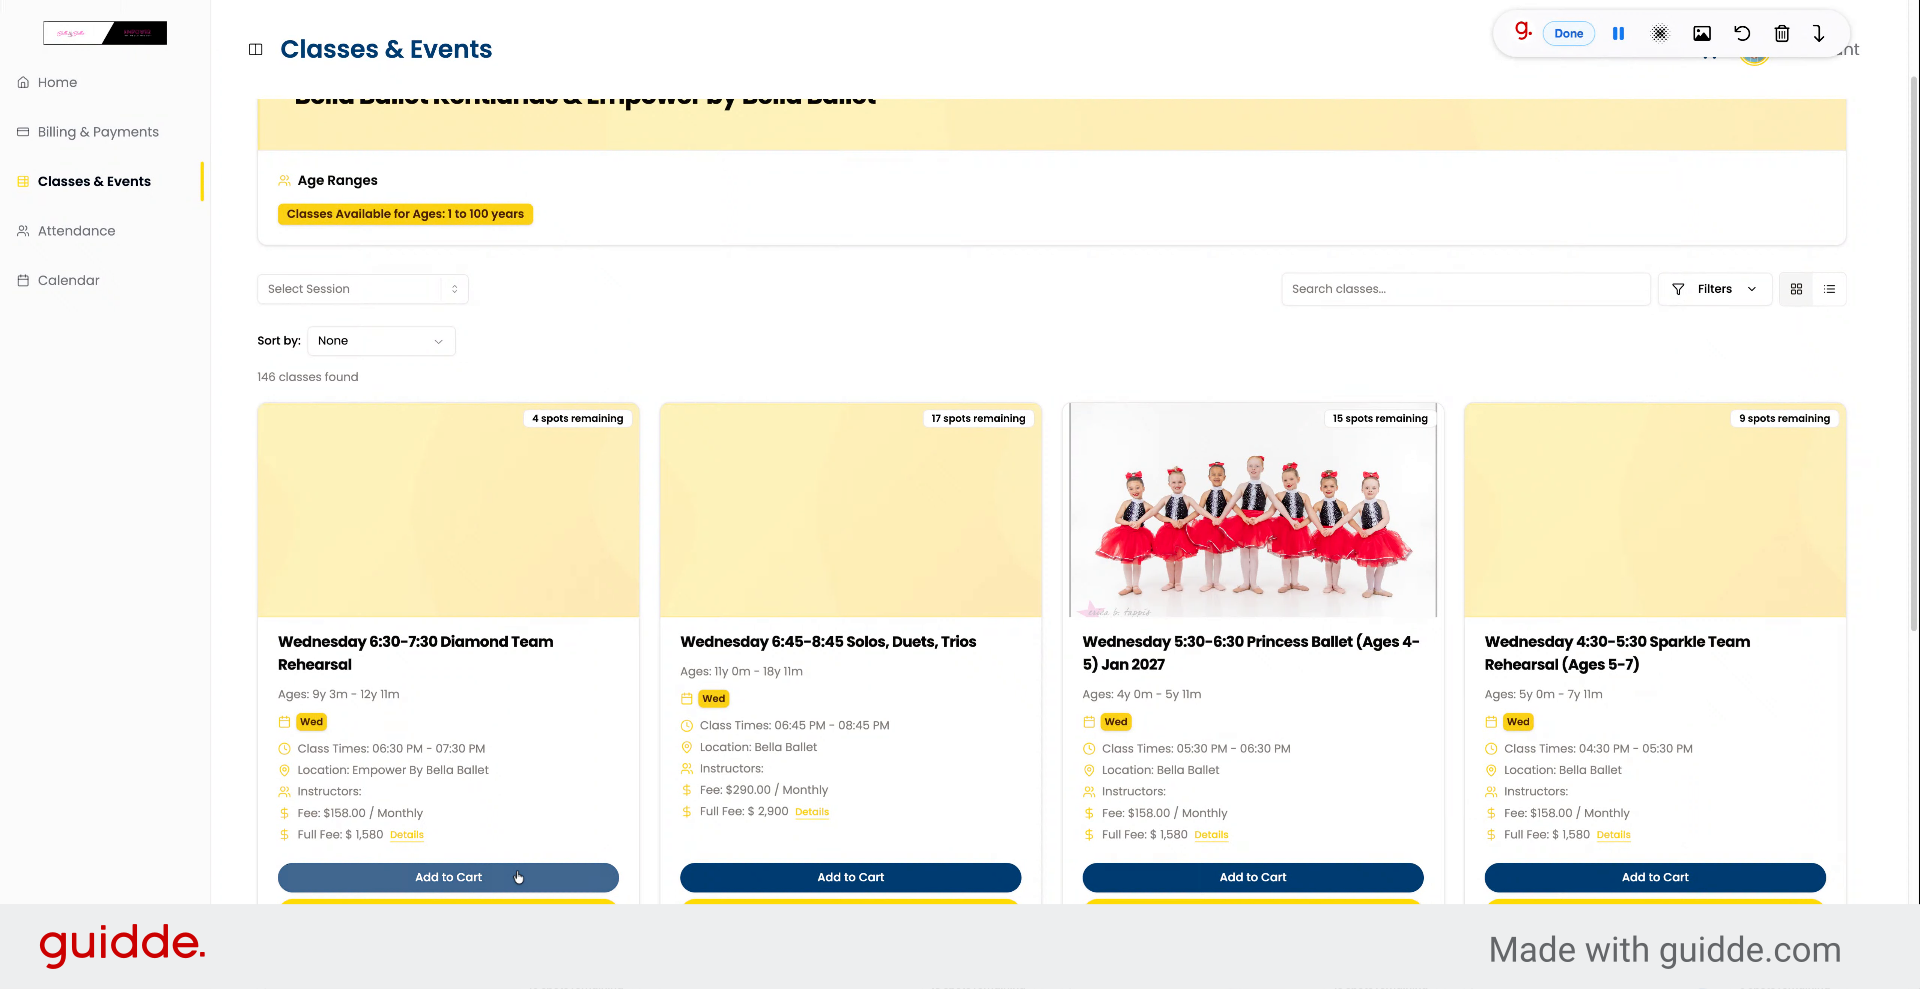
14. Add Class To Cart
Click "Add to Cart" and select your student. The item will now be added to your cart.
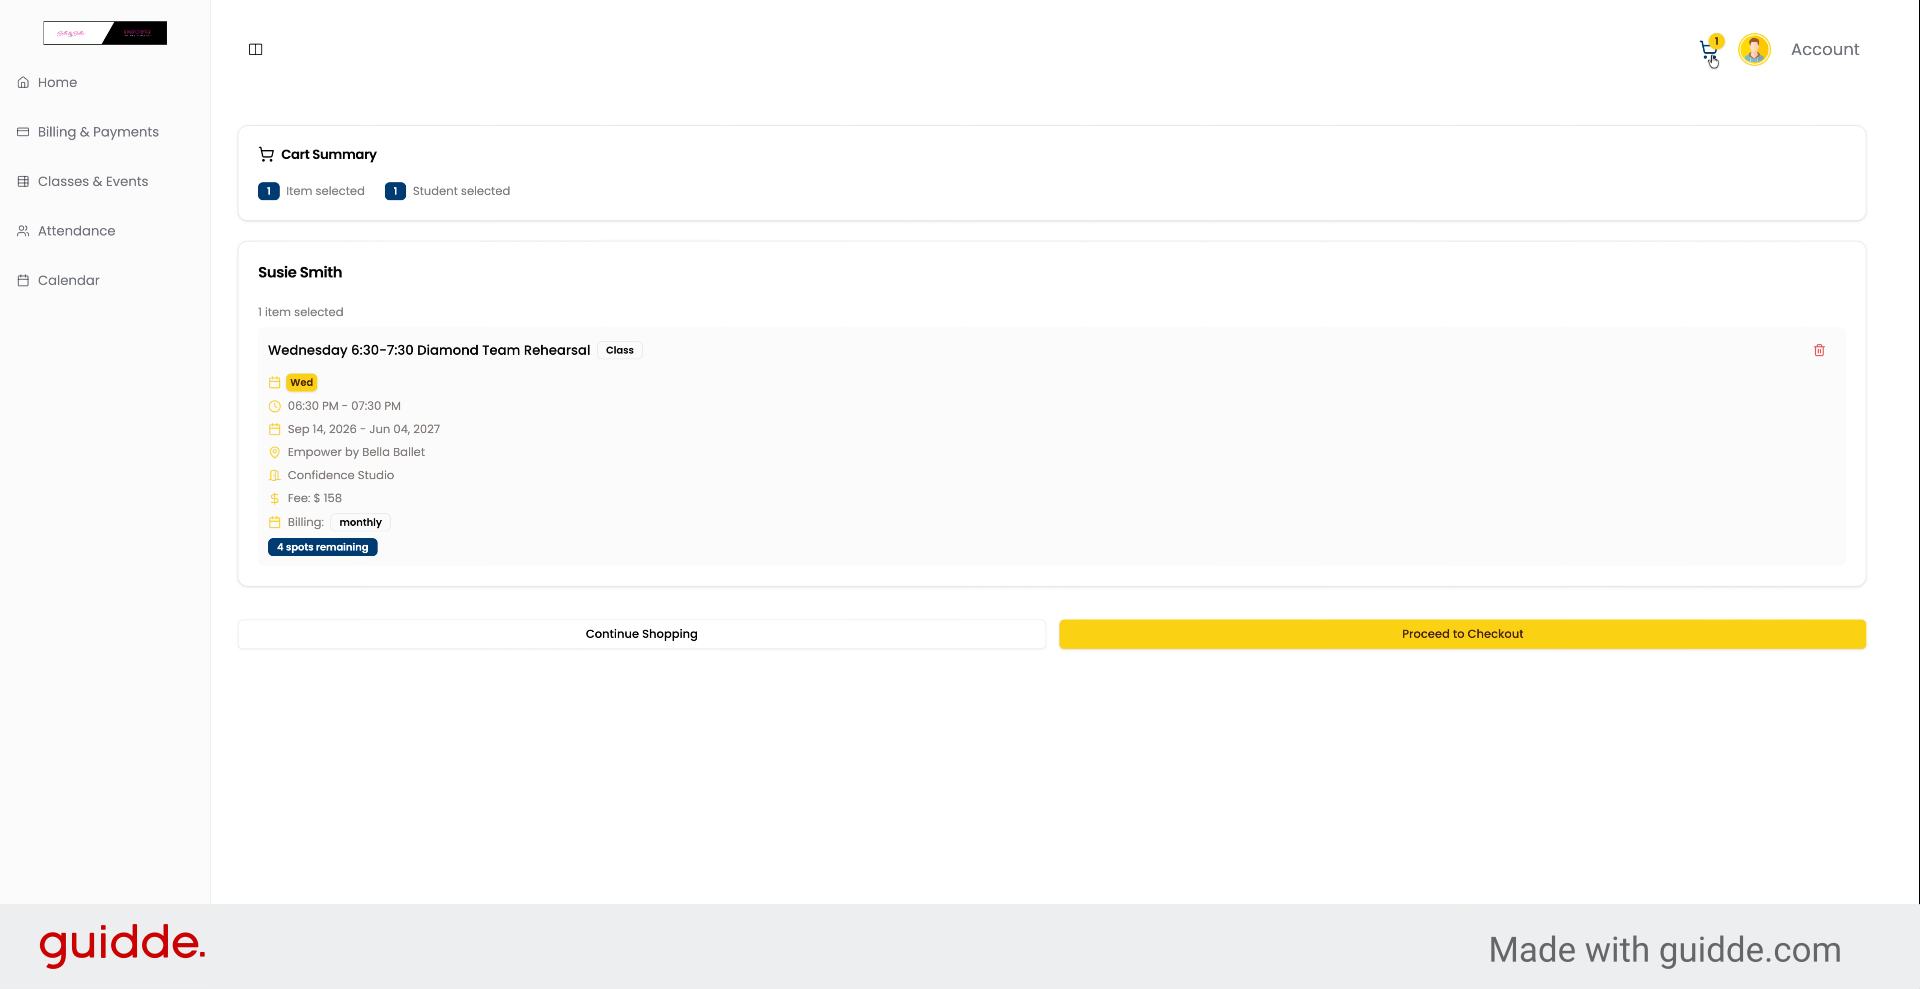
15. Proceed To Checkout
When you're done shopping, go to your cart and proceed to checkout.
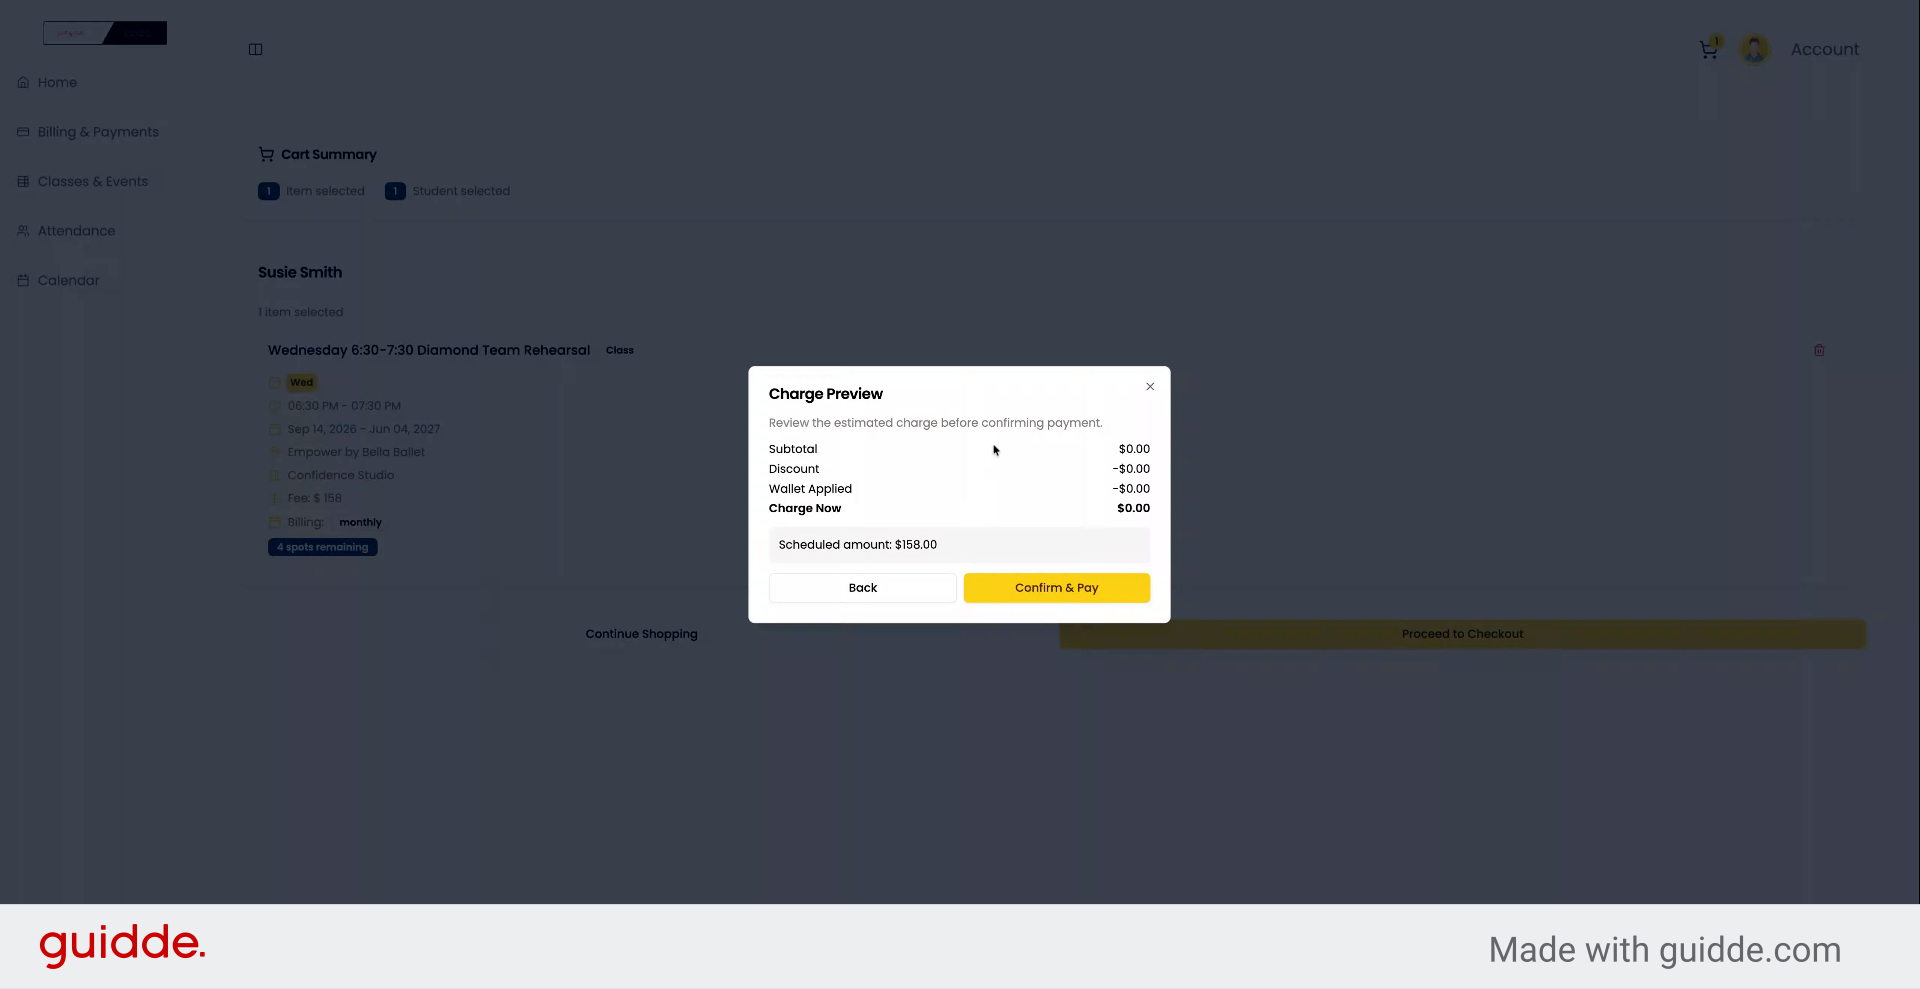
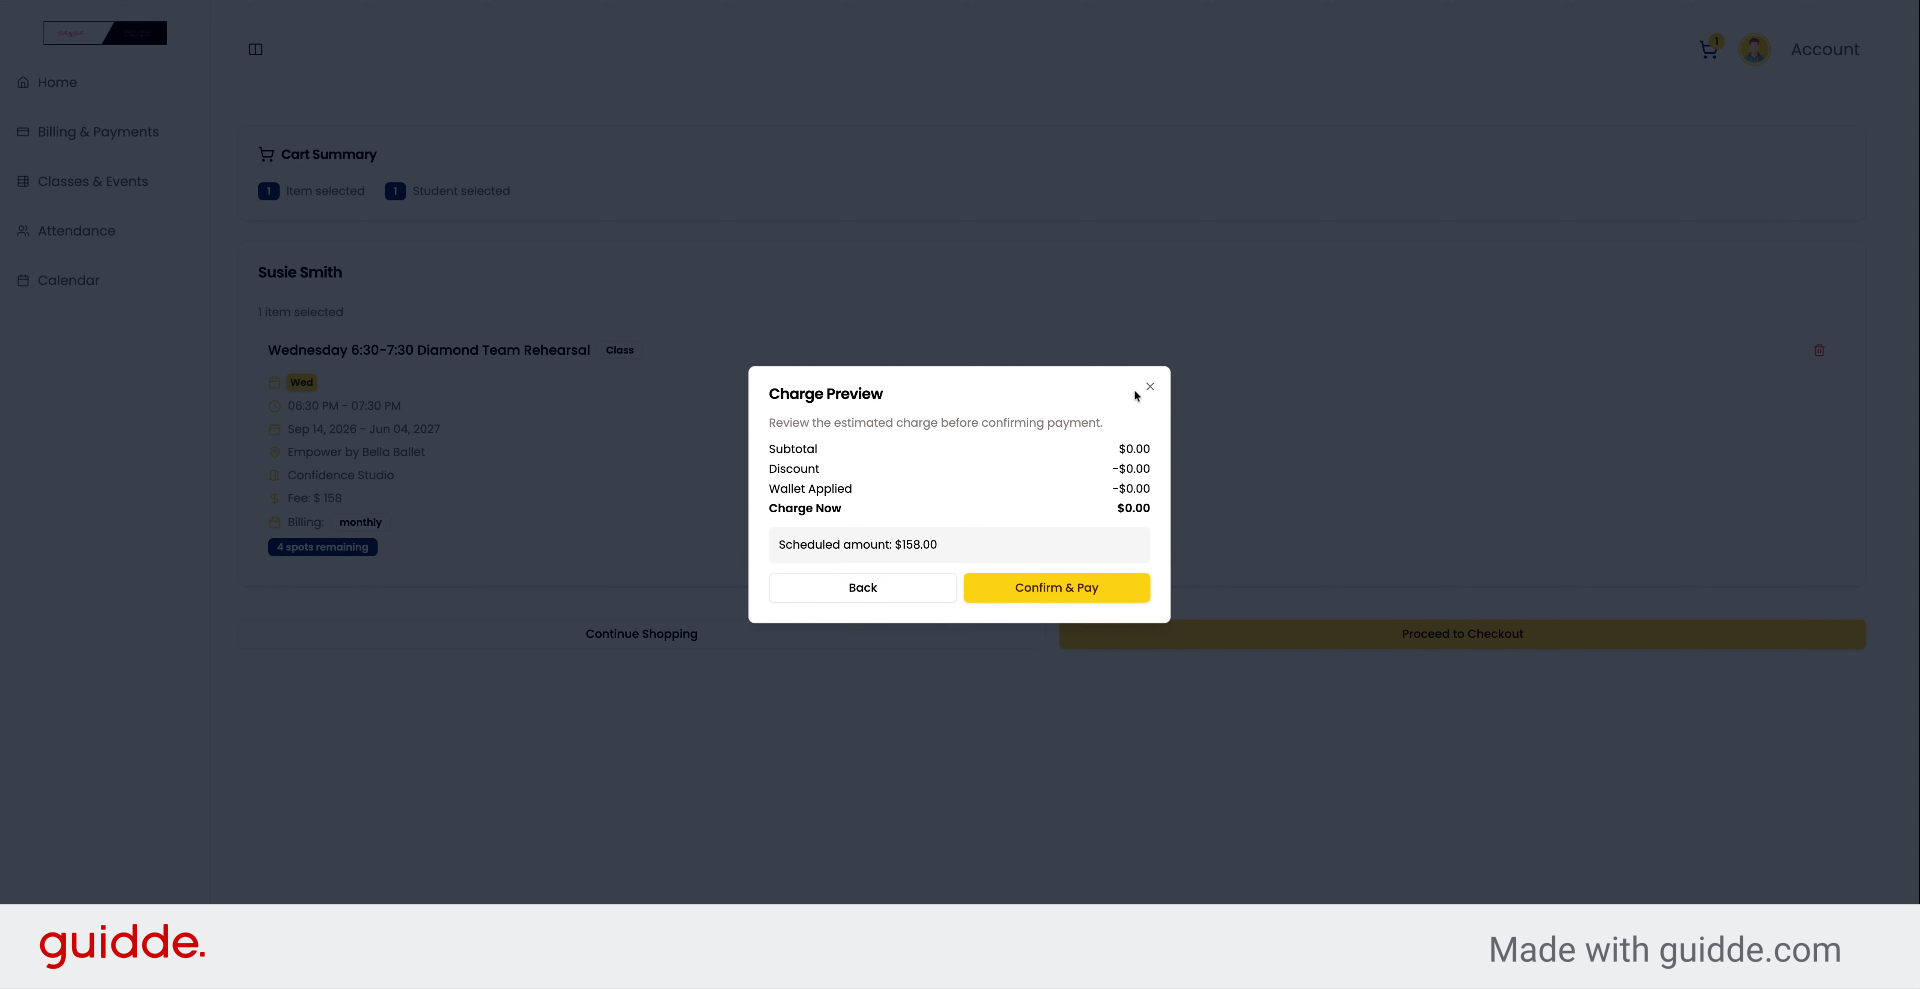
16. Review Payment Amounts And Confirm
You'll see the amounts, any discounts, wallet balance, and the charge. You can then confirm and pay.
17. Add Payment Method If Required
If you don't have a card on file and your studio requires one for checkout, you'll be prompted to add a card or bank account before you can complete your purchase.
You now have a solid understanding of the main features in the Parent Portal, including viewing your balance, finding and enrolling in classes and events, tracking attendance, and checking out.