Enrollio allows you to establish associations between custom objects and contacts (like students or parents) or between multiple custom objects themselves. For example, you can associate a specific dance class with the students enrolled in it or connect an instructor to several classes.
Access the Custom Objects Section:
Navigate to Subaccounts > Settings > Custom Objects.
Select the Custom Object:
Choose the custom object you want to set up an association for. This might be a “Dance Class,” “Student Profile,” or “Instructor Profile.”
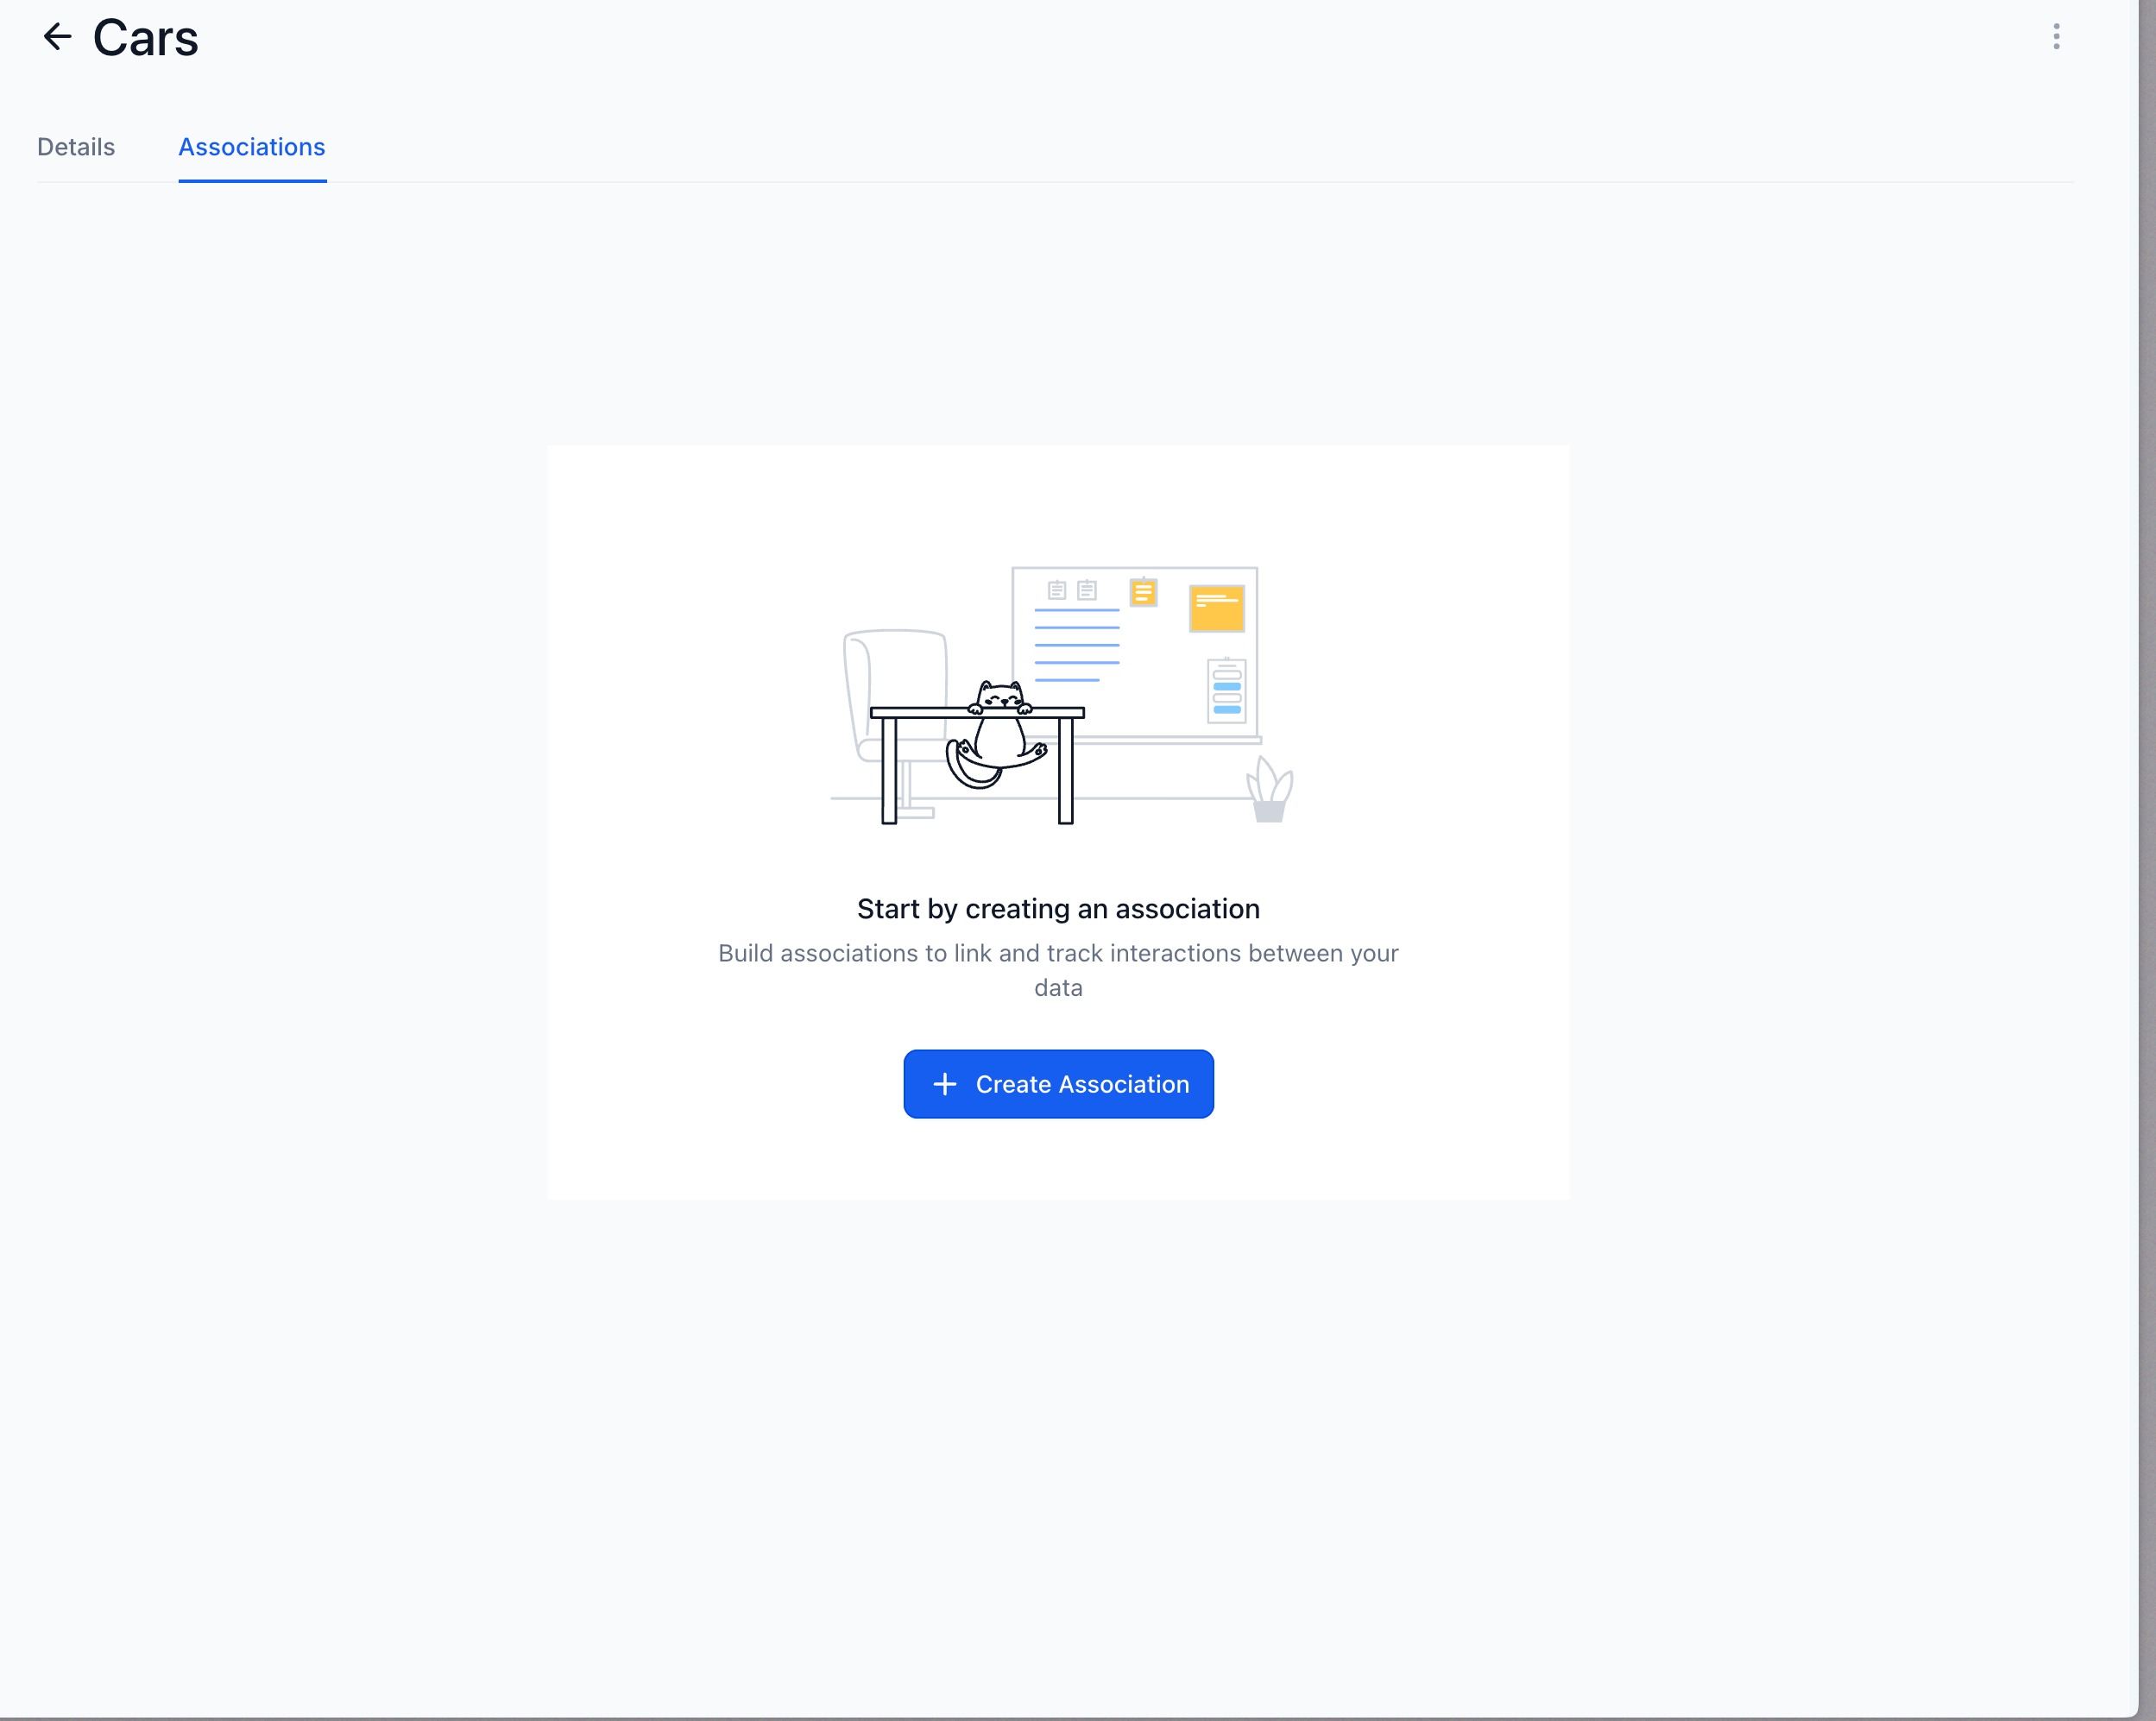
Click on the Associations Tab:
This is where you define how your records interconnect.
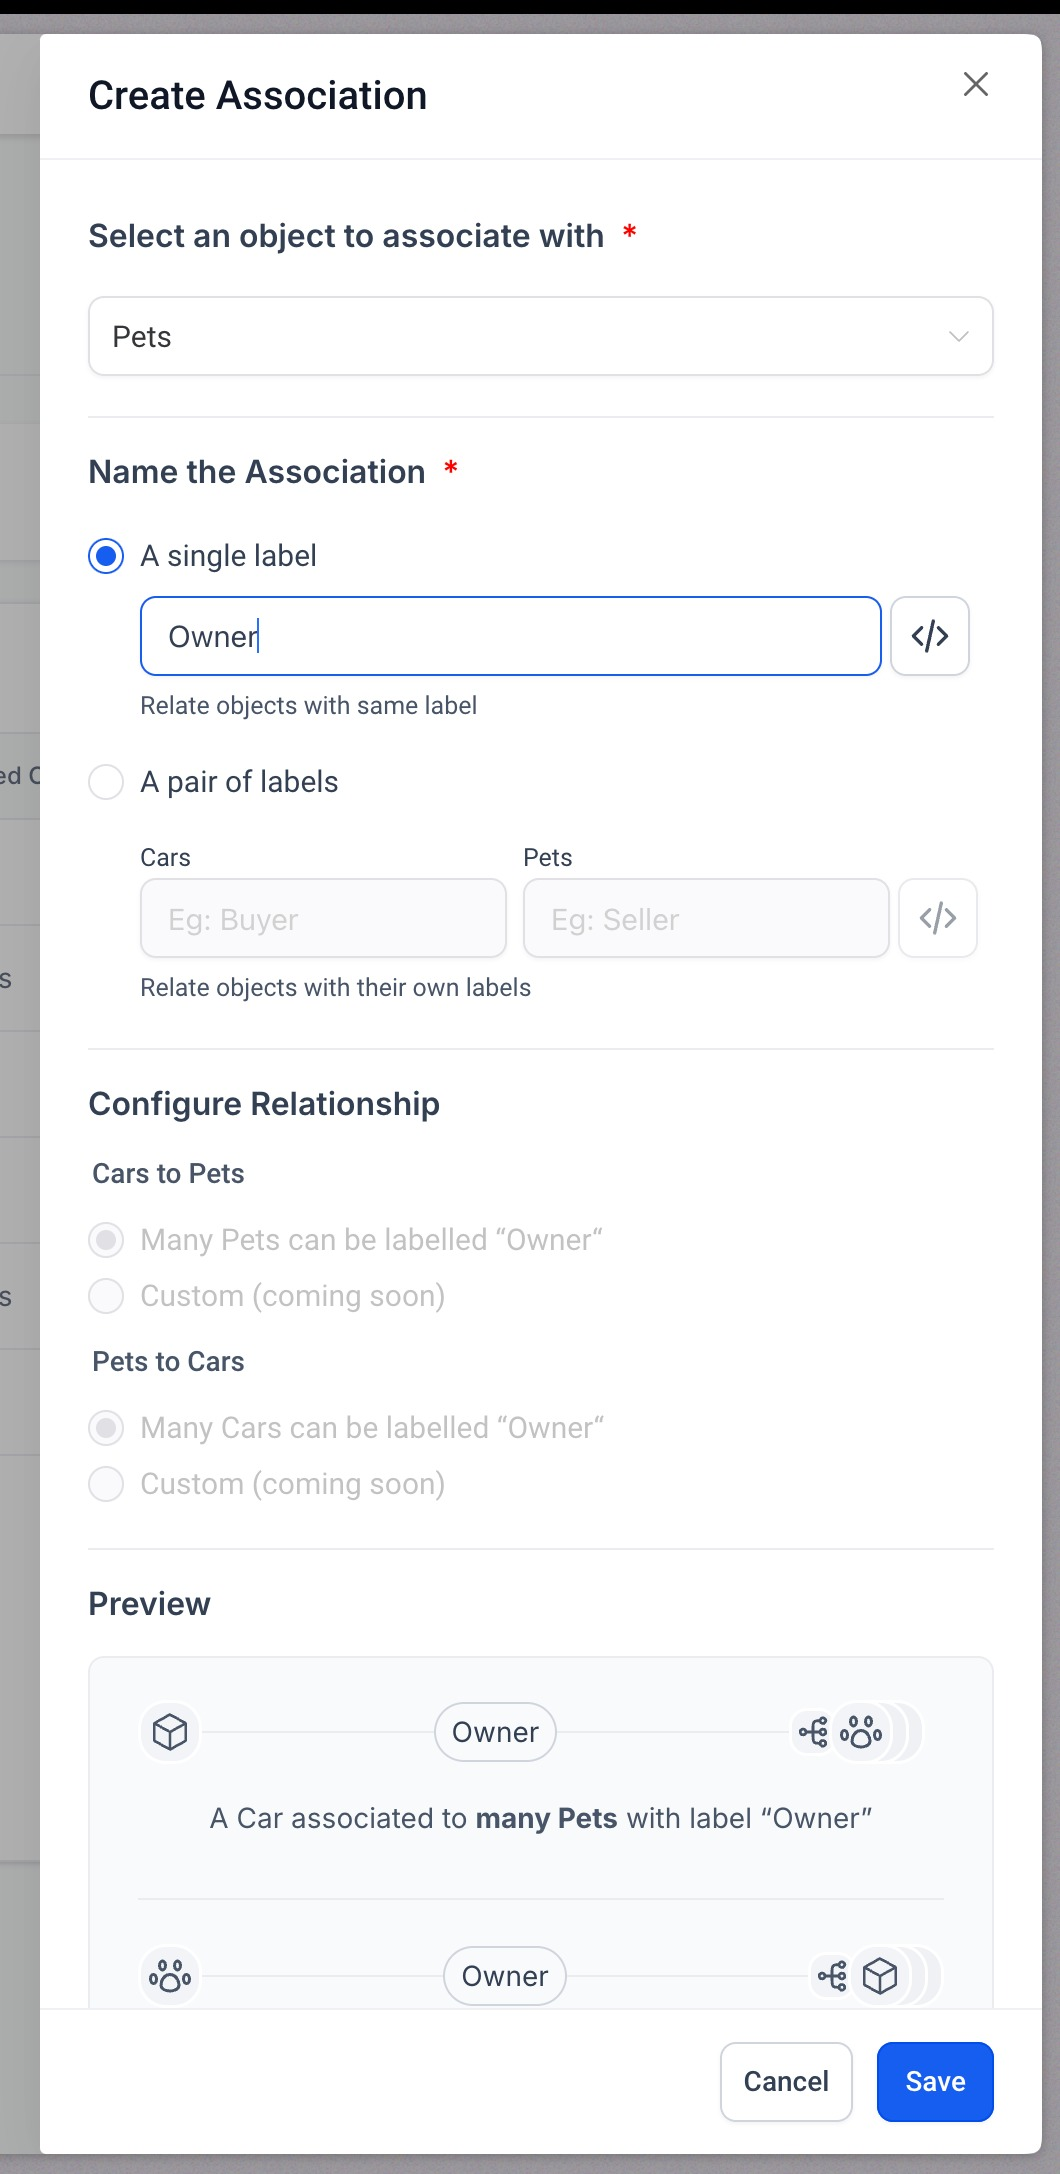
Set Up Labels:
Define the relationship by setting a single label or a pair of labels.
For instance, when associating a dance class with its student, you might assign the labels “Student” and “Dance Class.”
You can create up to 10 association labels between any two records.
Save and Apply:
Once you have named and configured the association labels, click Save to make your settings active.
The labels are now available to help you link your records across the studio.
View Associations:
Open the record details of the custom object (such as a Dance Class or Student Profile).
On the right side panel, check the Related Objects section to see all existing associations.
Editing Associations:
If you need to update a relationship, click the kebab menu (the three dots icon) on the association label.
Select Edit to change the label’s name. (Keep in mind that while you can update the label name, the internal reference name remains unchanged.)
Removing Associations:
Use the kebab menu on the desired association label, then select Delete.
Type “DELETE” in the confirmation text box and click the delete button.
Note: Deletion is only possible when there are no current relations between the two records using that label.
Access the Records:
Go to the Custom Objects section or the Contacts section where your studio records are stored.
Open the Record Details:
Choose one of the records you want to associate (e.g., a specific Dance Class or a Student Profile).
Initiate the Association Process:
In the right-hand side panel, locate the Related Objects section.
Click the association icon (usually represented with a link or chain icon) to start the process.
Select the Object to Associate With:
In the setup window, choose the record you want to connect with. This could be another Dance Class, a Student Profile, or an Instructor Profile.
Select the Labels:
Choose the label(s) that will define the relationship—helpful when linking a dance class to multiple students or pairing an instructor with different classes.
Confirm the Setup:
Click Save to finalize your association.
Finalizing the Association:
The associated record will now appear in the Related Objects section.
You can click on the associated record to view further details and, if needed, modify or remove the link.
Additionally, you have the option to add these associated objects as columns in the list view, making it easy to quickly see which records are connected.
Enrollio's seamless associations are designed to streamline your studio's operations—whether you’re managing dance classes, tracking student enrollments, or coordinating instructor assignments. For more detailed guidance on interconnecting your studio records, explore additional resources in our knowledge base.