```html
This article explains how to create a new class in Enrollio. You'll learn the complete process to set up and publish a class for parent registration.
1. Introduction to Class Creation
In this video, we'll walk through how to create your first class inside Enrollio.
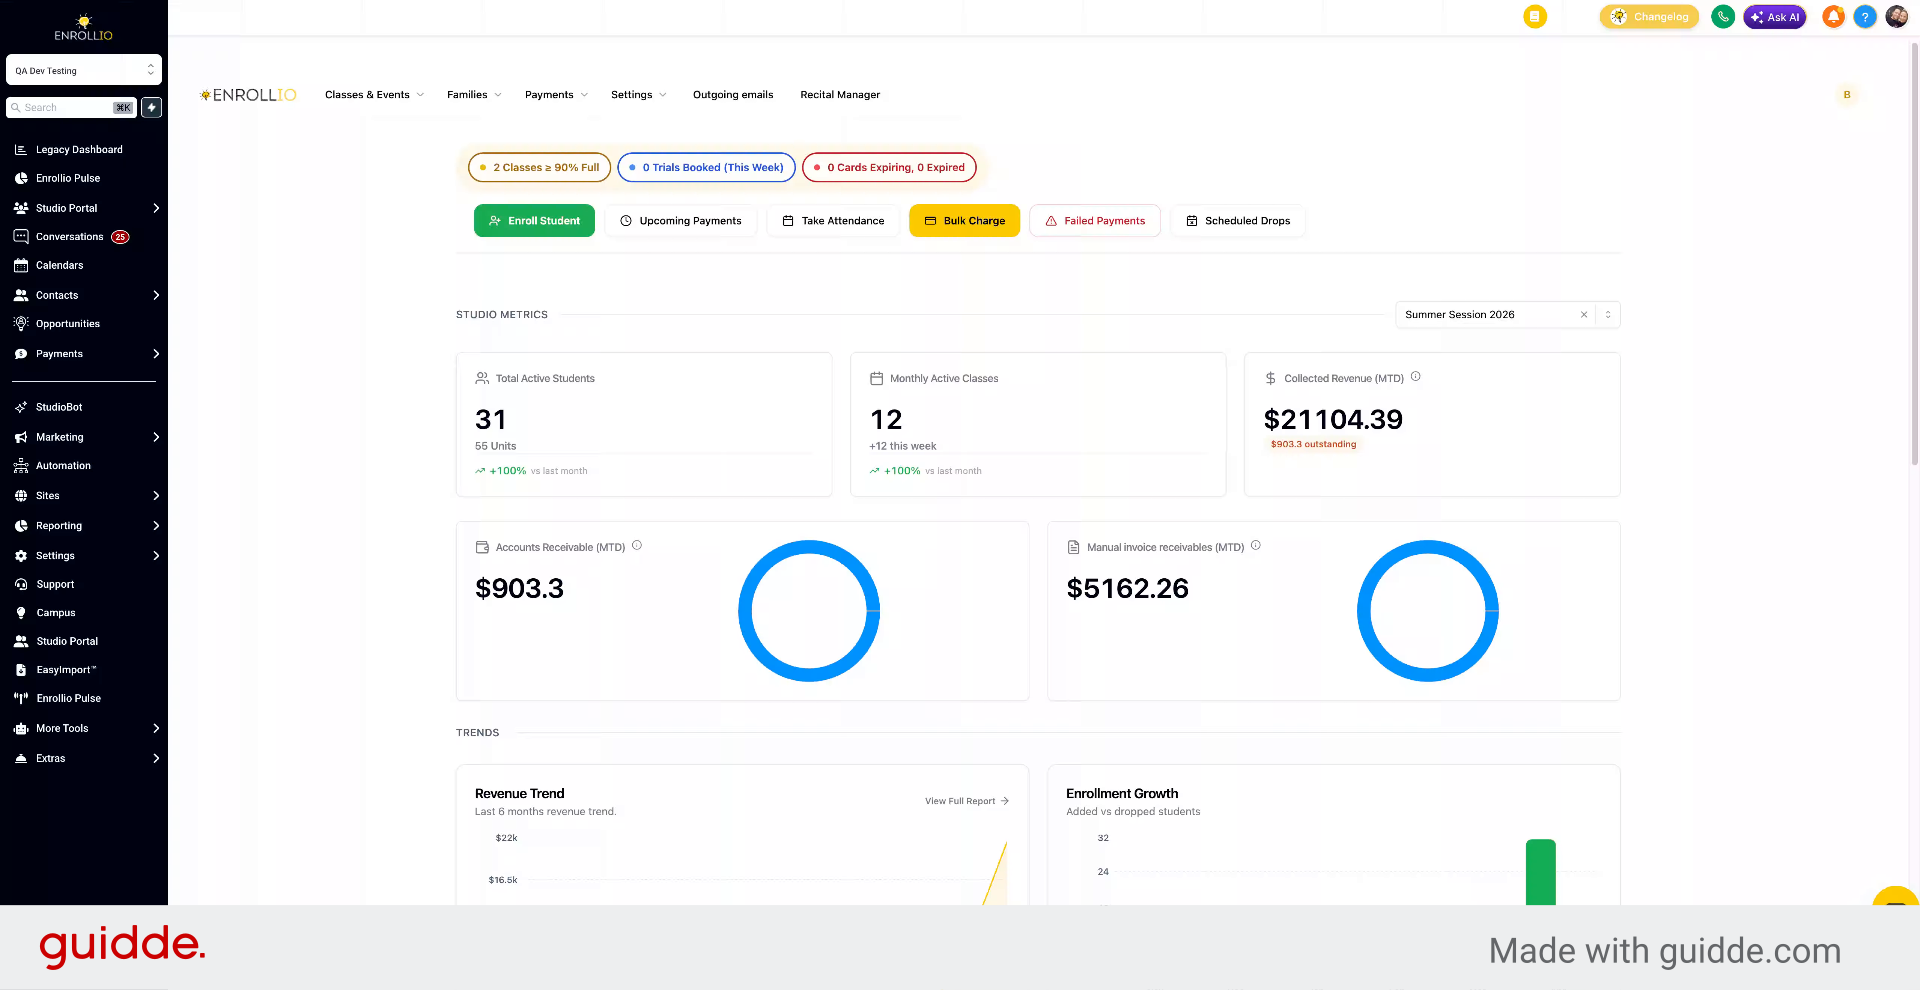
2. Go to Add Class
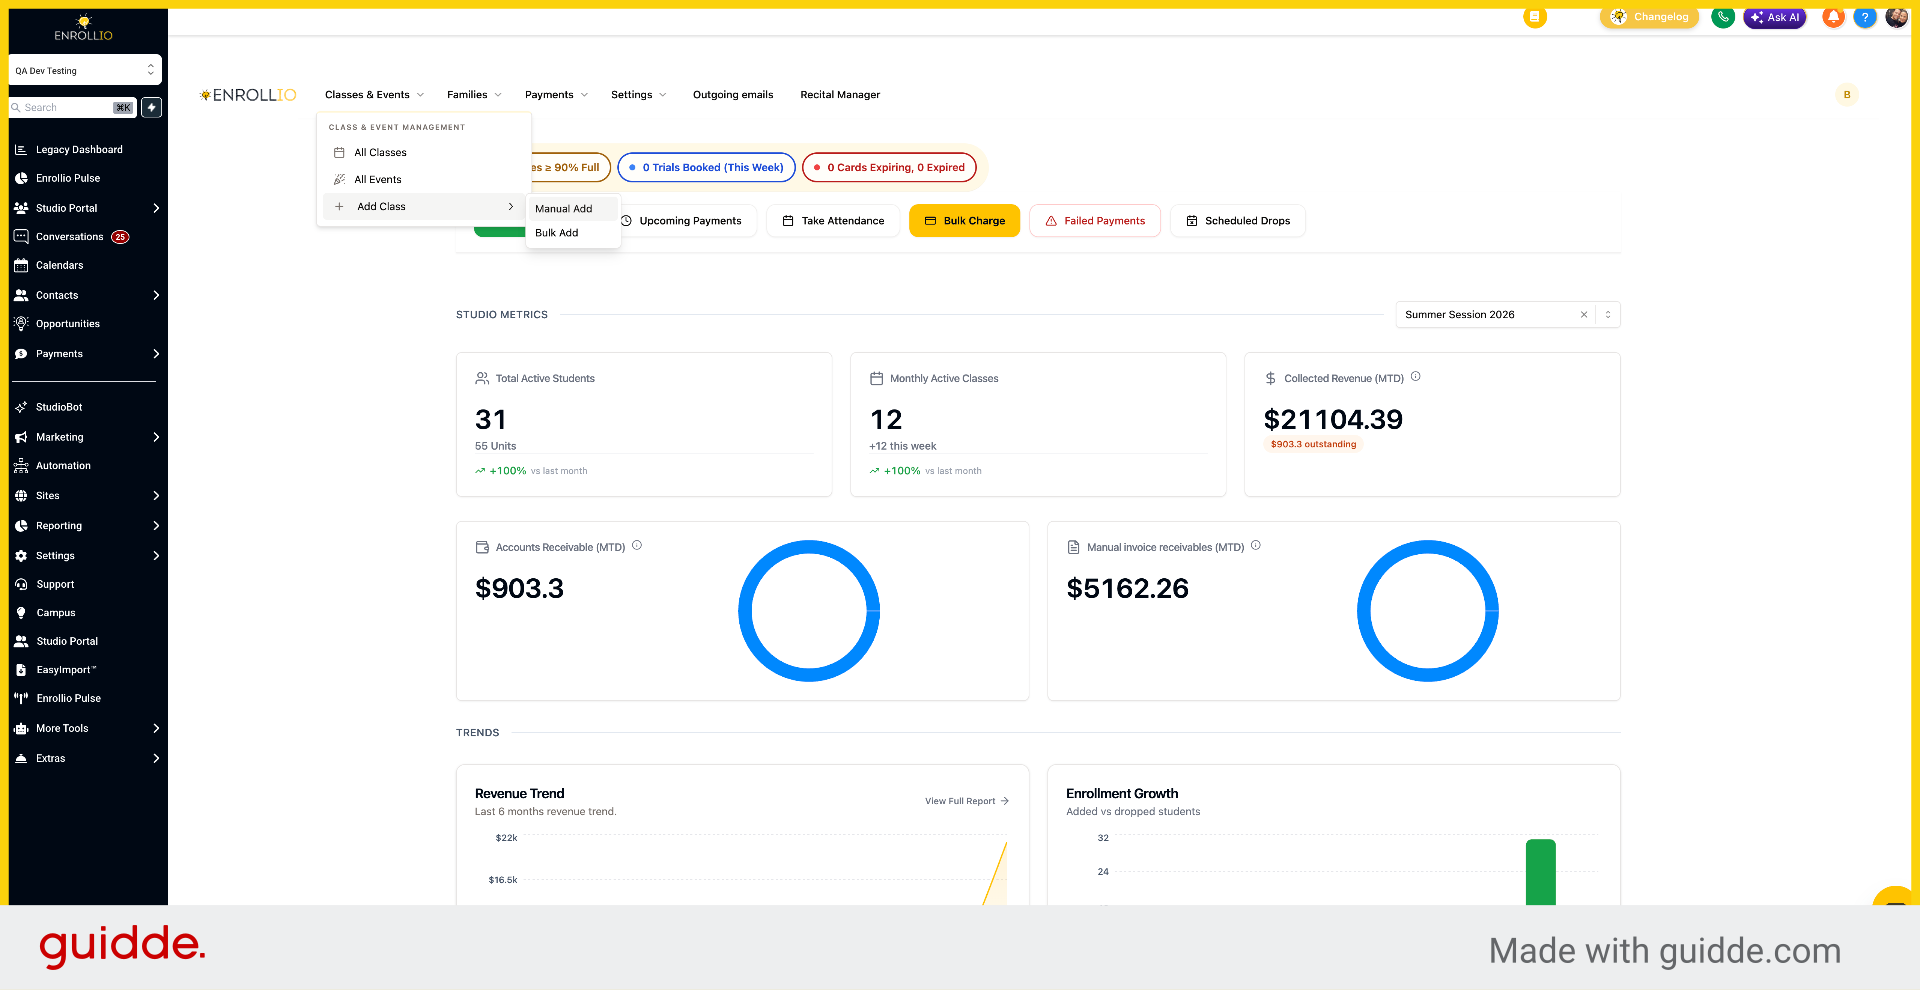
Go to Classes and Events, then select Add Class.
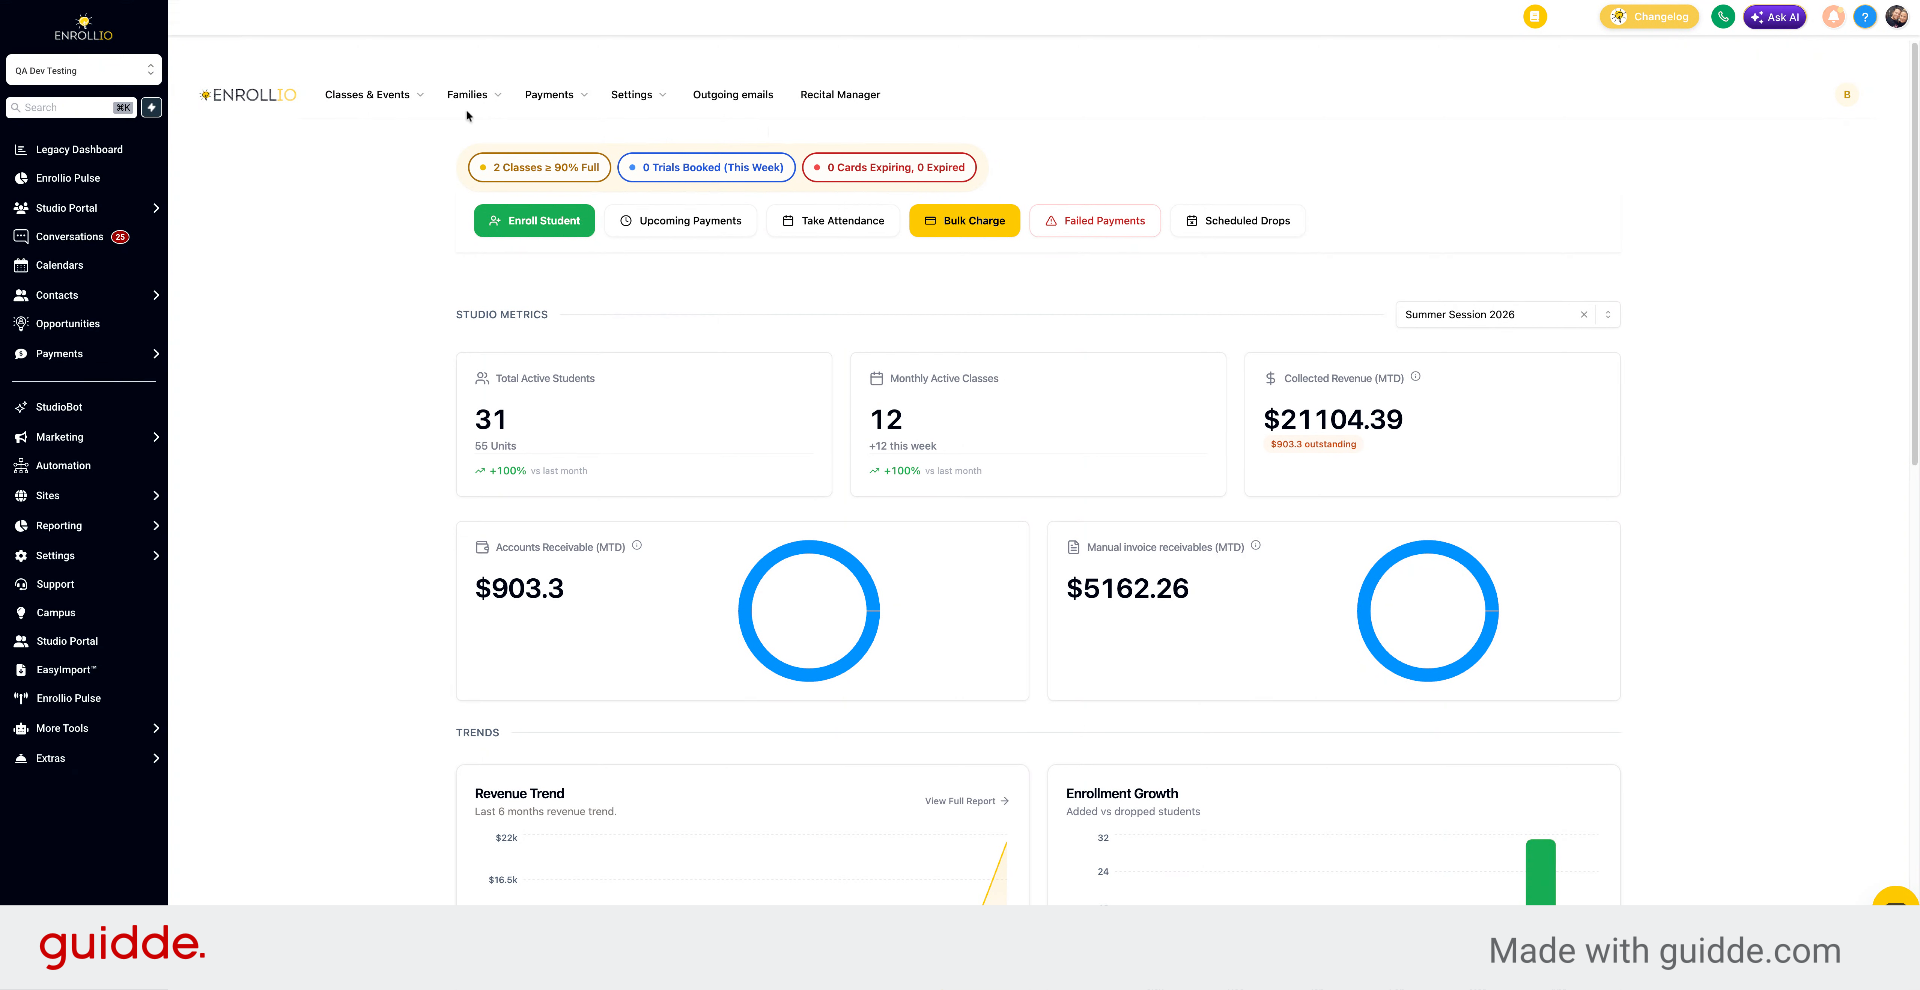
3. Choose Manual or Bulk Add
You can choose Manual Add for a single class, or Bulk Add if you have many classes to add at once.
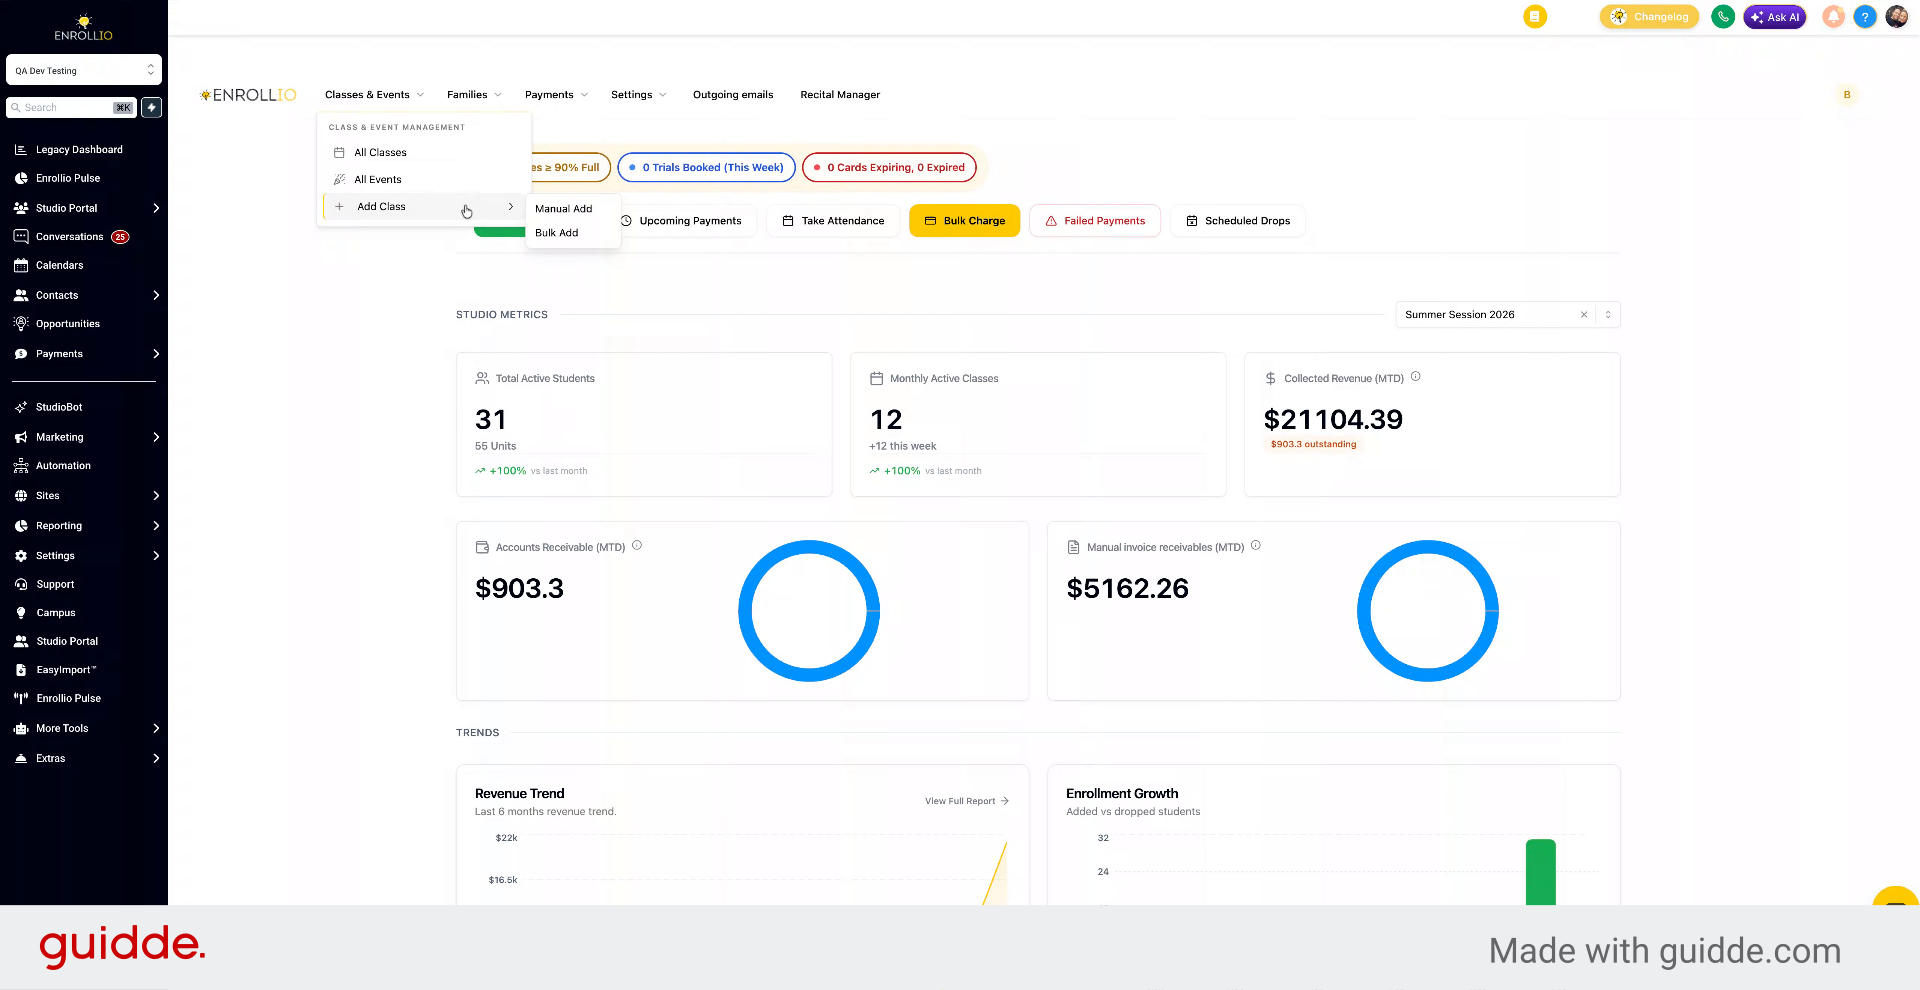
4. Select Manual Add Option
For this walkthrough, we'll click Manual Add.
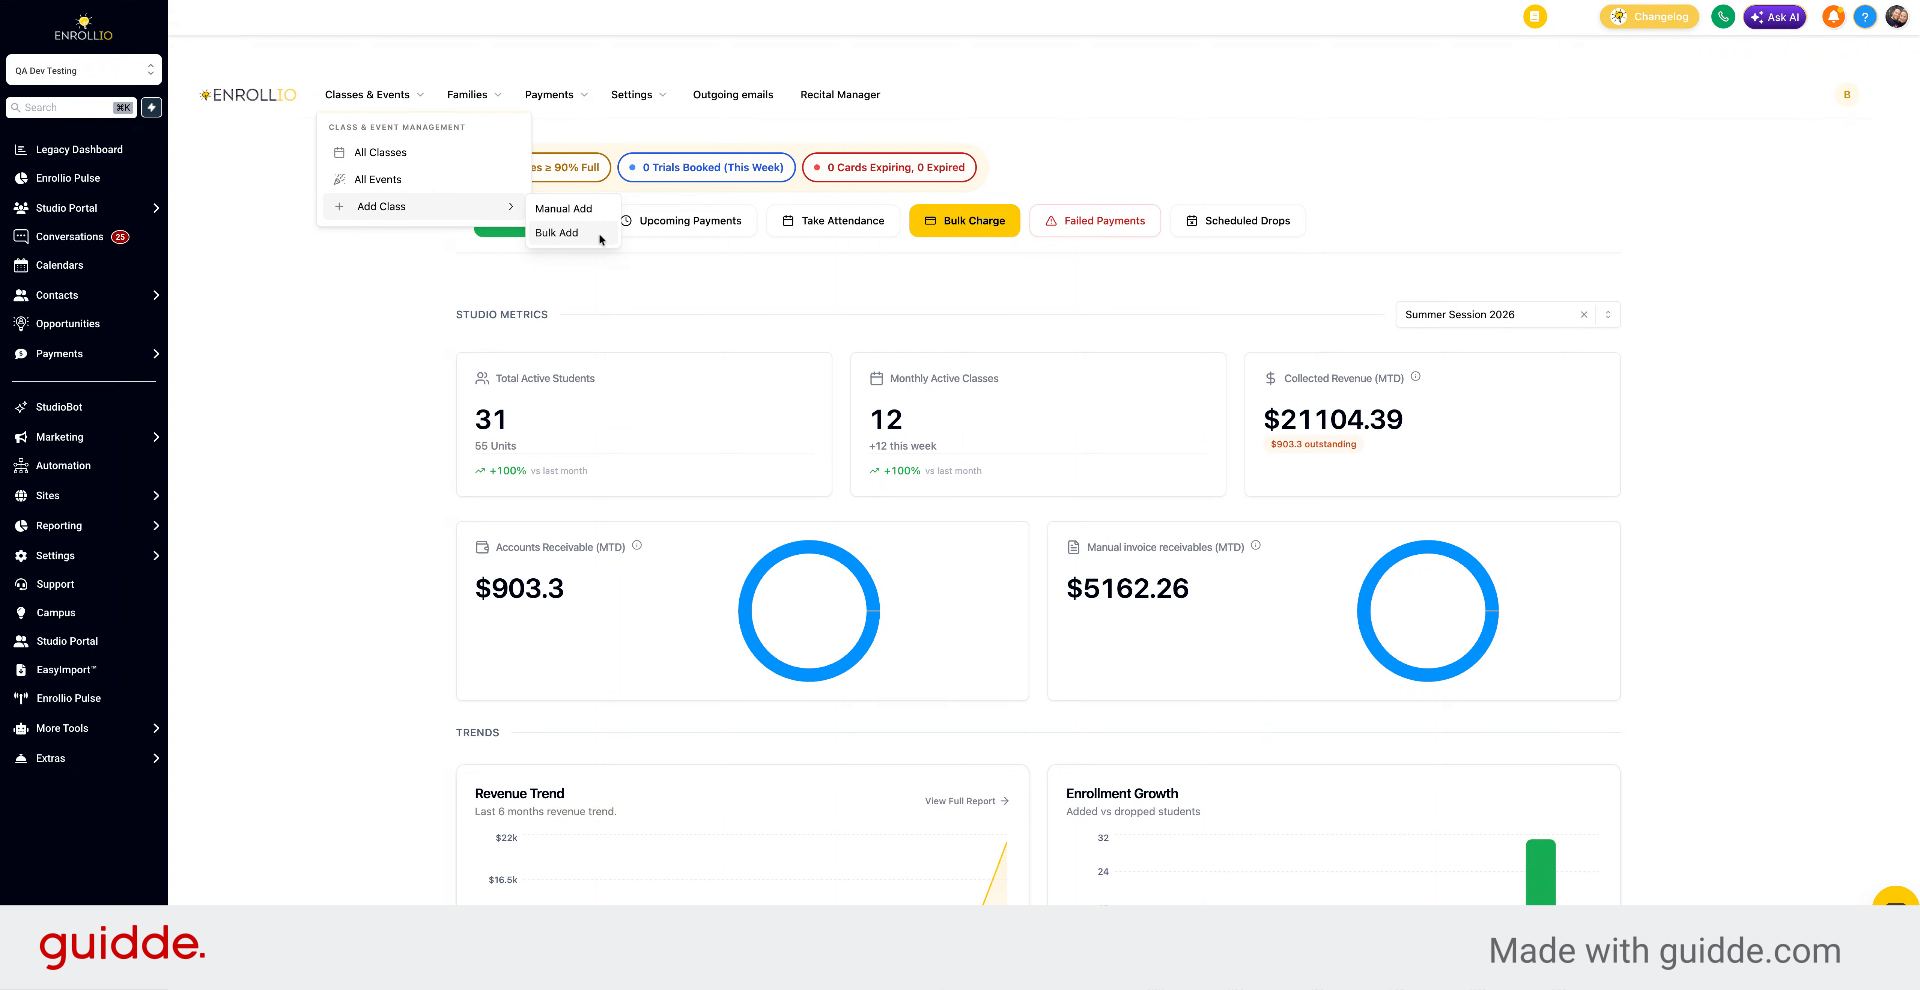
5. Click Manual Add Button
Click the Manual Add button to add a class manually.
6. Add Cover Photo
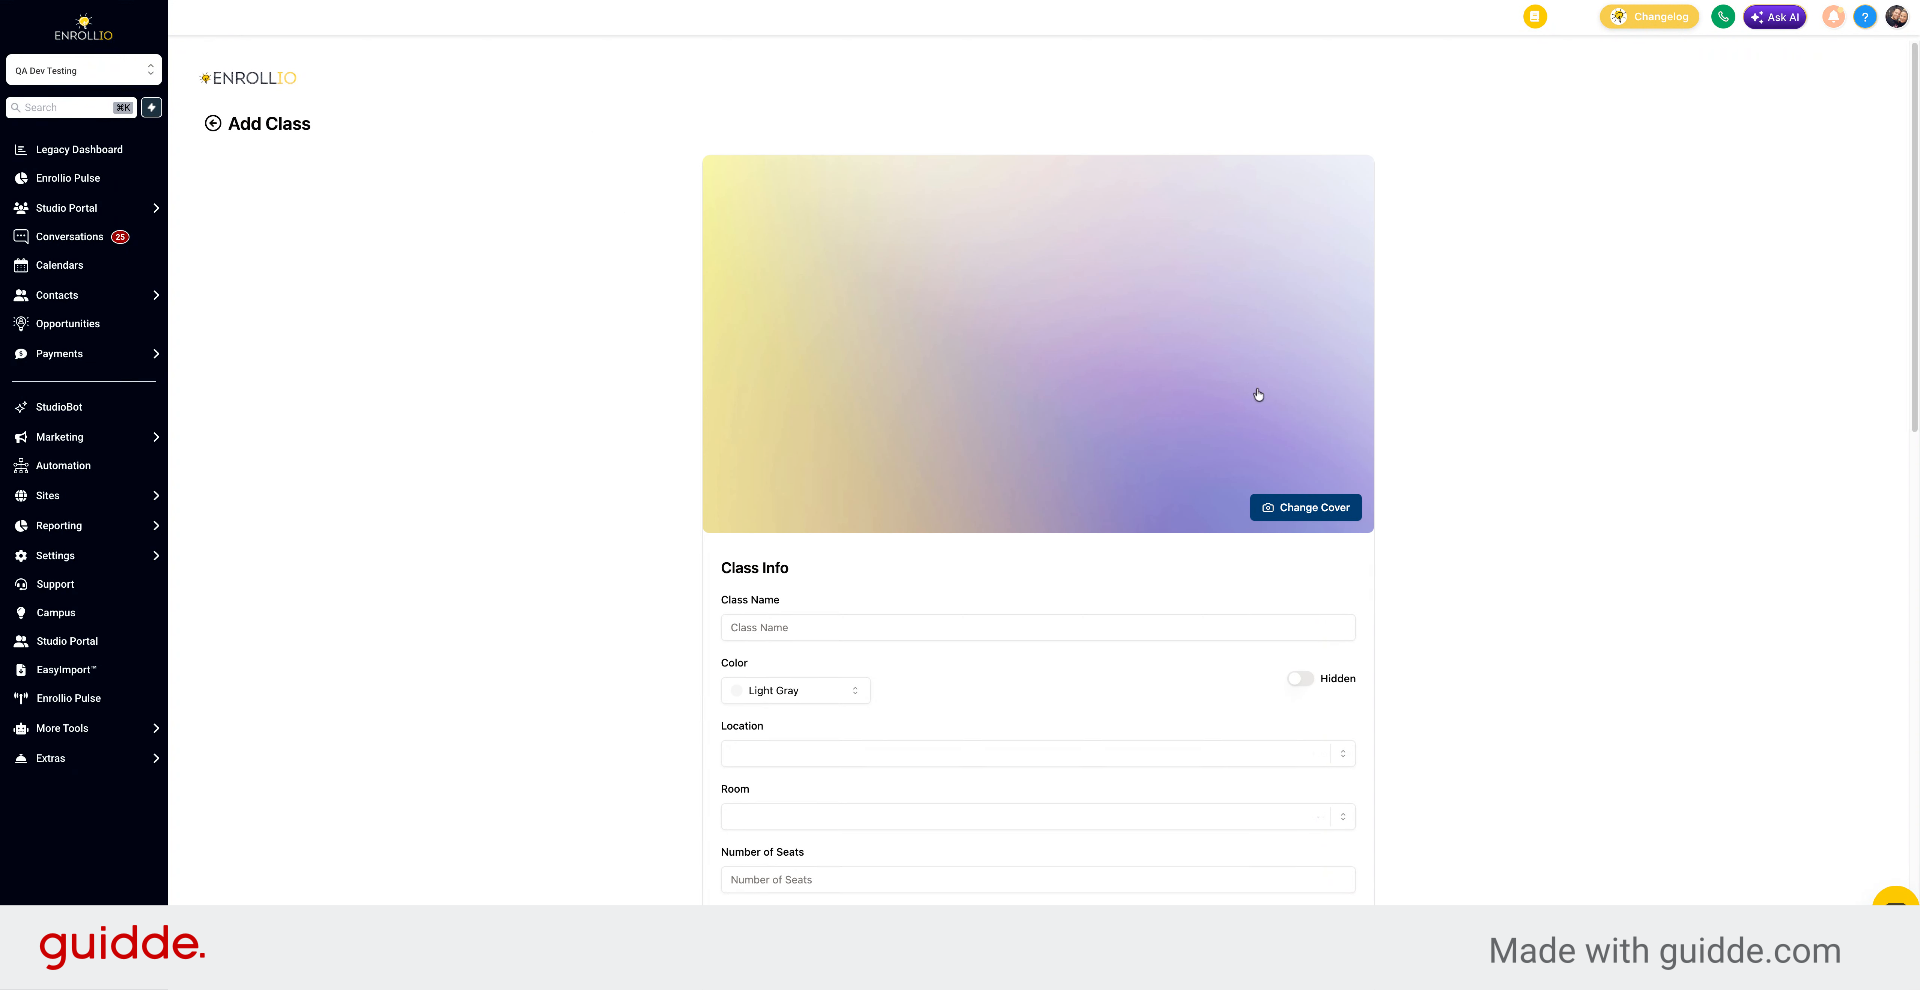
Here you can add a cover photo for the class. This photo will show in the Studio Portal and Parent Portal, giving parents a nice visual when they register for classes. Click Change Cover to select or upload an image.
7. Select or Upload Cover Image
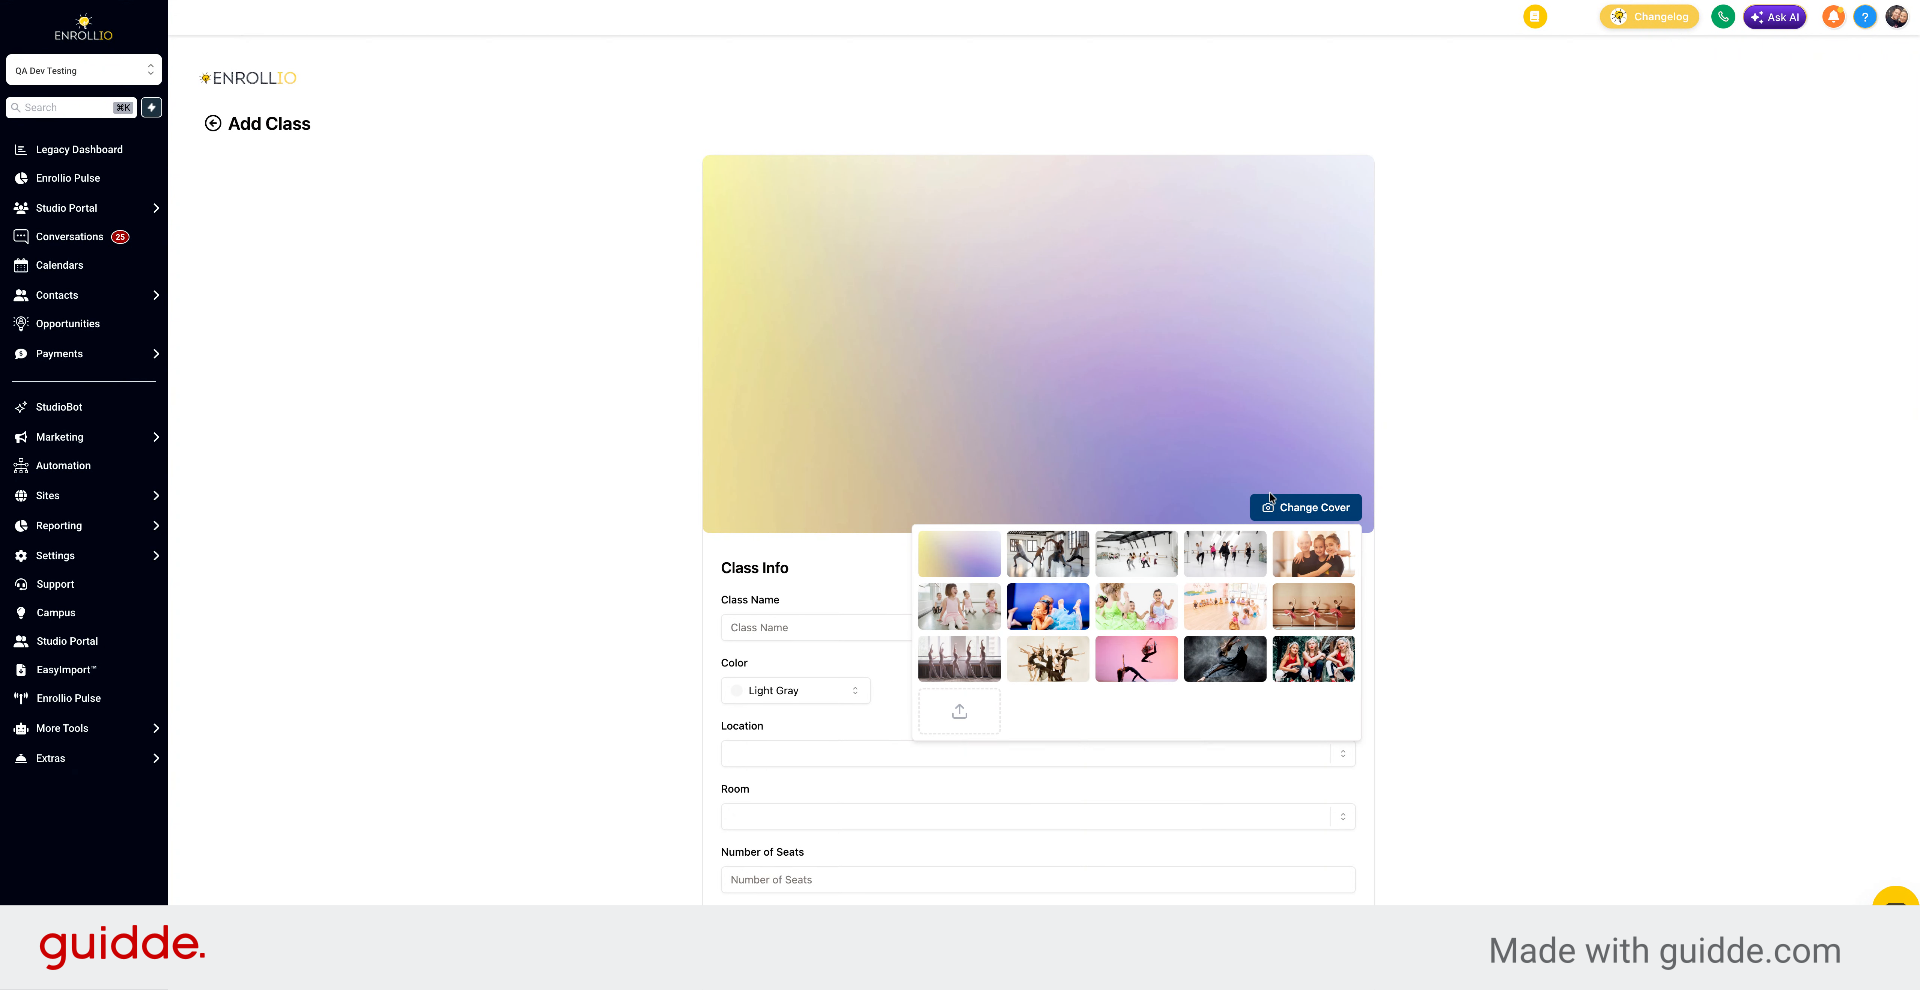
You can choose from stock images or upload your own image.
8. Image Upload Guidelines
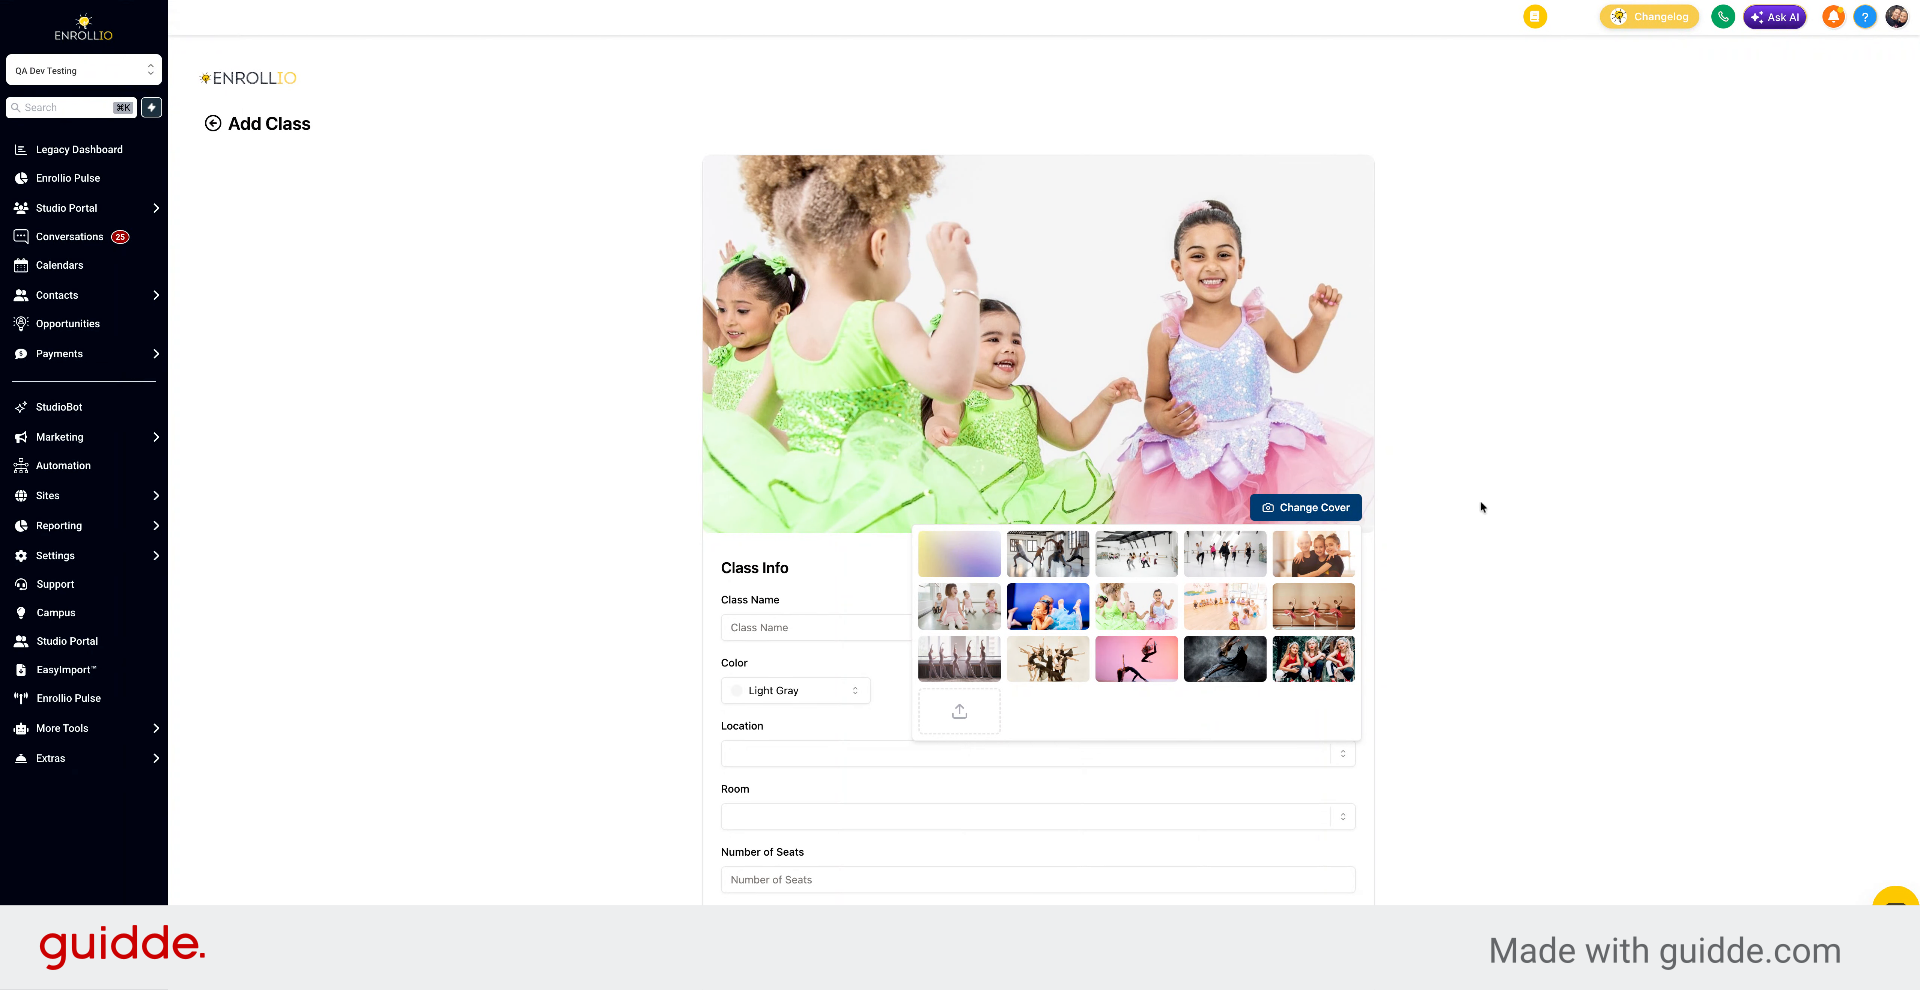
Make sure that the file is an image file. If you have questions with uploading, reach out to our live chat support team in the bottom right.
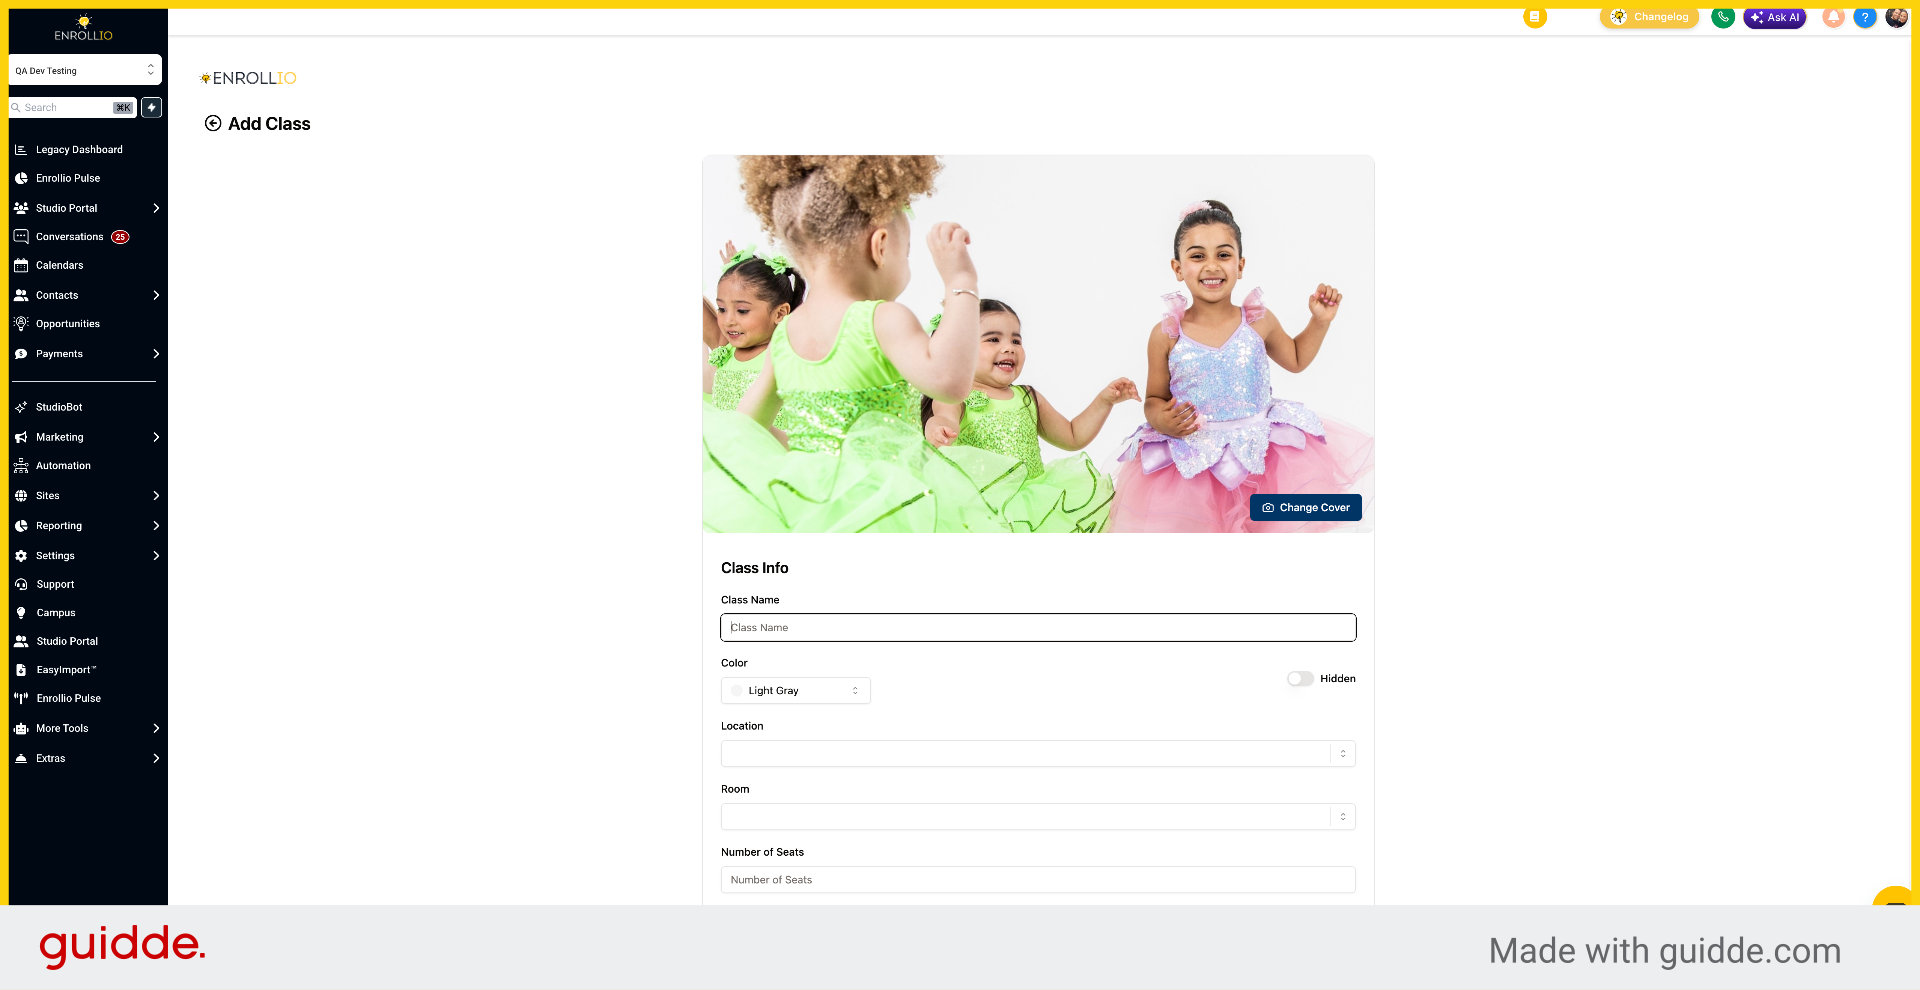
9. Click Class Name Field
Click the Class Name field to enter the name of your class.
10. Name the Class
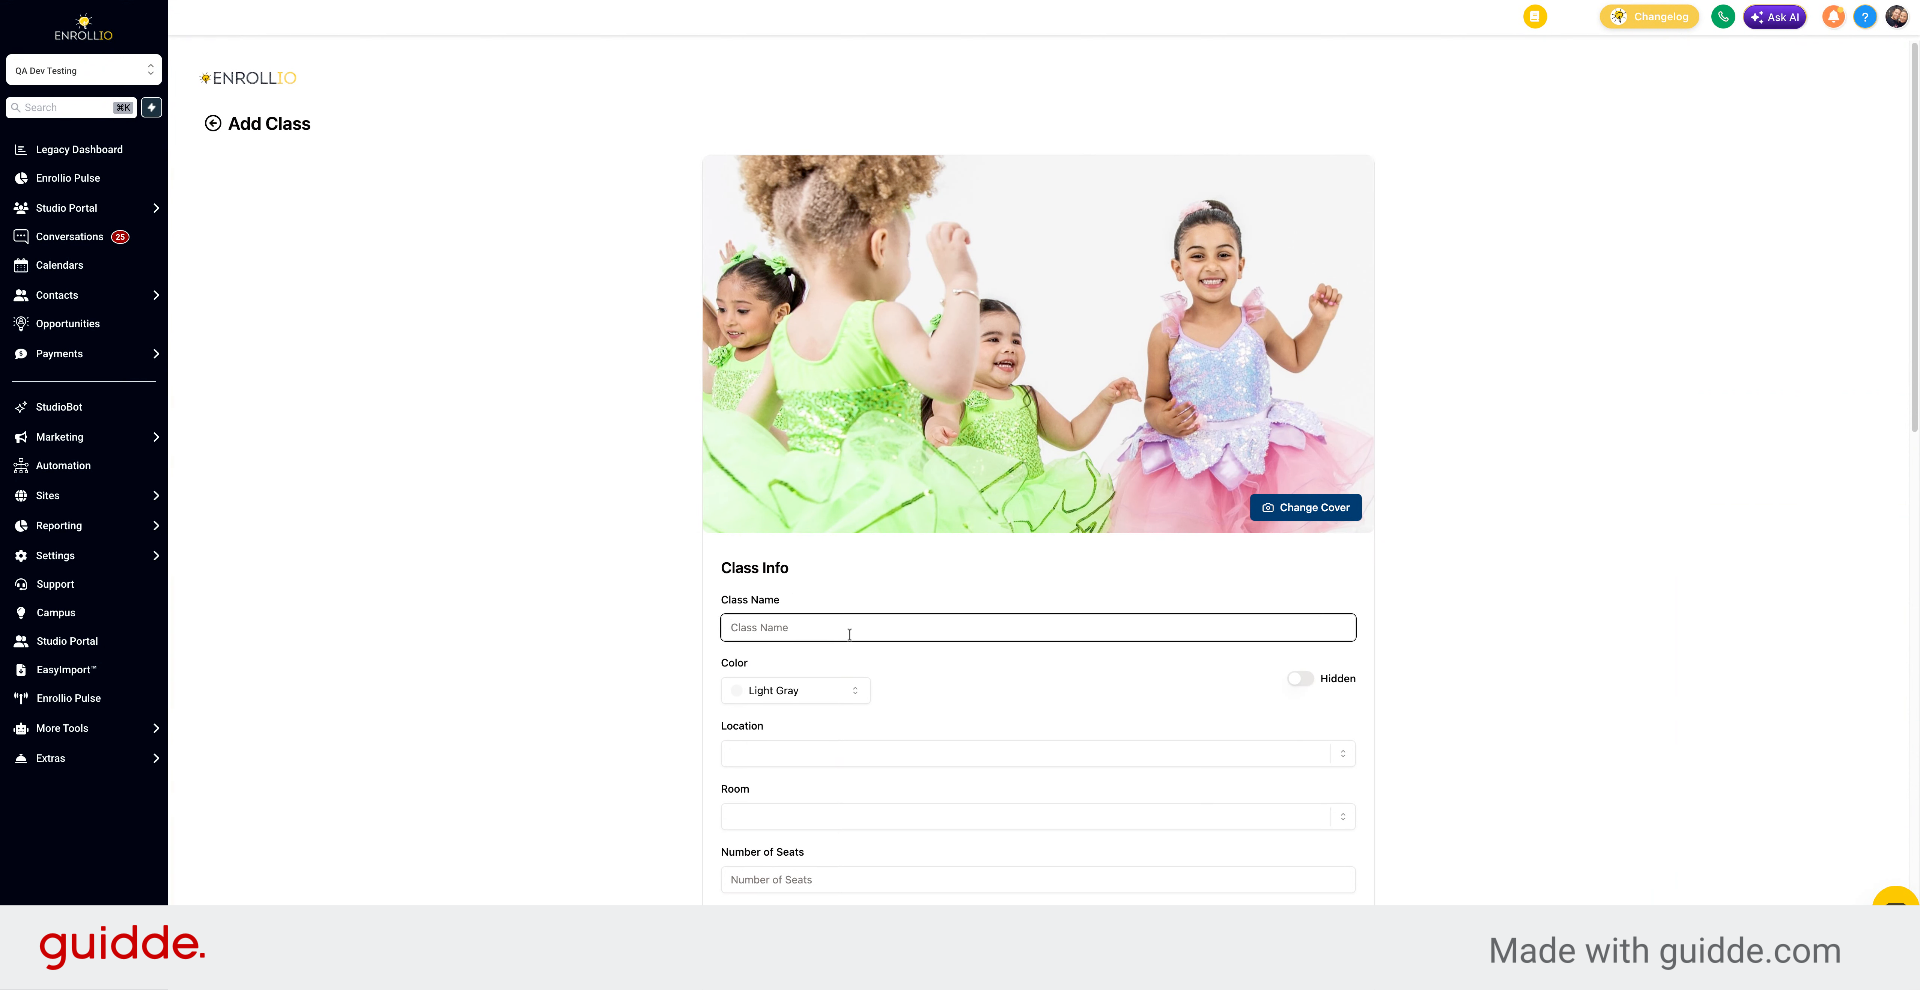
Give the class a name. For this example, we'll call it Ballet Level 1.
11. Select Calendar Color
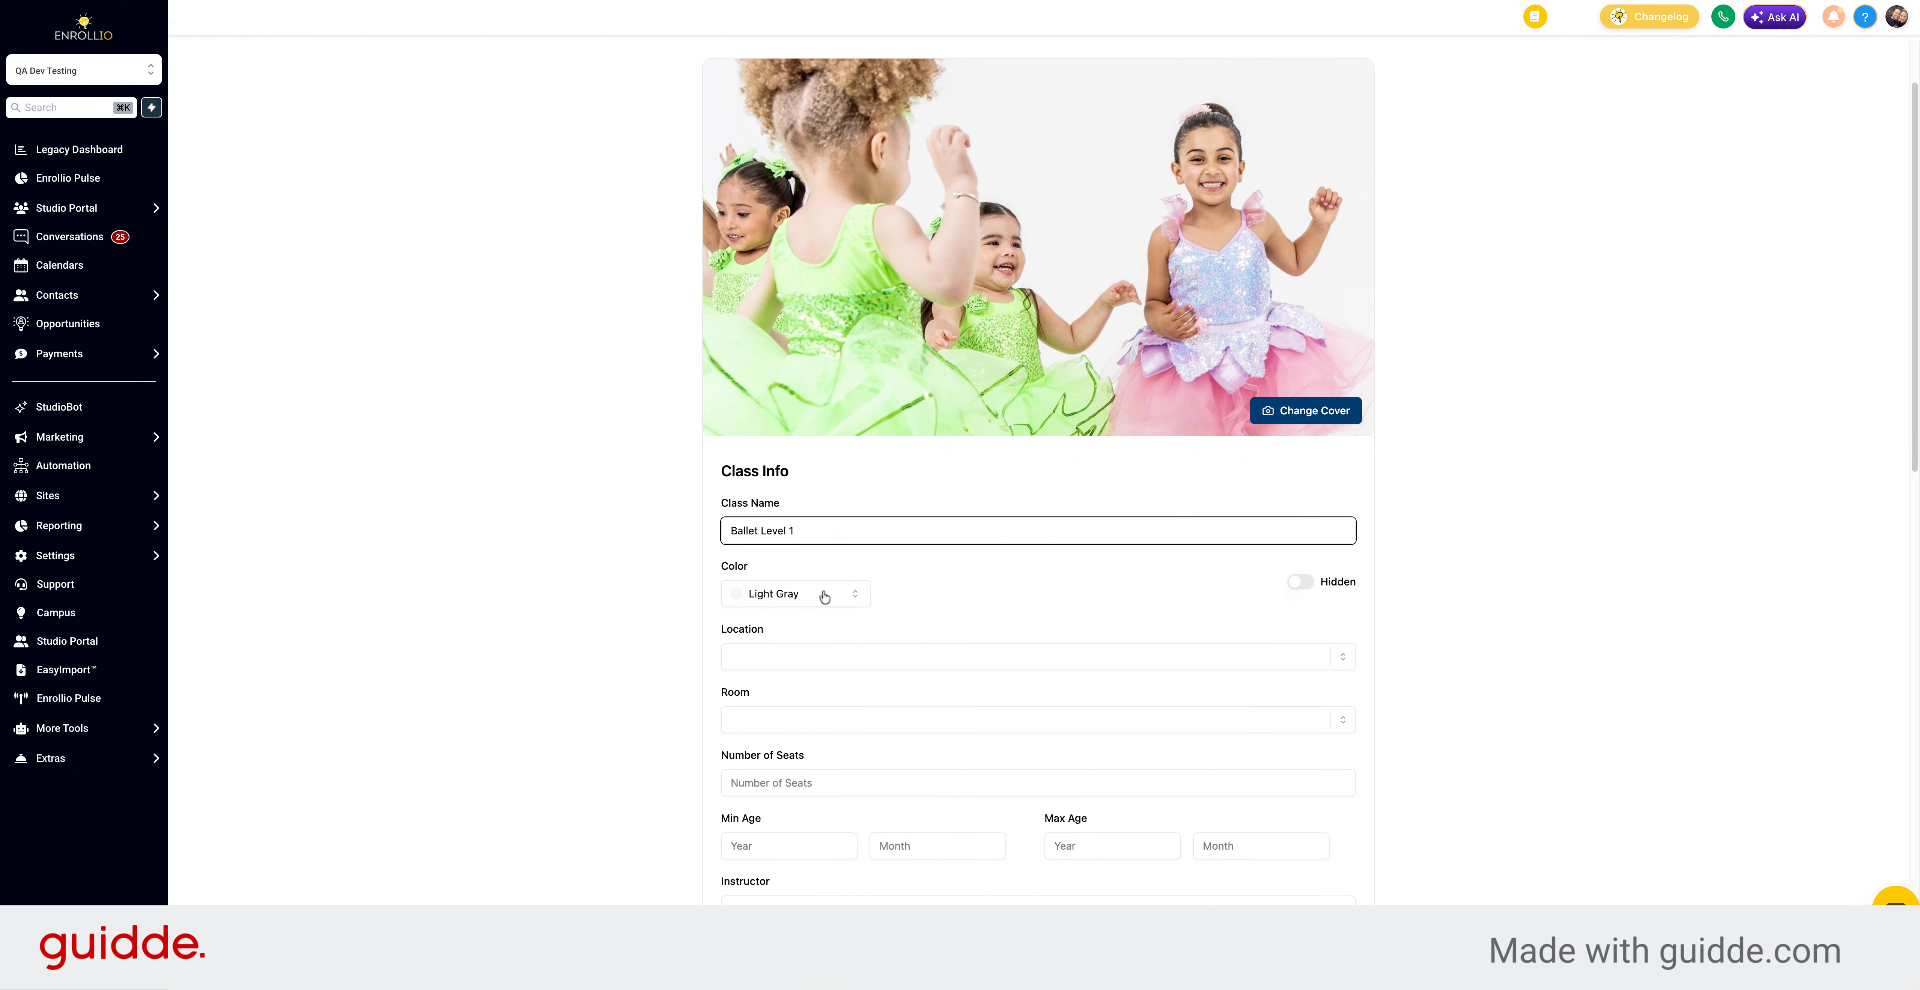
The color appears on the calendar inside the Studio Portal. Choose the color you'd like the class to display. We'll select pink for this example.
12. Toggle Hidden Class Option
The Hidden option lets you hide the class from the parent portal. This is useful for invite-only classes or classes you don't want parents to see directly. If you want to hide it, toggle this on. For this example, we'll keep it off.
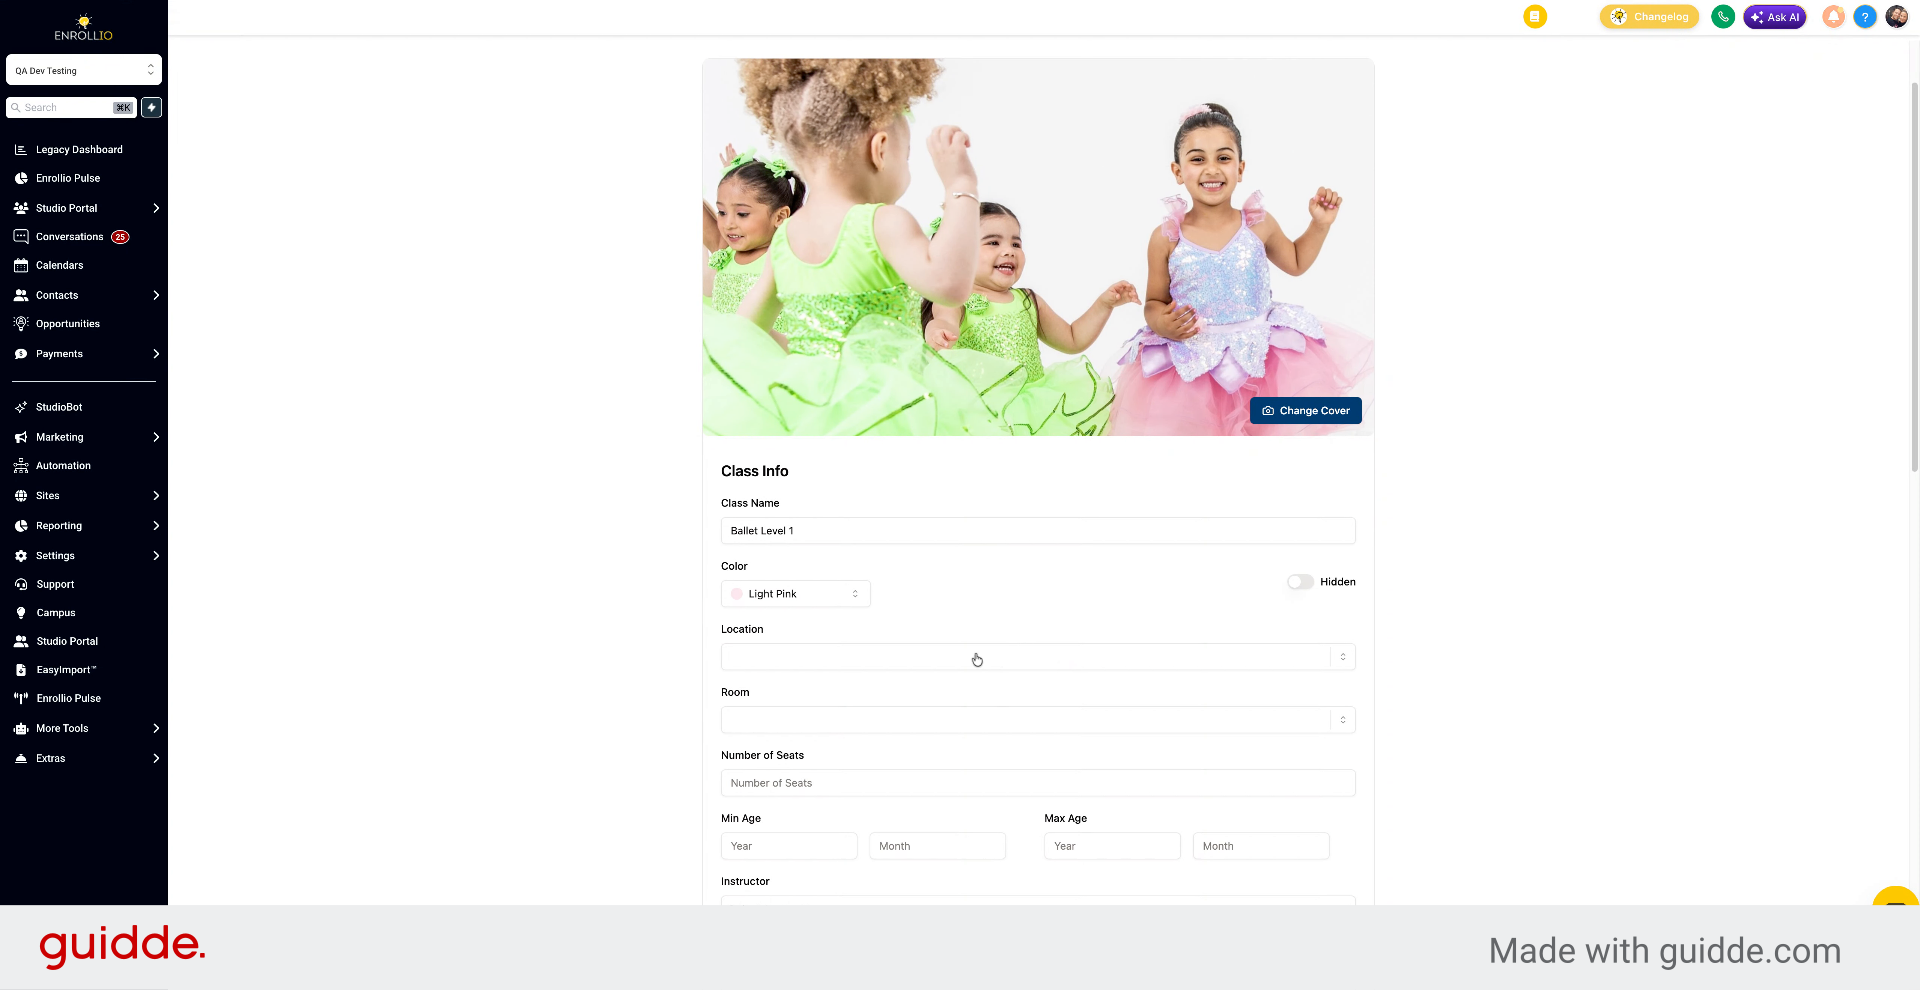
13. Select Location for Class
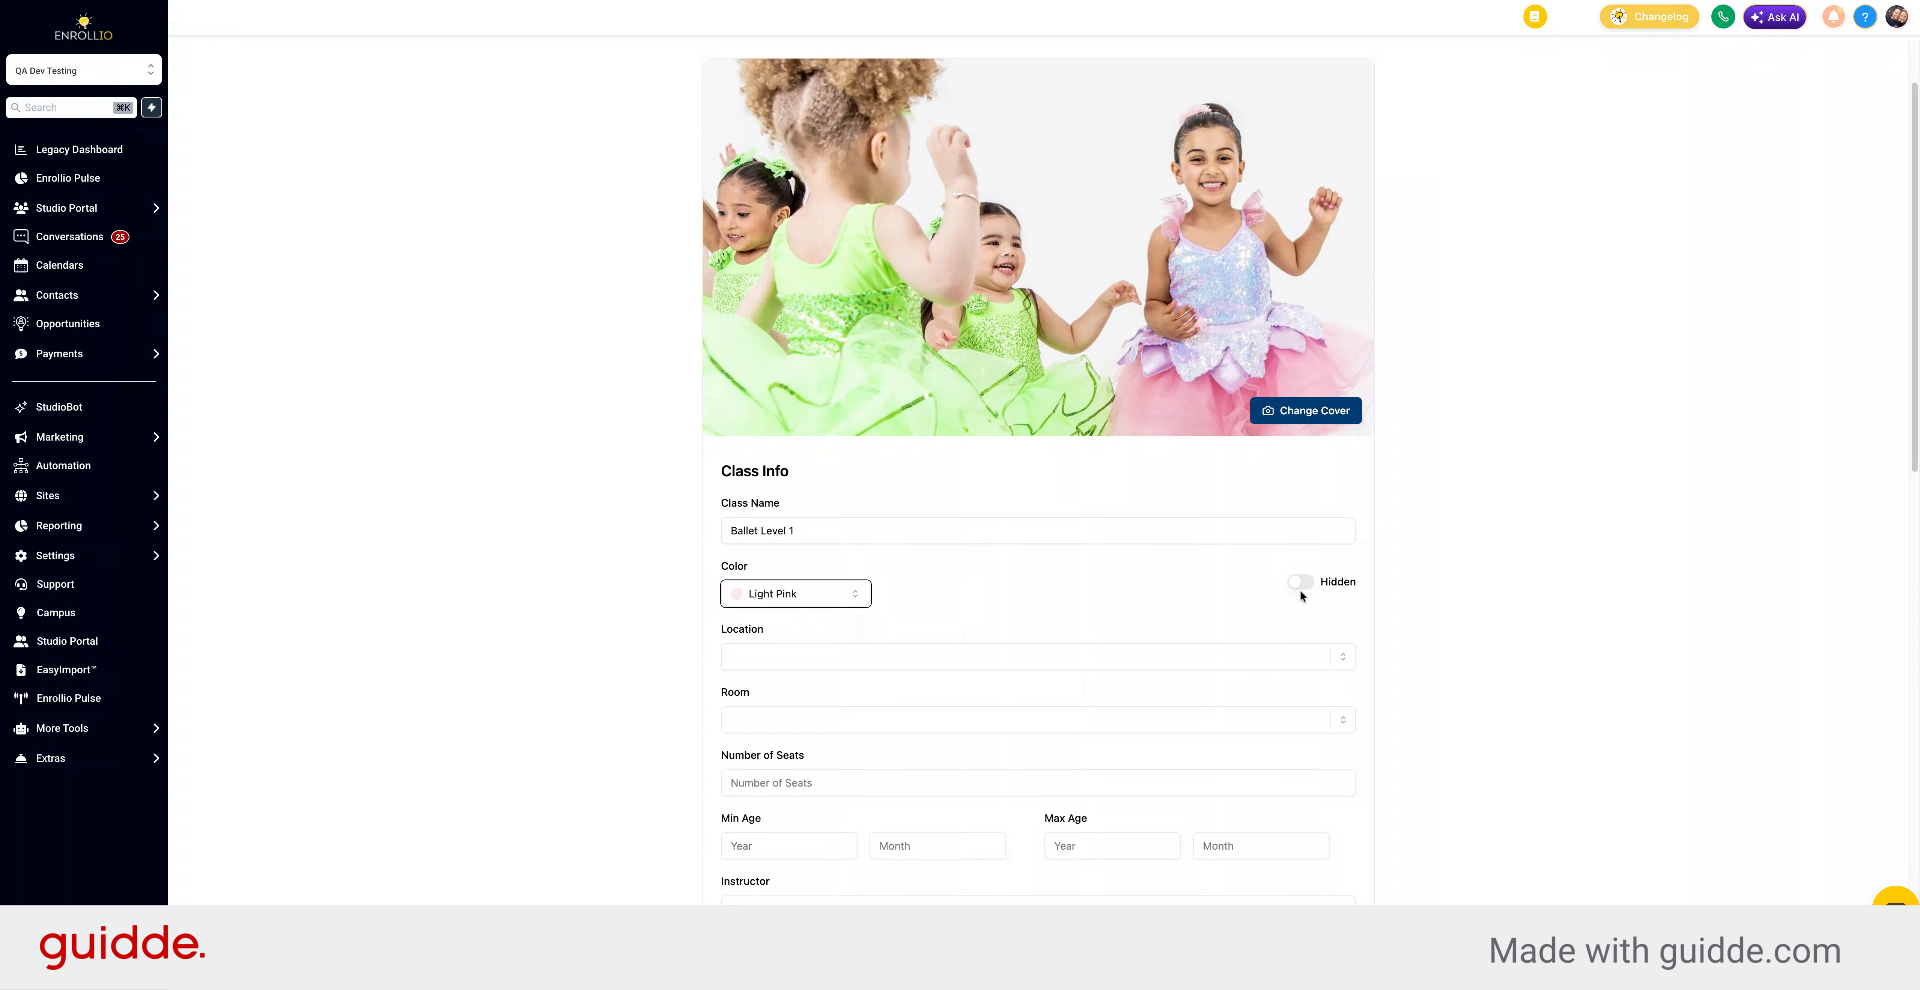
Select the location where the class will be held. You can choose one or multiple locations.
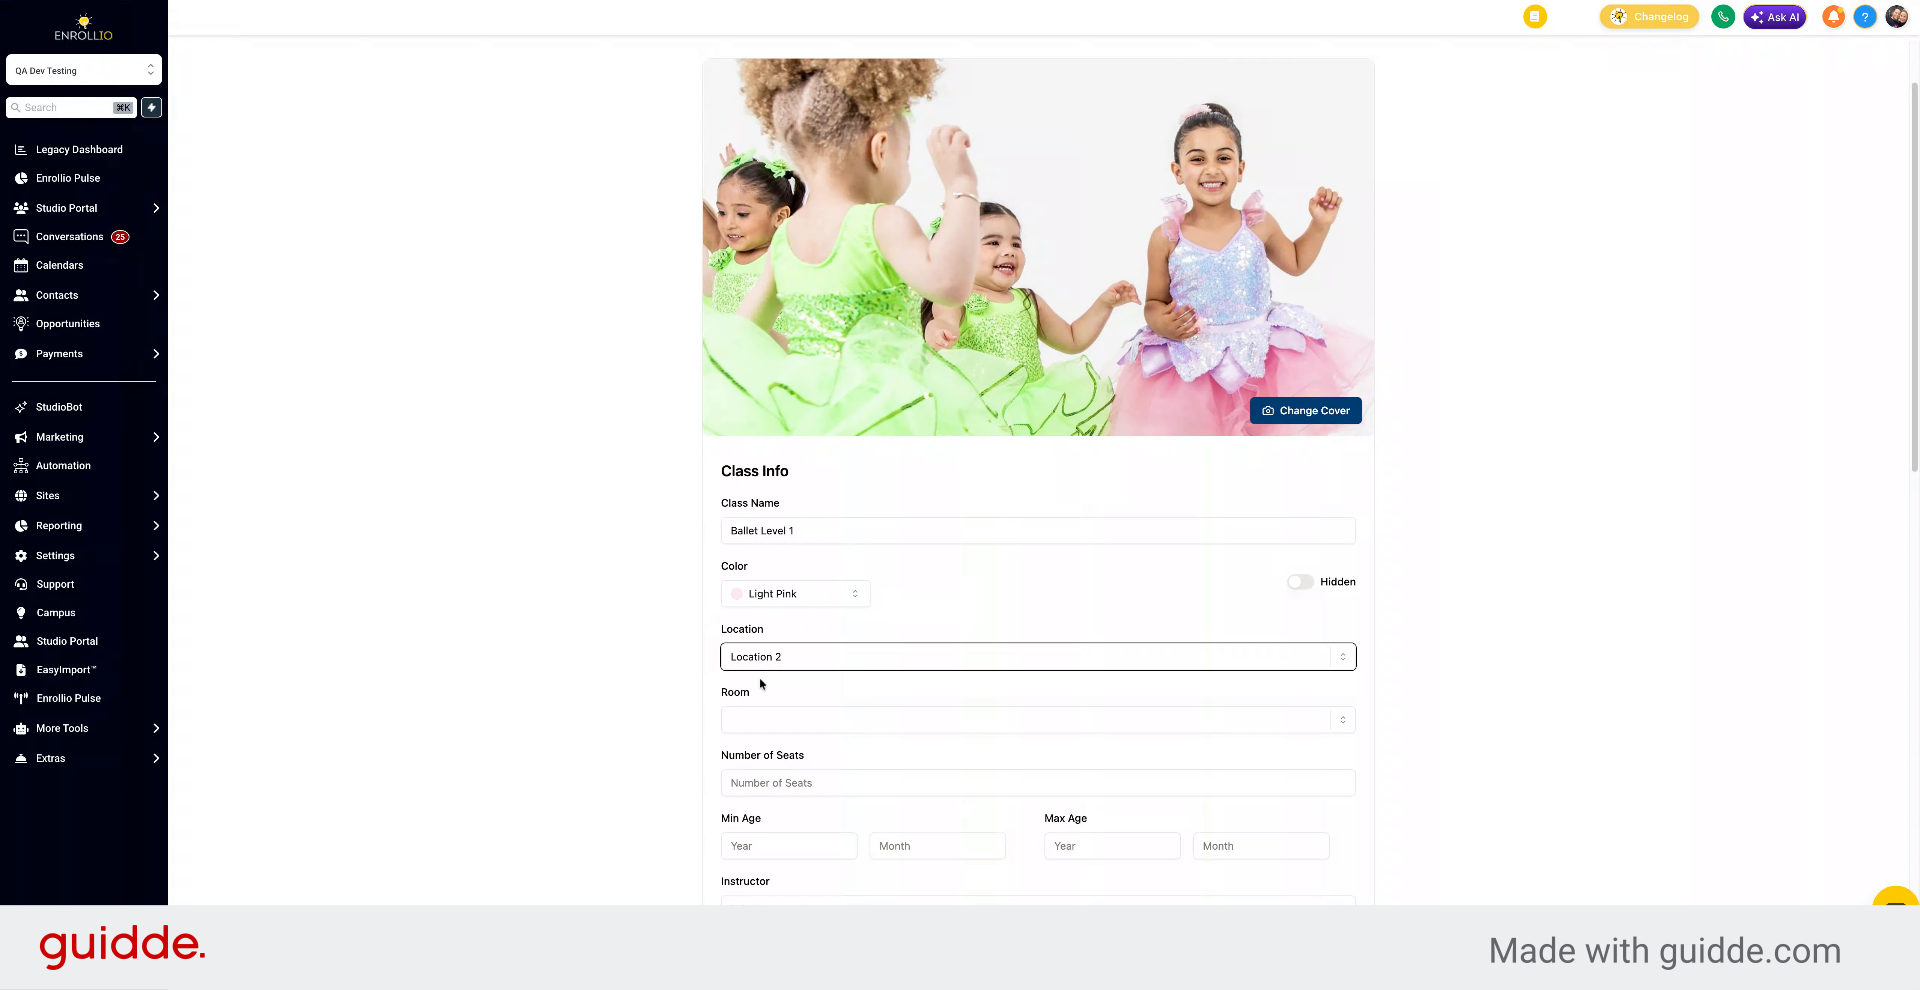
14. Choose Room and Seat Count
Select the room where the class will meet and specify how many seats are available.
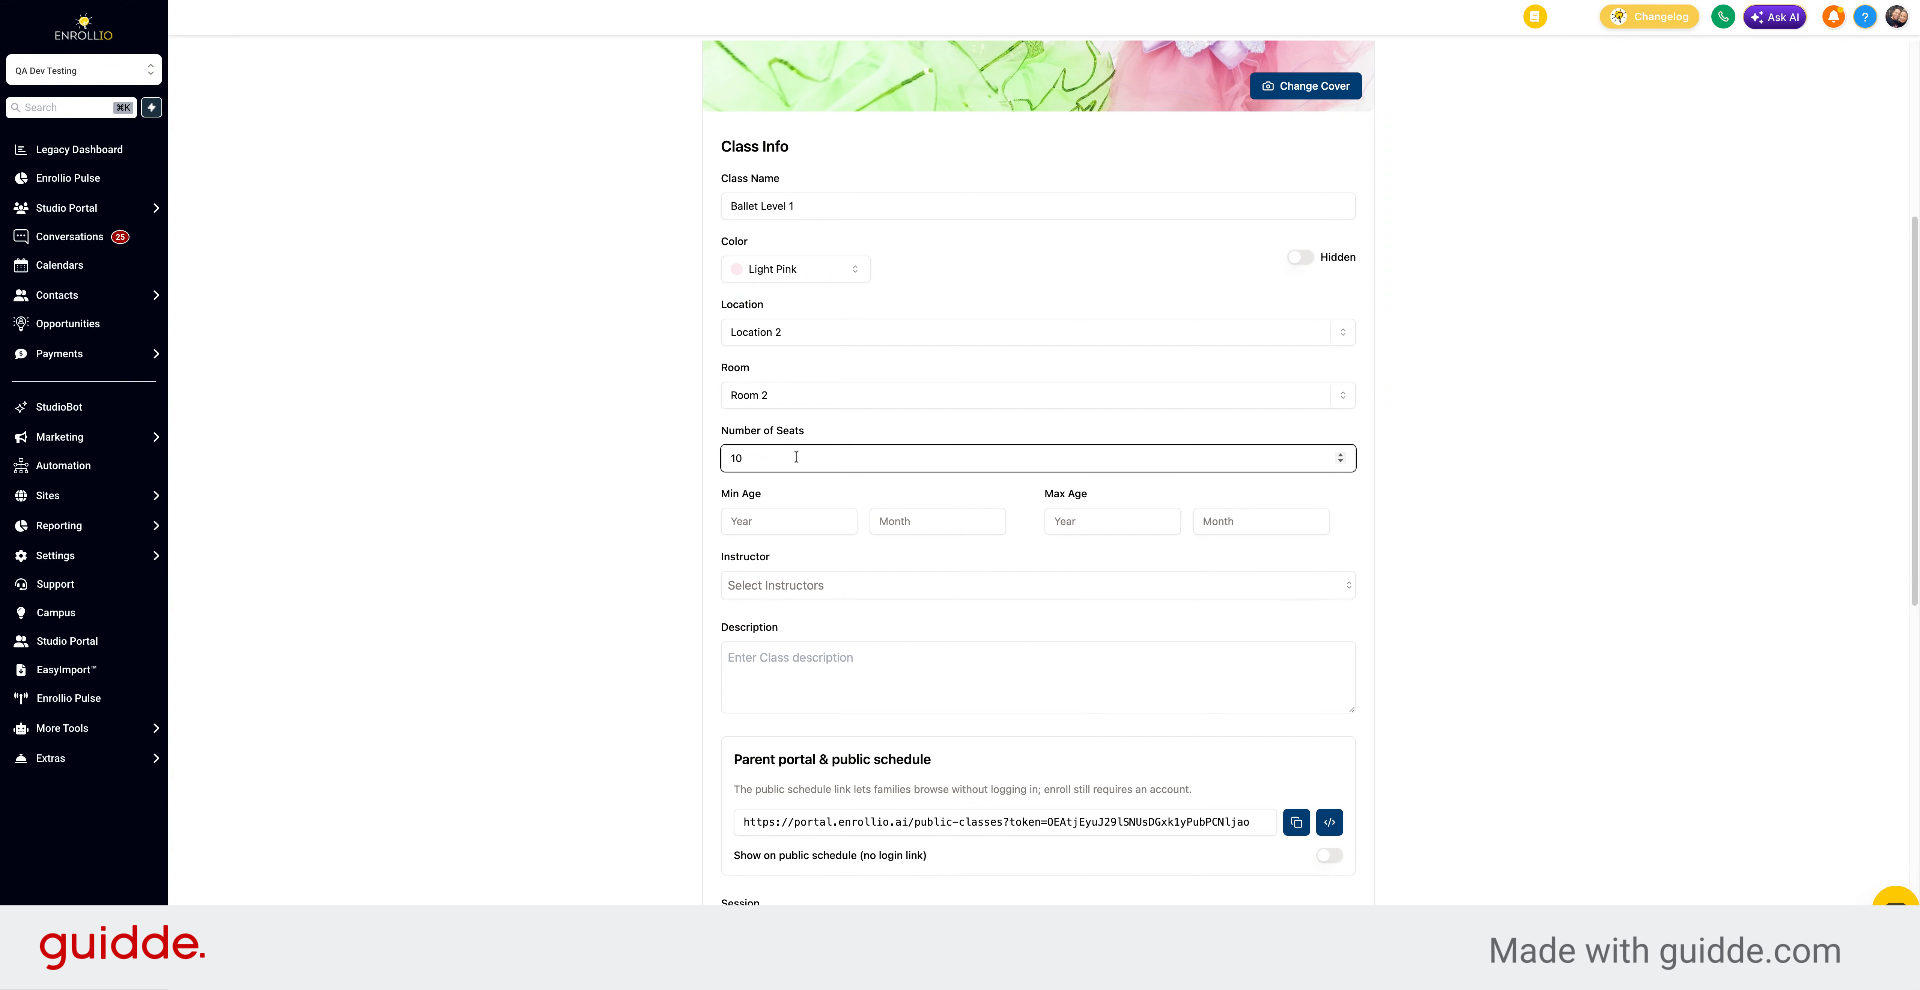
15. Set Age Range for Class
Enter the minimum and maximum age in months for the class. For example, ages 12 to 36 months would represent children roughly one to three years old.
16. Click to Proceed
Click here to continue with the class setup.
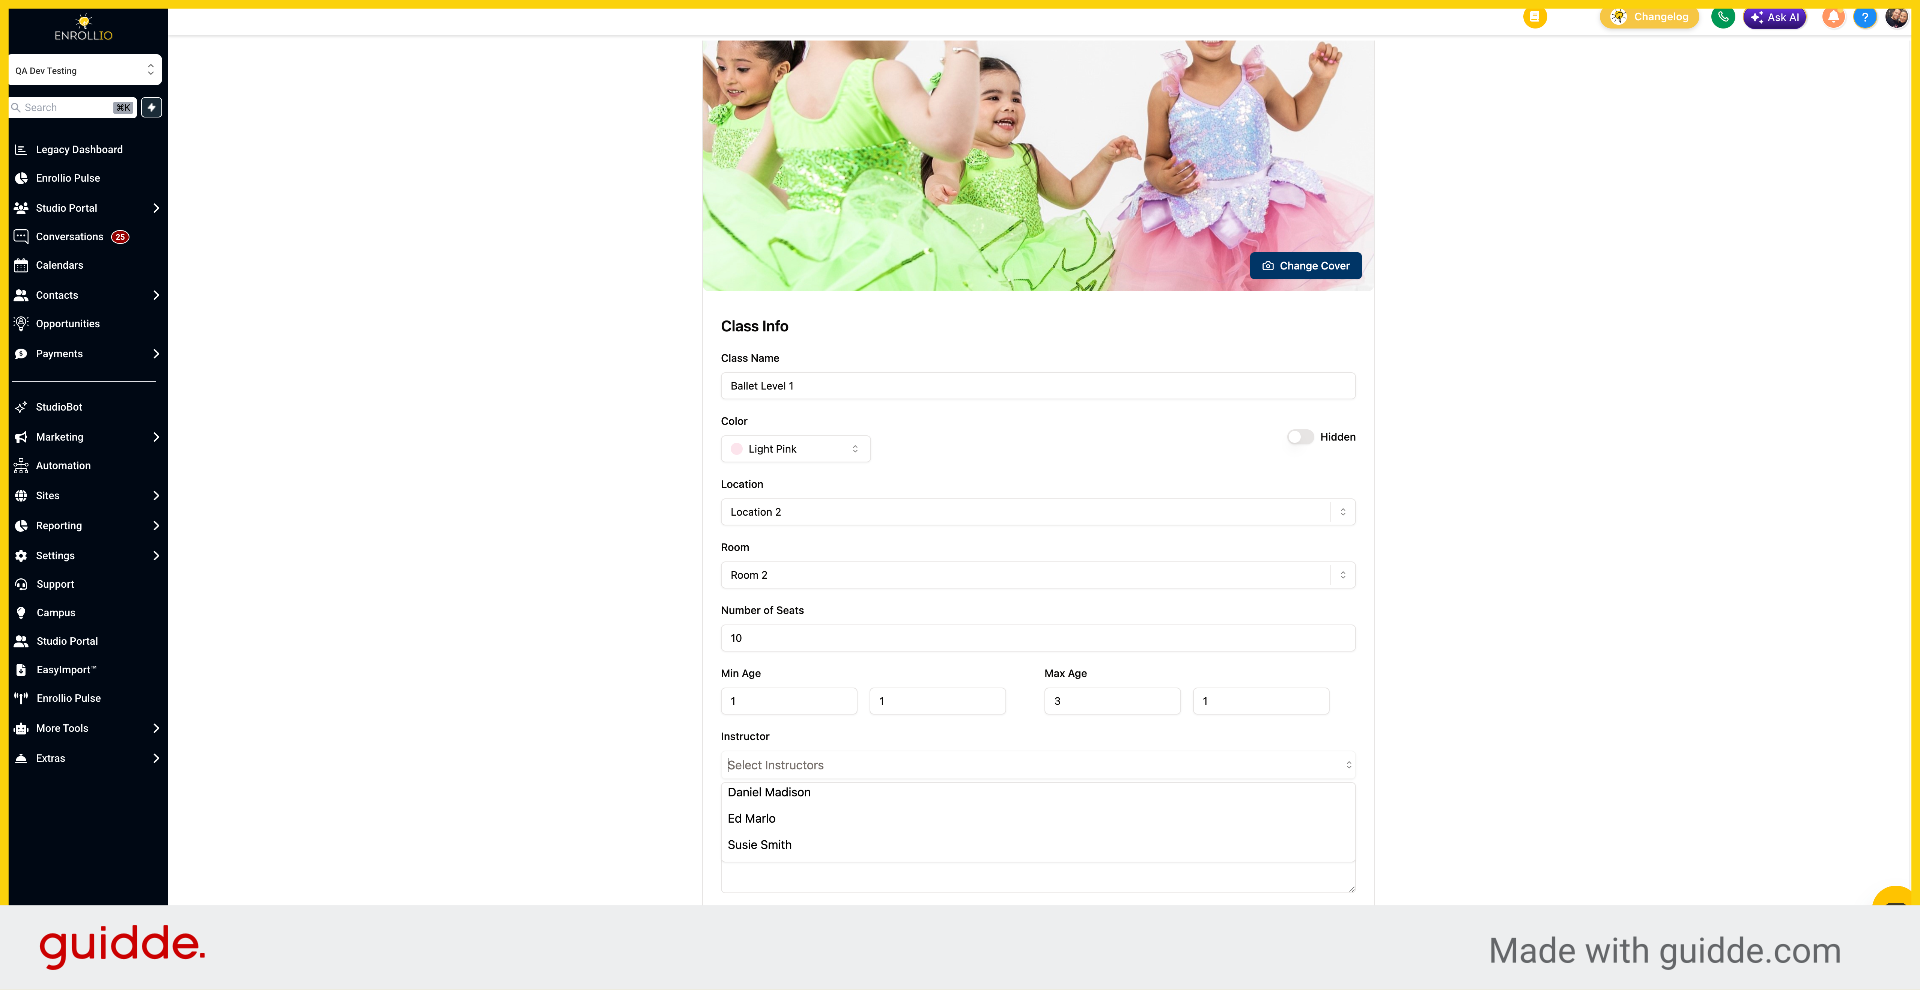
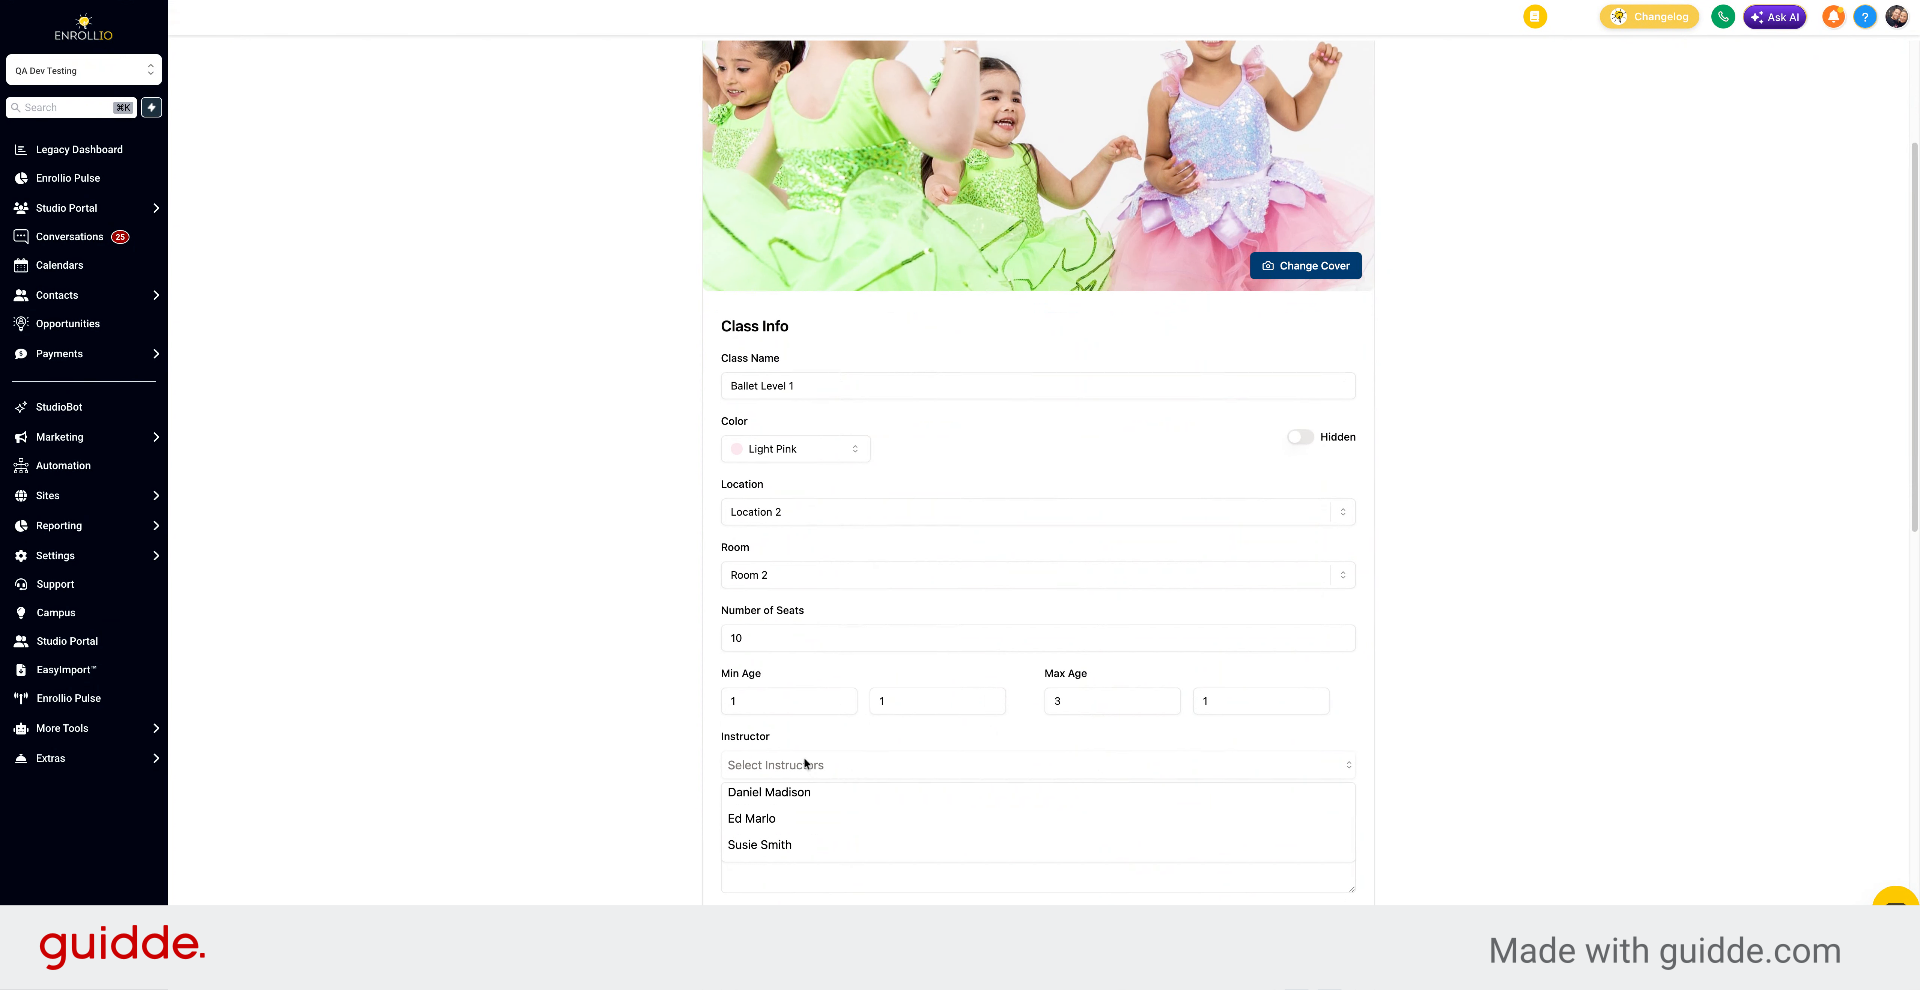
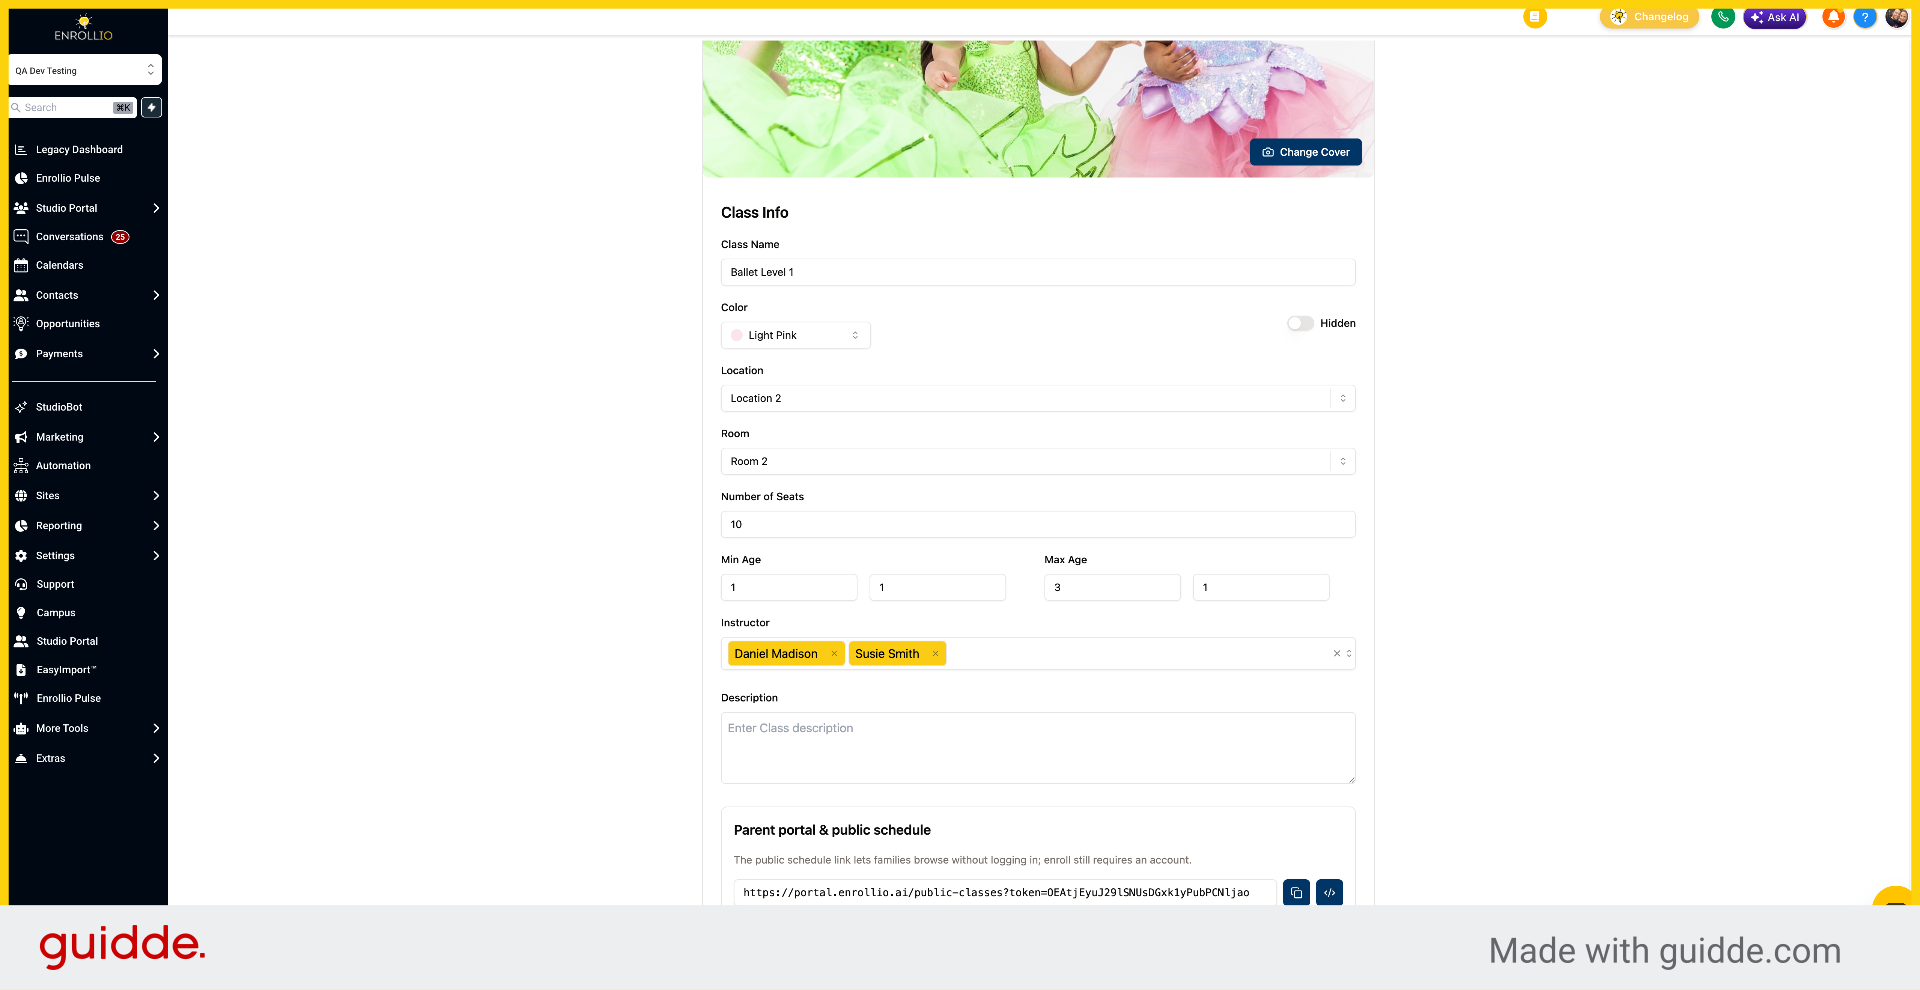
17. Select Instructors
Select the instructors for the class. You can assign multiple instructors if needed.
18. Click to Continue Setup
Click to proceed with the class setup.
19. Click Enter Class Description
Click the Enter Class Description field to add details about the class.
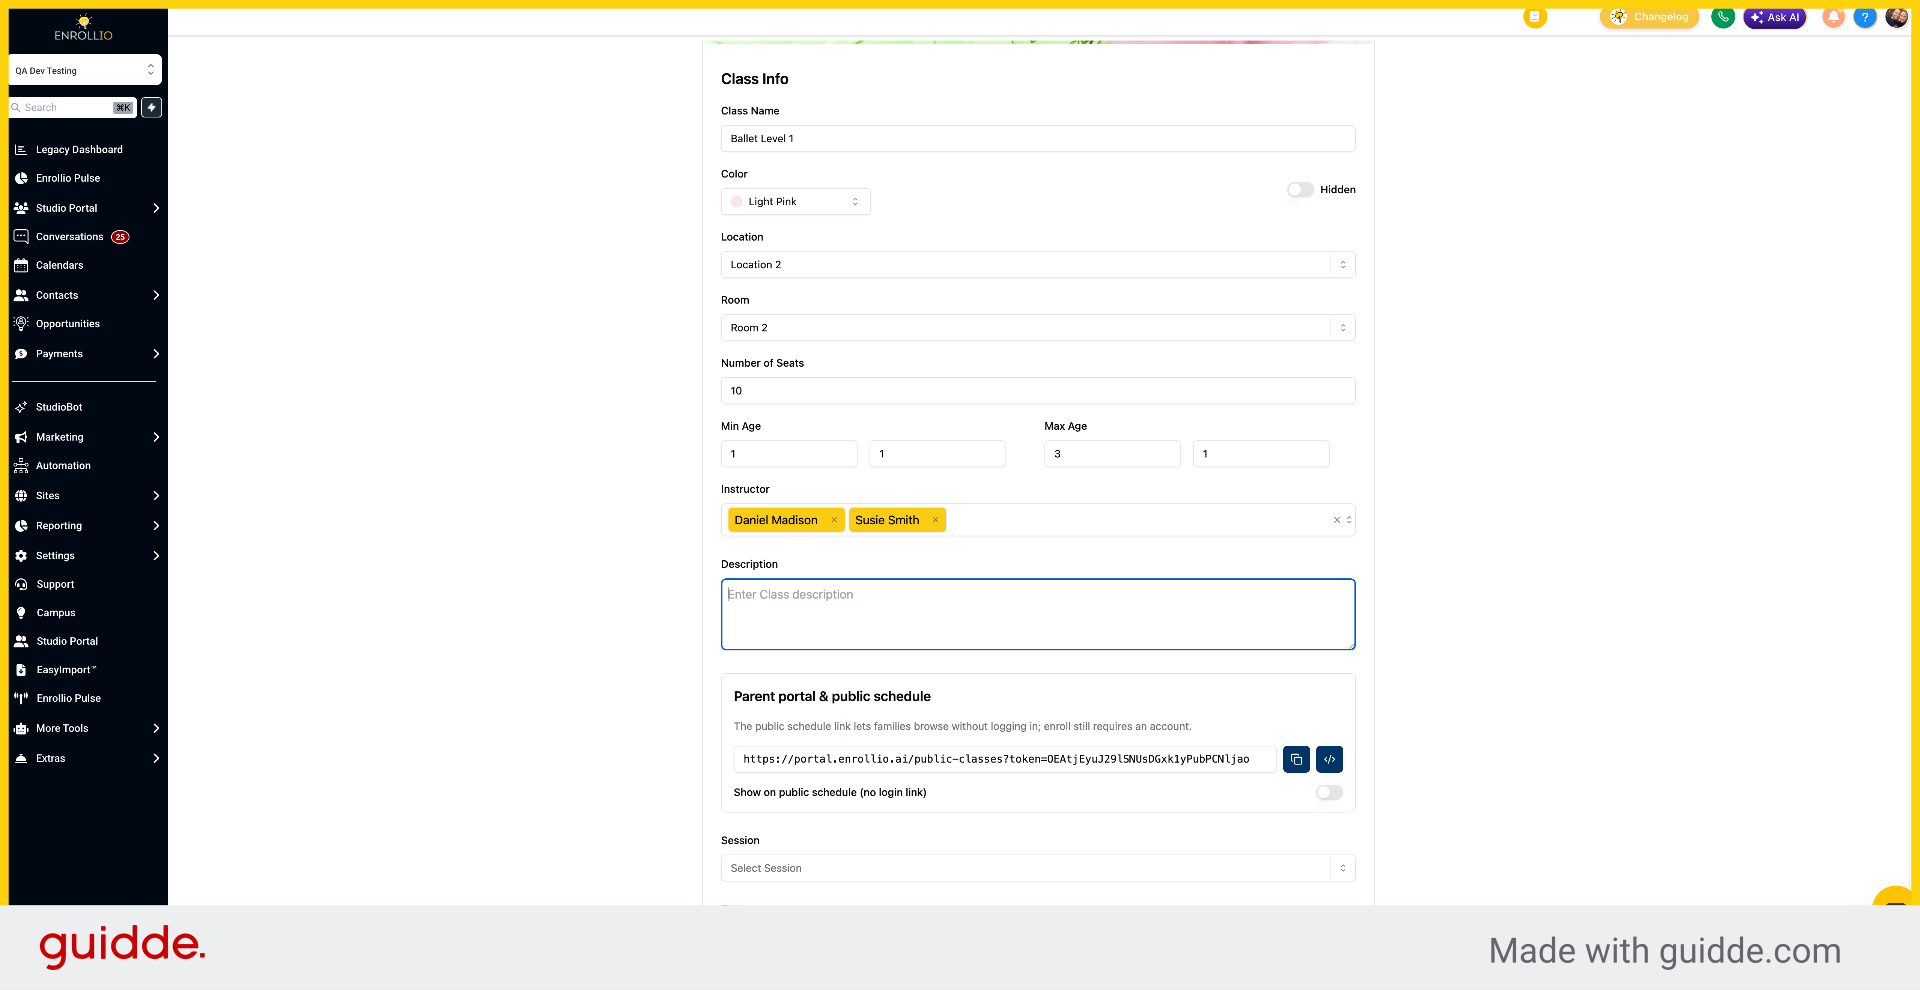
20. Write Class Description
Write a description that parents will see when signing up. For example: "Your child will embark on a magical journey through time exploring the wonders of ballet."
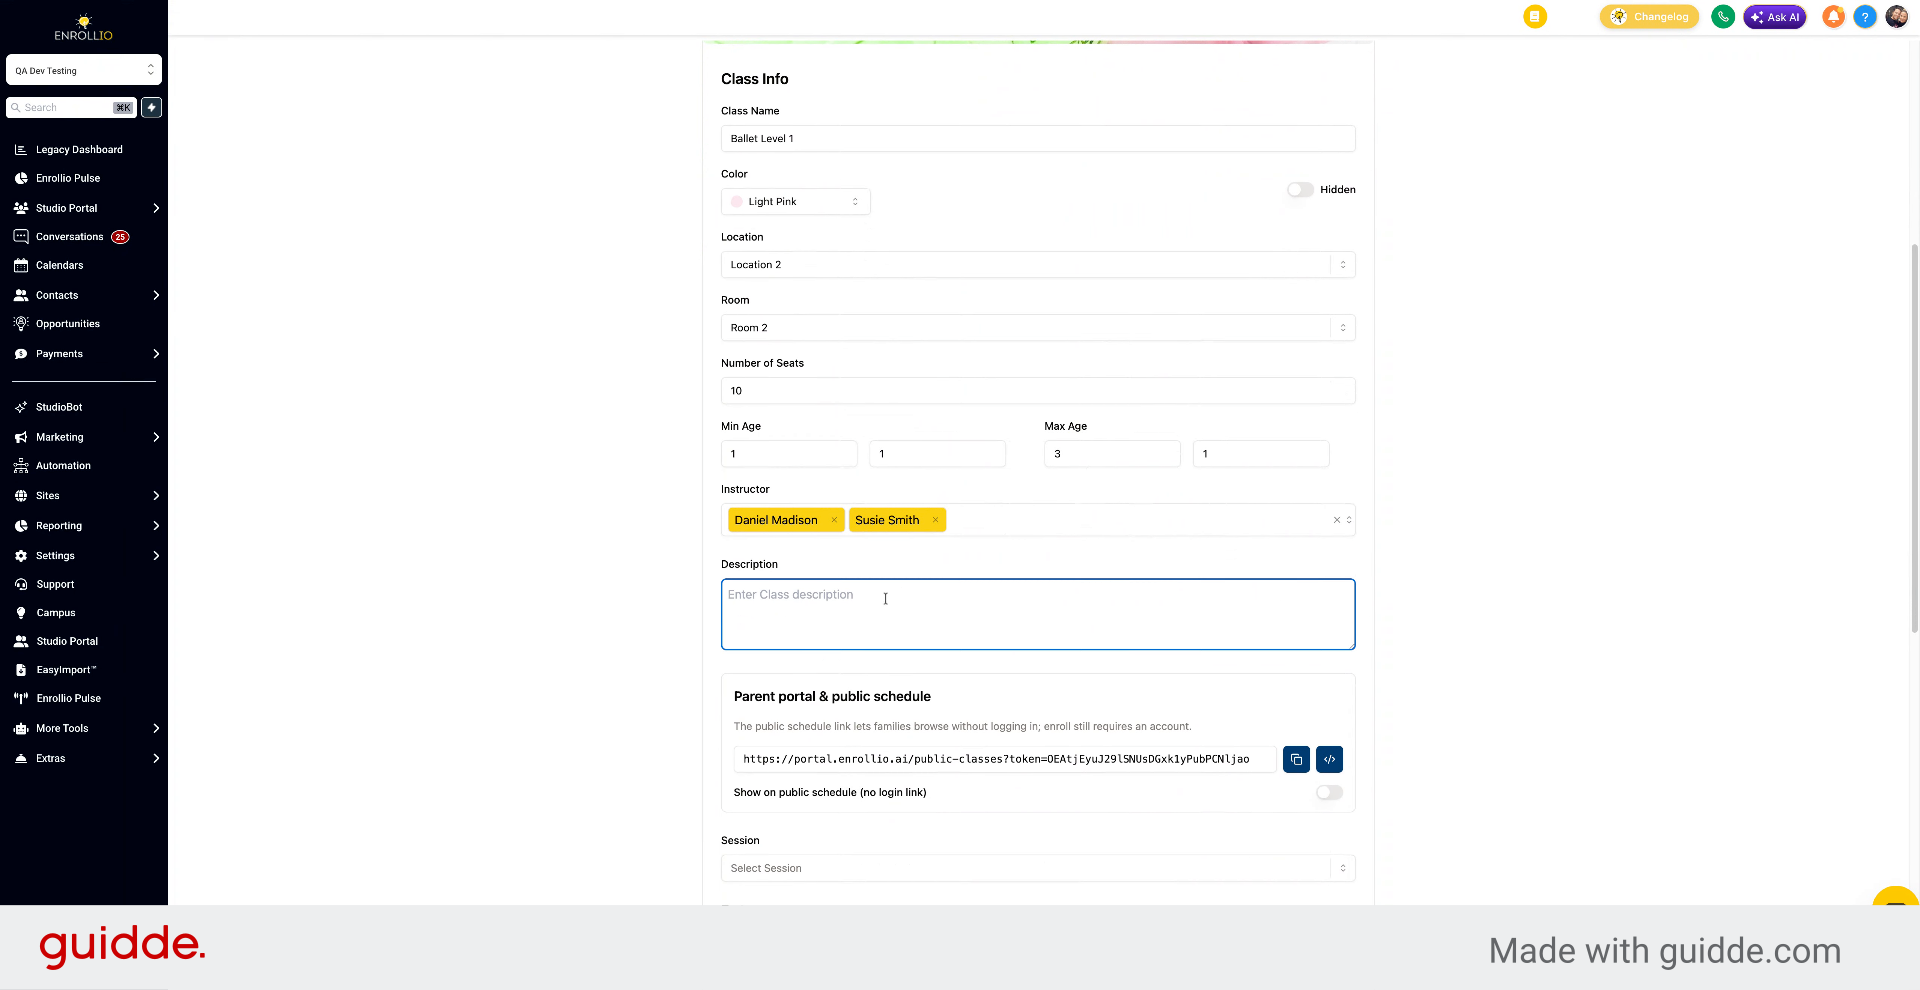
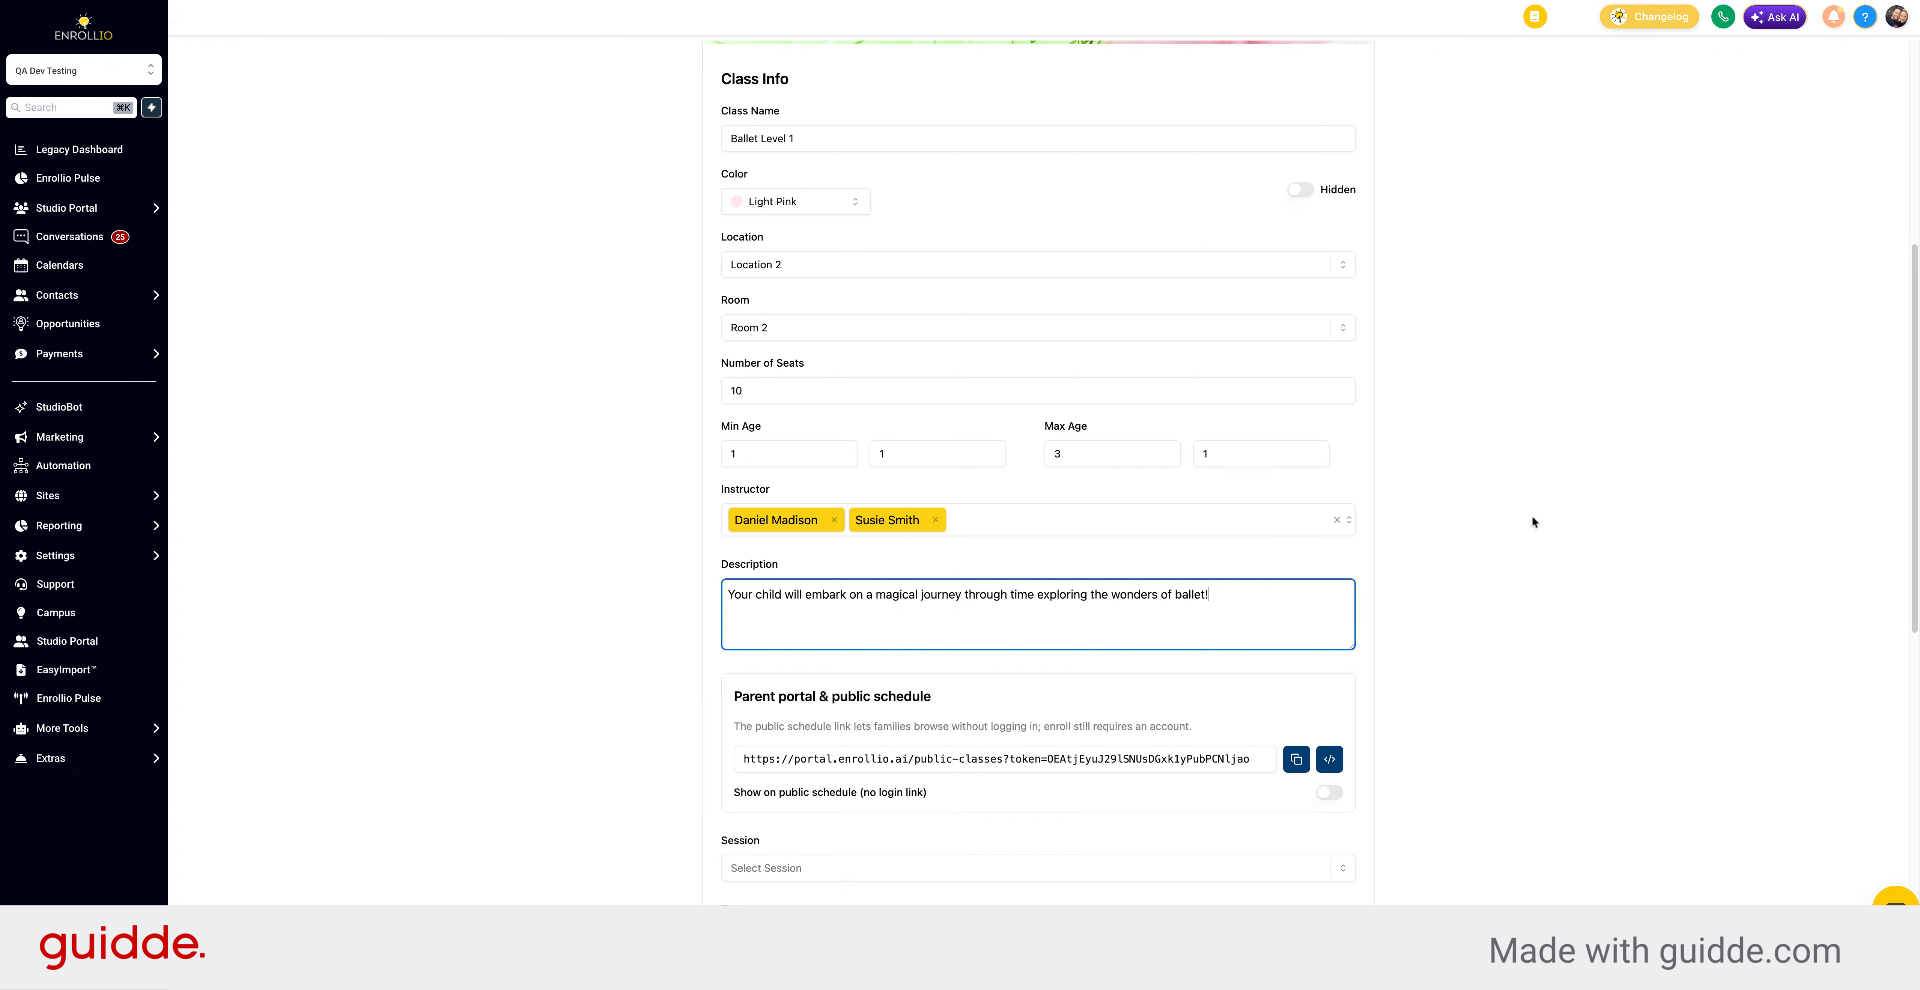
21. Parent Portal Public Schedule Overview
The Public Schedule option lets you share the class schedule on your website. Parents can view available classes without logging into the parent portal.
22. Enable Public Schedule Display
Toggle on Show on Public Schedule, and then copy a link or embed the code on your website.
23. Select Session for Class
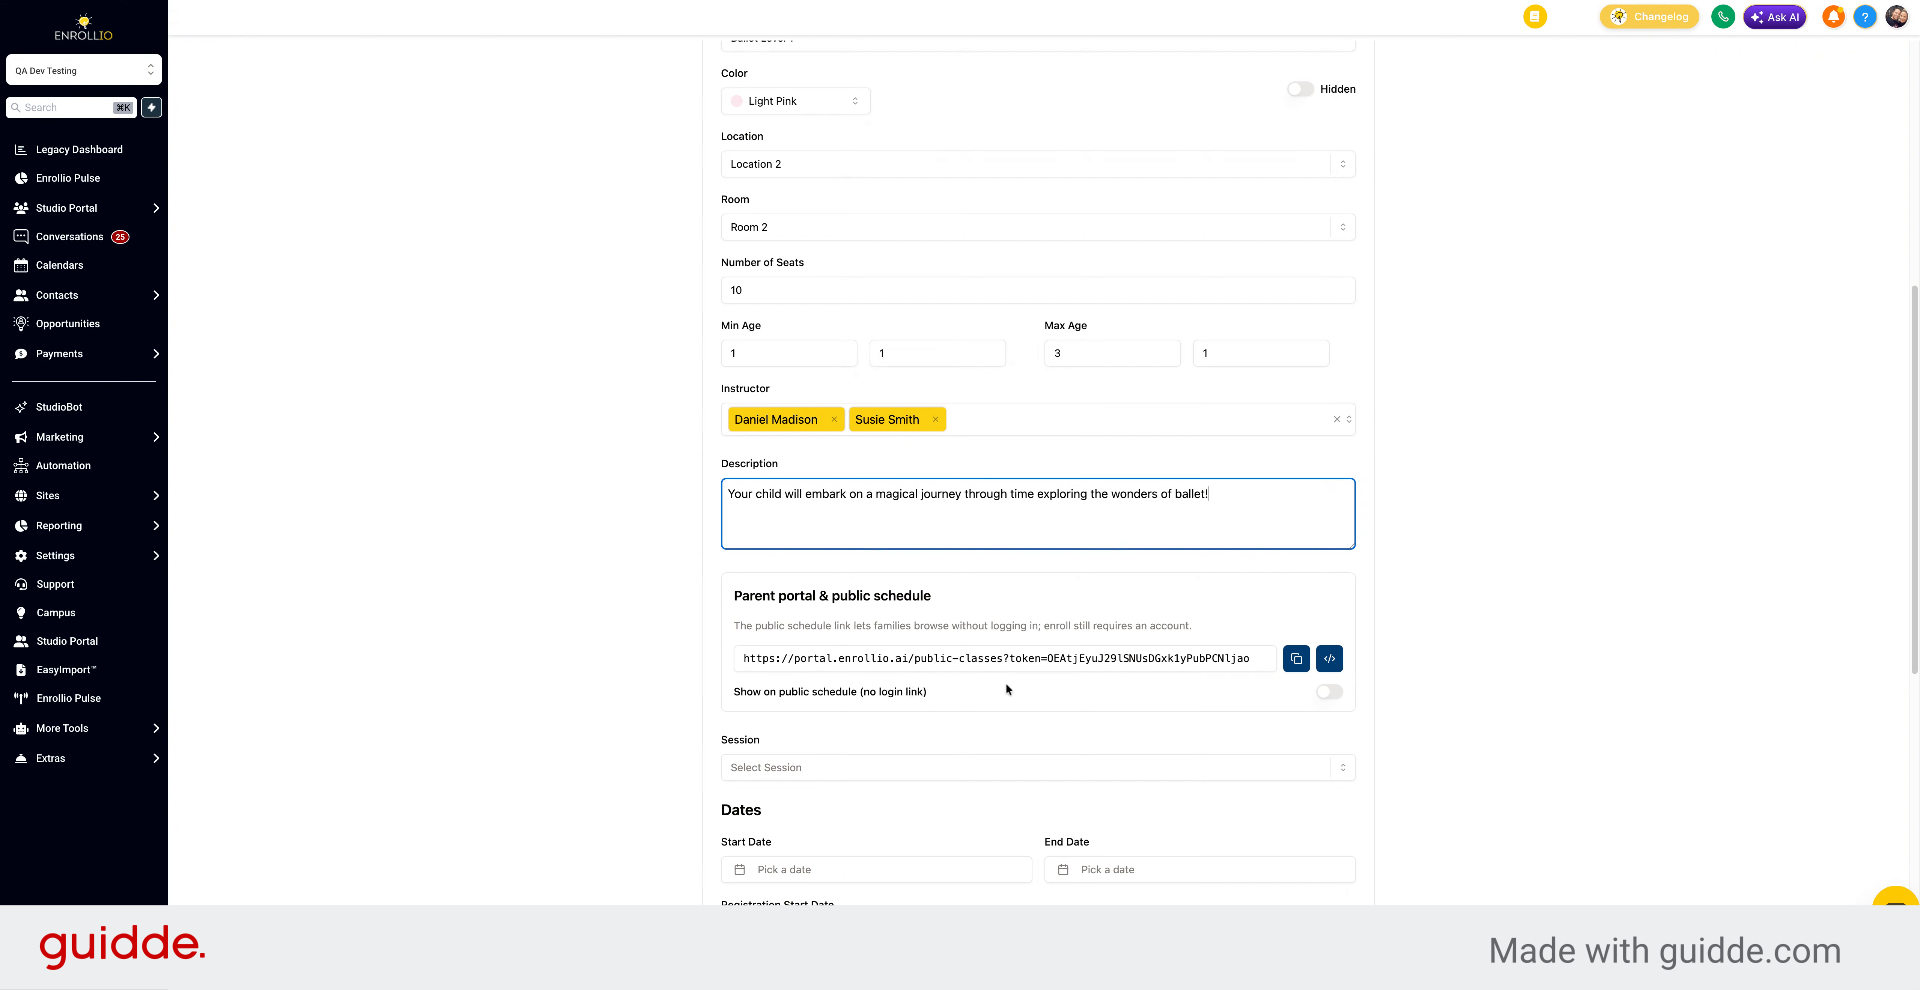
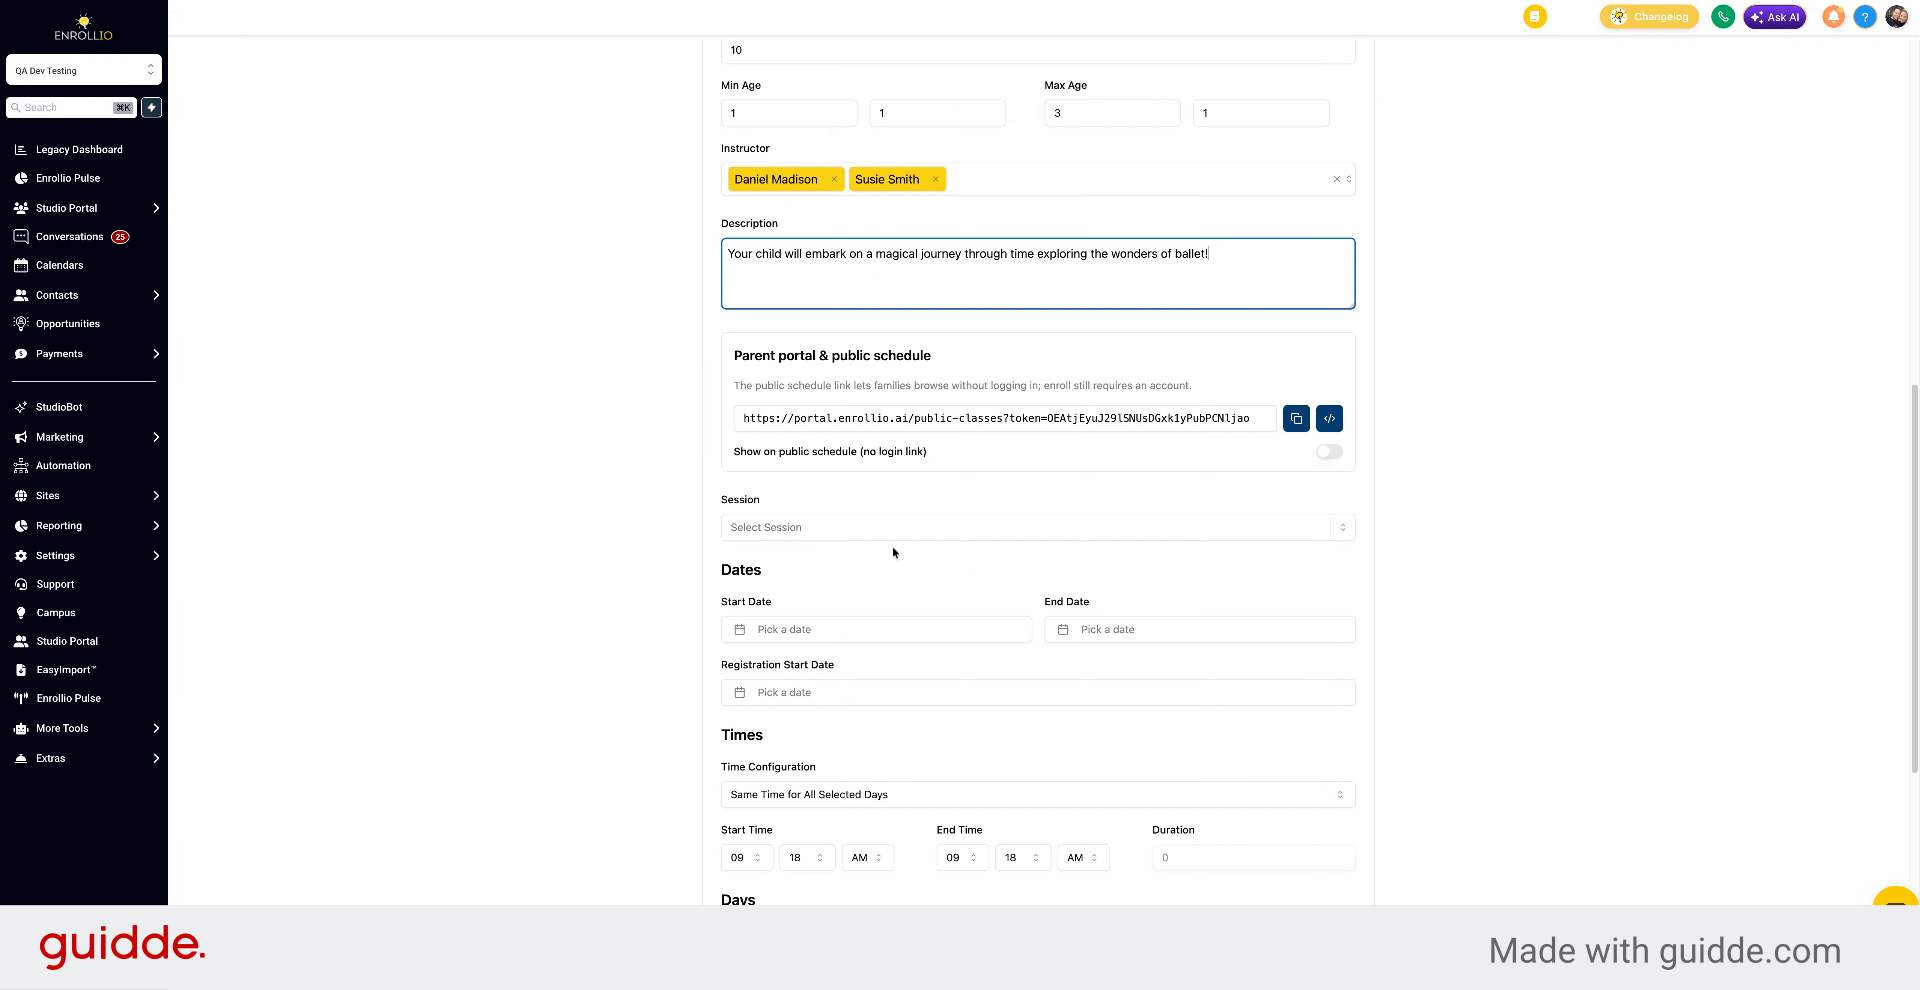
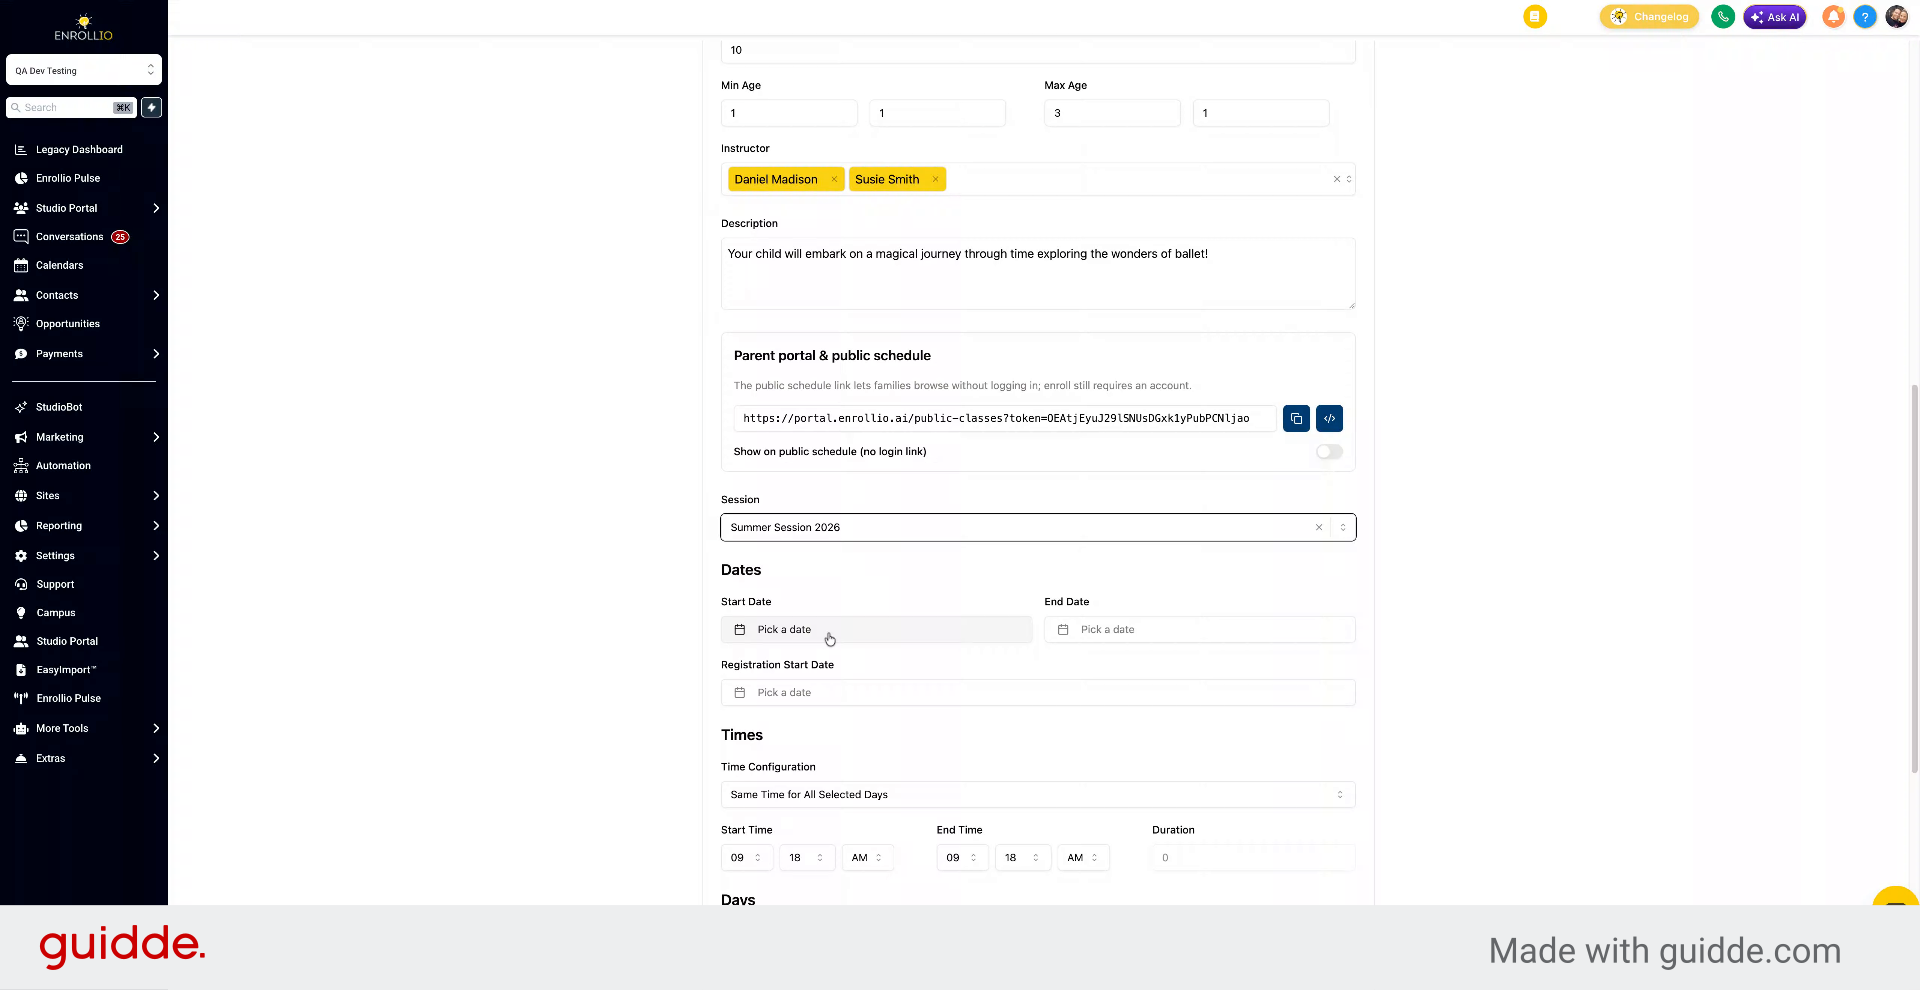
Select the session for the class. A session is typically a term, summer camp session, or season of classes at your studio.
24. Set Class Dates and Registration
Set the start and end dates for the class and when registration opens. For example, start on May 1st, end on August 1st, and allow registration to start today.
25. Click to Continue
Click to proceed with the class setup.
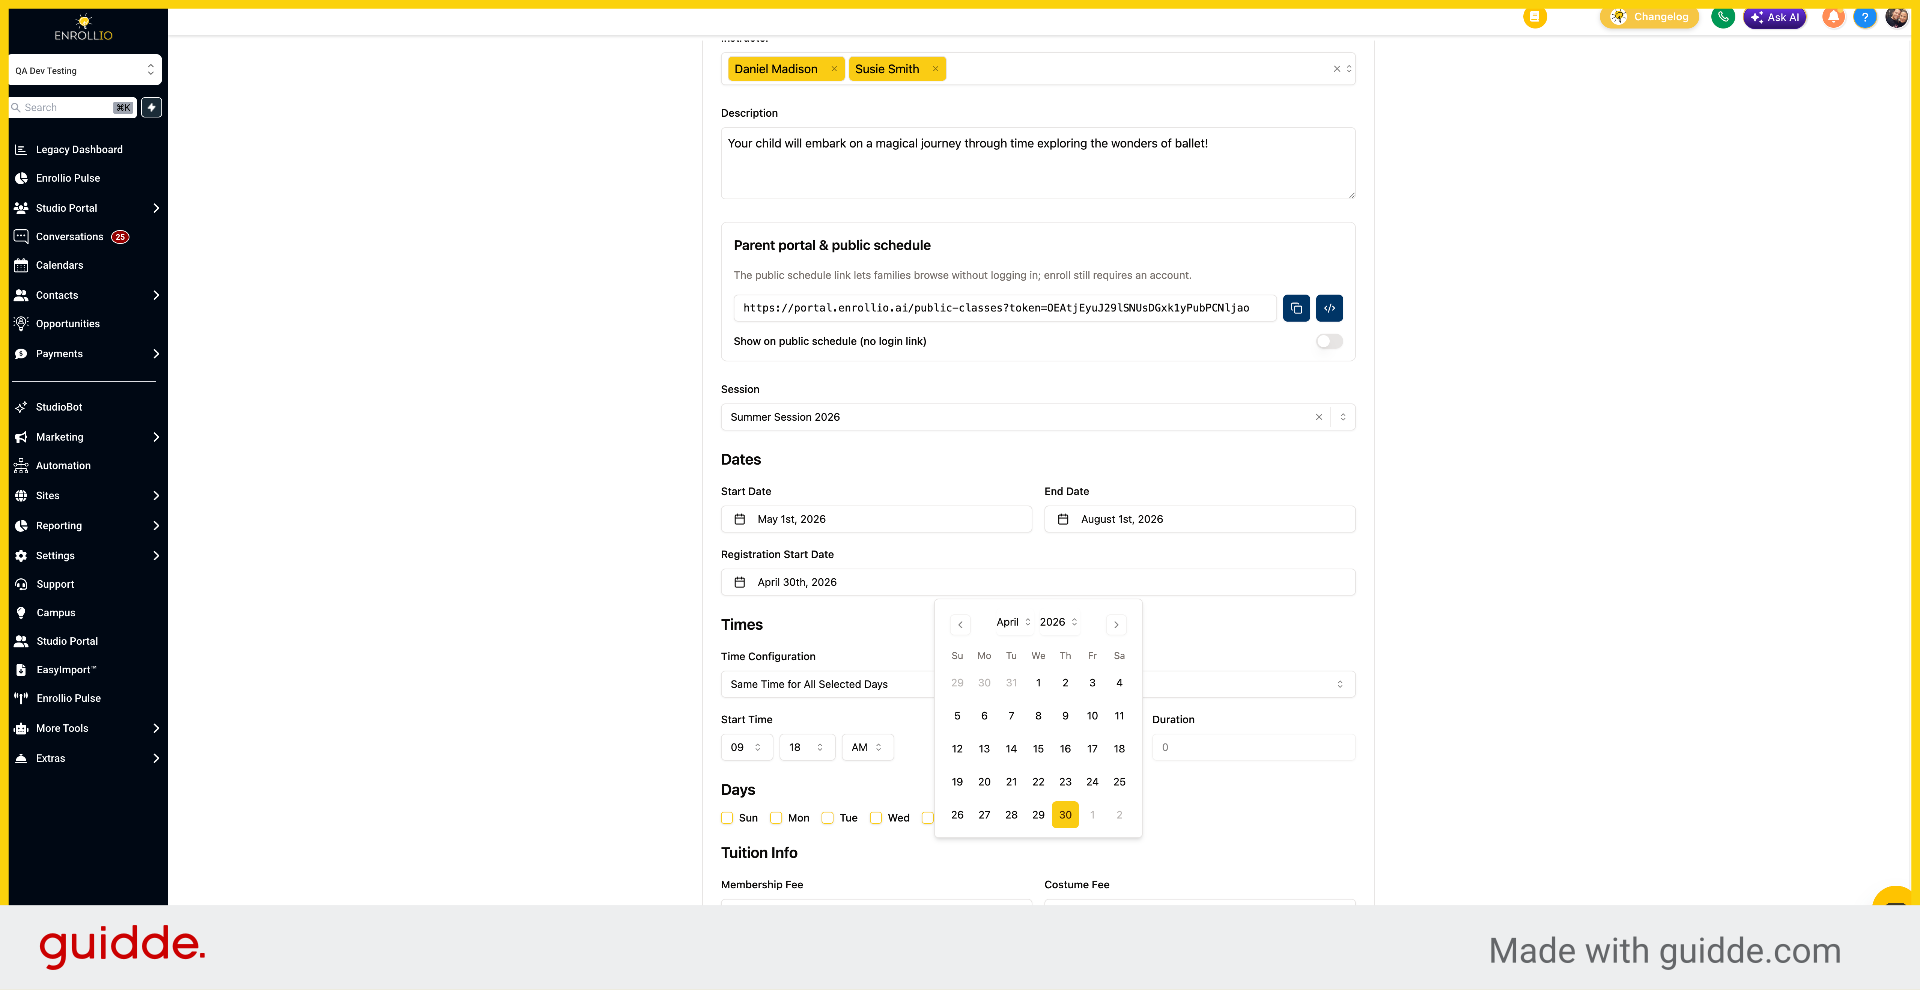
26. Choose Class Timing Options
Specify when the class takes place. You can set the same time for all selected days or different times for each day.
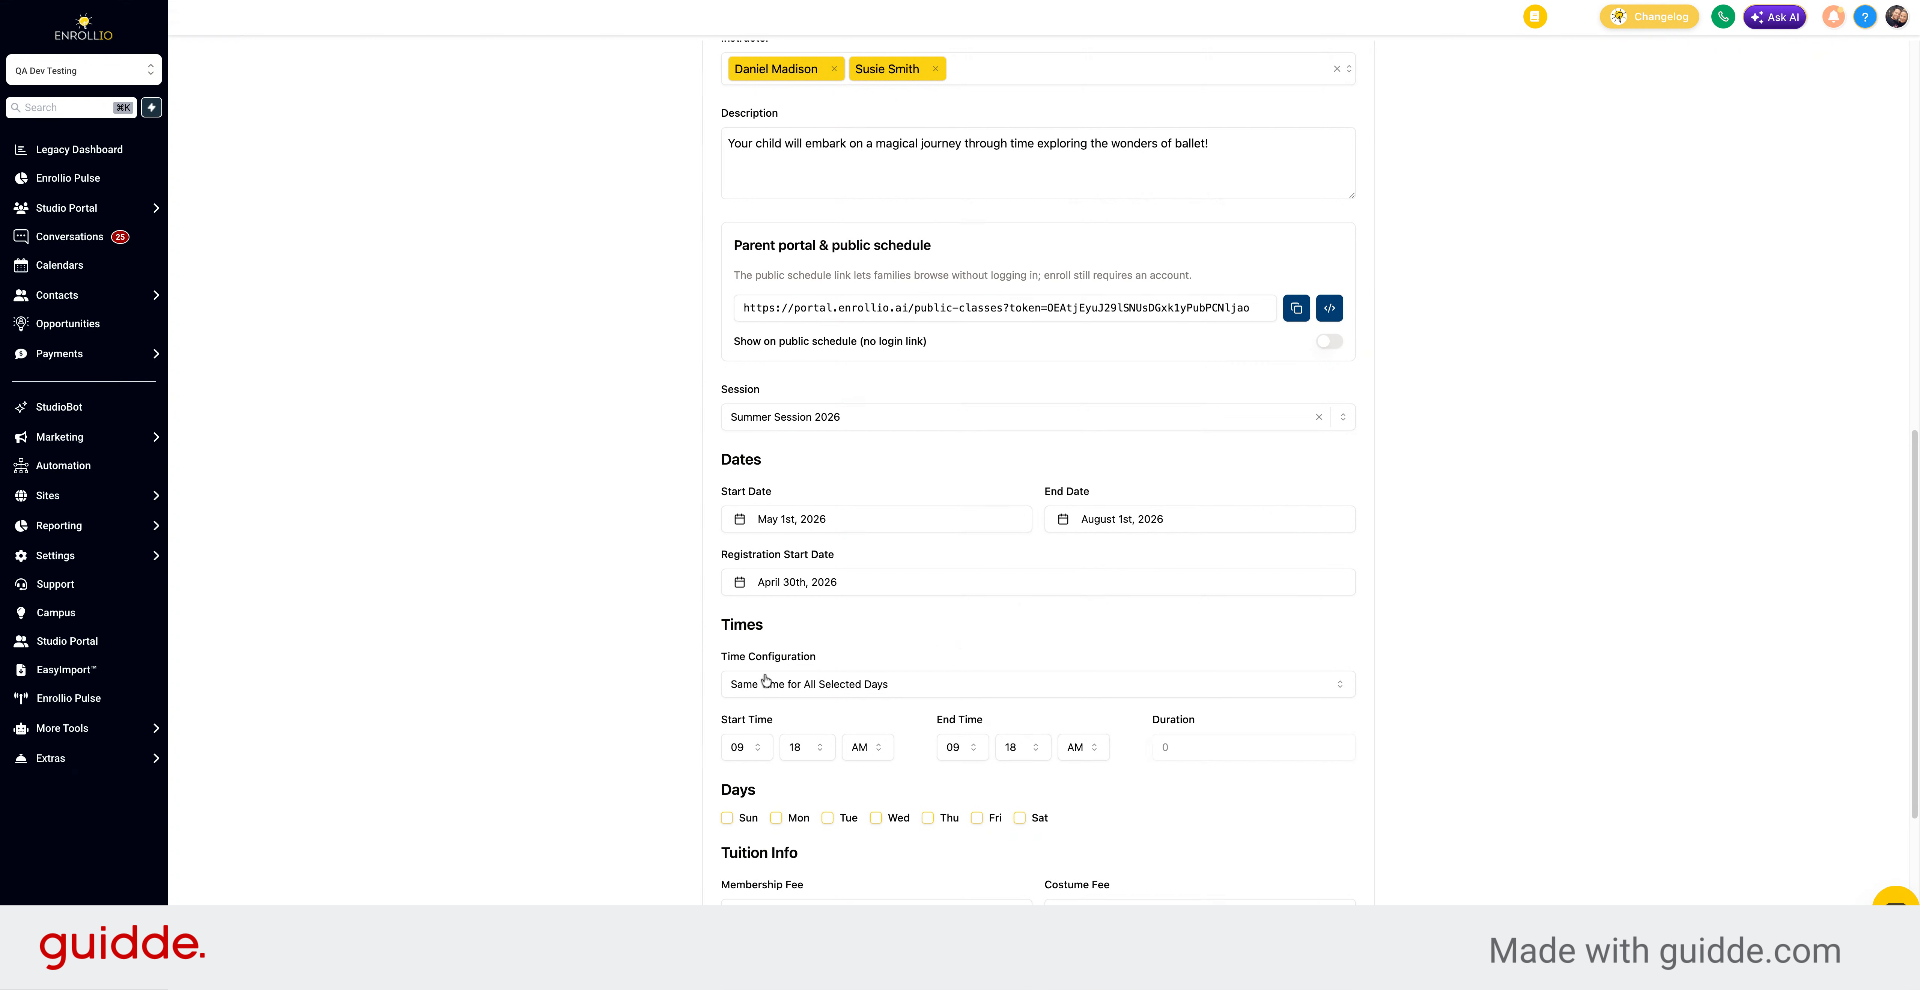
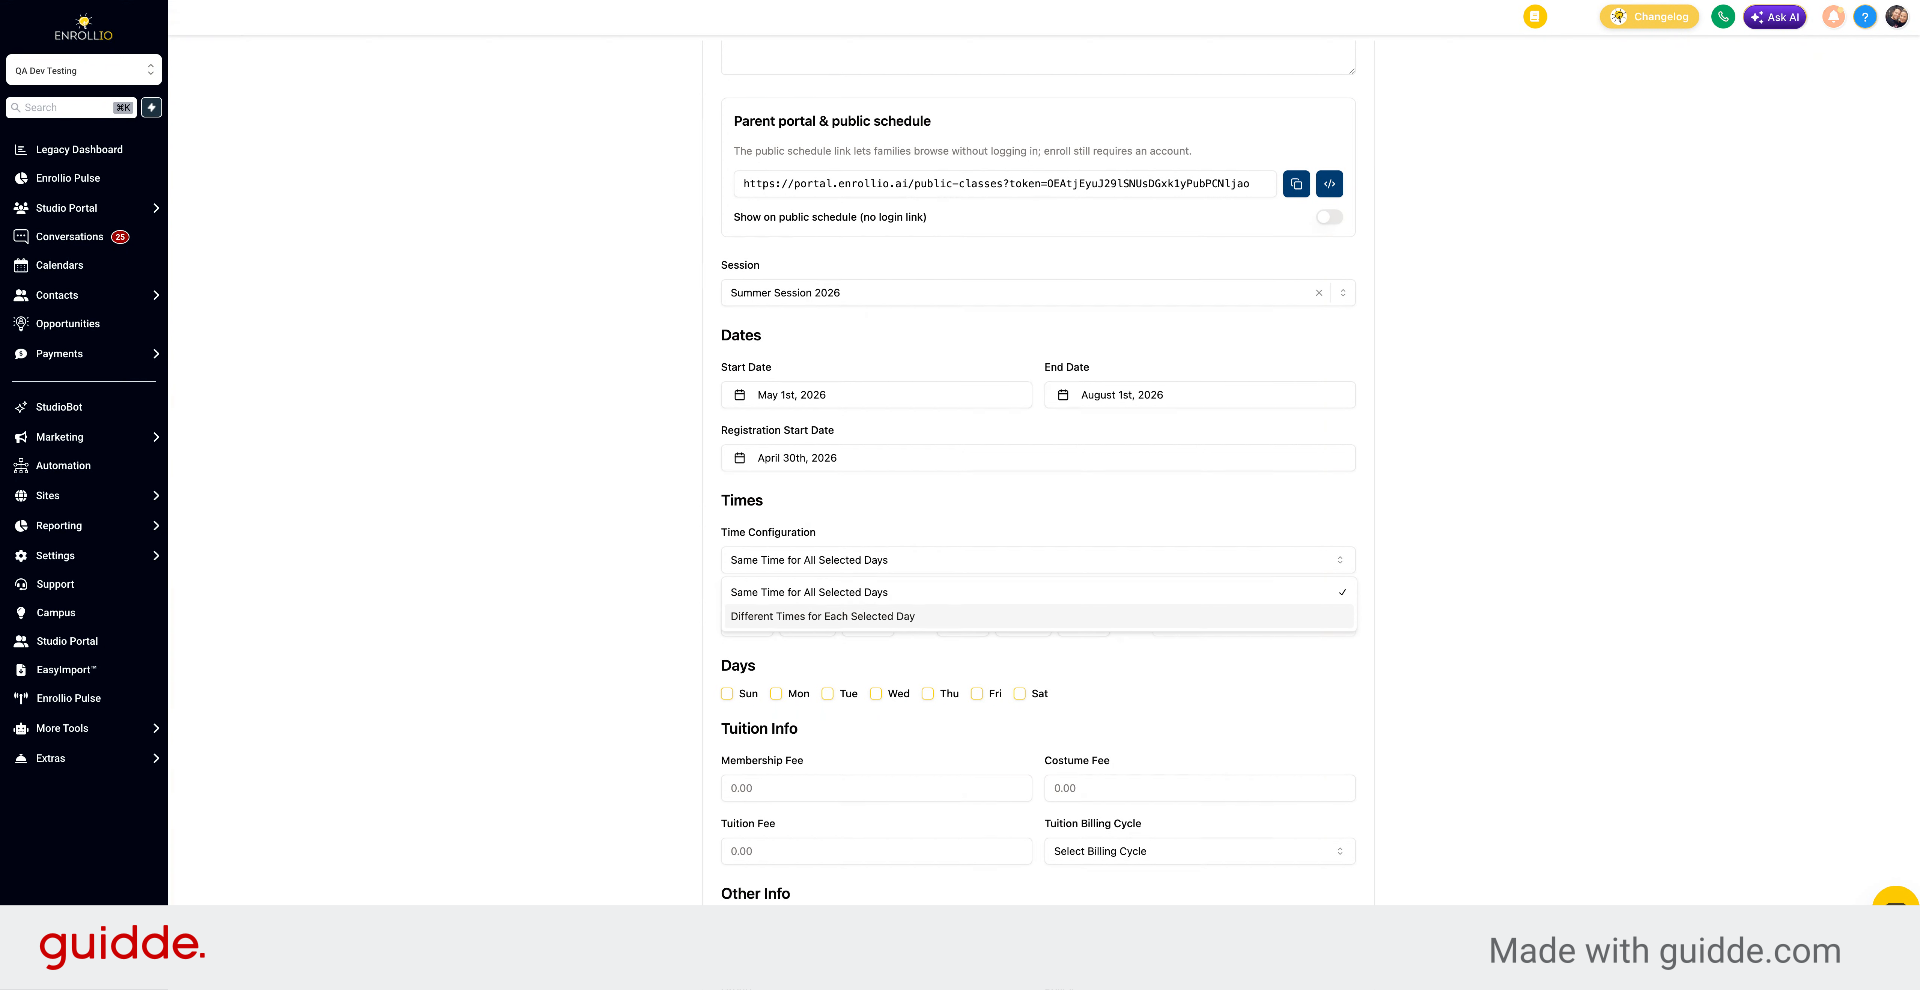
27. Select Class Days and Times
Select the days the class meets (for example, Monday and Wednesday) and set the times for each day. Mondays might be 12 to 1 p.m. and Wednesdays 7 to 8 p.m.
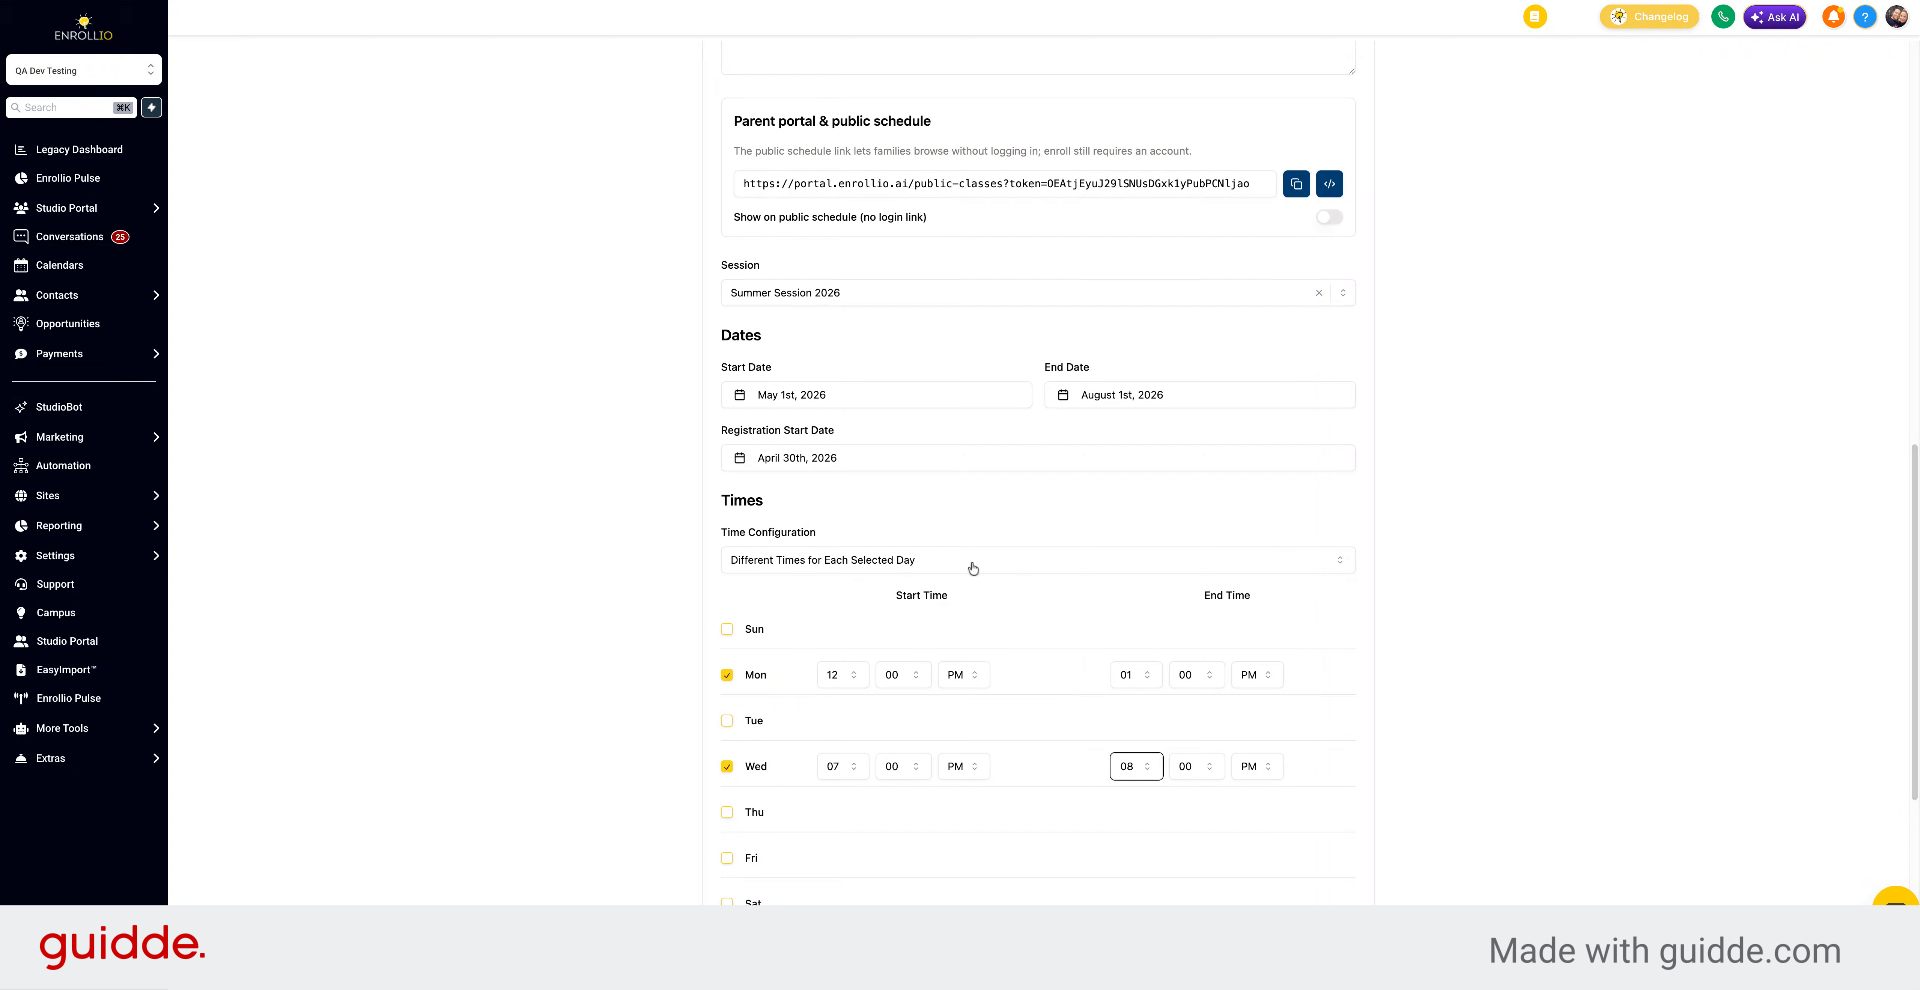
28. Set Uniform Class Time
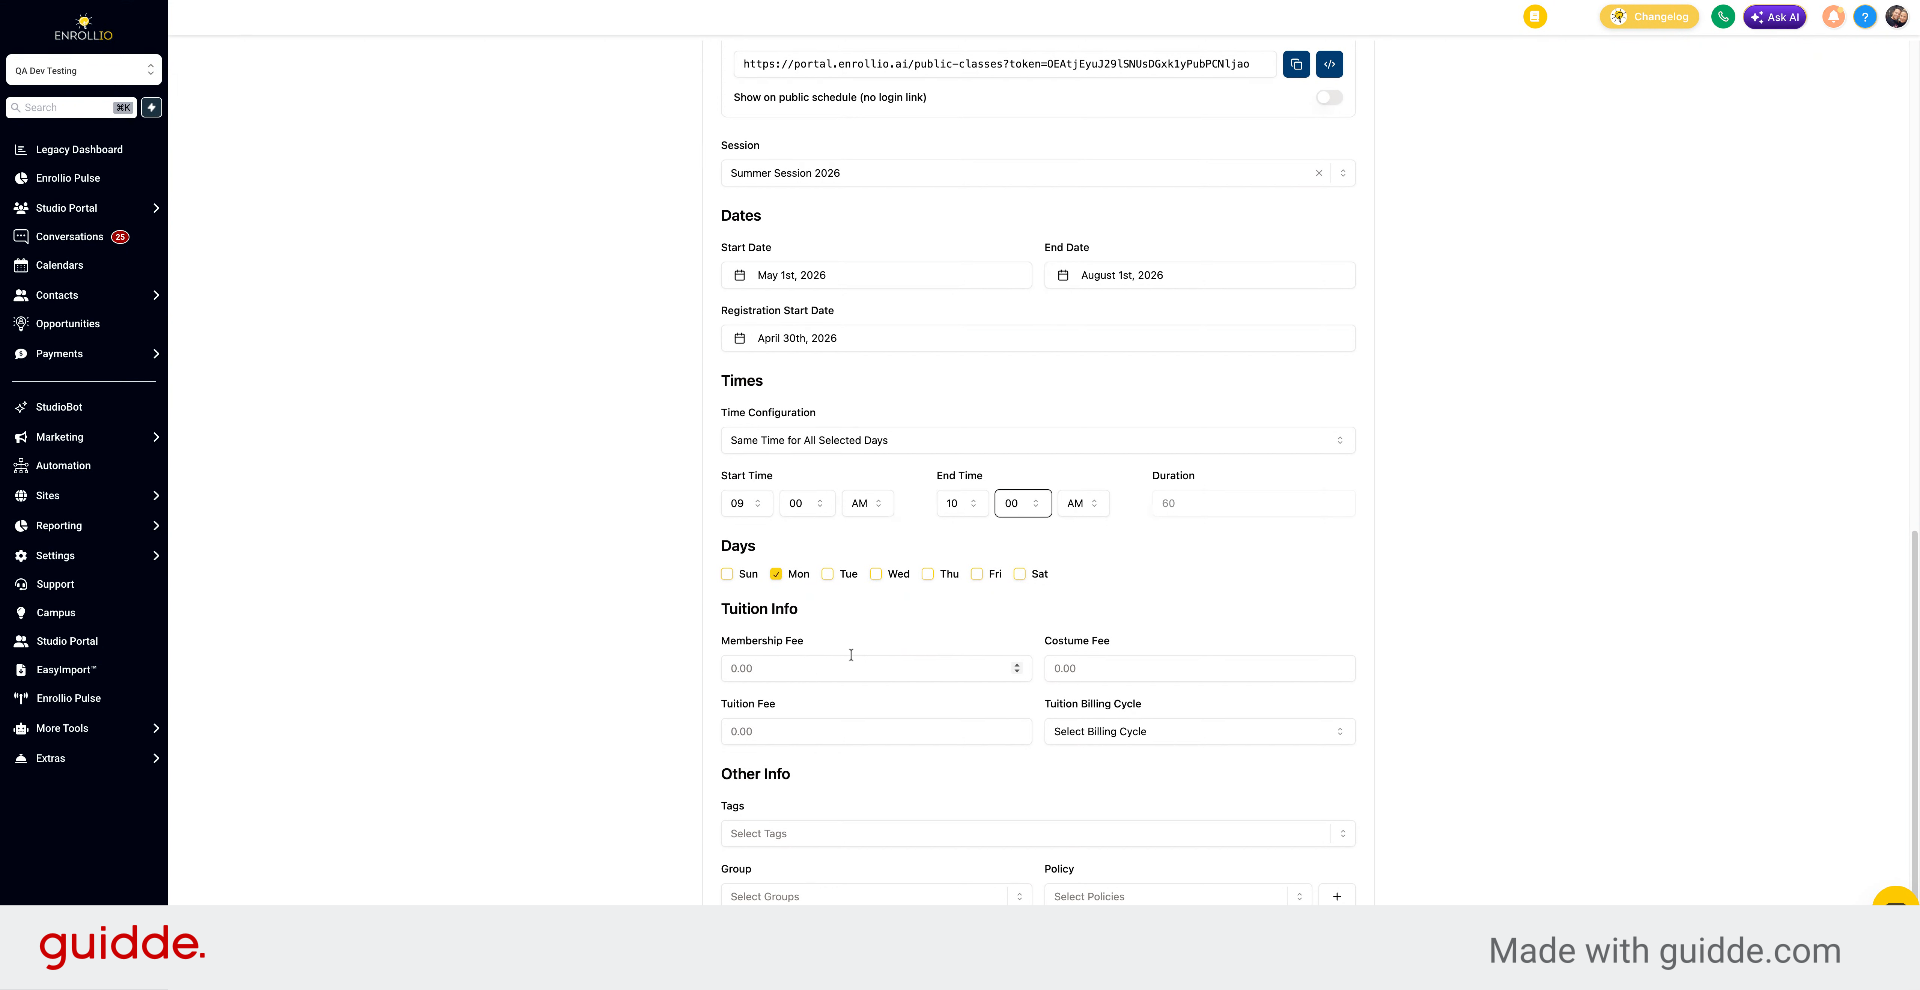
Or set the same time for all selected days. For example, Mondays from 9 a.m. to 10 a.m.
29. Configure Membership and Bulk Fees
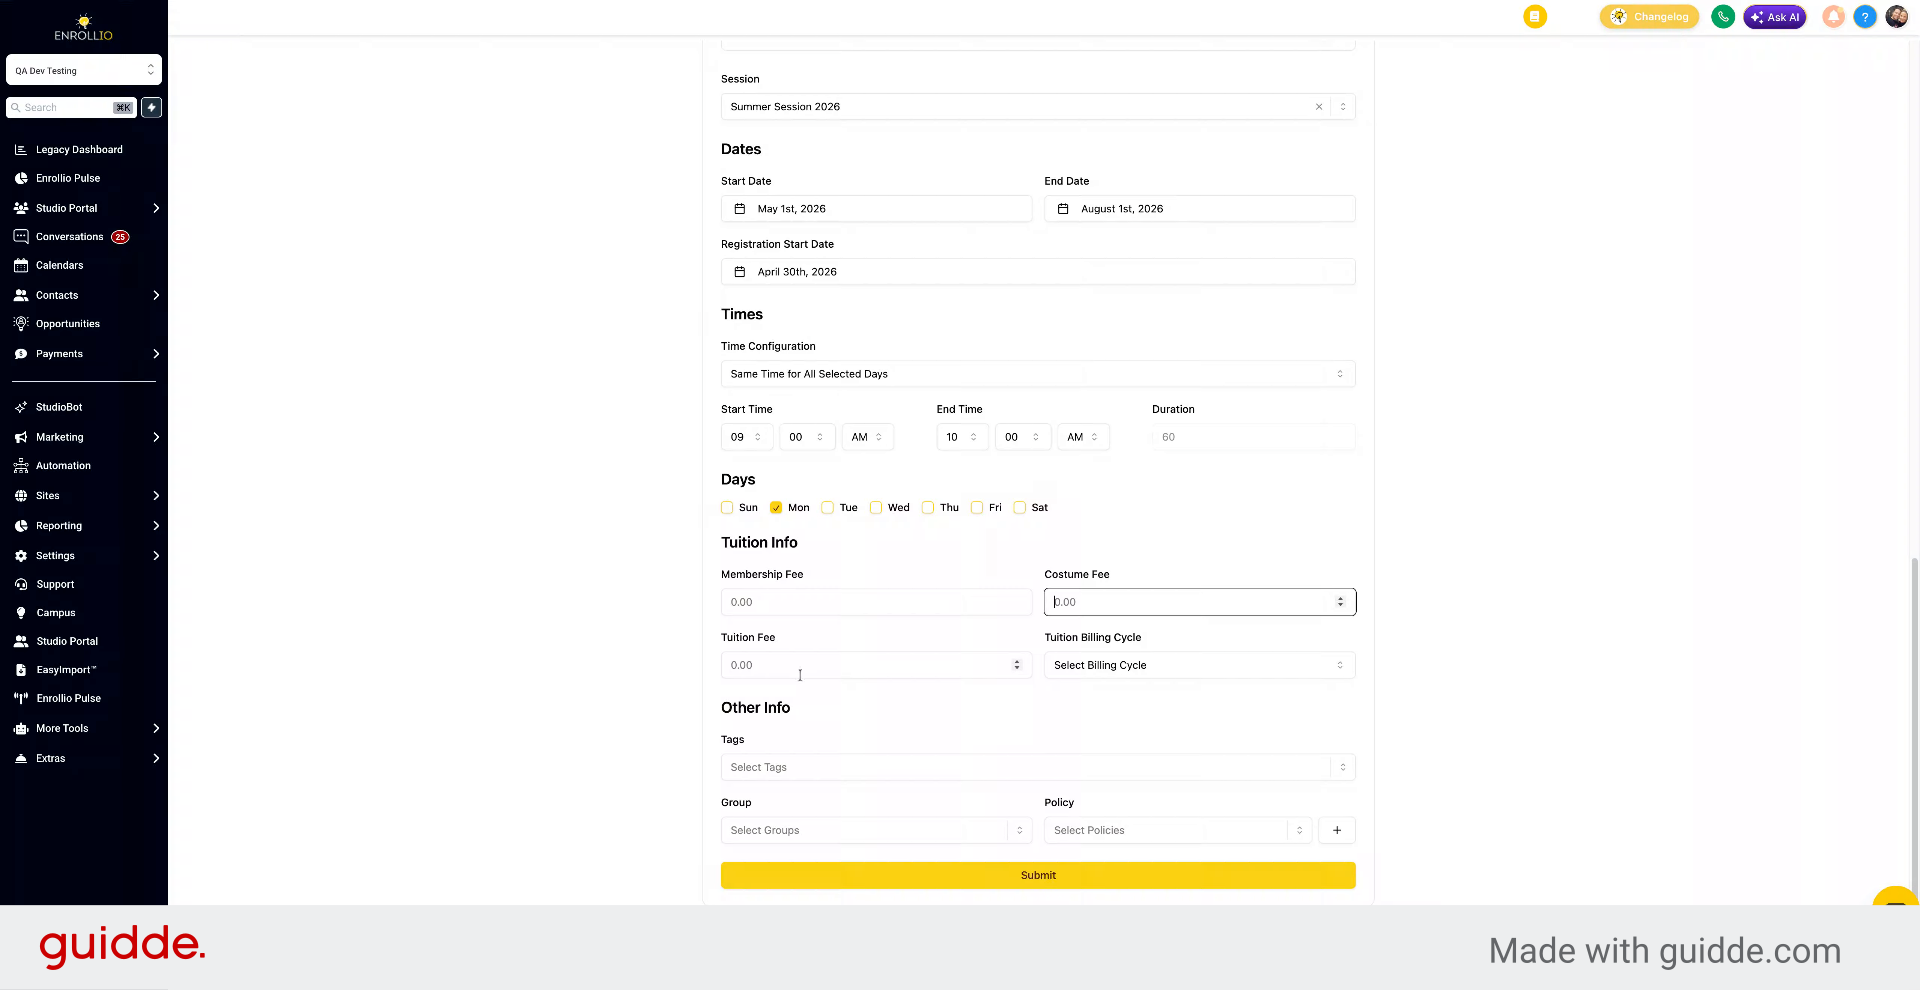
Membership fees and cost fees are charged upfront. You can set an amount or leave it at zero. For fees charged later, you can use bulk charge settings.
30. Enter Tuition Fee
Enter the tuition fee, for example $75.
31. Select Billing Cycle
Choose the billing cycle. You can select monthly billing and pick the billing day. You can also enable proration if needed.
